Make Your First Android App: Part 1/3
Learn the basics of how to make your first Android app and learn the ins and outs of working with Android Studio. By Matt Luedke.
So… WHY did that work?
You’ve got your first app behind you. To start making changes and adding cool features, it’s necessary to get a working knowledge of what’s going on behind the scenes.
Take a look at the Project section of Android Studio, with the files and folders on the left side of the screen. You may need to press the little tab on the edge (see below) if the project explorer isn’t visible at the moment.
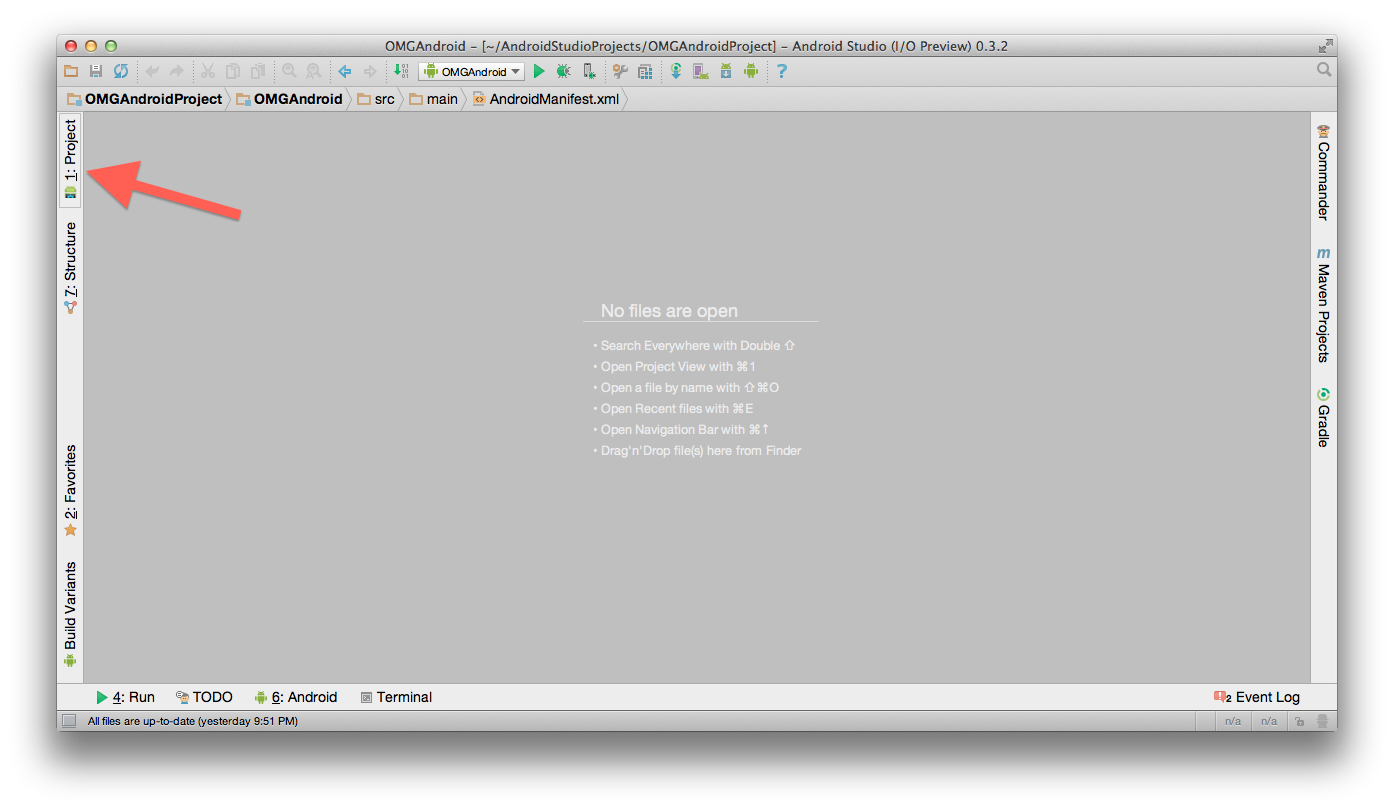
Browse around for a few minutes without any explicit instructions from me, expanding and collapsing folders and double-clicking on files to see their contents in the main window. If you notice any trends, great. If it all still looks cryptic, not to worry!
Android Project Structure: The Team
Every great team is composed of people who play different roles. Do you want to do the job right? You need the right team. Android Projects have a few key elements and each has a role to play:
- Java: The Professional
- Resources: The Artist
- AndroidManifest.xml: The Boss
- Intent: The Job itself
Java: The Professional
It’s the job of your Java code to get things done. Your code is all going to be in the src\main\java directory under your main project folder. I’ll give you all the code you need to complete this tutorial, but if you want to learn or refresh your Java knowledge, here is a nice online interactive tutorial.
It will be worth your time to learn more and more Java as you explore Android development. Your team is relying on the professional.
Resources: The Artist
It’s not enough to just get the job done. It needs to be done in style. Your app is never going to stand out unless it has great icons and images, well-designed layouts, engaging copy text, and maybe even some smooth animations.
Initially, the src\main\res (Resources) folder contains:
- Drawable folders that hold images — just the default launch icon for now.
- The layout folder with XML that represents the screen designs.
- The menu folder with XML of the items that will appear on the Action Bar. More on that later.
- The values folder with XML containing dimensions, strings, and styles.
AndroidManifest.xml: The Boss
Someone’s got to call the shots. That “someone” would be the Android manifest. This XML file informs your system of the app’s hardware and software requirements and contains your app’s name, icon, and version.
The manifest also filters the Intents coming in. You need a job done by your app? Talk to the boss first. Now, more about the jobs themselves…
Intent: The Job itself
Want to show the user a screen? Want to navigate to a website? Whatever the job is, in Android it is going to take the form of an Intent. If you come from an iOS background, pay close attention because this is a very “Android” concept.
The Android system knows that you will potentially have a lot of apps on your device, and wants to make it easy for them to talk to each other. So, it allows you to send and receive what are essentially requests for jobs to be done.
A job could get picked up by your app’s own boss (the manifest) or another app. When creating an Intent, it’s up to you to either write it very generally to have the option of picking from several apps to perform the job (implicit), or very specifically to follow a certain path (explicit). You’ll see an example of each type if Intent later in this tutorial.
For an immediate example, your app already has an Activity called MainActivity. Your manifest has it labeled with an intent filter that causes the MainActivity to launch when the user selects the app icon from their home screen. You could potentially move that filter to another Activity and then that activity would launch instead of MainActivity. Basically, the app does whatever the boss says.
If you don’t fully grasp everything about Intents right away, don’t worry. Just keep the concept in mind as you see Intents throughout the code, and eventually you will start to get an idea of their potential.
Putting a Personal Stamp on Your App
You’ve made your first app, but what’s the first thing you always want to put on any of your work? No, not a bird… your name!
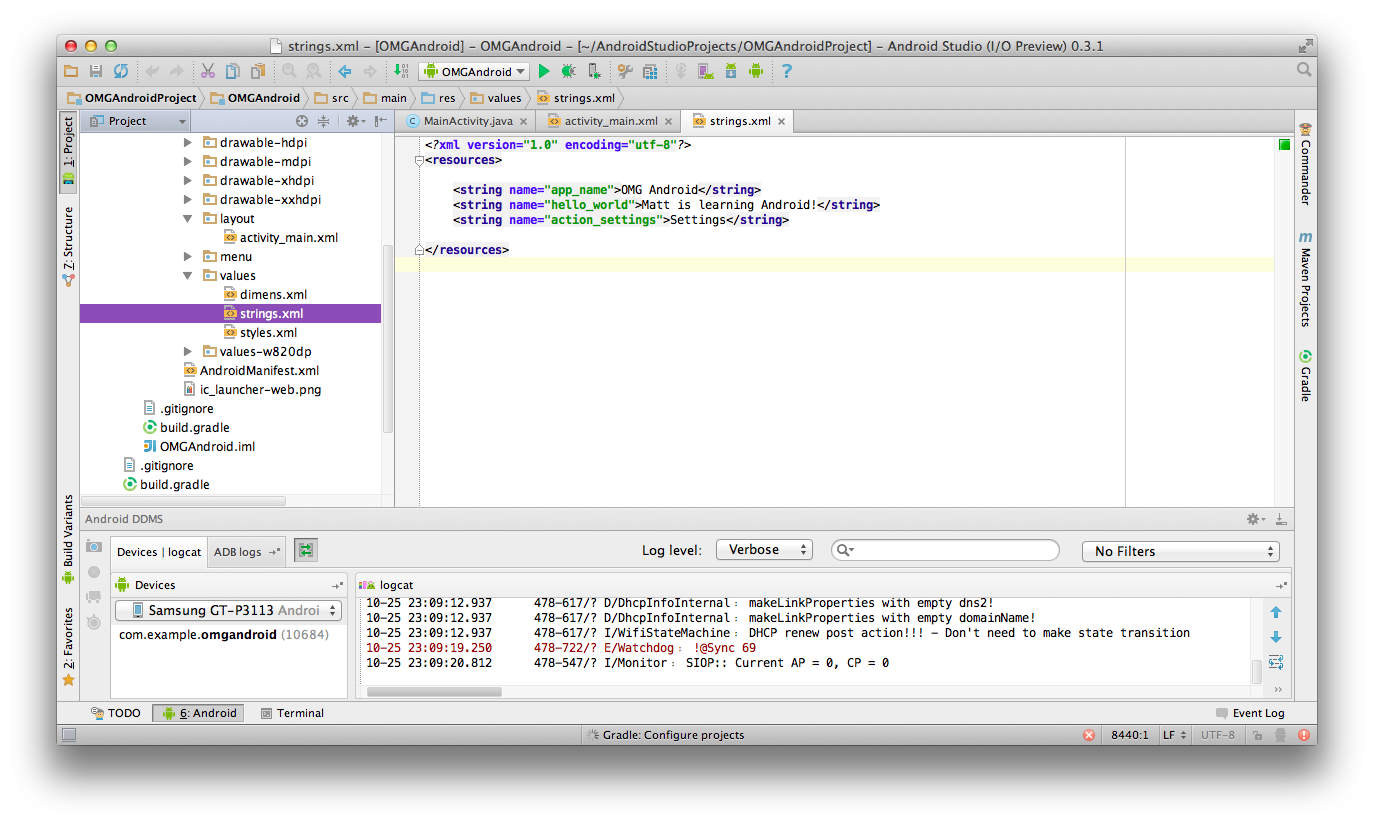
Navigate to res/values/strings.xml and double-click the file. When you open the file, you’ll see three string resources in XML.
These resources are accessed in different places, but it is very convenient to have all of the text used in your app in one file. If you need to translate it, or if your marketing coworker tells you to remove all the nerdy references from your app, it will be easy to make all the changes here.
Change the hello_world string. That string is the one that the app displays on the screen. So, change it to something more personal that incorporates your own name – something like:
<string name="hello_world">Matt is learning Android!</string>
So remember: When you launch the app, you’re essentially doing the same thing as sending a launch Intent to the manifest. As the boss, the manifest takes a look at the Intent and decides it has the perfect fit for the job: MainActivity. The Java does the heavy lifting of opening the screen, but for what to display it goes and asks the artist, eventually leading to strings.xml.
Click Run. When the app launches again, you’ll see your personalized message!
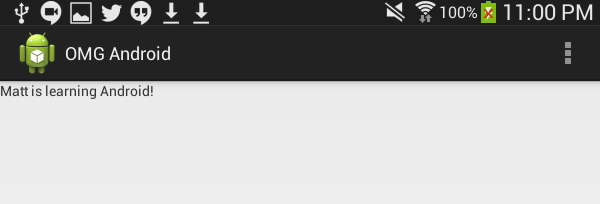
Congratulations! If you have a device, you can go around showing off your new app to your friends or take a screenshot from the emulator and send it to them.
You’ve entered the world of Android. You’ve set up your development environment (no easy task!), created your first app, run it on an emulator or device, and changed the app so that it specifically addresses you. Great job!
Updating With the SDK Manager
This tutorial will work with whatever SDK version you downloaded with Android Studio, but it is also a good idea to always keep your SDK versions and Android Platform Tools up-to-date.
Click the ![]() button in Studio to access the SDK Manager, which allows you to easily update your Android SDK components.
button in Studio to access the SDK Manager, which allows you to easily update your Android SDK components.

You can also download older SDKs and other tools, if you need them for future projects, via the SDK Manager.