Make Your First Android App: Part 1/3
Learn the basics of how to make your first Android app and learn the ins and outs of working with Android Studio. By Matt Luedke.

Update 11/10/14: We have updated this tutorial for the most recent version of Android Studio – check out the updated version here.
“But when does the Android version come out?”
–The first blog comment after any iOS app gets announced.
Clearly there’s a demand for Android app development, and it’s turning the platform with the lovable green mascot into more and more of a strong first choice rather than just a secondary option to iOS.
With over one billion devices activated, Android is an exciting space to make apps to help you communicate, organize, educate, entertain or anything else you’re passionate about.
If that’s not enough, here are a few more reasons to learn Android:
- You’ll be plugged into the open source platform with (at the time of press) the largest market share of smart devices worldwide.
- Android’s policies on device provisioning and app submission are more open than Apple’s, meaning that once you complete your first app—as you’ll do in this tutorial—you and your friends can enjoy it on your devices right away!
- If you have experience developing for iOS, you can become well-versed in the ways that the two platforms coincide and differ (we’ll discuss a few in this tutorial) and what you like about each. Then you’ll have more tools at your disposal for your next mobile project.
- It’s not just the iPhone anymore. There are so many smartphones, tablets, glasses, and watches out there, coming from so many manufacturers, and they’re all trying to jump into the game. You don’t have to be any sort of market analyst to know that there are a few important platforms and Android is one of them.
So if you’ve been intent on, thinking about, or simply playing with the idea of learning Android… Make Your First Android App is the tutorial series for you!

There aren’t any prerequisites to start. You’ll learn how to set up all the tools you need to become an Android developer-in-training. Then you’ll put together your own full-fledged Android app from scratch! This app will, when completed, help you get details about a book you’re interested in using online search sources.
By the end of Part Three of this series, your app will include useful features like:
- Saving app data locally on the phone.
- Loading and interacting with a dynamic list of data.
- Accessing an online data source.
- Sharing links through social networks.
Android, and several popular frameworks for it, make all of these features really simple to implement. Why not start learning this easy and powerful platform for yourself, today?
Getting Started
How does Android development go down? First, the zoomed-out basics:
- You’ll write your programming—what you want your app to do—in Java files and design your layouts—how you want your app to look—in XML files.
- Once your app is ready, you’ll use a build tool to compile all the project files and package them together into a
.apkfile that you can run on Android devices and/or submit to Google Play. - All of the files you used to put your app together are managed by an Integrated Development Environment (IDE). The IDE is the program you will open to edit your code files and to manage your projects.
- The standard IDE for Android used to be Eclipse, but this is now being replaced by Google’s own Android Studio.
If you zoom in (metaphorically), you’ll find more in-depth processes going on behind the scenes during all of the above steps. For example, advanced users will want to investigate the role of the Dalvik Virtual Machine and it’s new replacement, ART.
But for now, let’s move on. Here’s what you’re going to accomplish in this part of the tutorial:
- Download and install Android Studio.
- Set up testing on devices and emulators.
- Create a simple “Hello World!” Android app that prints to your device’s screen.
- Make small edits to the app so it can congratulate you by name.
In the second part of this tutorial, you’ll make an app that records a message you type, adds it to a list, saves it in memory and shares it with friends. Along the way, you’ll learn how to add and configure various UI elements such as ImageViews, Buttons, ListViews, and EditText controls.
Finally, the third part will cover how to make an app to search an online database of books, display and share the cover images of the search results, and navigate between the different screens of your new app!
Installing Android Studio
It’s really tempting to jump in, start writing code right away and figure out the various Android features as quickly as possible. And you will get there soon! But one of the most important parts of getting started with a new platform is setting up your environment.
Especially for beginners, it’s important to take your time here and follow each step methodically. Even if you follow the steps perfectly, you may have to troubleshoot some small issue, depending on your system configuration or product versions.
It’s important to not let any roadblocks prevent you from your ultimate goal of learning Android. Even seasoned professionals have been known to have some trouble with the new Android Studio.
file X not found as a final answer. 90% of this mindset is simply training yourself to keep trying till you find a solution.With all of this in mind, let’s quickly check that you have the Java Development Kit (JDK) installed. You might already, even if you don’t know for sure.
To check, you’ll use the Terminal. If you’re unfamiliar with the Terminal, you may want to read a good introductory tutorial about working with the Terminal.
In a nutshell, your Terminal is like looking under your car’s hood; it’s how you really get to know the machine face-to-face, without any complex graphical interface in the middle. You can find the Terminal app quite easily on a Mac using Spotlight. Search for terminal and click the top hit to run Terminal.

Once you have the Terminal open, type in java -version. You should see some output that mentions a version number, like below.
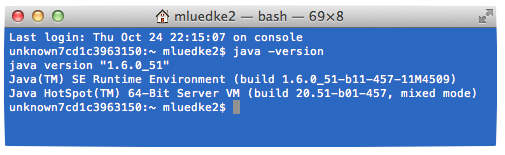
If you don’t have the JDK installed, your Terminal will tell you command not found. If that’s the case, you should download the JDK from Oracle.
When ready, head over to the Android Studio page and find the button to download the correct version for your platform.
![]()
Google is constantly updating this page, so the version you see may be newer than the screenshot above. Click the Download button and you’ll be asked to agree to the Terms and Conditions:
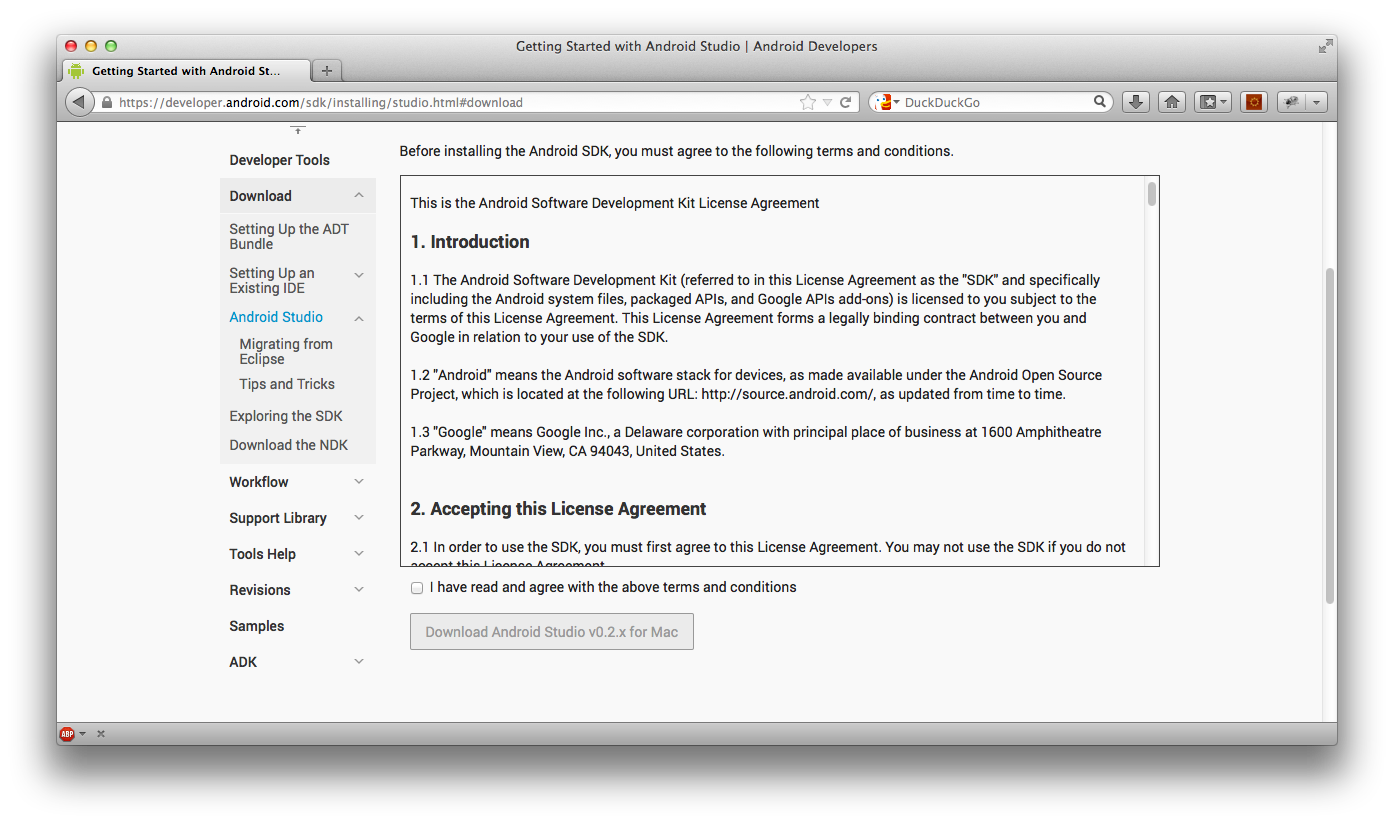
After reading these carefully (as you always do) and accepting, your download begins. It will likely take a few minutes. Once done, you can install Android Studio similar to any other program. The original download page contains the familiar Mac and Windows installation instructions in case you need a refresher.
Now that you’ve installed Studio, let’s fire it up! Launch Android Studio. It may ask you if you want to import any settings:

Since you’re starting from scratch, if given the choice just select I do not have a previous version… and move on. You’re presented with the nice loading screen, complete with all the various phone and tablet screen sizes in the background. More on screen size diversity later. ;]

Once that loads, you are greeted with a Welcome screen.

Even though you just downloaded Studio, you might not actually have the latest version. Right away, you need to click check for updates and if necessary, follow any instructions to get the latest version.
Sometimes, Studio automatically lets you know that there’s an update via a screen similar to this:

In that case, always choose Update and Restart.
Great! As all programmers in the movies say when they are successfully greeted with a new interface: We’re in!