SpriteKit Tutorial: Create an Interactive Children’s Book with SpriteKit and Swift 3
Learn how to create an interactive book app with very little code by using SpriteKit with Swift 3 to build a children’s book. By Caroline Begbie.
Adding Sound to Your Story
With the pop sound, you’ve already seen how to add simple sounds to your page. Each page will also have background music. The user will be able to disable this background music by tapping the sound button.
In TitlePage.sks, drag an Audio node from the Object library to the page. It doesn’t really matter where — just drag it to the center of the page.
In the Attributes Inspector, change the following:
- Name: backgroundMusic
- Filename: title_bgMusic
- Autoplay: unchecked
In GameScene.swift, add these properties to GameScene:
var backgroundMusic: SKAudioNode?
var textAudio: SKAudioNode?
var soundOff = false
In GameScene, add this to the end of sceneDidLoad():
backgroundMusic = childNode(withName: "backgroundMusic") as? SKAudioNode
textAudio = childNode(withName: "textAudio") as? SKAudioNode
This connects up the nodes in the editor with the nodes in code.
backgroundMusic will contain the background music and textAudio will contain the text that will be narrated. The music should play — or not – depending on the user’s preference. When the user taps the sound button, the music should turn off and the button’s image should show that the sound is disabled.
Add this conditional to the list of conditionals in touchesBegan(_:with:):
else if btnSound.contains(location) {
  soundOff = !soundOff
}
This simply switches the Boolean value.
Change the property declaration of soundOff from this:
var soundOff = false
to:
var soundOff = false {
  didSet {
    // 1
    let imageName = soundOff ? "button_sound_off" : "button_sound_on"
    btnSound.texture = SKTexture(imageNamed: imageName)

    // 2
    let action = soundOff ? SKAction.pause() : SKAction.play()
    backgroundMusic?.run(action)
    backgroundMusic?.autoplayLooped = !soundOff

    // 3
    UserDefaults.standard.set(soundOff, forKey: "pref_sound")
    UserDefaults.standard.synchronize()
  }
}
This code will be run whenever soundOff is changed. Going through the code:
- You change the texture of the image depending on the value of
soundOff. - You create and run a
SKActionagain depending on the value ofsoundOff. If the sound should be on, it’s a play action; otherwise it’s a pause action. You also setautoplayLoopedso that the music will be looped if the sound is on. - You save the preferences to
UserDefaults. This is a very convenient way of persisting settings between app performance.
You’ll load up the user’s preference from UserDefaults when the scene is loaded. Add this to the end of sceneDidLoad():
soundOff = UserDefaults.standard.bool(forKey: "pref_sound")
Build and run the app, and tap the sound button. The background music should pause or play and the texture should change. Quit the app with the music off, and run the app again. Because the setting is saved in UserDefaults the app should remember that the background music is off.
To read the text, each page will have a text audio file. I’ve already added these audio nodes to each page.
When each page has been loaded, there should be a slight delay and then the text audio should play.
In GameScene.swift, add this method to GameScene:
override func didMove(to view: SKView) {
  if let textAudio = textAudio {
    let wait = SKAction.wait(forDuration: 0.2)
    let play = SKAction.play()
    textAudio.run(SKAction.sequence([wait, play]))
  }
}
SpriteKit calls didMove(to:) after it loads the scene and adds it to the view. Here you check whether the page has some text audio, and if it does, you create a sequence of actions. First you create an action to wait, and then an action to play. Then you run these actions in sequence on the text audio.
Build and run the app, and have the story read to you! :]

All these audio settings were done in GameScene, and as all the page scenes are subclasses of GameScene with the same footer node, these audio setting will work on all pages.
An Introduction to Physics
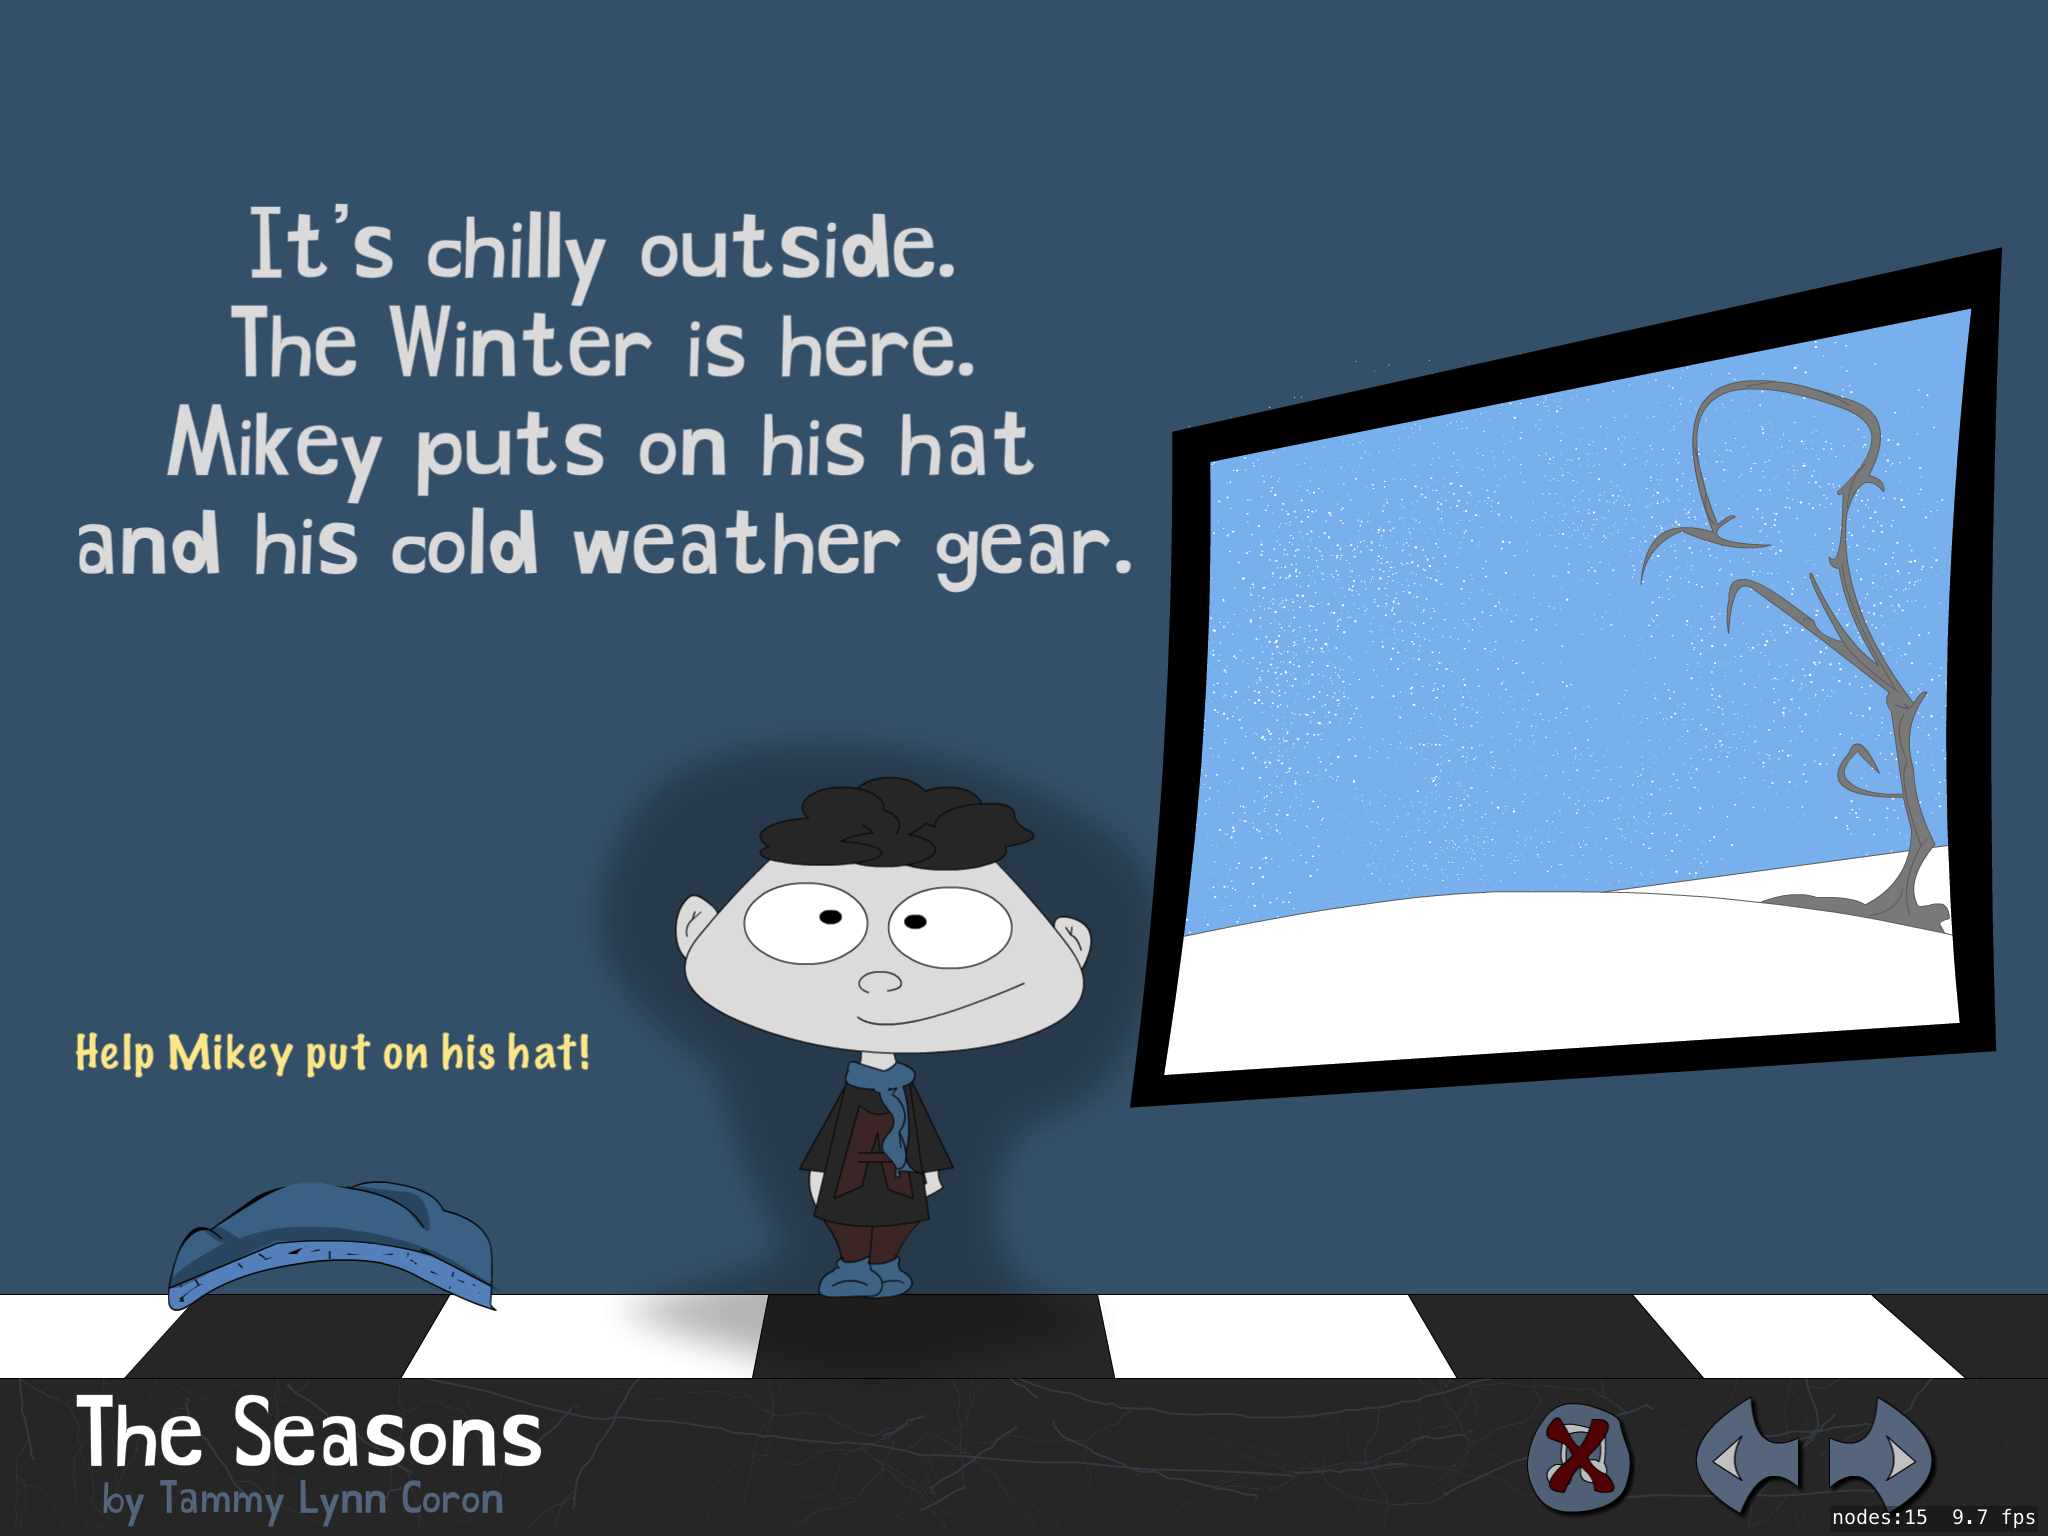
You can really improve the appeal of your book by adding some interactivity. The main character is a boy, and in this section, you’re going to set up his hat so that the reader can drag it around the screen and place it on the boy’s head.
I’ve already added the hat and the boy (with a blinking action) to Scene01.sks, but you will change the physics for his hat. It’s really easy and fun to add physics in the editor.
In Scene01.sks, select hat in the scene navigator.
In the Attributes Inspector, under Physics Definition (you’ll probably have to scroll down to see this section), change the following:
- Body Type: bounding rectangle
- Dynamic: checked
- Allows Rotation: unchecked
- Restitution: 0.5
You can change a number of physical characteristics of your objects, such as mass, gravity and friction effects.
Currently you have no object for the hat to collide with. Click Animate and watch the hat fall off the bottom of the screen.
The easiest way to deal with this is to set up a physics edge in code.
In Scene01.swift, add the following property to Scene01:
var hat: SKSpriteNode!
Override sceneDidLoad() to connect up the property:
override func sceneDidLoad() {
  super.sceneDidLoad()
  hat = childNode(withName: "hat") as! SKSpriteNode
}
Add this code to the end of sceneDidLoad():
var bounds = CGRect.zero
bounds.origin.x = -size.width/2
bounds.origin.y = -size.height/2 + 110
bounds.size = size
physicsBody = SKPhysicsBody(edgeLoopFrom: bounds)
Here you set up a bounding rectangle of the size of the screen, less a margin at the bottom. You set the scene’s physics body to have an edge loop of the size of this rectangle, and the hat will stay within this physics body.
Build and run the app, and the hat will rest on the bottom of the screen 110 points up.
Okay, you’ve added some physics properties to the hat — but how do you go about adding interactivity?
Handling Touches and Moving the Hat
This section implements the touch handling for the hat so that you can move it around the screen.
In Scene01.swift, add a new property to Scene01 to hold the touch location:
var touchPoint: CGPoint?
touchPoint will contain the most recent touch location when user touches the screen, but will be nil whenever the user is not touching the screen.
Add the following method to Scene01:
override func touchDown(at point: CGPoint) {
  if hat.contains(point) {
    touchPoint = point

    hat.physicsBody?.velocity = CGVector.zero
    hat.physicsBody?.angularVelocity = 0
    hat.physicsBody?.affectedByGravity = false
  }
}
When the user first touches the hat, the code stores the location in touchPoint. It also makes a few changes to the hat’s physics body. Without these changes, it’s virtually impossible to drag the hat around the scene because you’re constantly fighting with the physics engine.
You’ll need to track the touch as it moves across the screen, so add the following method to Scene01:
override func touchMoved(to point: CGPoint) {
  if touchPoint != nil {
    touchPoint = point
  }
}
Here you update the most recent touch location stored in touchPoint.
When the user stops touching the screen, you need to reset any hat-related data. Add the following method:
override func touchUp(at point: CGPoint) {
  if let touchPoint = touchPoint {
    hat.physicsBody?.affectedByGravity = true
  }
  touchPoint = nil
}
You’ll have a compiler warning with this code, but you’ll fix that in a minute.
There’s just one more thing to do to get the hat to track the user’s finger as it moves on the screen.
Add the following method to Scene01:
override func update(_ currentTime: TimeInterval) {
  if let touchPoint = touchPoint {
    hat.position = touchPoint
  }
}
SpriteKit invokes update(_:) before rendering each frame. Here you check to see if the user is dragging the hat; if they are, change hat’s position to the location stored in touchPoint. The hat can’t go off the screen because it’s enclosed by the physics edge.
Build and run your project; tap the read button and play around with the hat on the screen for a while. Drop the hat and watch it bounce!

Moving the hat around is cool, but there isn’t any feedback as to whether or not the hat is on top of the boy’s head. It’s time to add that feedback.
Just as you created a dummy home button for going back to the title page, I’ve added a dummy sprite node named hatPosition to Scene01.sks behind all the other nodes to indicate the position of the hat. You’ll be able to use this sprite node’s position to check whether the hat is in the correct place.
In Scene01.swift, in touchUp(at:) after:
hat.physicsBody?.affectedByGravity = true
add this code:
if let hatPosition = childNode(withName: "hatPosition") {
  if hatPosition.contains(touchPoint) {
   hat.position = hatPosition.position
   hat.physicsBody?.affectedByGravity = false
   hat.run(SKAction.playSoundFileNamed("thompsonman_pop.mp3",
                                       waitForCompletion: false))
  }
}
Here you check whether the hat is in the correct position, by checking whether touchPoint is inside the dummy sprite node. If it is, then the hat is close enough, so you position the hat on the kid’s head. You also play a pop sound to alert the user that the hat is now firmly placed on the main character’s head – which is important! Did you see all that snow outside the window? Brrrr!
Build and run your project; grab the hat and plunk it down on the boy’s head like so:

Aside from the story and the narration, these interactive elements with actions and sounds are key to the experience and really take advantage of what iOS and SpriteKit have to offer.