Recreating the Apple Music Now Playing Transition
A common visual pattern in many iPhone apps are stacks of cards sliding in from the screen edge. You’ll recreate the Apple Music Now Playing Transition By Warren Burton.
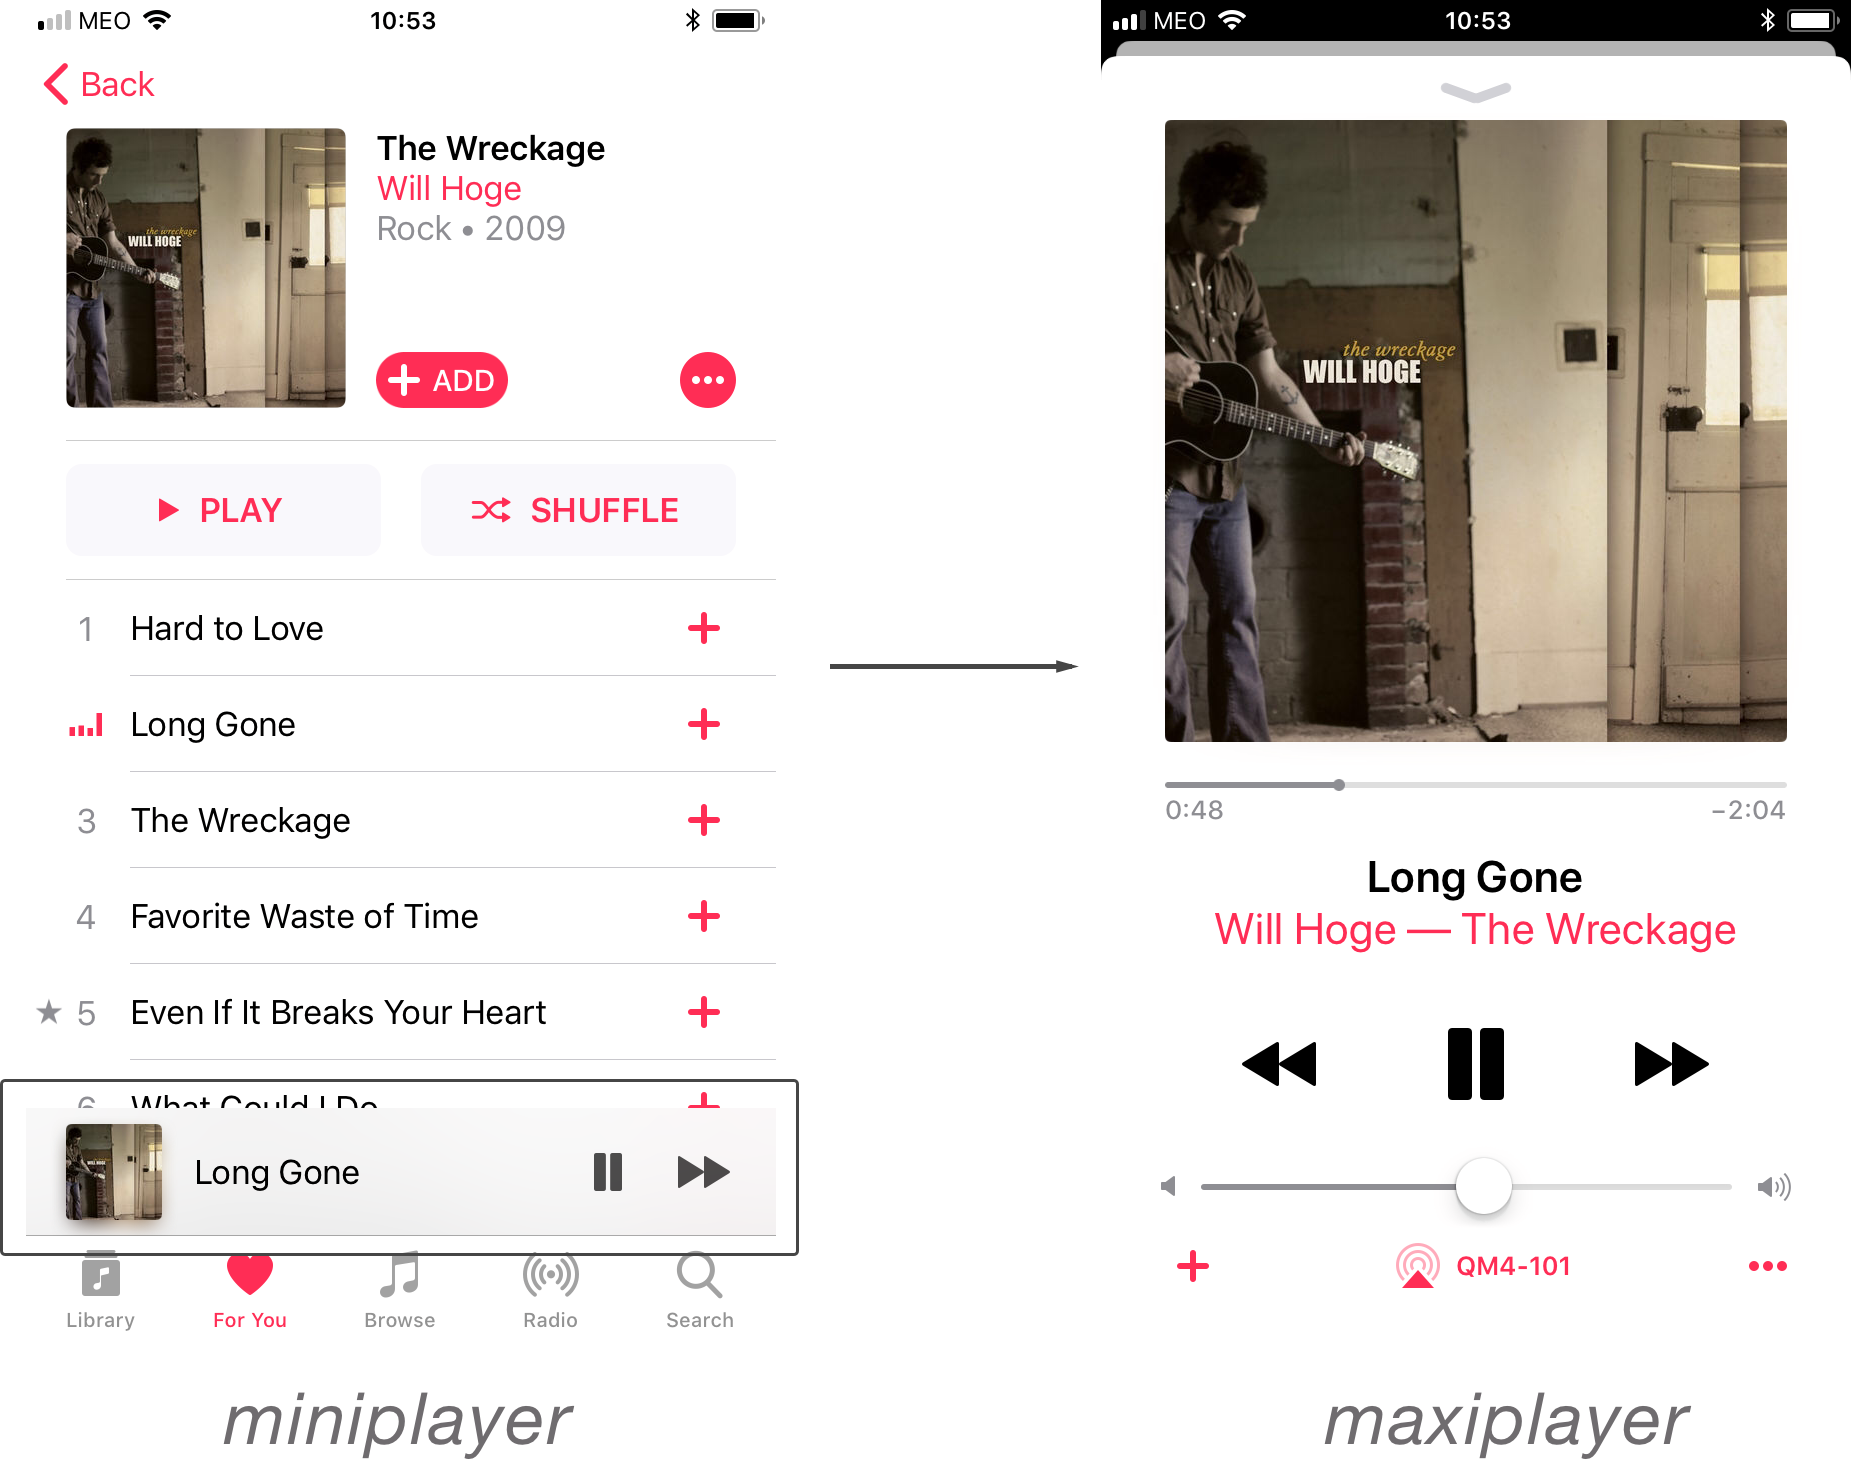
A common visual pattern in many iPhone apps is stacks of cards that slide in from the edge of the screen. You can see this in apps like Reminders, where the lists are represented by a stack of cards that spring up from the bottom. The Music app does this as well, where the current song expands from a mini player to a full screen card.
These animations can seem simple when examined in a casual fashion. But if you look closer, you’ll see there’s actually many things happening that make up the animation. Good animations are like good special effects in movies: they should go almost unnoticed.
In this tutorial, you are going to reproduce the Music app’s transition from mini-player to full-screen card. To keep things clean, you’ll use ordinary UIKit APIs.
To follow along with this tutorial, you’ll need the following:
- Xcode 9.2 or later.
- Familiarity with Auto Layout concepts.
- Experience with creating and modifying UI and Auto Layout constraints within Interface Builder.
- Experience with connecting IBOutlets in code to Interface Builder entities.
- Experience with UIView animation APIs.
Getting Started
Download the starter project for this tutorial here.
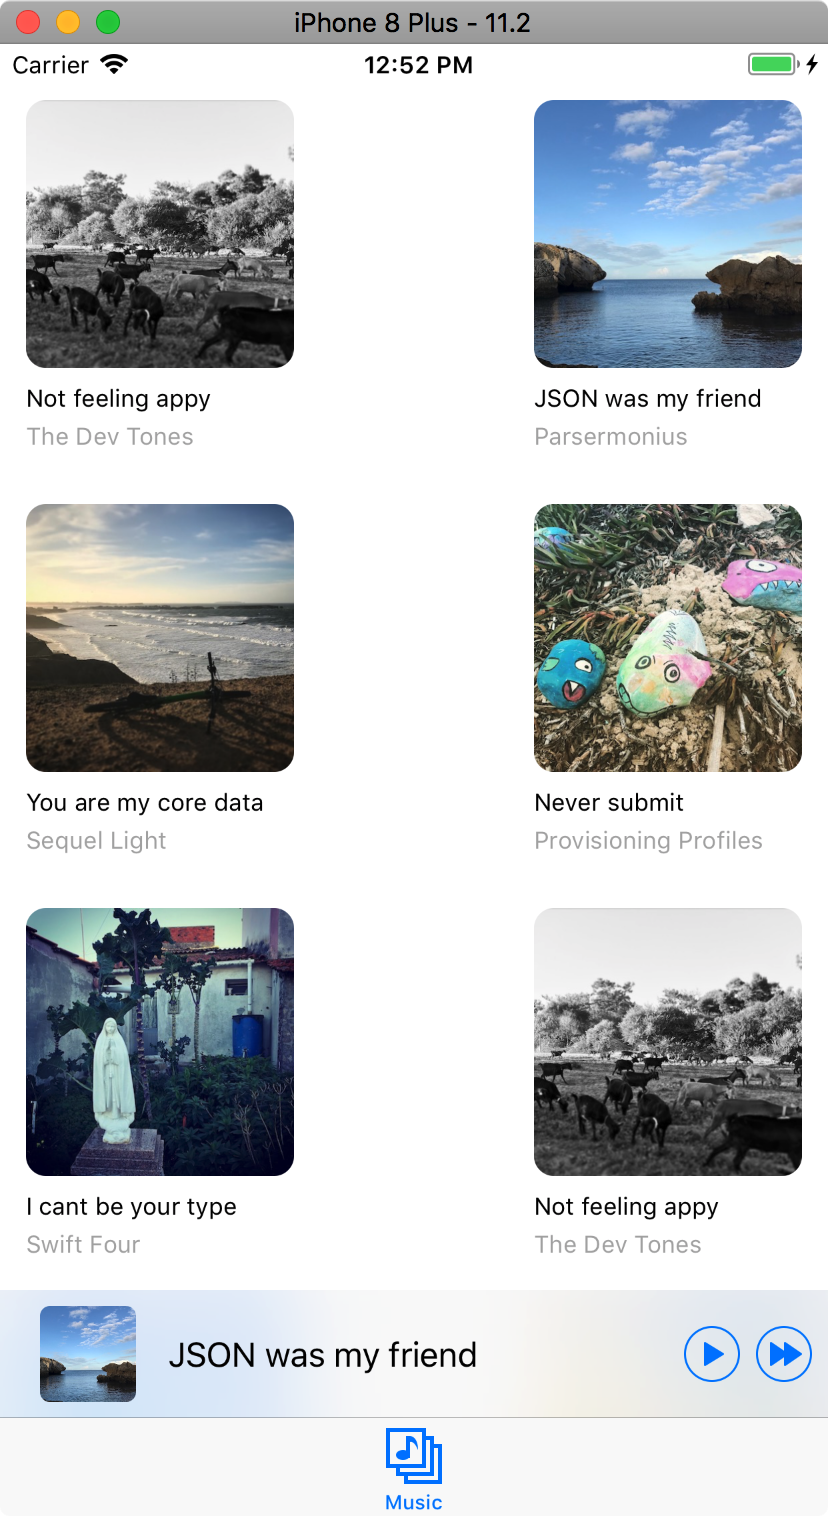
Build and run the app. This app is RazePlayer, which provides a simple music catalog UI. Touch any song in the collection view to load the mini player at the bottom with that song. The mini player won’t actually play the song, which might be a good thing judging by the playlist!
Introducing the Storyboard
The starter project includes a full set of semi-complete view controllers so you can spend your time concentrating on creating the animation. Open Main.storyboard in the Project navigator to see them.

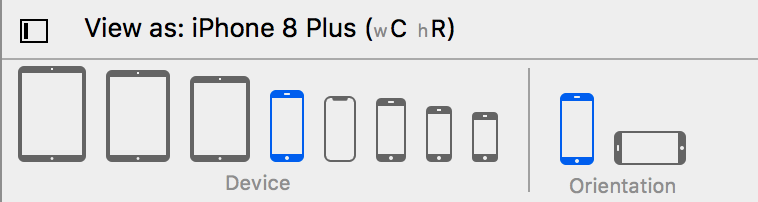
Use the iPhone 8 Plus simulator for this tutorial so the starter views make sense.
Have a look at the storyboard from left to right:
- Tab Bar Controller with SongViewController: This is the collection view you see when you launch the app. It has a repeating collection of fake songs.
- Mini Player View Controller: This view controller is embedded as a child of SongViewController. This is the view you’ll be animating from.
- Maxi Song Card View Controller: This view will display the final state of the animation. Along with the storyboard, it’s the class you’ll be working with most.
- Song Play Control View Controller: You’ll use this as part of the animation.
Expand the project in the project navigator. The project uses a normal Model-View-Controller pattern to keep data logic outside of the view controllers. The file you’ll be using most frequently is Song.swift, which represents a single song from the catalog.
You can explore these files later if you’re curious, but you don’t need to know what’s inside for this tutorial. Instead, you’ll be working with the following files in the View Layer folder:
- Main.storyboard: Contains all the UI for the project.
- SongViewController.swift: The main view controller.
- MiniPlayerViewController.swift: Shows the currently selected song.
- MaxiSongCardViewController.swift: Displays the card animation from mini player to maxi player.
- SongPlayControlViewController.swift: Provides extra UI for the animation.
Take a moment to examine the transition in Apple’s Music app from the mini player to the large card. The album art thumbnail animates continuously into a large image, and the tab bar animates down and away. It might be hard to spot all the effects that contribute to this animation in real time. Fortunately, you’ll animate things in slow motion as you recreate this animation.
Your first task will be to jump from the mini player to the full-screen card.
Animating the Background Card
iOS animations often involve smoke and mirrors that fool users’ eyes into thinking what they are seeing is real. Your first task will be to make it appear the underlying content shrinks.
Creating a Fake Background
Open Main.storyboard and expand Maxi Song Card View Controller. The two views you’re going to work with are Backing Image View and Dimmer Layer

Open MaxiSongCardViewController.swift and add the following properties to the class, below the dimmerLayer outlet:
//add backing image constraints here
@IBOutlet weak var backingImageTopInset: NSLayoutConstraint!
@IBOutlet weak var backingImageLeadingInset: NSLayoutConstraint!
@IBOutlet weak var backingImageTrailingInset: NSLayoutConstraint!
@IBOutlet weak var backingImageBottomInset: NSLayoutConstraint!
Next, open Main.storyboard in the assistant editor by holding down the Option key and clicking Main.storyboard in the project navigator. You should now have MaxiSongCardViewController.swift open on the left and Main.storyboard on the right. The other way ’round is OK too if you’re in the southern hemisphere.

Next, connect the backing image IBOutlet's to the storyboard objects as shown below:
- Expand the top level view of MaxiSongCardViewController and its top level constraints.
- Connect backingImageTopInset to the top constraint of the Backing Image View.
- Connect backingImageBottomInset to the bottom constraint of the Backing Image View.
- Connect backingImageLeadingInset to the leading constraint of the Backing Image View.
- Connect backingImageTrailingInset to the trailing constraint of the Backing Image View.
You’re now ready to present MaxiSongCardViewController. Close the assistant editor by pressing Cmd + Return or, alternately, View ▸ Standard Editor ▸ Show Standard Editor.
Open SongViewController.swift. First, add the following extension to the bottom of the file:
extension SongViewController: MiniPlayerDelegate {
  func expandSong(song: Song) {
    //1.
    guard let maxiCard = storyboard?.instantiateViewController(
              withIdentifier: "MaxiSongCardViewController")
              as? MaxiSongCardViewController else {
      assertionFailure("No view controller ID MaxiSongCardViewController in storyboard")
      return
    }

    //2.
    maxiCard.backingImage = view.makeSnapshot()
    //3.
    maxiCard.currentSong = song
    //4.
    present(maxiCard, animated: false)
  }
}
When you tap the mini player, it delegates that action back up to the SongViewController. The mini player should neither know nor care what happens to that action.
Let’s go over this step-by-step:
- Instantiate
MaxiSongCardViewControllerfrom the storyboard. You use anassertionFailurewithin theguardstatement to ensure you catch setup errors at design time. - Take a static image of the
SongViewControllerand pass it to the new view controller.makeSnapshotis a helper method provided with the project. - The selected
Songobject is passed to theMaxiSongCardViewControllerinstance - Present the controller modally with no animation. The presented controller will own its animation sequence.
Next, find the function prepare(for:sender:) and add the following line after miniPlayer = destination:
miniPlayer?.delegate = self
Build and run app, select a song from the catalog, then touch the mini player. You should get an instant blackout. Success!

You can see the status bar has vanished. You’ll fix that now.