How to Update Your App for iOS 7
Learn how to update your app for iOS 7, from a richly textured to a minimalistic design. By Matthijs Hollemans.
Fixing the table views
My Maps is considered the main screen of the app, as it’s the first one the user comes across; it makes sense to start your iOS 7 rework here. This screen shows the treasure maps that the local user created and shared with other Treasure Hunt users.
The My Maps screen — with the lush textures removed — looks like the following:
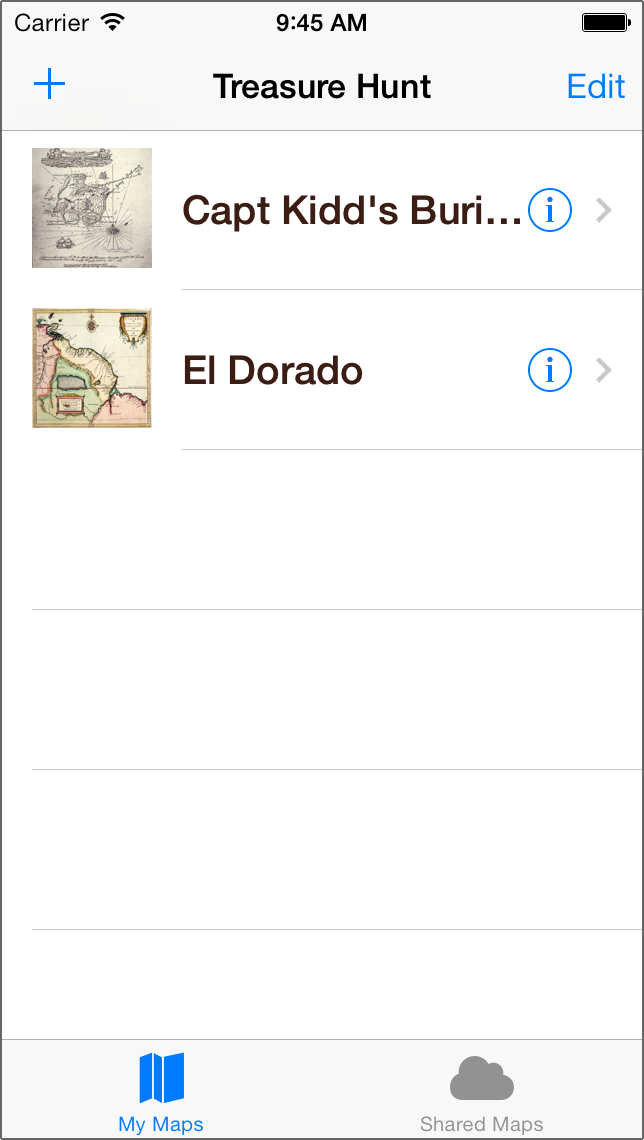
It doesn’t look too bad, but there are a few small details that could be improved. Let’s start with the table view. The text in the table view cells isn’t supposed to be that bold. One of the most important changes that Apple made in iOS 7 is a change in the font styling; iOS 7 apps now use much thinner fonts everywhere.
Another more subtle change is the selection style of the table view cells. If you select a row, the text turns white. That used to be necessary because the default row selection color was a very saturated blue, but it has since been changed to a light gray. In Apple’s own table views, the label color no longer changes when a row gets selected.

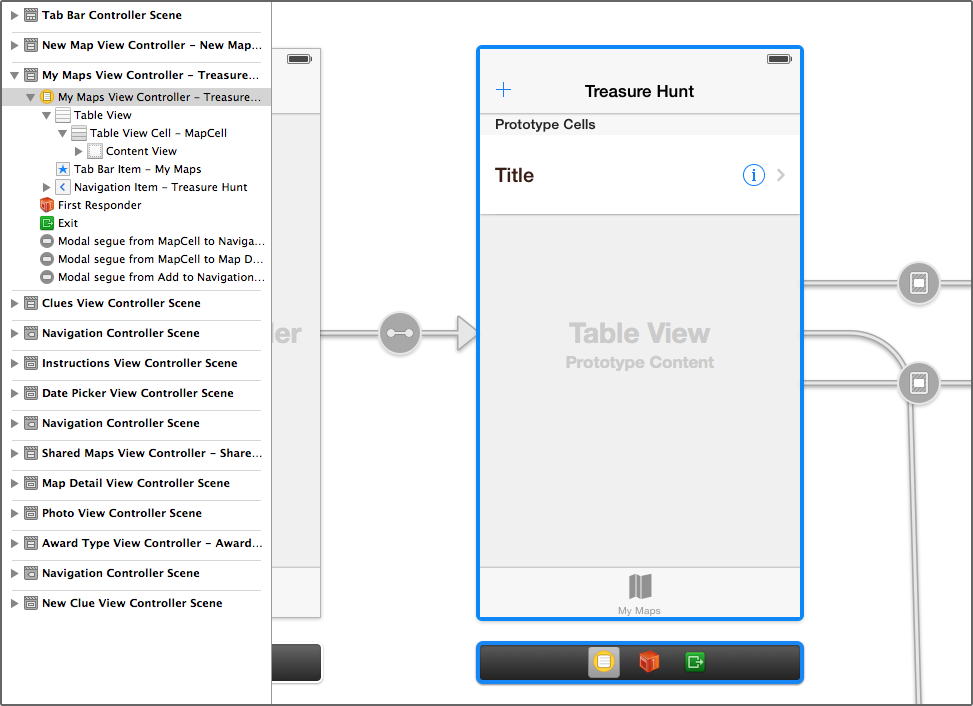
You could make these two changes by hand, but there is an easier way. Open the MainStoryboard.storyboard file, found in the Resources group, and select the My Maps View Controller. This is a table view controller with a single prototype cell, shown below:
This cell adopts the Basic style, but since this app was made for iOS 6 it’s really the Basic style from iOS 6. To adopt the style from iOS 7, simply change Style to Custom and then back to Basic again in the Attributes inspector:

Notice that the font is now a lot thinner. It used to be System Bold 20.0, but now it’s System 18.0. Apple’s put their system fonts on a diet — and shrunk them a bit, too! The new font is shown below:

Build and run your app, and select a cell in the table. You’ll see that the text label in a selected row remains black, as so:
If your own apps use the built-in cell styles on prototype cells, it’s a good idea to repeat this exercise for all of the cells on all of your table view controllers.
Note: Did you notice that on iOS 7 the separator line between table view cells doesn’t run across the entire width of the screen? This is automatic behavior on the built-in cell styles. If your app has custom cells, you can get this same effect by setting the separatorInset property on the individual cells, or on the entire table view. When you set the separatorInset on the table view, these insets are applied to the empty cells as well.
Note: Did you notice that on iOS 7 the separator line between table view cells doesn’t run across the entire width of the screen? This is automatic behavior on the built-in cell styles. If your app has custom cells, you can get this same effect by setting the separatorInset property on the individual cells, or on the entire table view. When you set the separatorInset on the table view, these insets are applied to the empty cells as well.
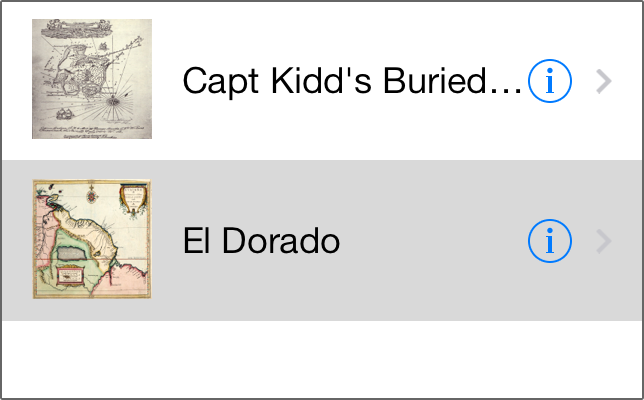
One small thing to tweak here is the height of the cells. On iOS 6 it made sense to have padding above and below the thumbnail image to accommodate the background texture, but here the extra spacing is wasted and looks out of place.
Open the storyboard once again, and in the My Maps View Controller select the table view, making sure to not select a cell instead. Go to the Size inspector (the ruler icon) and under the Table View Size section, change the Row Height from 80 to 60.
Build and run your app and have a look at the table view; the app looks much tidier with the smaller row height, as demonstrated in the following image:

Asset catalogs
iOS 7 introduces a new feature to help organize your images: asset catalogs. An asset catalog is a special folder for your images managed by Xcode that makes it easy to associate multiple versions of an image (i.e. normal version, Retina version, 4-inch iPhone version, iPad version, etc) with a single filename.
From the Xcode menu bar, choose File → New → File… From the sidebar choose Resource, and then Asset Catalog.

Click Next. Keep the default name, Media.xcassets, but make sure you add it to the TreasureHunt target by checking the box. Click Create to finish. This adds a new, blue folder in the project’s file list:

Note: If you have used folder references before in Xcode, which also appear as blue folders, then you should be aware that an asset catalog works differently. For folder references, you are responsible for managing their contents; if you place a new file into this folder via Finder, it automatically shows up in Xcode.
However, for asset catalogs it’s recommended you make any changes using Xcode’s interface and to not manipulate the folder structure by hand. An asset catalog contains more than just image files. For example, it also contains JSON files that describe the catalog’s file structure.
One of the many changes in the design of iOS 7 is the style of tab bar icons. If you compare the existing icons on the My Maps screen to similar icons from built-in apps such as Phone or Music, these ones seem too wide and heavy. The new bar icons have a thin stroke — two pixels wide to match the stroke width of the font — and are very rarely filled in. You will fix this by importing new images for the tab bar icons into the asset catalog.
Select the new asset catalog, Media.xcassets, in the project navigator. There is a small + button at the bottom of the asset catalog pane. Download and unzip the resources for this tutorial, then click the + button and select Import… and navigate to the Resources/New Images folder that you downloaded, and select all the image files inside that folder:

Click Open to finish the import. The images now show up in the asset catalog, grouped under a common name:

Note: If your asset catalog contains just a single item, New Images, then repeat the above procedure but this time select the individual image files from the folder, not the folder itself.
Note: If your asset catalog contains just a single item, New Images, then repeat the above procedure but this time select the individual image files from the folder, not the folder itself.
An asset catalog makes it easier to keep track of your images, while ensuring the app will load the images as efficiently as possible. You can store any images you wish in this catalog, including your app icons and launch images. Loading images from an asset catalog works no differently than it did in a pre-iOS 7 universe. When you ask UIImage to load an image file, it now looks inside the asset catalog first.
Run the app and you should see much cleaner tab bar icons:
![]()
In the built-in Apple apps, for example Music.app, it is common for the selected tab icon to be “inverted”, just to make the selection clearer. You already added the required images for this. In MyMapsViewController.m in the View Controllers group, add the following line to viewDidLoad:
self.tabBarItem.selectedImage = [UIImage imageNamed:@"MyMapsBarIcon-Selected"];
And add the following line to viewDidLoad in SharedMapsViewController.m:
self.tabBarItem.selectedImage = [UIImage imageNamed:@"SharedMapsBarIcon-Selected"];
Build and run; now the selected tab has an inverted icon:
![]()
To make the app look a bit more interesting you’ll replace the title text Treasure Hunt with an image. In MyMapsViewController.m, add the following line to viewDidLoad:
self.navigationItem.titleView = [[UIImageView alloc] initWithImage:[UIImage imageNamed:@"Crown"]];
This replaces the text that was in the navigation bar with the new crown image from the asset catalog. Build and run the app to see your new title bar image:
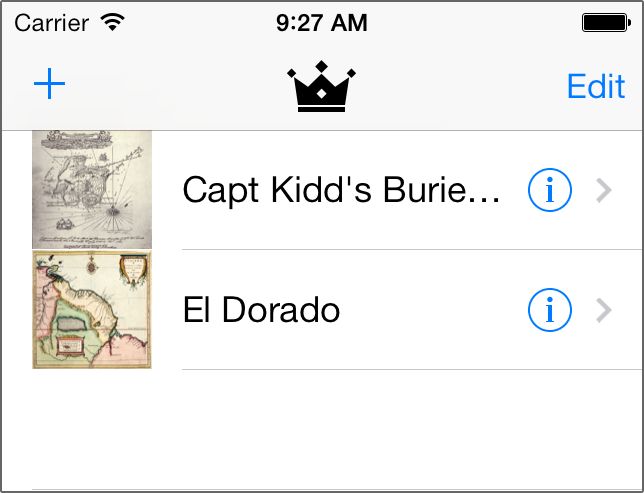
This crown shape is an integral part of the new theme for this app. You will see it appear in several more places.