ProBuilder Tutorial: Rapid Prototyping in Unity
ProBuilder is a Unity in-editor prototyping tool that has everything you need to block out your level and create new game worlds in the blink of an eye. This tutorial will teach you the basics of how to use it. By Mauro Fuentes.
Basic Tools
Open Assets/RW/Scenes/1_BlockOut. This scene contains a city constructed with various prototype parts.
You can press play to take a tour around the city. It’s nice to know you can test the game. It seems the game designer and the game artist have been working while you were preparing to continue blocking out the level.
This scene is divided into four sections, and each one represents a level of complexity. You’ll use the first three.
Using the Hierarchy window, navigate to Level Geometry ▸ First Level and expand until you see the You Build Cube Here GameObject.

Remember the steps? Focus on the You Build Cube Here GameObject by pressing F. Create a New Shape using ProBuilder’s GUI.
Next, use QWERTY keys to move, rotate and stretch it.
Your task is to build a skyscraper. Try selecting the scale tool and stretch the new shape quite a bit.
You are probably panning… or tilting… and/or hard trucking your camera again, right? Old habits die hard. It’s OK… no it’s not, that’s a paddling!

This is the fastest way of prototyping, but it comes with a setback: You’re directly stretching the GameObjects scale. That’s no good, so use this sparingly.
Oh, you forgot to parent the GameObject. That’s a paddling. Put your new object where it belongs. Parent the new Cube shape to the You Build Cube Here GameObject.
Notice this whole part of the city is made up of stretched cubes. Do a flyby if you need to.
Creating Basic Shapes
In the Hierarchy, move on to the Second Level.

You’ll find a You Build Cube Here, and you know the drill. Follow the steps:
- Select the GameObject and press F to focus it in the Scene view.
- Create a New Shape using the ProBuilder window.
- Parent the new GameObject to You Build Cube Here.
- Focus again with F.
- Be aware of ProBuilder selection mode.
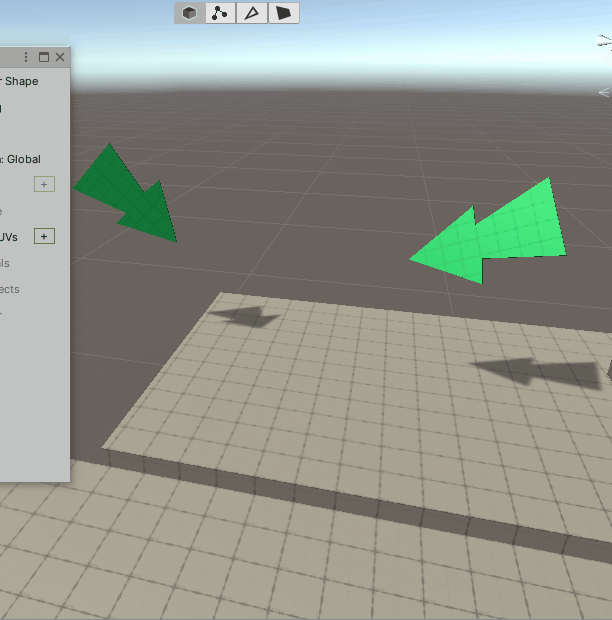
This time around you’ll learn about selection mode. Check the four icons that appeared when you opened the ProBuilder’s GUI.
There are two groups. Object Selection is represented by a cube, and the other three element modes are: Vertex Selection, Edge Selection and Face Selection (in that order).

Be sure to select one Element so you don’t mess with the scale or rotation of the object. Now, select Face Selection and move faces around on your new shape until you’ve created something that resembles a building. Play around until you come up with something you like.
Congrats! You’ve created your first skyscraper.
Extruding and Insetting
Functions like extruding and insetting are frequently used because they add meaning to your object, so now it’s time to play with these.
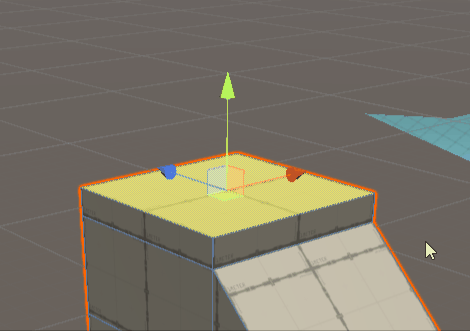
Extrude a new rooftop by selecting the uppermost face of your GameObject by pressing Control-E. You can move the face around with common Unity Move, Rotate and Scale tools (keyboard shortcuts W, E, R).

Now add a slanted face. To do that, you need to extrude the entire right face (from your perspective). As in most 3D software programs, you can add to your selection by holding down Shift.
So, select a face from the right side of the building, and by holding down Shift, select the other. Now, you can extrude them by pressing Control-E. Trick: If you hold Shift while using the common Move tool (W), you’ll also extrude a face.

One last step: Change to Edge Selection and move the uppermost edge from the newly face created down. And there you have it, a slanted face.

What else can you add? A parapet! Select the uppermost face (remember to choose Face Selection mode) of the first structure you made. Extrude it up just a tiny amount. Imagine what the parapet looks like in comparison with the rest of the building.

Since you’re up here, you’ll learn how to inset.
Select the uppermost face (remember to choose Face Selection Mode) of the first cube you made. Change the Scale tool by pressing R. Now drag the center handle (the gray one). The face increases and decreases its size. It works as you’d expect, but that’s not what you want in this case.
If you need to, press Control-Z to undo changes. Now repeat the last action, but while holding down Shift. Voila!
If you feel that the Scale twool changes too fast, add Alt to the combination. That way, the Scale tool will reduce its influence. Controlling this technique will enhance your workflow.
Adding faces and complexity makes construction more interesting, so feel free to apply what you’ve learned and add more details.
In case you need a refresher on the techniques learned so far:
- Extrude
- Inset
- Move

Adding Loops
Moving on, you can make your building even more complex by adding headers. In Edge Selection, select a vertical edge on the side of the building and press Alt-U while targeting that edge.
You can move edges, faces and vertexes around. Notice that loops are created perpendicular to the selection. And, of course, you can move them apart using Unity’s basic move tools.
Move the newly created horizontal loop up with the Move tool. Once the two loops are in position, just below the slanted face you created earlier, you can select the entire loop (group) of faces by pressing Select Face Loop in the GUI or by selecting one face, pressing Shift and double-clicking the same face. Easy!
Now, with all your faces selected, press Control-E to extrude a header.
Practice and try to make your own simple building. Add another header and more faces. Keep it simple!


Non-Standard Shapes
Now that you know how to create standard shapes, it’s time to move on to creating non-standard shapes.
Procedural Shapes
Luckily, if you want to get into more complex shape building, Unity has you covered.
From now on, you’ll create shapes by pressing Shift-Control-K. So, remember The Five Point Palm Exploding Heart technique… err… no wait, the Six-Step Method to Creating Anything With ProBuilder technique…
Do you love trees? Go to LevelGeometry ▸ Second Level ▸ You Build Tree Here and follow the drill again:
- Select your base You Build Tree Here and press F (if not in sight) to locate it in the scene.
- Once you see the green arrows, press the MMB against the street floor.
- Press Control-Shift-K and you’ll see a new window pop up. A greenish cube will appear where you clicked. This is a ProBuilder procedural shape. Click it and press F again to focus on it.
Why is it greenish? This means that unless you press the Build button in the GUI, Unity won’t confirm its existence in the Hierarchy.
Every Shape has different settings. In the case of the cube, you can, for example, make a cube with Size (X: 10, Y:10, Z:10) out of the box by changing the X, Y and X values.
Notice that when you press Build, it’s only then that Unity assigns a new material telling you that object was in fact created.

Back to the tree. Follow the technique (oh, you’re getting good at it). This time, select Cylinder and make it resemble a trunk. Don’t forget to Build it, then name it Trunk and parent the GameObject afterward.

Then repeat the whole process, but this time select Sphere. Check that the sphere has Subdivisions (determines the amount of triangles the mesh will have), and a Radius (that represents the overall size).
You can stretch the top of the tree using the Scale (R) tool. How can you select all the faces at once? Enter Face Selection mode. Click on an empty space and drag to select all faces. And there you go. A beautiful tree!

To borrow from Men in Black, fifteen hundred years ago everybody thought the Earth was the center of the universe. Five hundred years ago, everybody thought the Earth was flat. And fifteen minutes ago, you thought Unity didn’t have a ProBuilder API. Imagine what you’ll know tomorrow.