Using Meshroom to Insert Real Life Objects in Unity
In this article you’ll learn how to use Photogrammetry to photoscan and insert real life objects into your Unity projects with Meshroom. By Sean Duffy.
Closing the Base of the Mesh
Now, go into Edit Mode, if you are not already there. Selecting Tab switches modes. Then, select the entire bottom edge of vertices on the dragon mesh using the Select tool and holding down Shift. This takes some patience.
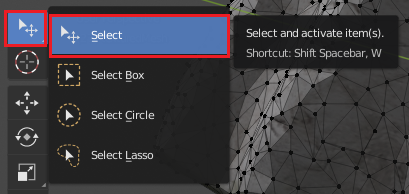
Or, you can use the Select Lasoo tool for this.
With the vertices selected, click Vertex Smooth Vertices.

This smooths the ring of vertices you’ve selected a bit.
Now, select the 3D Cursor tool by clicking Shift + Space, Space and position it in line with the lowest vertex in the bottom edge selection of vertices using Left Click. You can pan and rotate your view to get a side-on view of the dragon to determine the lowest vertex.
Next, press the period, ., key to the Pivot Point and then choose 3D Cursor to use the 3D Cursor’s position as the pivot point.
Then, press S, Z, 0, Enter. That’s a zero, not an O. This series of commands scales all the selected vertices to the same height as the pivot point you created with the 3D Cursor.
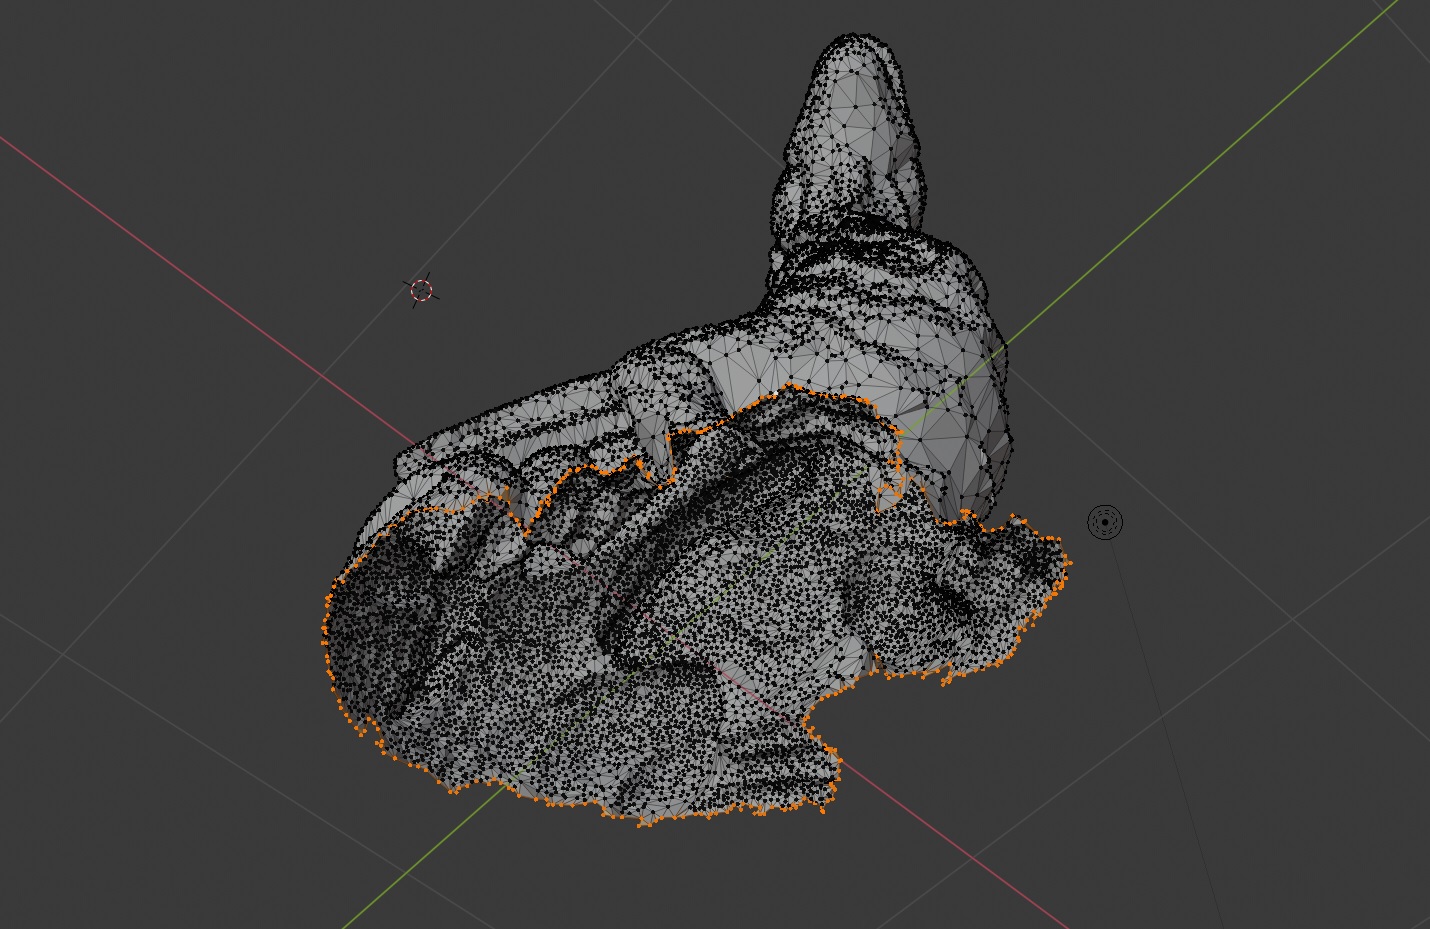
Now you’ll have a mesh that resembles this:

Finally, click Vertex ► New Edge/Face from Vertices.
This completes the new base for your dragon by capping the selected vertices and creating a new face.


Repositioning the Dragon
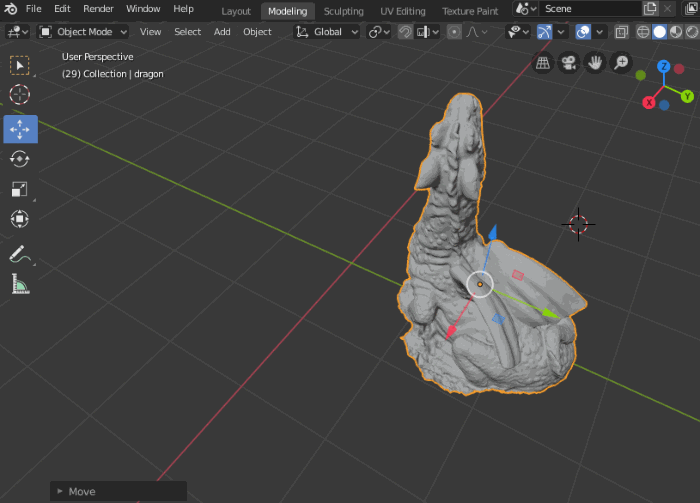
Next, change back to Object Mode by clicking Tab and Select the texturedMesh object. Position the dragon using the Move tool by clicking Shift + Space, G to the origin point of the scene, where the green and red lines cross. Then use the Rotate tool by clicking Shift + Space Bar, R to rotate it into an upright position.
Now, select the 3D Cursor tool and click it approximately in the center of the dragon on its back. Press F3, then type Set Origin and press Enter. Next choose Origin to 3D Cursor from the new list of commands that appears.
A yellow dot will appear in the middle of the 3D cursor to signify the new origin point of the model.
You’re ready to export!
Next, click File ► Export ► Wavefront (.obj).
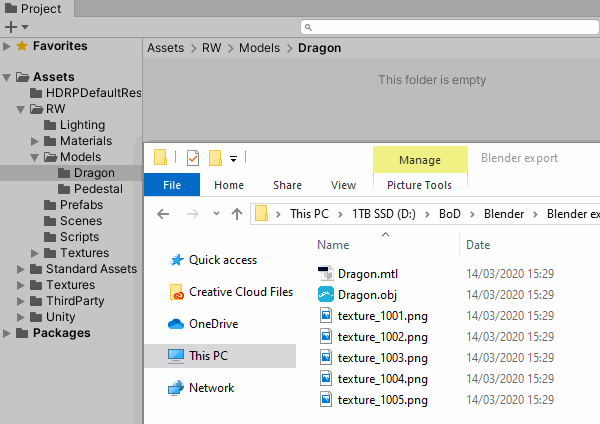
Make sure to select Path Mode ► Copy and check the Selection Only option in the Export Settings. Save the file as Dragon.obj in a convenient location.

A Path Mode of Copy for the export ensures the textures are copied and referenced from the same folder the .obj model file is. This helps prevent missing texture issues once imported into Unity.
Bringing it all Into Unity
Now, open the Starter project in Unity, then open the Assets/RW/Scenes/PhotoscanDragon scene. Locate the empty pedestal between the rock formations in the village. This is where you’ll position your photoscanned dragon model.

Now, drag and drop the exported model and associated export files into the Assets/RW/Models/Dragon project folder.
Then, use the Unity Hierarchy window to locate the FocalPoint GameObject. Drag and drop the Assets/RW/Models/Dragon/Dragon.obj model into the Scene, and child it to the FocalPoint GameObject.

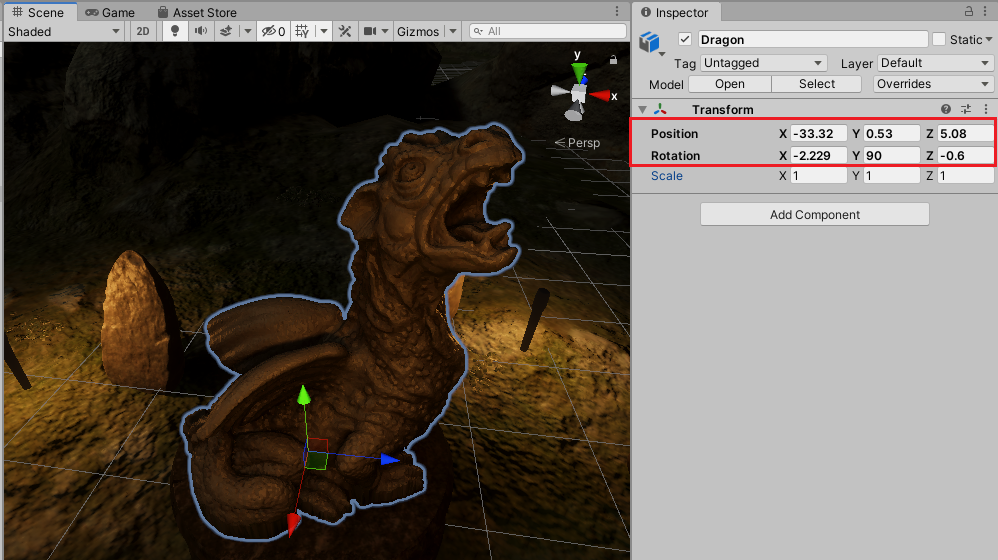
Now,change the position and rotation of the Dragon Transform Component as follows:
- Position: (X:-33.32, Y:0.53, Z:5.08)
- Rotation: (X:-2.229, Y:90, Z:-0.6)
Then, click Play and marvel at your very own photoscanned dragon, taken from the real world, and re-constructed in full 3D. :]

Where to Go From Here?
You can download the completed project using the Download Materials button at the top or bottom of this tutorial.
You’ve covered many steps to get here, and in the process, learned about Photogrammetry, editing 3D meshes in Blender, Vertex operations and bringing that all into Unity!
I’d like to add a special mention and thanks to The Tales Factory on the Unity Asset Store for letting me use their Photoscanned MountainsRocks PBR asset in the Dragon Viking Village scene in the included project files here.
Go check out their excellent photoscanned assets.
The next step is up to you. What would you like to re-construct and bring into your Unity projects? Here are some resources and further reading that might help you along the way:
- photogrammetry.com
- Meshroom on Github
- Display.Land – a new app for creating 3D captures of physical spaces using your own smartphone camera.
Please share anything you capture and create on the forums for this article with the link below! :]