Picasso Tutorial for Android: Getting Started
In this Picasso Tutorial, you’ll learn how to use Picasso to load images from different sources and how to apply filters and transformations. By Aldo Olivares.
Applying Custom Transformations
While this library contains a wide set of filters that you can use, it is also fun to know how to define your own filters in case you need it in the future.
Create new package under the colormovies directory (com.raywenderlich.colormovies) and name it utils. Inside this package create a new class and name it CropSquareTransformation.
Modify CropSquareTransformation to implement the Transformation interface:
class CropSquareTransformation : Transformation {
}
Transformation interface that comes in the com.squareup.picasso package.Now, override transform():
override fun transform(source: Bitmap): Bitmap {
  val size = Math.min(source.width, source.height)
  val x = (source.width - size) / 2
  val y = (source.height - size) / 2
  val result = Bitmap.createBitmap(source, x, y, size, size)
  if (result != source) {
    source.recycle()
  }
  return result
}
This is a simple transformation that crops your image so it looks like a square by reducing the size of either the width or the height.
Finally, override key():
override fun key(): String {
  return "square()"
}
Here you need to return a unique key that represents your transformation. This is used by Picasso for caching purposes.
To use your new transformation open MovieDetailActivity.kt and add the following code to setCropSquareTransformation():
picasso
    .load(RetrofitClient.TMDB_IMAGEURL +
        intent.getStringExtra(MainActivity.POSTER))
    .transform(CropSquareTransformation())
    .error(R.drawable.iconfinder_movie_285656)
    .into(detailImageView)
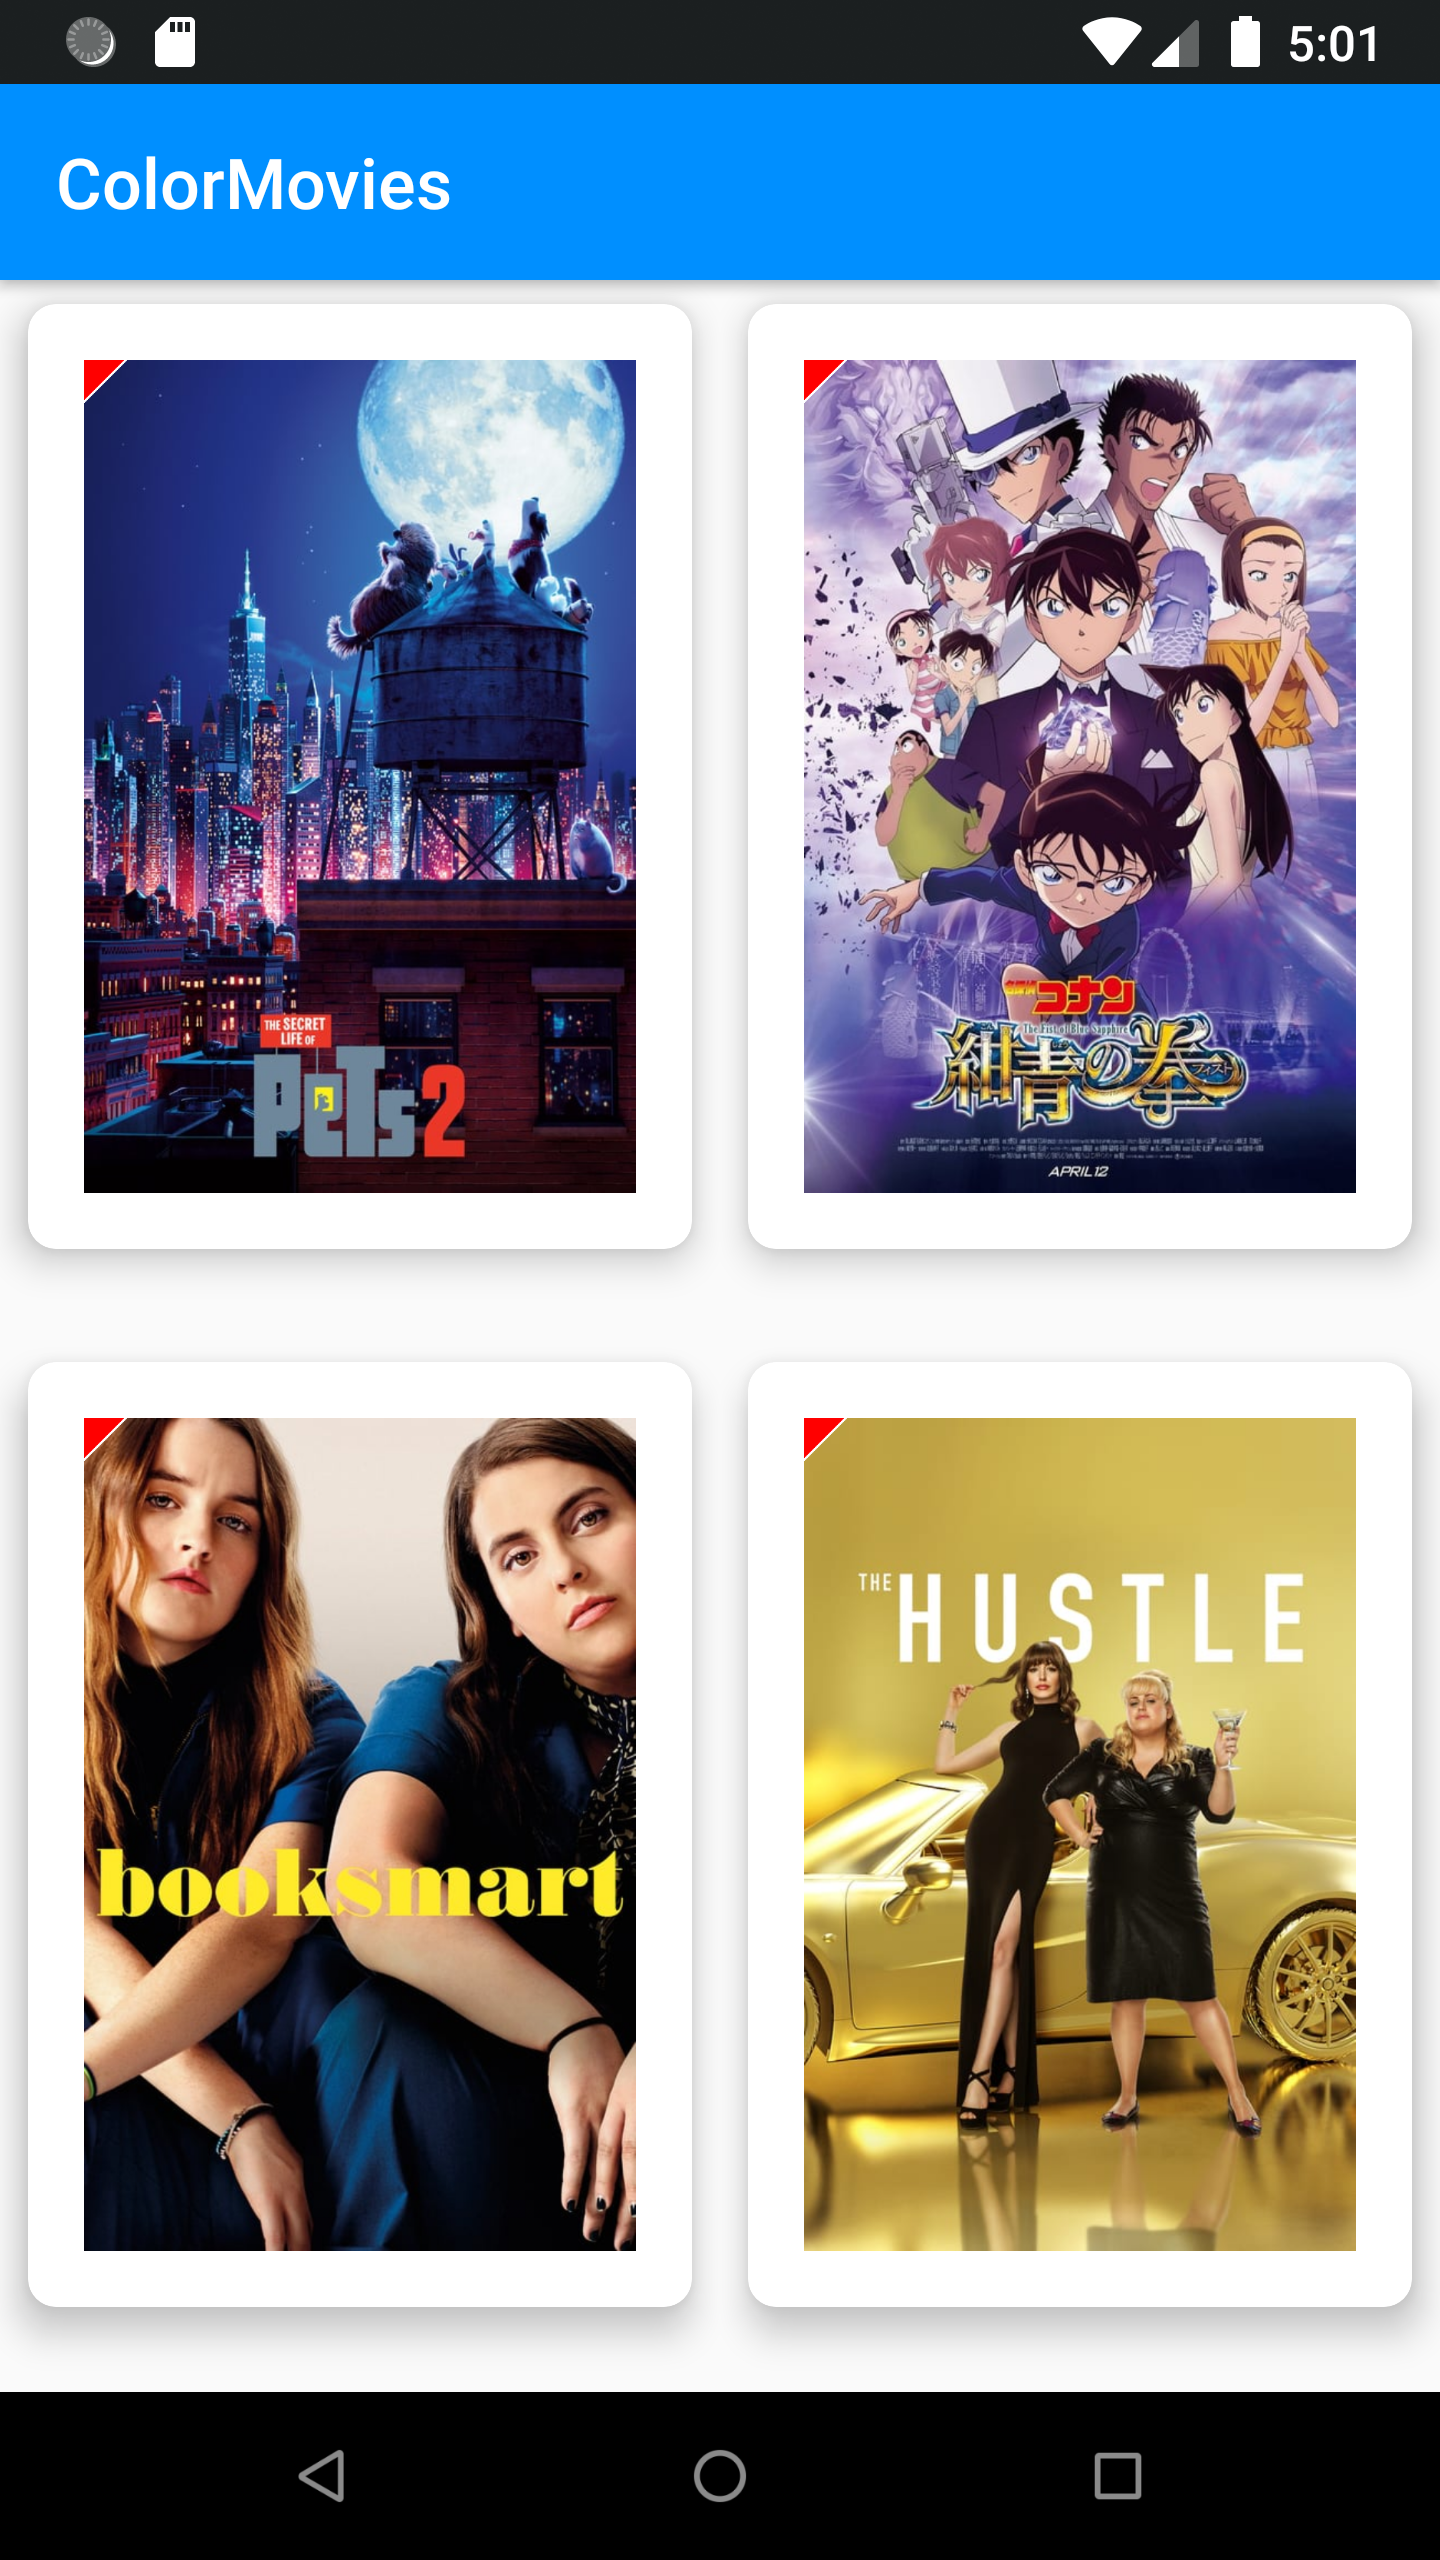
Build and run your app, go to Movie Details and select CropSquare on the menu to see your new transformation in action:

Cool!
Debugging with Picasso
By now you already know about most of the features available to you with Picasso, but there is one thing remaining: debugging.
Picasso offers several methods to prioritize requests and to help you understand how an image was loaded.
Open MovieAdapter.kt and add the following line just below val picasso = Picasso.get():
picasso.setIndicatorsEnabled(true)
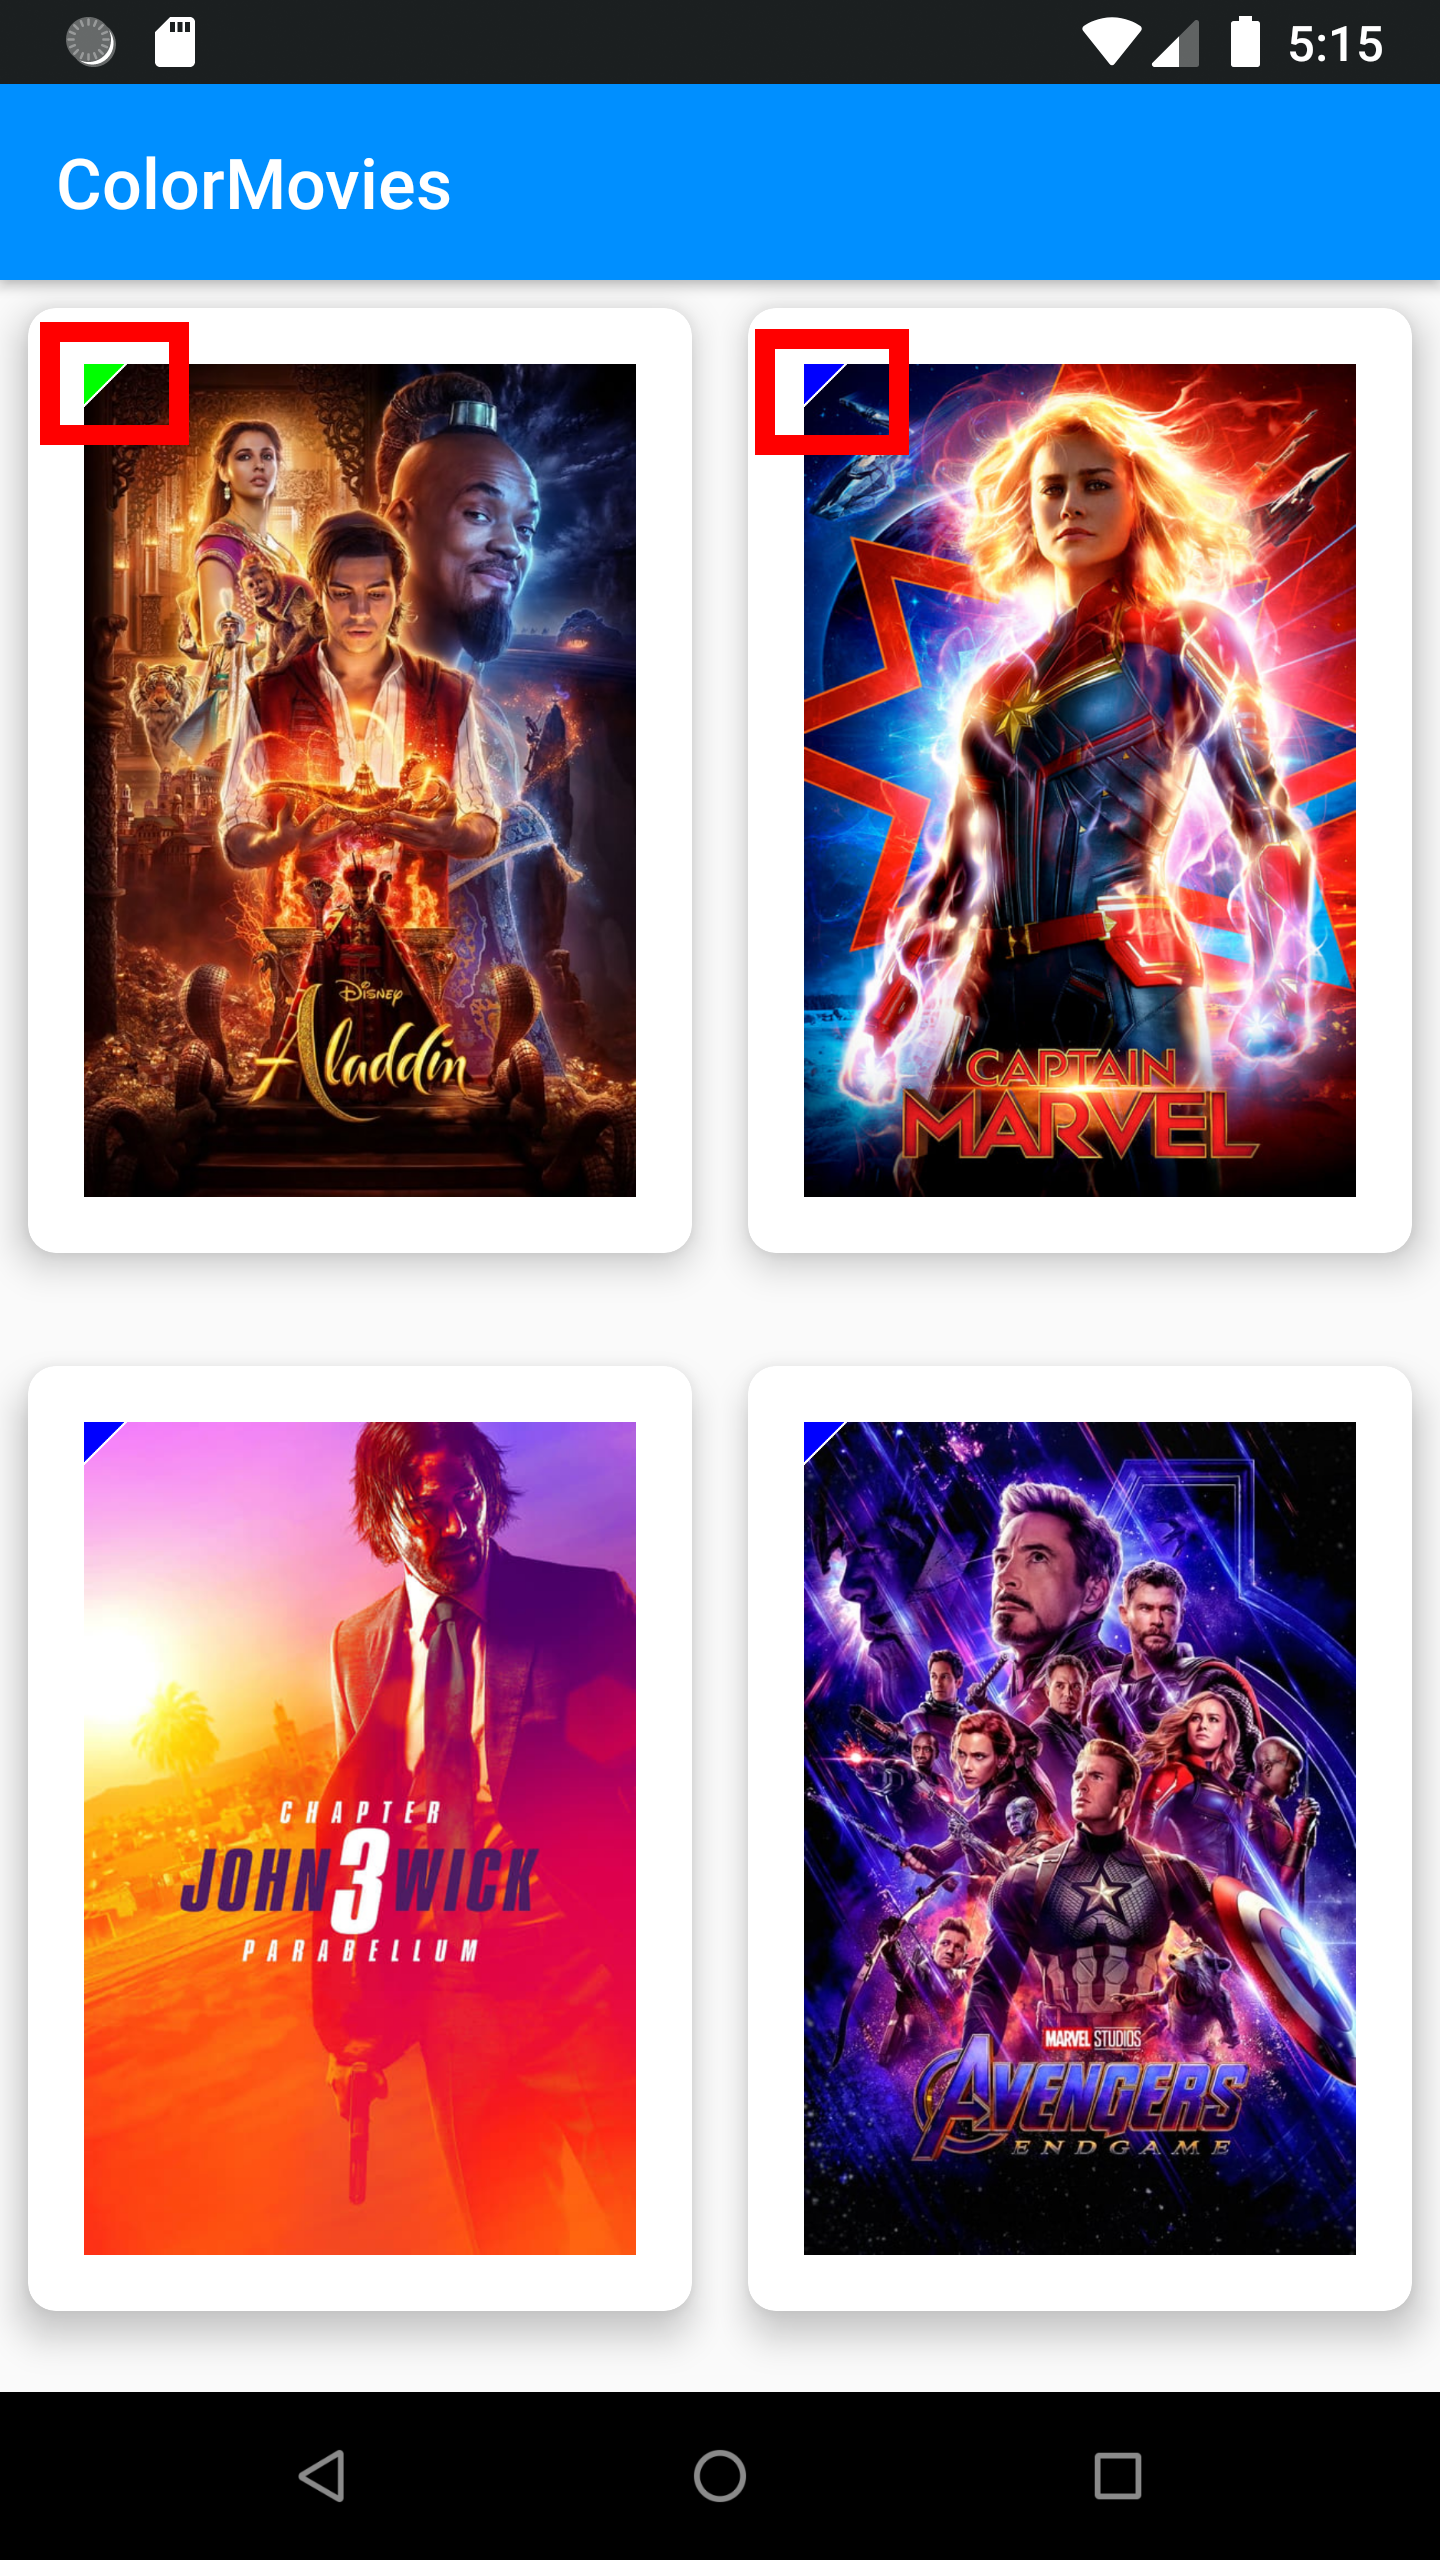
The above method activates debugging indicators on images. From now on, you will see small ribbons on the top left corner of each image loaded by Picasso.
Build and run your app to see how debugging indicators look:

Understanding Ribbon Colors
If you have been following along until this point, you will probably see a small blue ribbon on the top left corner of each image. This means that Picasso already downloaded and saved those pictures and didn’t need to make an HTTP request and load them. There are three possible colors for the debugging indicators and each represents a different source for your image:
- Red: Loaded from the network. This is the slowest possible way to load an image since you need to wait for a response from a URL endpoint.
- Blue: Loaded from the disk. As previously mentioned, this means that Picasso had already downloaded and saved those pictures on your memory.
- Green: Loaded from the cache. This is the fastest way to load an image since you are using your device’s cache memory to load and display your drawable resource.
If you want to play around with debugging indicators try scrolling down and see what happens:
The images at the bottom will probably have a red ribbon if this is the first time that you see them.
Now, scroll up again and take a look at the first images that you saw:

A green ribbon! Those images were still in your device’s cache memory.
Don’t worry if your debugging indicators look a bit different. Remember, it is entirely possible that an image had to be loaded from the disk or network again due to the operating system clearing some memory for other apps. Picasso’s caching system could also think that you need a new copy of your image. Just take a look at the first time I tried to take a screenshot for this tutorial:
The first image was loaded from my device’s cache memory while the other ones were loaded from the disk. Again, don’t worry too much about this and let Picasso handle memory management for you.
Managing Memory
You can also specify which memory and network policies you want to use for each of your Picasso requests.
Open MovieAdapter.kt and add the following calls to your chain to load an image from a URL:
// 1
.networkPolicy(NetworkPolicy.NO_CACHE)
// 2
.memoryPolicy(MemoryPolicy.NO_STORE)
// 3
.memoryPolicy(MemoryPolicy.NO_CACHE)
These are some new methods you’re using, so to walk through them:
-
networkPolicy()specifies theNetworkPolicyfor this request.NetworkPolicy.NO_CACHEskips checking the disk cache and forces loading through the network. -
memoryPolicy()specifies theMemoryPolicyfor this request.MemoryPolicy.NO_STOREskips storing your image into your device’s memory cache. -
memoryPolicy(MemoryPolicy.NO_CACHE)skips memory cache lookup when loading an image.
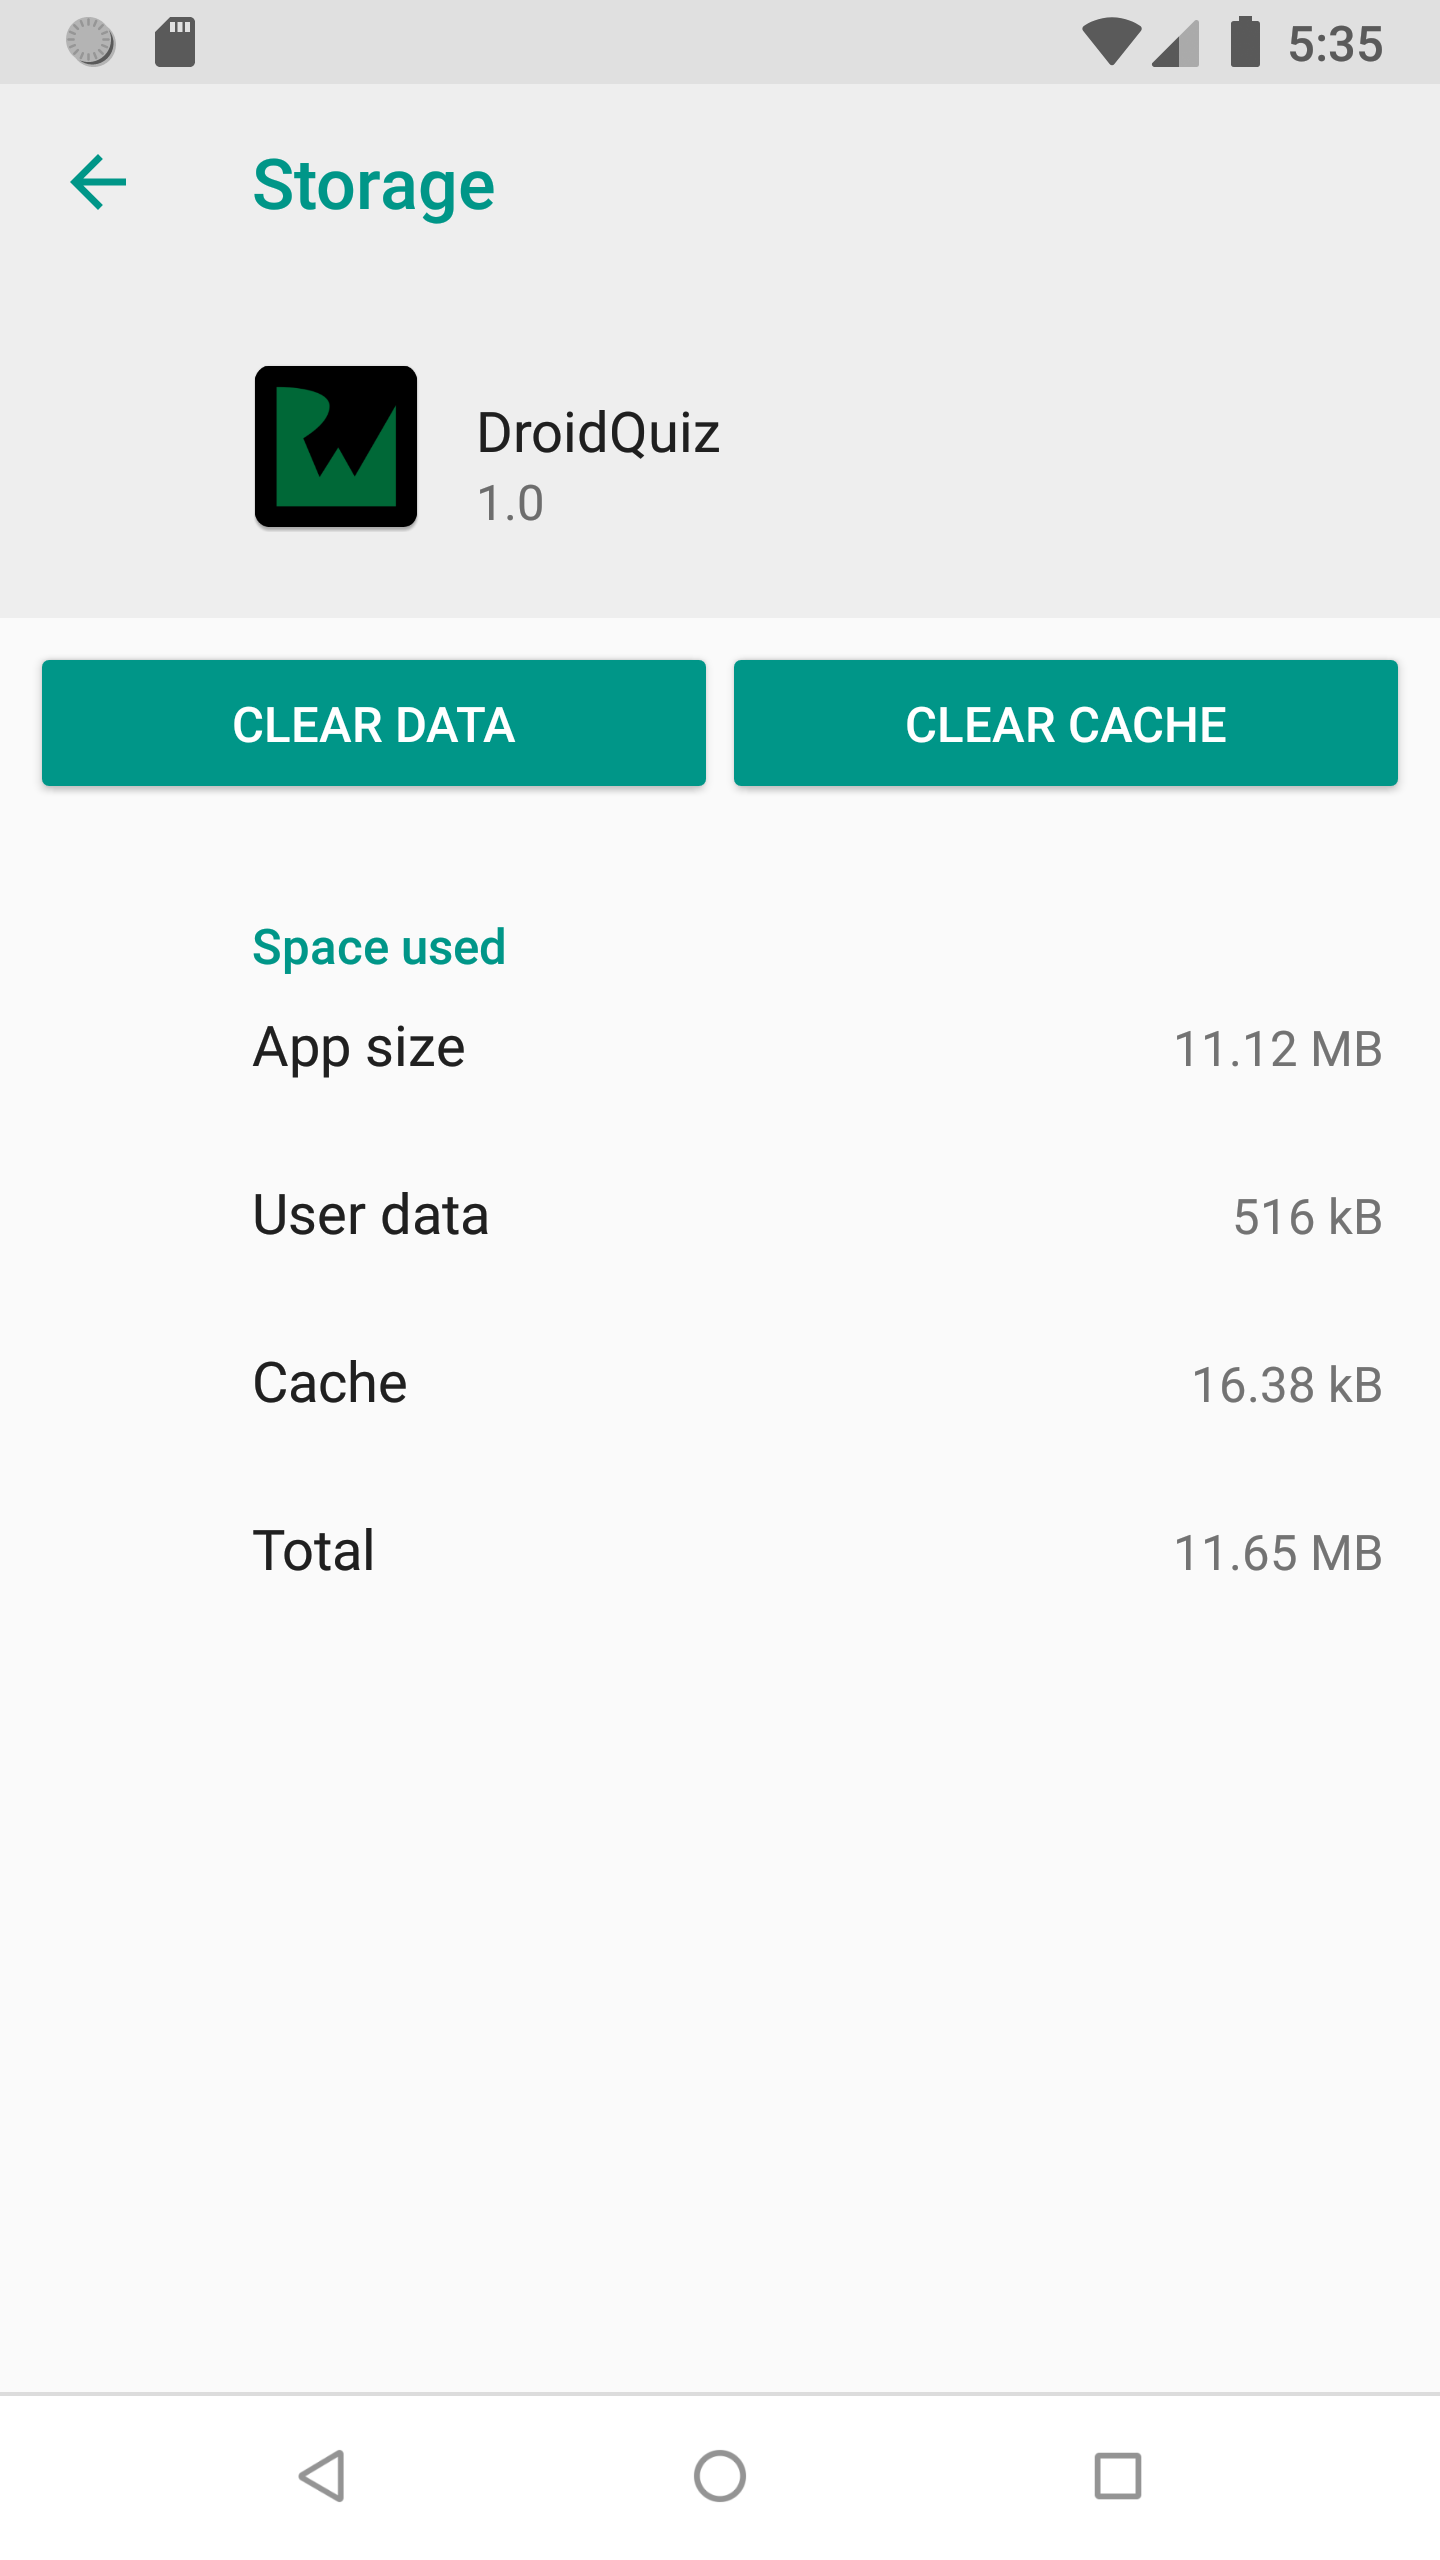
Remember that your new memory policies won’t affect previously stored images. So, before testing your new changes, clear the cache and data for this app by going to the app info menu and selecting clear cache and data:
You could also completely delete and reinstall the app if you wish.
Build and run the app again:

You should see that all your images will have a red ribbon since you have specified that you don’t want to store any images and want to force loading through the network each time.
Where to Go From Here?
Congratulations! You can now use your Color Movies app to get a list of the most popular movies out there and have a good time with your friends. :]
Feel free to download the completed project to check it out using the the Download Materials button found at the top or bottom of this tutorial.
By now you should have a very good understanding of how Picasso can help you work with images on Android by providing caching, filters, transformations and more.
If you want to learn about other image downloading caching libraries, I suggest you take a look at Glide, a very popular and powerful alternative to Picasso. You may also check out Glide Tutorial at our site.
Another good alternative to Picasso and Glide is Universal Image Downloader which is currently the #1 Android Library on Github at the time of this writing.
If you have any questions or comments, please drop them in the comments section below or in the forums.
Happy coding!