Picasso Tutorial for Android: Getting Started
In this Picasso Tutorial, you’ll learn how to use Picasso to load images from different sources and how to apply filters and transformations. By Aldo Olivares.
Adding Placeholder Images
You might notice that, the first time you are loading your images, there is a brief time where your RecyclerView shows empty items:

You get an empty list of items because you are retrieving images from a web service that takes time to respond. While this doesn’t look that bad, it’s usually considered a good practice to display a placeholder image while waiting.
Open MovieAdapter and modify your Picasso code to add this line between the load() and into() calls:
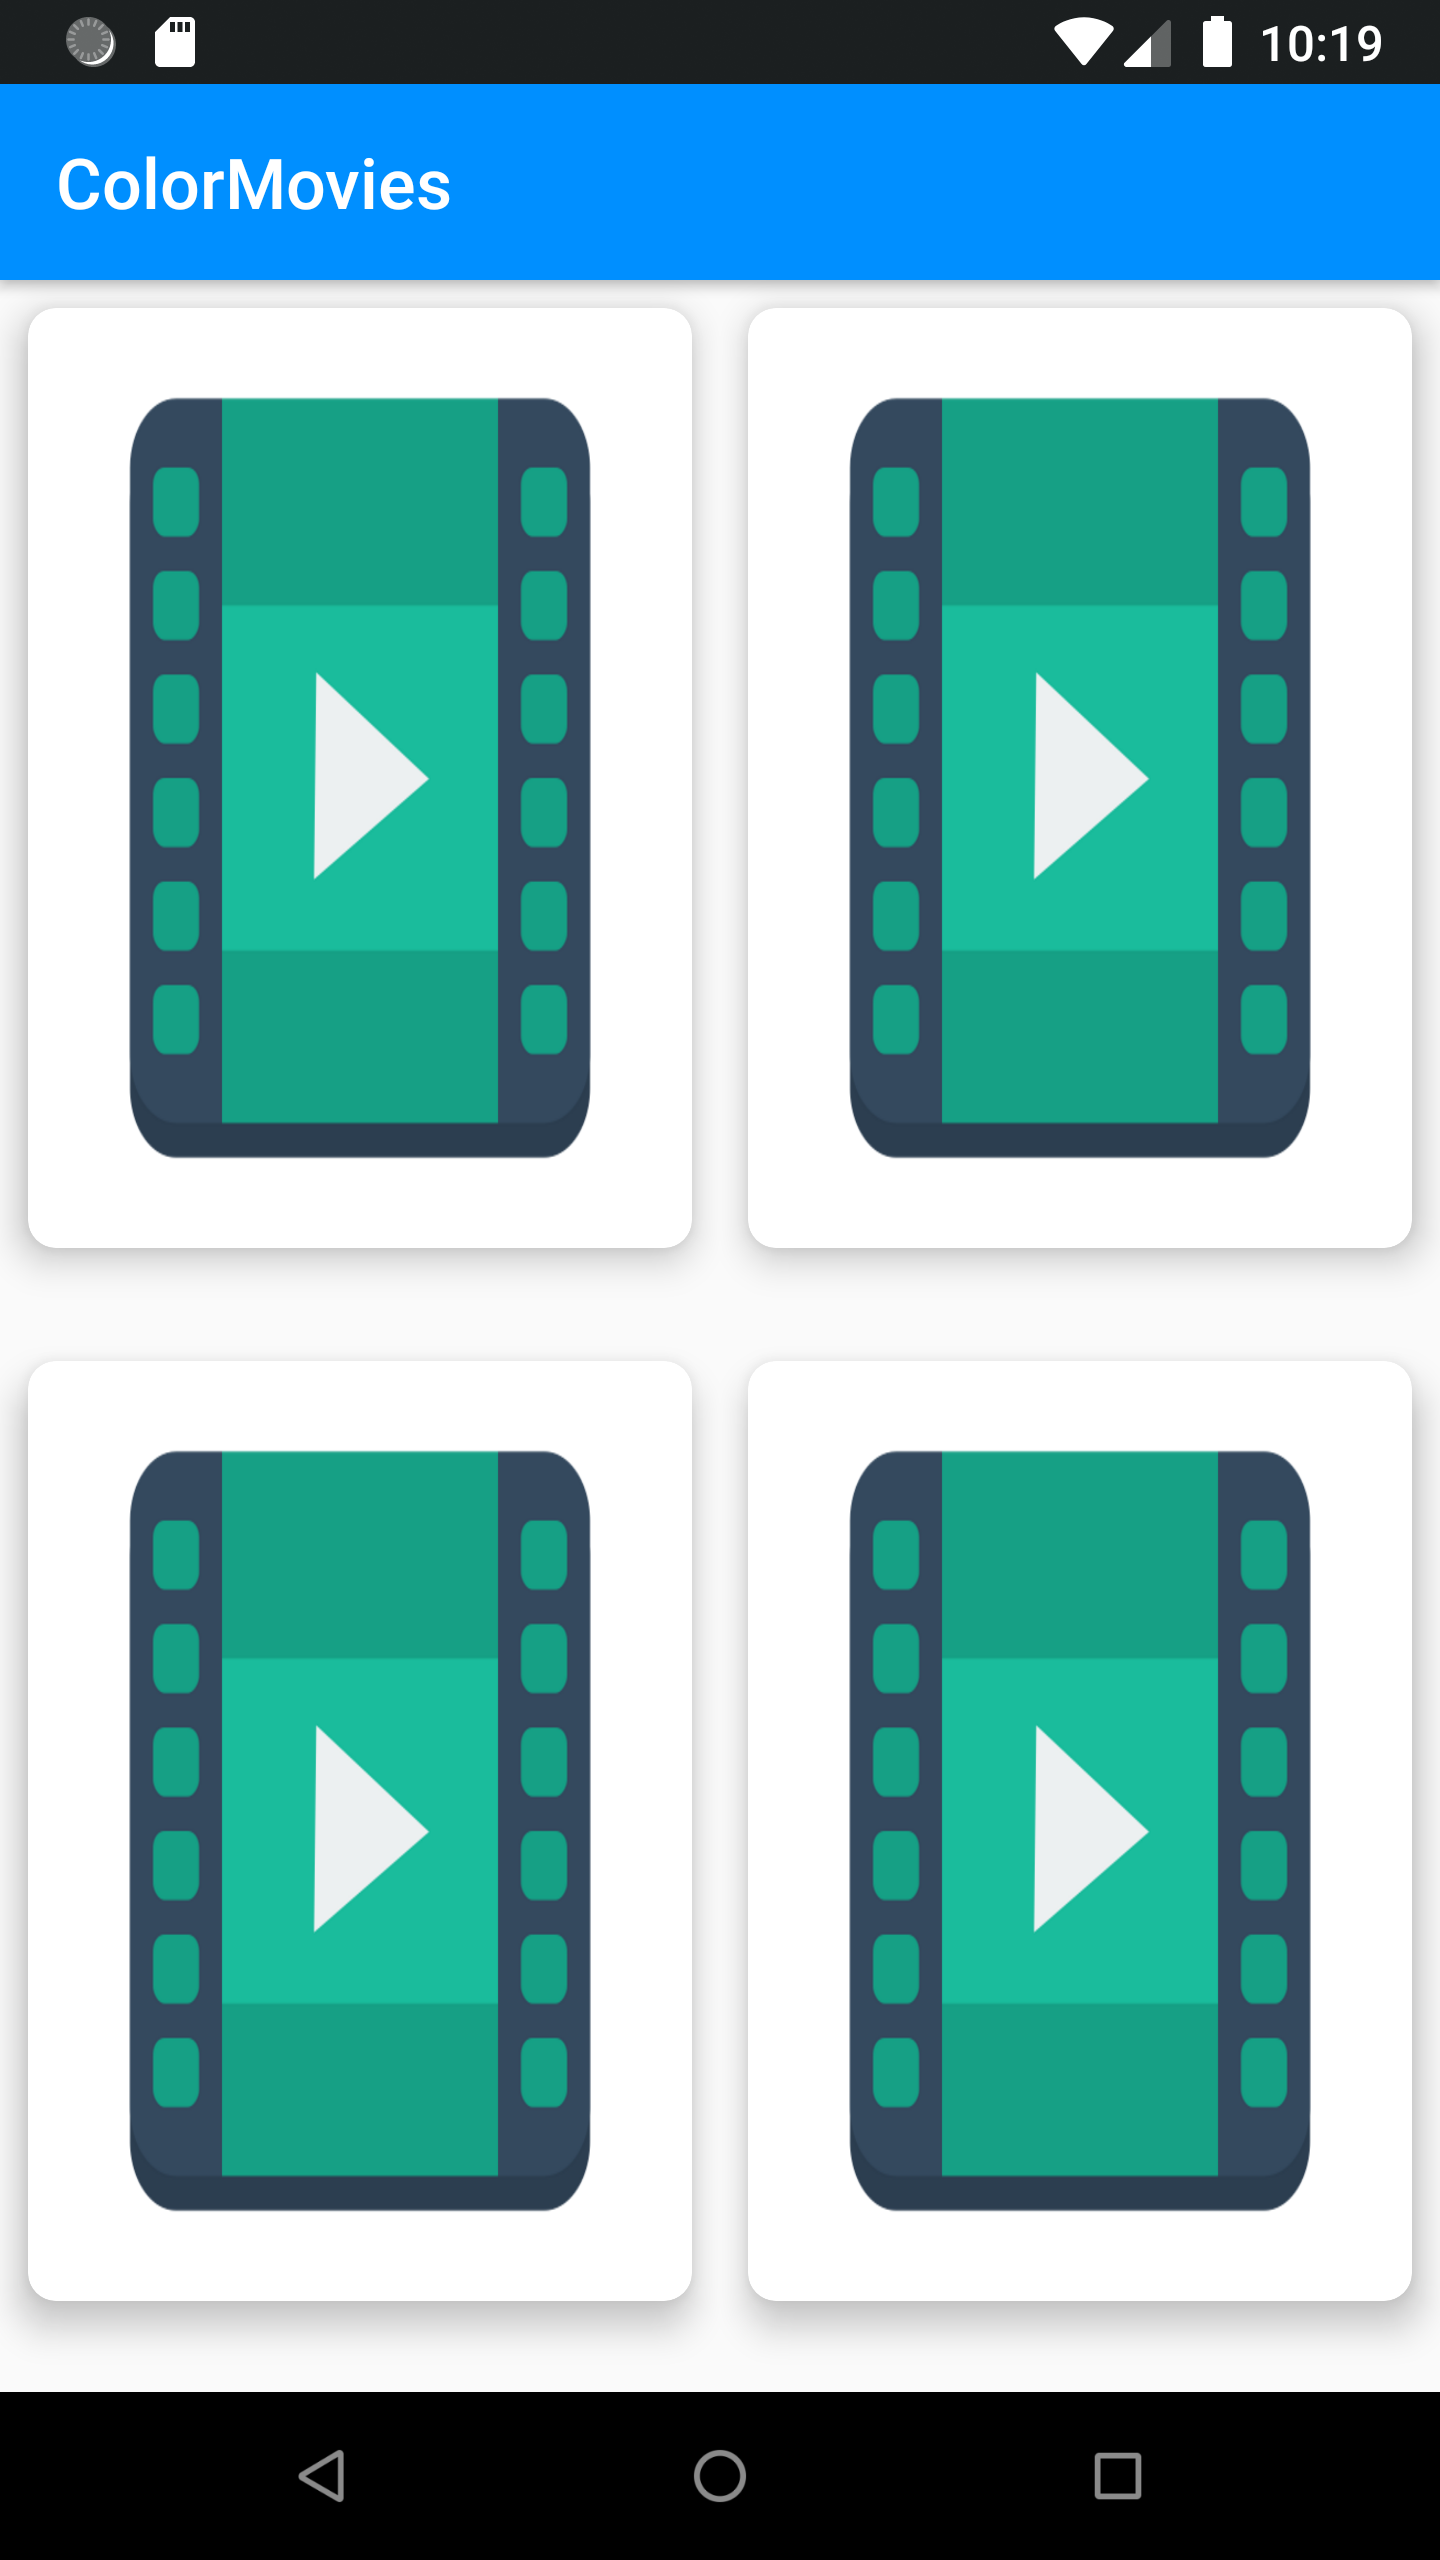
.placeholder(R.drawable.iconfinder_movie_285656)
The beauty of Picasso is that you can chain different methods after load() to modify the image you receive as a response and/or modify the behavior of your load request. By chaining placeholder() you are telling Picasso which image you want to display while waiting.
Build and run your app to see how Picasso behaves now:
Now, instead of displaying those empty white squares, you are displaying very nice movie icons. Cool!
Resizing Images
Another thing you can do with Picasso is resizing images according to your needs. For example, right now the app looks very well on the small screen displaying a nice 2×2 grid but look at what happens if you test it on a tablet:

Obviously, your app will look different depending on the device and screen size on which you are testing it, but you still need to make sure that it looks somewhat consistent across devices. Normally, you would use resource qualifiers and create a completely different layout optimized for bigger screen sizes such as tablets or smart TVs. Since this is a Picasso tutorial, you will be resizing your images according to screen width and height.
Add the following just after val picasso = Picasso.get() in your MovieAdapter class:
val display = windowManager.defaultDisplay
val size = Point()
display.getSize(size)
val width = (size.x) / 2
val height = ((size.y) / 2.2).roundToInt()
The above code uses your windowManager to calculate the width and height of the current display. After you are dividing the width by 2 and the height by 2.2 to make sure that each item in your RecyclerView occupies roughly half the screen.
Modify your Picasso code again to add this line right under placeholder() in the chain:
.resize(width, height)
Now your images are immediately resized to roughly half the screen width and height before they are loaded into your posterImageView.
Build and run your app:

And here is how it looks on a tablet:

Now it looks a bit more consistent among tablets and phones. Remember that you need to be very careful when resizing images since they might look extremely weird if you modify them too much due to the aspect ratios.
Resizing Placeholders
Since the movies we are retrieving are popular and famous, all of them have poster images that you can show in your app. But what happens if a movie does not have a poster image?
To test this, open MainActivity.kt and change the call to getPopularMovies() inside onCreate() to getSimpsonsMovies():
MovieInteractor().getSimpsonsMovies().observe(this, Observer {movieList ->
  //...
})
Now build and run your app and scroll down to see some of the results:

The reason you might be seeing different image sizes is because resize() only resizes images loaded as a result from the load() method and not the placeholder image loaded with placeholder(). One way to solve this is to “manually” assign and resize placeholder images using an if statement.
Open MovieAdapter.kt again and replace your Picasso loading code with this:
if (movie.posterPath != null) {
  picasso.load(RetrofitClient.TMDB_IMAGEURL + movie.posterPath)
      .placeholder(R.drawable.iconfinder_movie_285656)
      .resize(width, height)
      .into(posterImageView)
} else {
  picasso.load(R.drawable.iconfinder_movie_285656)
      .noFade()
      .resize(width, height)
      .into(posterImageView)
}
Here you are adding a condition to check if the posterPath with the URL for the image comes back null. If it is null, you are going to load the placeholder image into your posterImageView and resize it with the width and height that you got before.
You might notice that you chained a different method here to your load() statement called noFade(). noFade() simply disables the brief fade in animation that happens when images are being loaded from the disk, cache or network.
Build and run your app to test your changes:

Your app is becoming better and better. Sweet!
Using Transformations
Now that you know the most basic stuff you can do with Picasso, it is time to learn how to apply filters and transformations!
Open your app-level build.gradle file and add the following line to your dependencies block:
implementation 'jp.wasabeef:picasso-transformations:2.2.1'
The above line adds a nice library to your dependencies that contains many predefined filters. You can apply these filter to your images using Picasso.
Press Sync Now and wait until Android Studio finishes syncing your new dependencies.
Now open MovieDetailActivity.kt and add the following at the top of your class:
private val picasso = Picasso.get()
Since you are going to be using Picasso in many places inside this class, it would be useful to have a property with a reference to it.
Now add the following method:
private fun configureUI() {
  // 1
  titleDetailTextView.text = intent.getStringExtra(MainActivity.TITLE)
  summaryDetailTextView.text = intent.getStringExtra(MainActivity.SUMMARY)
  releaseDateTextView.text = intent.getStringExtra(MainActivity.RELEASE_DATE)
  ratingTextView.text = String.format(getString(R.string.rating),
    intent.getFloatExtra(MainActivity.RATING, 1f).roundToInt())
  // 2
  picasso
    .load(RetrofitClient.TMDB_IMAGEURL +
            intent.getStringExtra(MainActivity.POSTER))
    .error(R.drawable.iconfinder_movie_285656)
    .into(detailImageView)
}
The above method:
- Configures your TextViews using the information received from the extras in your
Intent. - Loads an image into your
detailImageViewusing Picasso like you previously did.
You might have noticed that you are using error() instead of placeholder() here. error() is used exclusively to load a drawable resource when the requested image can’t be loaded.
Now add a call configureUI() inside onCreate() to immediately load your image when the activity is started:
configureUI()
Build and run your app and tap on movie item just to verify that everything is working properly:

Applying Blur and Grayscale Transformations
If you select one of the options in the action bar menu at the top you might notice that nothing happens, but don’t worry that’s about to change.
Add the following code inside the MovieDetailActivity‘s setBlurFilter():
picasso
    .load(RetrofitClient.TMDB_IMAGEURL +
        intent.getStringExtra(MainActivity.POSTER))
    .transform(BlurTransformation(this))
    .error(R.drawable.iconfinder_movie_285656)
    .into(detailImageView)
The above uses the same code you already know to load an image and insert it into detailImageView. The only difference here is that your are now using the transform() method to apply a blur filter to your image. BlurTransformation() is a Transformation subclass that has already been defined in the library that you imported at the beginning of this section.
Ever wondered how the poster images would look in grayscale? Well, this library also includes a transformation that you can use to achieve this.
Add the following code inside setGrayScale():
picasso
    .load(RetrofitClient.TMDB_IMAGEURL +
        intent.getStringExtra(MainActivity.POSTER))
    .transform(GrayscaleTransformation())
    .error(R.drawable.iconfinder_movie_285656)
    .into(detailImageView)
Build and run your app and tap on any image:

Now, use the action bar menu and select Blur:

How cool is that? Now, select Grayscale on the menu and see what happens:

Great! That’s a nice set of filters. :]