Home Screen Quick Actions for iOS: Getting Started
Learn how to integrate Static and Dynamic Home Screen Quick Actions into your SwiftUI iOS app. By Felipe Laso-Marsetti.
Modifying the Info Property List File
You added logic to your code that handles the action. But before running the app, you still have to tell the system about your static action. This is simple to do.
In the Resources group, open Info.plist. Right click Information Property List at the top and click Add Row.
In the Key column, type Home Screen Shortcut Items and press return to finish editing. Xcode automatically sets the Type to Array and adds an item for you. Expand the elements by clicking the chevron and you’ll see two nested keys:

Each item listed in this array represents a single static quick action that your app supports. Update the placeholder item with the following values:
-
Shortcut Item Type:
NewNote -
Title:
New Note
In addition to the default keys, you need to add one more. Hover over Title and click the + icon that appears. Type UIApplicationShortcutItemIconSymbolName (ignore the pop-up options for now, you have to type the full string) for the Key and square.and.pencil for the Value.
Here’s a breakdown of each of these keys:
-
Shortcut Item Type: A string identifier that represents a unique type of action. You might notice that this matches the raw value of the
ActionType.newNoteenum case you added earlier. That’s important. - Title: The user-friendly title that displays when the user taps and holds your app icon.
-
UIApplicationShortcutItemIconSymbolName: The SF Symbol to use for this action. You can also use
UIApplicationShortcutItemIconFile
for an icon file available in your bundle, orUIApplicationShortcutItemIconTypefor a set of pre-defined options available for quick actions. Icon file and icon type are selectable from the drop down list when editing the Info.plist entry, but the symbol option is not.

There are additional keys available for shortcut items in your Info.plist that you can read about in the Apple documention.
Building and Running Your App
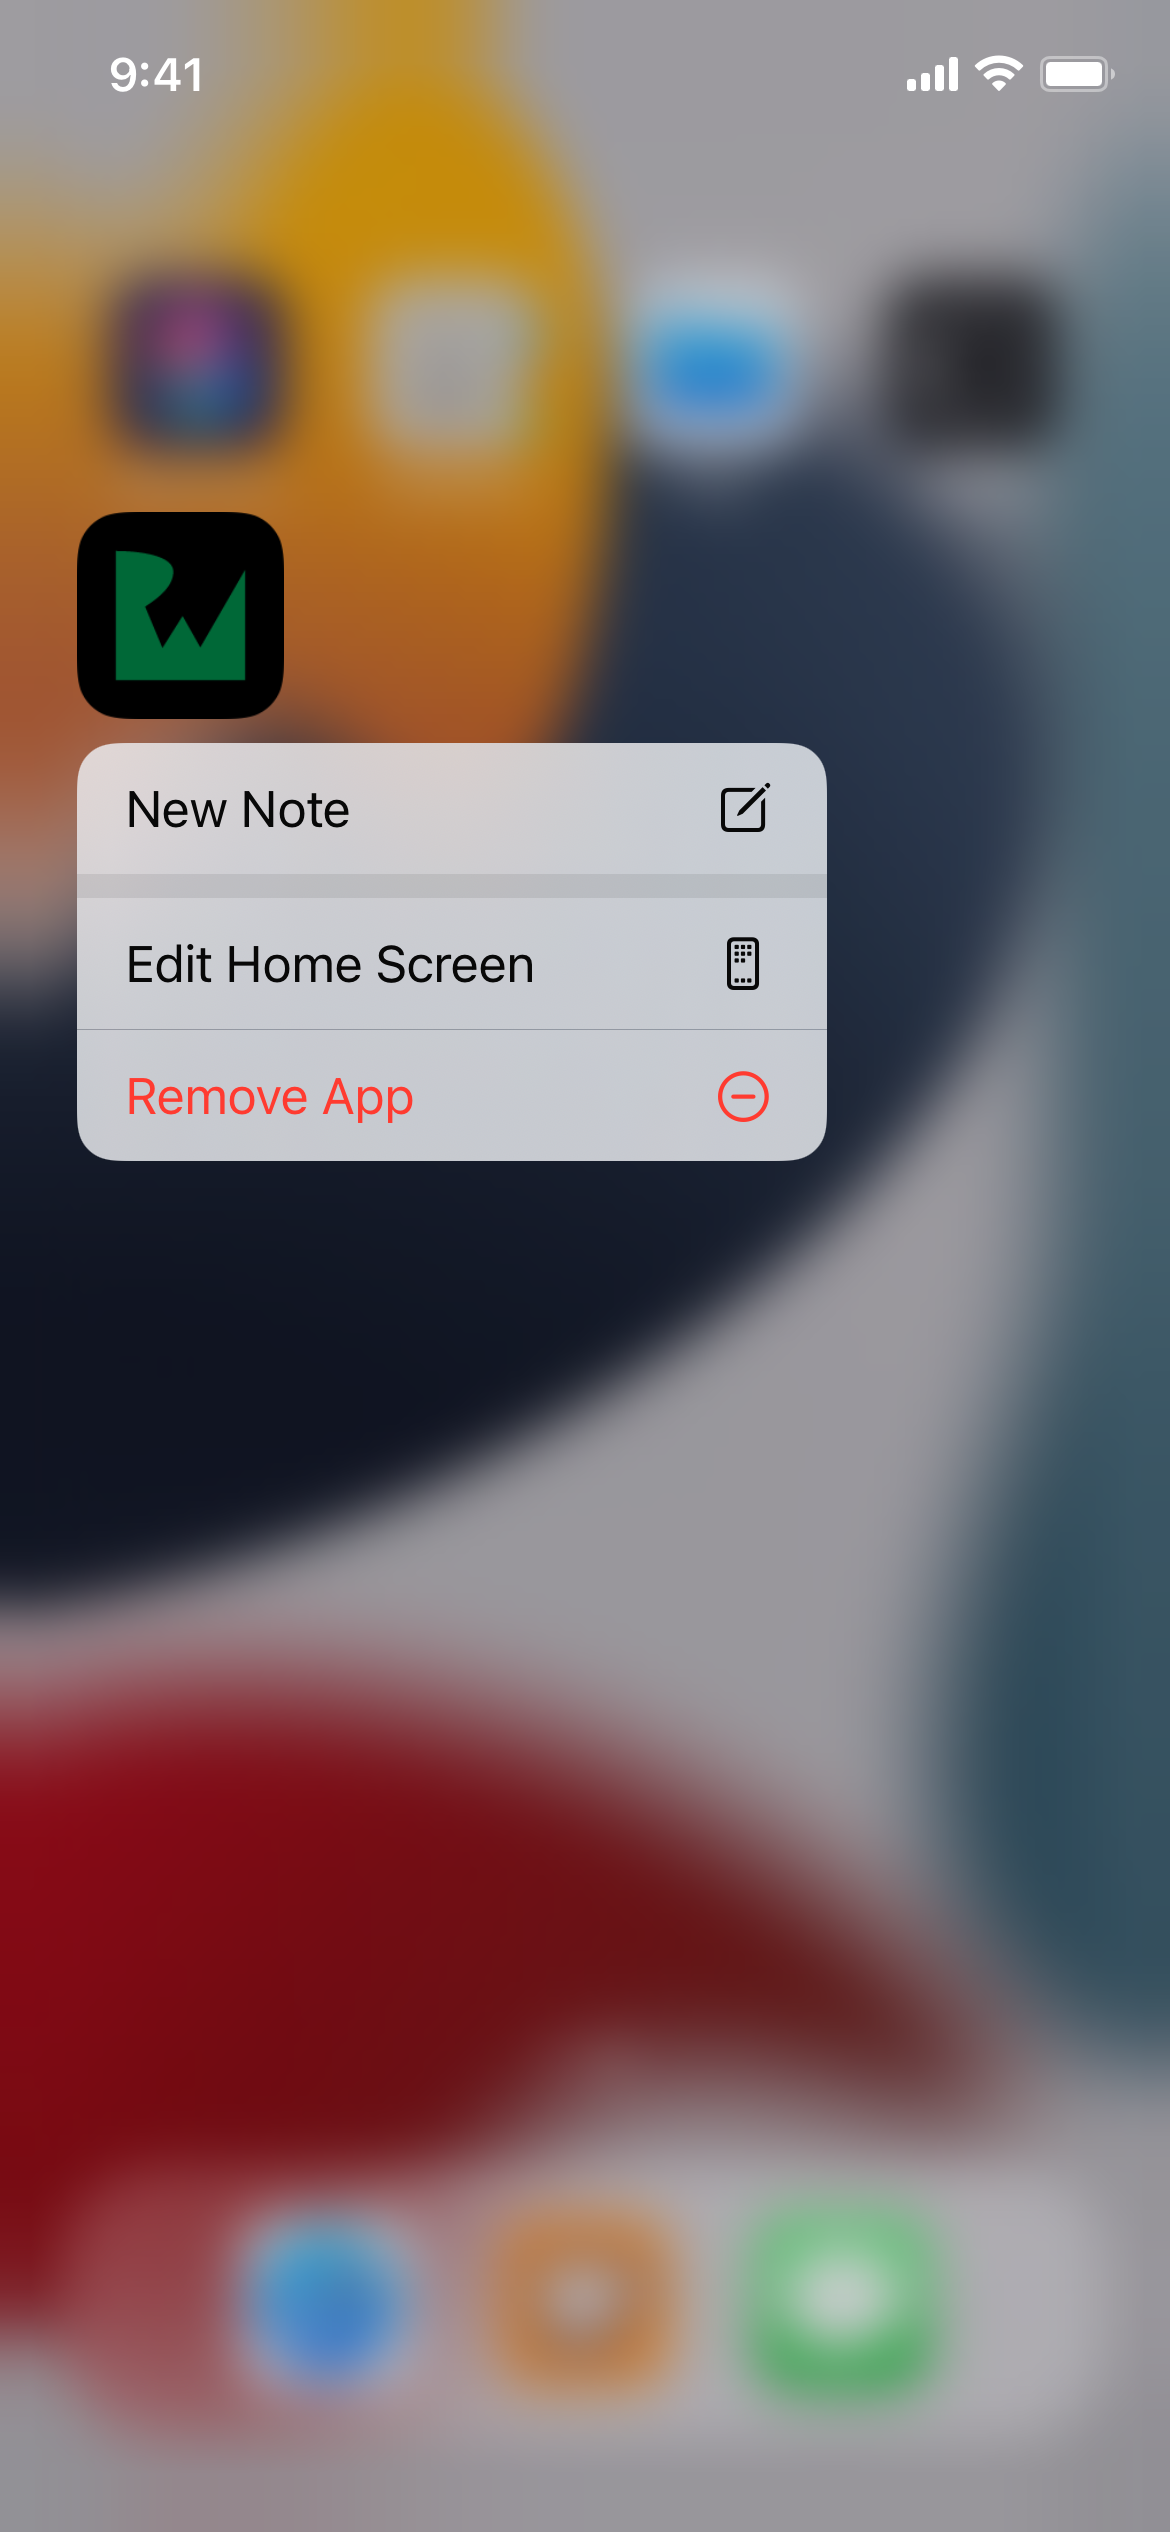
Build and run your app. Go back to the home screen and long-press the Note Buddy app icon to see your quick action now available in the list:
Tap New Note to see what happens:

Nothing?!?
Well, that’s weird. You added a model to work with actions within the app and defined a static action in Info.plist.
What’s wrong, then?
The system tells your app when the user interacts with a quick action, but you’re not doing anything with the information yet. Time to do that!
Handling Static Quick Actions
SwiftUI doesn’t yet provide any native mechanisms to respond to launch events from quick actions. Therefore, you need to rely on UIKit for this part.
Right-click AppMain.swift and select New File… ▸ Swift File. Name the file AppDelegate and click Create. Replace the contents of the file with:
// 1
import UIKit

// 2
class AppDelegate: NSObject, UIApplicationDelegate {
  private let actionService = ActionService.shared

  // 3
  func application(
    _ application: UIApplication,
    configurationForConnecting connectingSceneSession: UISceneSession,
    options: UIScene.ConnectionOptions
  ) -> UISceneConfiguration {
    // 4
    if let shortcutItem = options.shortcutItem {
      actionService.action = Action(shortcutItem: shortcutItem)
    }

    // 5
    let configuration = UISceneConfiguration(
      name: connectingSceneSession.configuration.name,
      sessionRole: connectingSceneSession.role
    )
    configuration.delegateClass = SceneDelegate.self
    return configuration
  }
}

// 6
class SceneDelegate: NSObject, UIWindowSceneDelegate {
  private let actionService = ActionService.shared

  // 7
  func windowScene(
    _ windowScene: UIWindowScene,
    performActionFor shortcutItem: UIApplicationShortcutItem,
    completionHandler: @escaping (Bool) -> Void
  ) {
    // 8
    actionService.action = Action(shortcutItem: shortcutItem)
    completionHandler(true)
  }
}
If you’re not too familiar with UIKit, don’t worry! Here’s an overview of the code above:
- Import the UIKit framework to access the symbols and types you need in this file.
- Create a class named
AppDelegatethat inherits fromNSObjectand conforms to theUIApplicationDelegateprotocol. - Implement
application(_:configurationForConnecting:options:)to hook into an event triggered when the app is preparing to launch your main UI. - Unwrap
shortcutItemprovided with the options. If it’s present, this indicates that the user is launching your app from a quick action. Use the initializer you added earlier to map the data to anActionand assign it to theActionService. - Fulfill the requirements of the method by creating the appropriate
UISceneConfigurationobject and returning it. - Similar to step two, create another class that conforms to the
UIWindowSceneDelegateprotocol. - Implement
windowScene(_:performActionFor:completionHandler:)to hook into events that trigger when a user interacts with a quick action after your app has already launched, for example, when it’s in the background. - Similarly to step four, attempt to convert
UIApplicationShortcutIteminto anActionand pass it onto theActionService.
Finally, your SwiftUI app needs to use the new AppDelegate and SceneDelegate. So, in AppMain.swift, underneath the actionService, add the following property inside AppMain:
@UIApplicationDelegateAdaptor(AppDelegate.self) var appDelegate
Time to build and run your app again. Head back to the home screen and try using your quick action again:

Fantastic! You added your first static quick action. While this opens the door to many possibilities, you can’t customize it with information used at runtime. That’s where dynamic actions come in.
Creating Dynamic Quick Actions
If users want to edit their most recent note, they still have to open the app, scroll through the list to find it, tap it and then edit.
It would be great to simplify and speed up the process!
While static actions go in Info.plist, you add all dynamic actions in code. In the case of Note Buddy, and likely for many of your apps, these dynamic actions will be added when your scene’s phase changes to background. Thus, before heading to the home screen, you set up some actions to edit the most recent notes by the last modified date.
Handling Dynamic Quick Actions
To add dynamic actions, first add a new case to your ActionType and Action enums.
Open Action.swift and add the following to ActionType:
case editNote = "EditNote"
Add the following new case to Action:
case editNote(identifier: String)
This is why ActionType and Action needed to be two separate enums. While ActionType represents the identifiers of different quick action types, Action represents the action itself. In some cases, like the case of .editNote, this can include other associated values.
After adding the new enum cases, you’ll notice that the compiler has kindly told you that the switch statement in init?(shortcutItem:) is no longer exhaustive. Fix that by adding the following case to the switch:
case .editNote:
  if let identifier = shortcutItem.userInfo?["NoteID"] as? String {
    self = .editNote(identifier: identifier)
  } else {
    return nil
  }
Here you’ll check the shortcutItem‘s userInfo dictionary to get the ID of the note to edit. If successful, you initialize the action as .editNote with the associated value. Otherwise, the initializer just fails by returning nil.
If you try to build the project now, you’ll see one more compile failure in NoteList.swift. Head over to it, and you’ll find that you also need to implement the new action handling inside performActionIfNeeded().
Add the following code to the switch statement:
case .editNote(let identifier):
  selectedNote = noteStore.findNote(withIdentifier: identifier)
Build and run your app. Then head to the home screen, long-press the Note Buddy icon and see the results:

Once again…nothing?
While you already made sure that quick actions pass to your app correctly, you still haven’t told your app to show any dynamic items. You’ll do that next.