SwiftUI Localization Tutorial for iOS: Getting Started
Learn time-saving techniques to transform your team’s localization workflow! By Andy Pereira.
Terms of Address
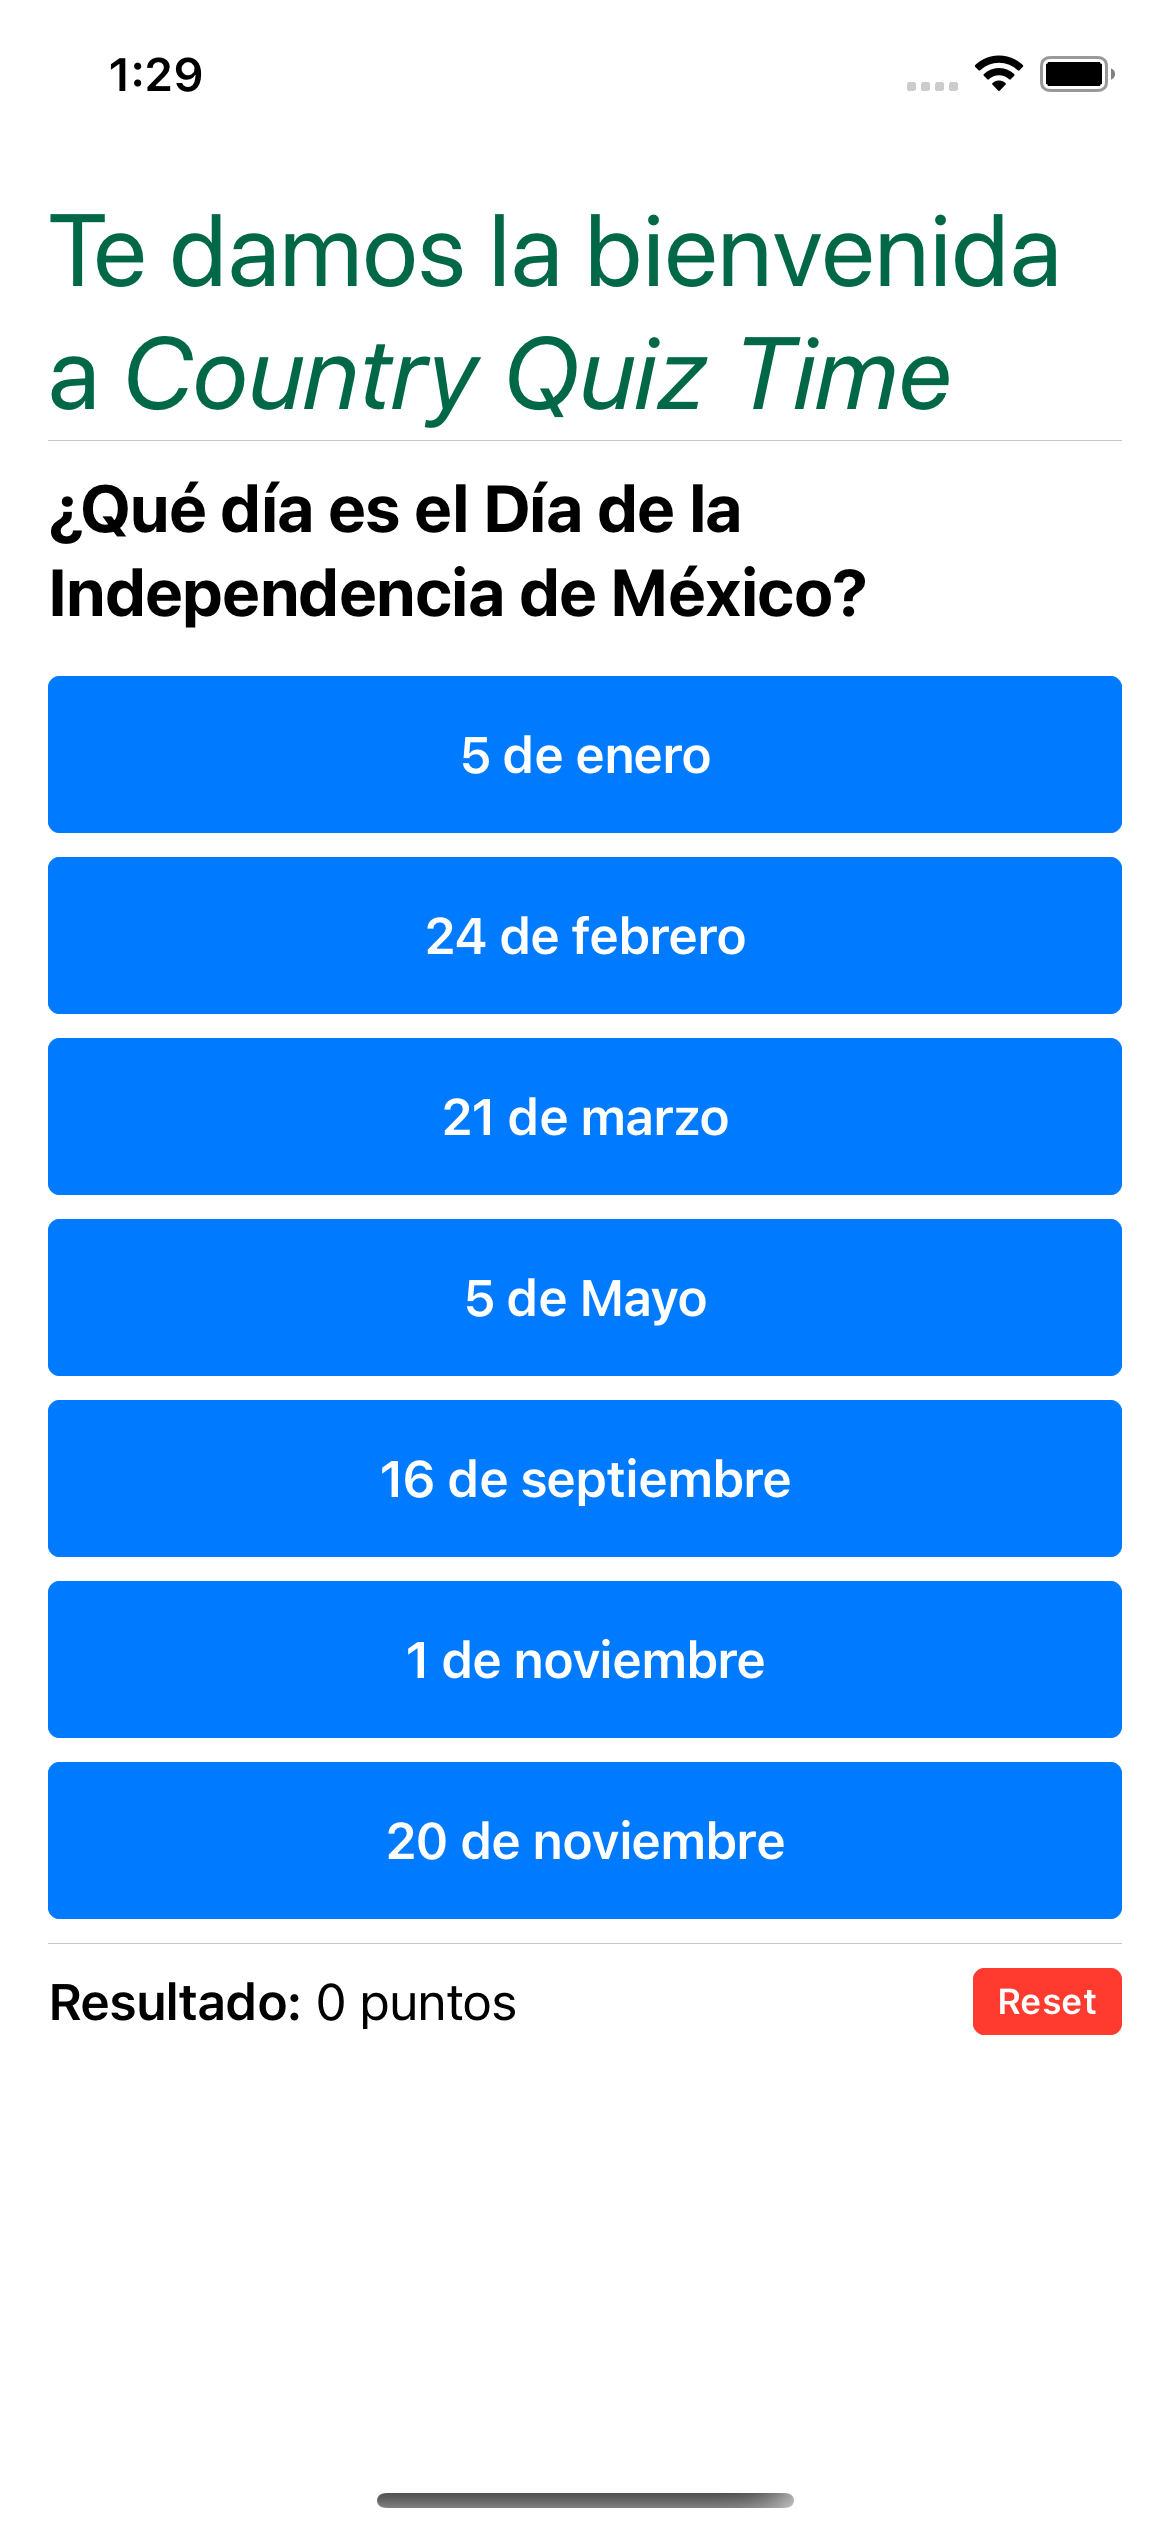
In Spanish, even the way you welcome the user can depend on their gender. Spanish-language users can configure a term of address in their Language & Region settings, so you can account for this using automatic grammar agreement also. Change this line in Localizable.strings (Spanish):
"Welcome to _Country Quiz Time_" = "Bienvenido a _Country Quiz Time_";
to
"Welcome to _Country Quiz Time_" = "^[Bienvenido](inflect: true,
  inflectionAlternative:'Te damos la bienvenida') a _Country Quiz Time_";
Here’s what this does:
- Tells the system to inflect ‘Bienvenido’. The system will inflect it to ‘Bienvenido’ (masculine) or Bienvenida’ (feminine) according to the user’s preferred term of address setting.
- Gives a gender-neutral alternative, ‘Te damos la bienvenida’, to display if the user has not specified a term of address.
Make sure your scheme’s language is set to Spanish, then build and run. If you haven’t configured a term of address, you will now see the gender-neutral welcome message.

Finalizing Translations
You’re almost done! As the last step, you’re going to add all the possible translations in Spanish and import the values into Xcode. The downloaded project materials contains a file with some of the Spanish translations ready to go.
In Xcode, select Product ▸ Import Localizations…. Navigate to CountryQuizTime_Materials/translations/es.xcloc from the downloaded materials, and finish importing.
With your scheme’s language set to Spanish, build and run.
And with that, you’ve finished learning how to use the newest features of SwiftUI and localization!
Where to Go From Here?
You can download the completed version of the project by clicking the Download Materials button at the top or bottom of this tutorial.
You’re all set to use all the new techniques for localizing your app in iOS 15.
If you’d like to learn more about localizing your app, not just with SwiftUI, take a look at Internationalizing Your iOS App: Getting Started. You can also take the multi-part course Multi-Language Support with Localization in iOS. To learn more about other ways to make your app welcoming to people from different cultures, watch The practice of inclusive design from WWDC 2021.
You can learn more about formatting your strings with Markdown at GitHub.
We hope you enjoyed this tutorial. If you have any questions or comments, please join the forum discussion below!