How To Export Blender Models to OpenGL ES: Part 1/3
Learn how to export blender models to OpenGL ES in this three part tutorial series! By Ricardo Rendon Cepeda.
Rendering Your Model: Texture
Add the following bit of code inside your createEffect function:
// Texture
NSDictionary* options = @{ GLKTextureLoaderOriginBottomLeft: @YES };
NSError* error;
NSString* path = [[NSBundle mainBundle] pathForResource:@"cube.png" ofType:nil];
GLKTextureInfo* texture = [GLKTextureLoader textureWithContentsOfFile:path options:options error:&error];

if(texture == nil)
    NSLog(@"Error loading file: %@", [error localizedDescription]);

self.effect.texture2d0.name = texture.name;
self.effect.texture2d0.enabled = true;
This is standard boilerplate code for a GLKTextureLoader, which simply attaches the cube.png texture to your effect. If you’re interested in the DVD extras, I suggest you read the official documentation.
Moving on, add the following lines to glkView:drawInrect:, just before your call to glDrawArrays():
// Texels
glEnableVertexAttribArray(GLKVertexAttribTexCoord0);
glVertexAttribPointer(GLKVertexAttribTexCoord0, 2, GL_FLOAT, GL_FALSE, 0, cubeTexels);
Similar to your cube’s positions, you provide an index for texture access data to OpenGL ES as a bound attribute array, in the form of two floats (UV) per vertex found in the sequential array cubeTexels[].
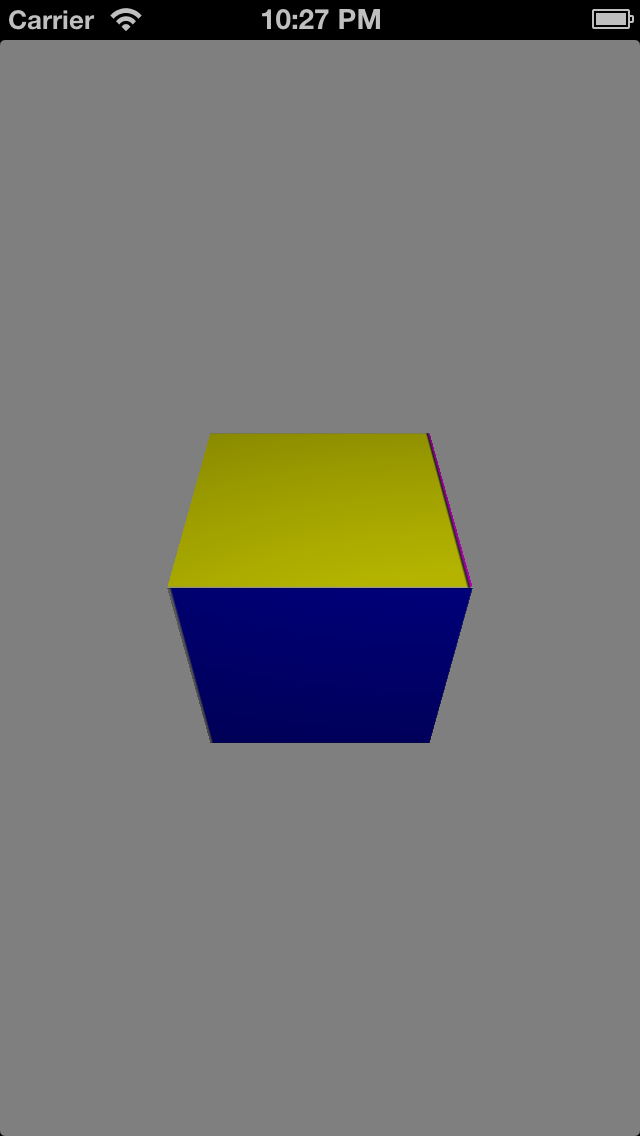
Build and run! Your cube should look much nicer now. :D

Rendering Your Model: Light
Add the following bit of code inside your createEffect function:
// Light
self.effect.light0.enabled = GL_TRUE;
self.effect.light0.position = GLKVector4Make(1.0f, 1.0f, 1.0f, 1.0f);
self.effect.lightingType = GLKLightingTypePerPixel;
This creates a single light source for your scene, coming from the top-right corner behind the viewer. The light uses per-pixel lighting, which you'll learn more about in Part 3 of this tutorial series.
Next, add the following lines to glkView:drawInrect:, also just before your call to glDrawArrays():
// Normals
glEnableVertexAttribArray(GLKVertexAttribNormal);
glVertexAttribPointer(GLKVertexAttribNormal, 3, GL_FLOAT, GL_FALSE, 0, cubeNormals);
As before, you provide an index of normal vectors to OpenGL ES as a bound attribute array, in the form of three floats (XYZ) per vertex found in the sequential array cubeNormals[].
Build and run! You should see much smoother shading now.
Rendering Your Model: Animation
Finally, you’ll add some basic animation to your cube to see all of its faces.
At the top of MainViewController.m, add the following variable inside the @interface extension:
float _rotate;
And initialize it inside viewDidLoad:
// Variables
_rotate = 0.0f;
Now add two more rotation commands to your ModelView matrix inside setMatrices, after you rotate the x-axis:
modelViewMatrix = GLKMatrix4RotateY(modelViewMatrix, GLKMathDegreesToRadians(_rotate));
modelViewMatrix = GLKMatrix4RotateZ(modelViewMatrix, GLKMathDegreesToRadians(_rotate));
And add the following function at the bottom of your file, just above the @end statement:
- (void)update
{
    _rotate += 1.0f;
}
This is a delegate method of GLKViewController that updates every frame, so you don’t need to call it from anywhere else—it’s automatically done for you.
Build and run—your animated cube is proudly showcased in your app, having made a long journey from Blender!

Where to Go From Here?
Here is the completed project with all of the code and resources from this part of the Blender to OpenGL ES tutorial. You can also find its repository on GitHub.
Congratulations, you’ve laid the foundations for a solid model viewer using a wide range of tools and technologies! This was quite a difficult and ambitious tutorial, so you should feel very proud of yourself.
You should now understand the geometry definitions of a simple 3D model and know how to analyze an OBJ file. You should be comfortable building a command line tool in Xcode and handling different types of files, too. You’ve barely touched the iOS side of things, but I hope you now appreciate how fast it is to get up and running with GLKit.
This tutorial hasn’t covered content creation with Blender, so be sure to check out our previous tutorial on that if you're feeling artistic.
In Part 2 of this tutorial series, you’ll be introduced to OBJ’s materialistic sibling: MTL. With this new file format, you’ll expand your command line tool to parse richer models and implement cool-looking materials! Basically, you’ll experience Part 1 on steroids. :O
Then you'll want to check out Part 3 of this tutorial.
If you have any questions, comments or suggestions, feel free to join the discussion below!