Understanding and Managing Xcode Space
Learn how to free up space hogged by Xcode in caches, derived data, archives and simulators! By Keegan Rush.
When to Clear Archives
Unlike derived data, your archives have no effect on your future build; they’re the finished product of building the app and don’t speed up compilation in any way. But this doesn’t mean that you can clear the archives folder whenever you’re low on space.
Sometimes, it can be a good idea to save old archives. If you ever need to re-release an old archive, you’ll need the .xcarchive that’s stored in the archives folder.
Also, debugging live versions of an app requires a certain file called a dSYM that’s packaged in your archive.
So a good recommendation is to not delete any archives for versions of apps that are currently live — or old archives that you might want to bring to life later!
Before you archive your app in Xcode, you’ll probably run it on the simulator to test your app. Next, you’ll learn how to clear those simulators and remove old data.
Clearing Simulators
When you install Stellar Space on one of your simulators, it takes some space on your computer. Stellar Space can also save images to your simulator’s Photos library, taking more space.
Sometimes, you might also want to test an app as a new user would. That means starting with a fresh simulator. So clearing those simulators can help to keep your Mac in tip-top shape.
Storing Simulator Data
Before you clear a simulator, you need to run Stellar Space so you have something to clear.
In Xcode, make sure your run destination is set to one of your simulators:

Then, build and run Stellar Space.

Doesn’t everyone love awe-inspiring images of the cosmos? Go ahead and tap Save to save today’s image to your simulator’s Photos.

Tap OK when iOS prompts you for permission to access your Photos.
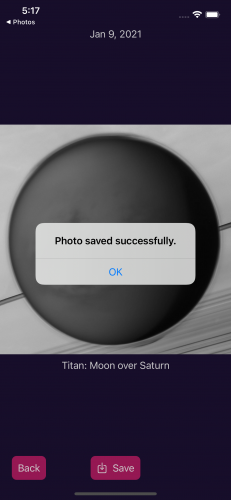
Tap Back to look at yesterday’s photo of the day and feel free to explore some more. Save your favorite photos by tapping Save.
When you’re done, swipe up from the bottom of your simulator to reach the Home screen. Alternatively, you can also select Device ▸ Home or press Command-Shift-H on your keyboard.
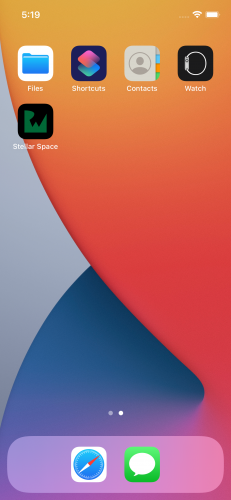
Next, open Photos. You might need to swipe to a different Home tab to find the Photos icon.

Here, you see all the images you’ve saved on the simulator.
Deleting an app on an iPhone doesn’t delete all the data the app might have stored elsewhere, such as files, photos or Core Data databases. To do that, you need to erase the simulator’s content.
Erasing Simulator Content
Erasing a simulator restores it to factory content and settings, removing any apps or data you stored on it.
With your simulator open, click Device ▸ Erase All Content and Settings… in the menu bar.

If you’re prepared to lose the data on that simulator, click Erase.
Wait while the simulator reboots. Once it’s done, open Photos again.

You’re left with the default photos available on any simulator, ready to start your testing anew!
Erasing simulator content helps clean the simulators you have access to. But you might be losing a lot of storage to simulators you can’t even see.
Deleting Unavailable Simulators
If you’ve been building iOS apps for a while, you’ve probably been through a few cycles of simulators.
When Apple releases a new iPhone, new versions of Xcode and iOS usually come along with it. These new iPhones need their own simulators, and older simulators become obsolete. If you have old, unusable simulators, they might be using storage on your Mac.
To clear all unavailable simulators at once, you need to execute a terminal command.
Open Terminal.app. Then, enter the following command:
xcrun simctl delete unavailable
Press Enter.
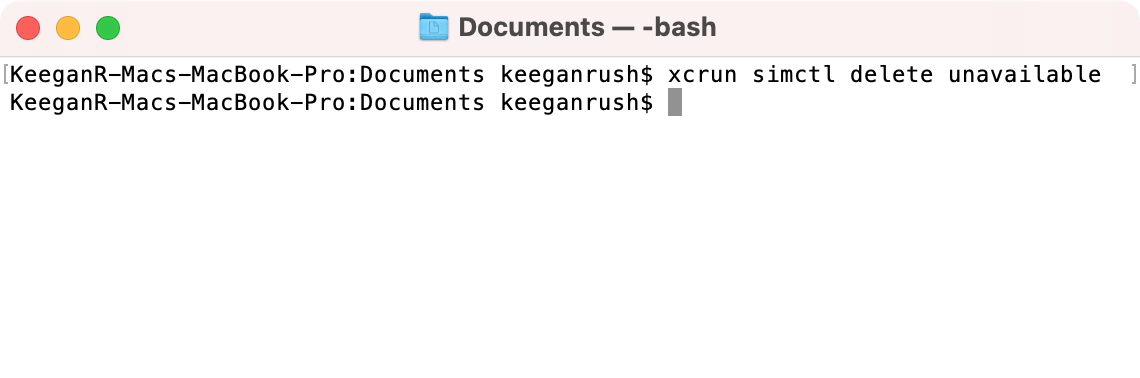
If you have unavailable simulators, you’ll get an output telling you what’s been cleared. If the output is blank, like in the previous screenshot, then you’re doing a great job at pruning your old simulators regularly. :]
Like unavailable simulators, your Mac also stores support files for old iOS versions. While you’re at it, you can reclaim some space by clearing any support files that you no longer need.
Device Support
When you attach a physical device to your Mac to install or debug one of your apps, Xcode creates device support files. Xcode uses these files to support developer functionality, like viewing crash logs.
Device support files are specific to each version of iOS, even minor versions. So if you build to your devices often, you might have support files for iOS 14.1, 14.2, 14.2.1 and so on.
Xcode will never delete these files for you, so they tend to build up over time. Fortunately, there’s no harm in deleting them yourself. Any time you use a physical device, Xcode installs the device support files automatically.
Finding Device Support Files
To find your iOS device support files, open a new Finder window. In the Finder menu bar, select Go ▸ Go to Folder…, and type this path:
~/Library/Developer/Xcode/iOS DeviceSupport

Click Go.

These support files use a whopping 11 gigabytes on my Mac — a prime candidate for cleaning. A good recommendation is to delete all but the most recent two iOS versions in the iOS DeviceSupport folder as it’s likely that you’ll still be supporting those versions.
This folder is only for iOS device support, but the watchOS and tvOS follow a similar pattern.
Other Platforms
Like the iOS files, you’ll find your watchOS support files at ~/Library/Developer/Xcode/watchOS DeviceSupport. Xcode stores tvOS device support files at ~/Library/Developer/Xcode/tvOS DeviceSupport.
If you haven’t connected an Apple Watch to your Mac for development purposes, you won’t have the watchOS DeviceSupport folder. The same applies to iOS and tvOS.
Caches
The last place to look for space savings is in various caches.
A cache stores data so programs using the cache can run faster, without needing to recompute data in the cache.
Caches are always transient, meaning that the data they contain are expected to be temporary. Deleting cached data has no adverse effect because the program that created the cache can regenerate it at any time. But for larger caches, you might experience a delay while the cache rebuilds.
Deleting caches is a common strategy to reclaim space. For example, when deleting Xcode’s cache, any old, unused data will remain deleted. Xcode can regenerate anything it still needs at a later date.
If you’re having trouble with Xcode or one of its related tools, clearing caches can help with this as well.
Most caches are stored in ~/Library/Caches, including the Xcode cache. You’ll find Xcode’s cache at ~/Library/Caches/com.apple.dt.Xcode.