ConstraintLayout Tutorial for Android: Getting Started
In this tutorial, you’ll learn the basics of creating Android views by using ConstraintLayout to build a login screen from scratch. By Fuad Kamal.
Adding an Image to Your App
For the next step, you’ll need the rocket image you saw in the screenshot of the app at the beginning of the tutorial. Use the Download Materials button at the start or end of the tutorial to download materials for this tutorial. You can find track_icon.png in the RazeGalactic-starter folder.
Take the track_icon.png and add it to the drawable folder of the project. You can select the file in your file system by copying with command-C on Mac or control-C on Windows, then right-clicking on the drawable folder in your Android project and pasting the image with command-V on Mac or contol-V on Windows.
You can drag and drop UI elements from Palette into the design screen. If you don’t see Palette, click on the vertical Palette tab icon.

Delete the “Hello World!” TextView then drag the following UI elements into the view from the Palette:
- One
ImageView. Pick the rocket image when prompted to select an image.

- Three
Buttons. - Three
TextViews.

Change the text of the UI elements and drag them around the screen to arrange them to look like the final layout preview at the beginning of this tutorial. Don’t worry too much about the precision of the views’ dimensions, spacing or alignment.
Next, you’ll need to add android:textAppearance="@style/TextAppearance.AppCompat.Headline" to Raze Galactic TextView to get the proper styling.

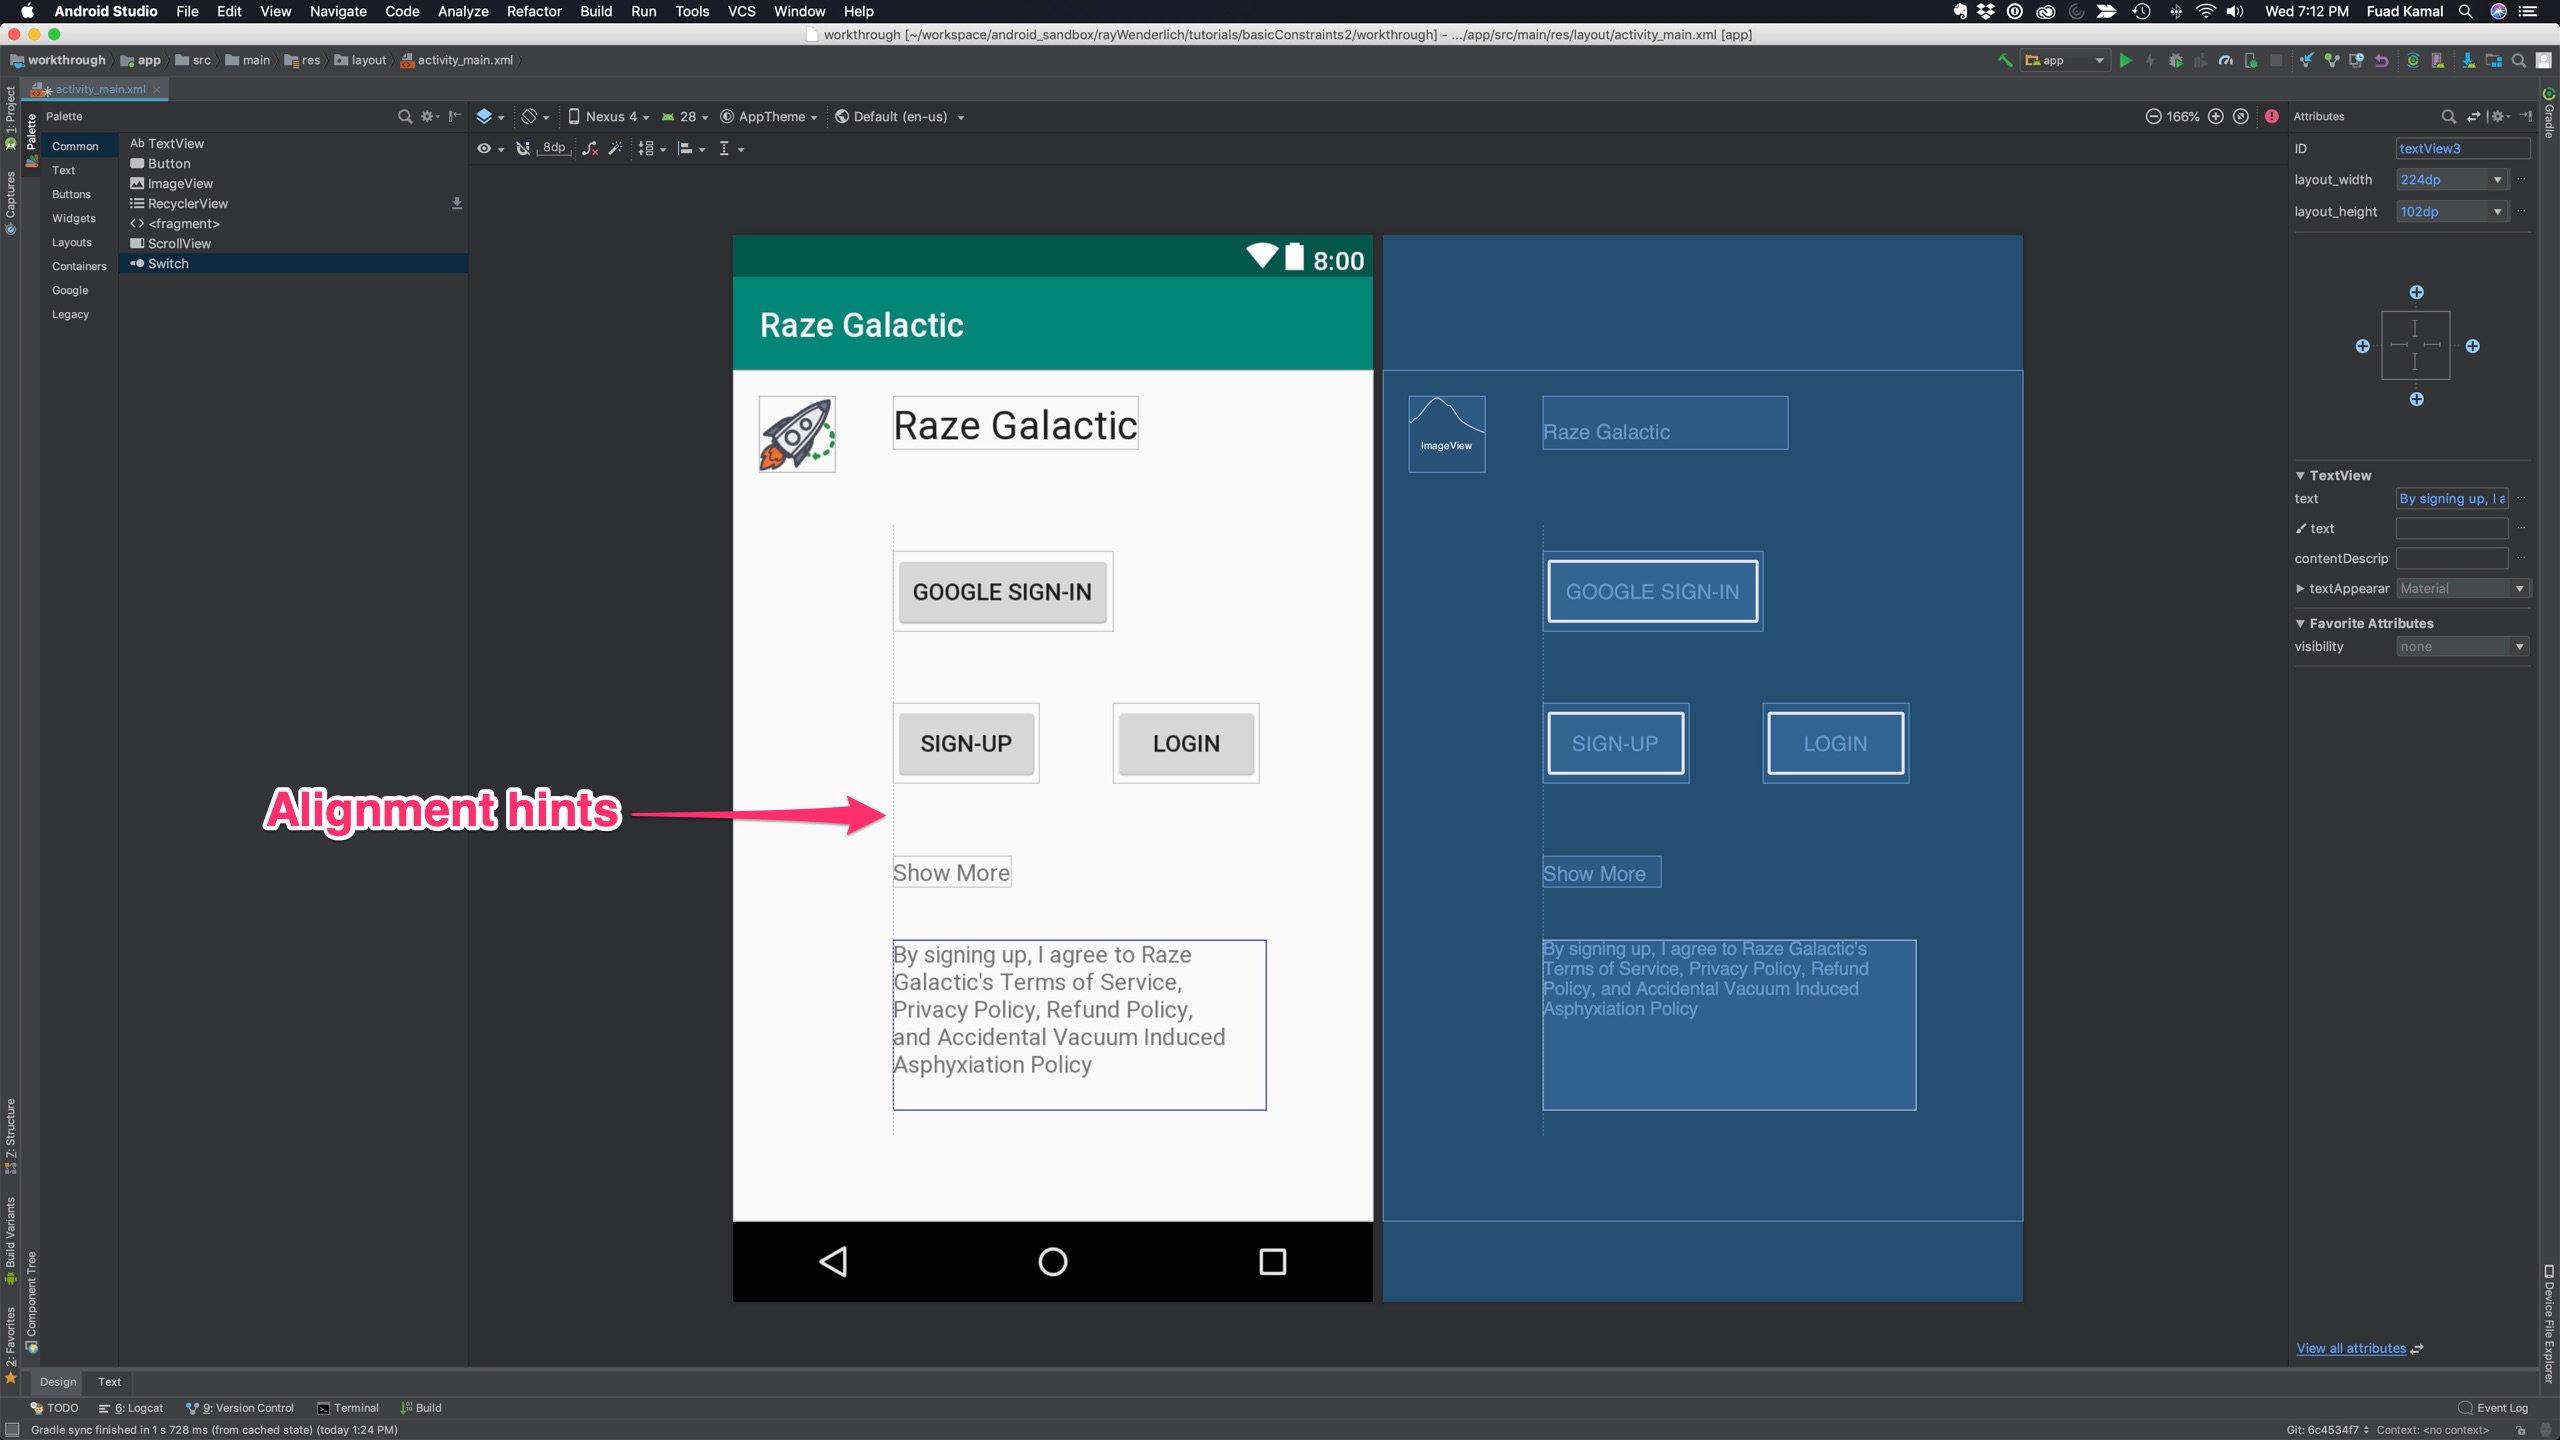
Notice the little alignment lines that appear to assist you as you drag the views around the screen. Those lines make it easy to line things up with one another.
Testing the View Placement
Now, build and run your app.

Oh no! The views aren’t appearing in the positions that you assigned to them in the design view! Everything is bunched up in the upper-left corner of the screen. What happened?
Well, Android doesn’t have enough information to place the UI elements because the views you added don’t have any defined constraints. So you’re going to need to fix that.
Go back to Android Studio and notice that there is now a series of errors for each of the new views in the Component Tree. To see the full text of the error, click the red exclamation mark in the Component Tree.

The error reads:
Switch back to code view to examine the source code of the layout XML. Notice that the source code of any view has some attributes with the tools prefix, such as these:
<ImageView
    android:id="@+id/imageView"
    android:layout_width="46dp"
    android:layout_height="46dp"
    app:srcCompat="@drawable/track_icon"
    tools:layout_editor_absoluteX="16dp"
    tools:layout_editor_absoluteY="16dp" />
The layout editor allows you to place widgets anywhere on the canvas, and it records the current position with designtime attributes using the tools prefix. These attributes are not applied to the actual runtime properties of the component. Keep this in mind moving forward.
Getting to Know the Layout Editor Toolbar
Switch back to the design view of the layout and you’ll see a bunch of small controls above the layout preview. If you hover over each control briefly with your mouse, you can read a brief description of what that control does.
Autoconnect

Click on the magnet icon in the tool bar to turn on Autoconnect. Drag any of the views to the area near the corners of the parent view. As you do so, Android Studio will automatically create new constraints for you.

Note that this only works for creating constraints between a UI element and its parent view, not among UI elements, so Autoconnect has very limited usefulness. Most of the time, you’ll want to make sure you have turned Autoconnect off.
Infer Constraints

Next, click the Infer Constraints button. Android Studio will now add all the constraints that were missing from your layout.
Build and run your app again. Now the components are not all bunched in the corner. They appear where you’ve placed them.

This is the easiest way to add constraints, but it can also be the worst. What Android Studio thinks you meant to do with the layout is often nothing like what you actually meant to do.
The view placement works correctly in this particular screen size, but it might not look like you want it to in a different screen size or screen orientation.
Clear All Constraints

If the constraints are messed up, you can clear all constraints and restart from scratch. To continue, clear your current constraints with the Clear All Constraints button.
Adding and Removing Individual Constraints
Android gives you several options to constrain UI elements to different parts of the screen, giving you flexibility with how you design your layout.
In this part of the tutorial, you’ll learn how to constrain objects to their container, delete individual constraints, and constrain objects to one another for a dynamic layout.
Constraining Objects to Their Container
Note that when you click on the ImageView, it becomes highlighted and little circles appear on the top, bottom, left and right sides of the view. These circles are your constraint anchors.

When you mouse over one of the constraint anchors, it will blink a green color. Android Studio gives you a hint that this is for creating constraint connections.

Click on the circle on the left-hand side of your element and drag it to the left. As you drag, a line with an arrow will appear, creating a constraint between the left side of the UI element and the element you want to connect it to.
Drag the circle to the left side of the view, constraining the ImageView to the left side of the parent view. Repeat this for the circle on the top of the ImageView to constrain it to the top of the view. You have now constrained the ImageView to the upper-left corner of the view.
Drag the image down a little, and Android Studio will create a margin at the top. Set the margin at the top to 30dp either by editing the XML code in the code view or by editing it in the Attributes inspector in the design view.

Next, select the Raze Galactic TextView. Drag the left constraint anchor to the left side of the parent view and the right constraint anchor to the right side of the parent view. By constraining this UI element to both the right and left sides, Android understands that you want to center it horizontally.
