GameplayKit Tutorial: Artificial Intelligence
In this tutorial, you’ll learn how to implement artificial intelligence (AI) in a SpriteKit game using GameplayKit and Swift. By Ryan Ackermann.
4.5 (4) · 1 Review
One of the best uses for GameplayKit is providing artificial intelligence for your games. Since GameplayKit is game-engine agnostic, it works with your games whether you’re using SpriteKit, SceneKit or even UIKit to power your development journey.
In this tutorial, you will learn how to incorporate an artificial intelligence into an existing game using GameplayKit.
This tutorial assumes you’re familiar with Swift and SpriteKit. If you need a refresher of Swift, check out our beginner series. If you are new to SpriteKit check out this tutorial.
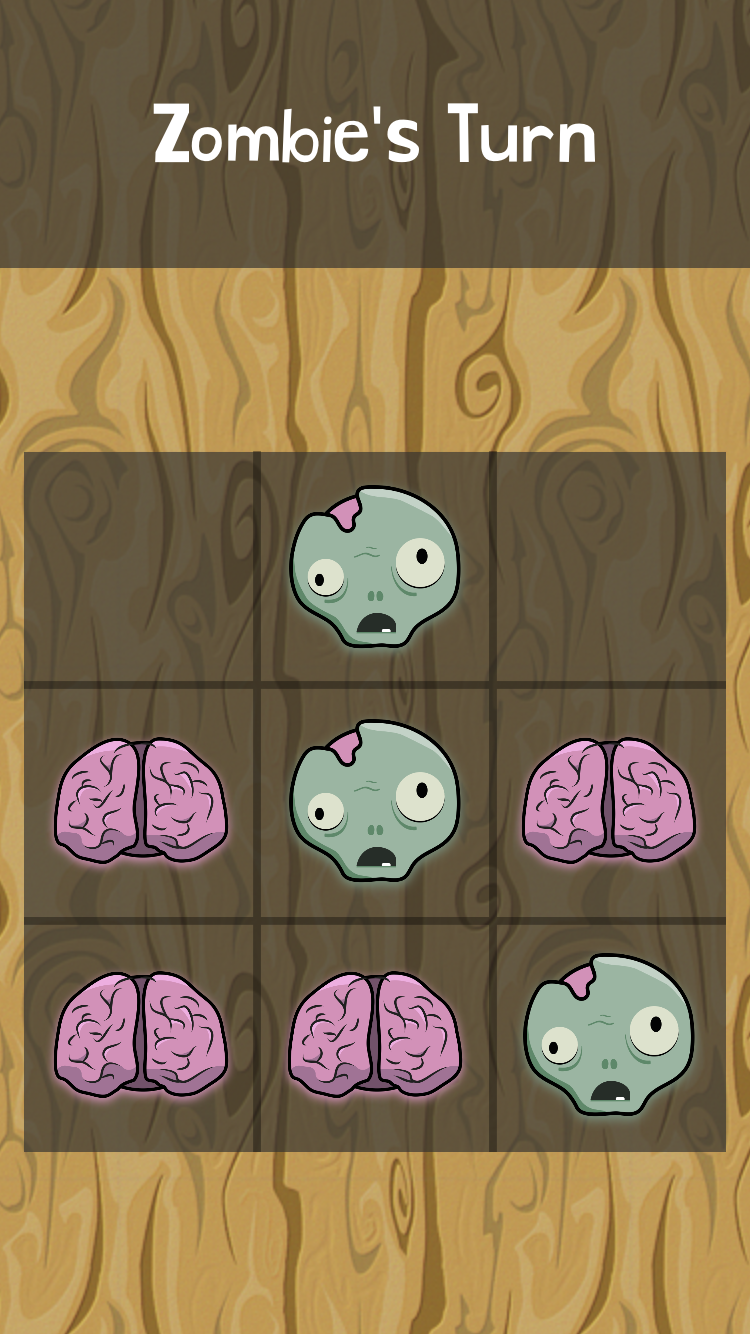
Get ready to defeat pesky zombies — in a classic game of Tic-Tac-Toe.
Getting Started
Download the starter project. This project is already organized into the following folders:
- Model: Contains the blank files to which you’ll add the GameplayKit methods to get the AI up and running.
- Game: Contains the SpriteKit code for the game scene lifecycle.
- Supporting Files: Contains the assets folder and all the standard files for an iOS app, such as the app delegate.
Build and run your game; it’s fully playable in its current state.
Time to bring some “life” into this game!
What is Artificial Intelligence?
Asking the real questions..
Asking the real questions..
Quite simply, an artificial intelligence (AI) is an algorithm that rationally analyzes data to make decisions. In video games, AI is used to bring realistic behavior to non-player characters. The best AIs will blur the line between non-player characters and human players.
The goal of any AI is to give the appearance of intelligence. However, if you gave the AI knowledge of all the rules of the game, it could easily win almost every match. Therefore, to avoid creating an undefeatable monster, it’s a good idea to introduce intentional errors.
A good example of restricting AI to make the game fair is the logic in first-person shooters (FPS). You wouldn’t want to play a game where the non-player characters have perfect aim and always know where you are.
The Strategist
The star of the show is the GKStrategist protocol. This protocol defines the general logic to decide which moves are the best ones to play.
Since this is a general purpose protocol, you can use it as a foundation to create your own custom strategist that will decide on moves according to your game’s needs. However, GameplayKit provides two specific strategist classes based on the GKStrategist protocol you can use in your games:
- The
GKMinmaxStrategistclass ranks every possible move to find the best one. The best move is the one that results in the AI player winning the game, or the one that minimizes the chances of other players winning. However, since this strategist runs through every possible move to assign it a rank, the performance toll increases as the game increases in complexity. - The
GKMonteCarloStrategistclass chooses its moves by making a probabilistic guess of a move that could likely result in the AI player winning the game. This is a more efficient approach and is likely to choose a good move, but not always the best one. Even in complex games, this strategist can still perform well since it doesn’t need to rank every move from best to worst.
For this game, you’ll be using the GKMinmaxStrategist. Given that Tic-Tac-Toe is a straightforward game with a limited set of outcomes, calculating the rank of any particular move is a trivial task.
For a strategist to work its magic, it has to know the structure of your game. That’s where the game model comes into play.
The Game Model
What a pun-ch line..

What a pun-ch line..
The game model is a representation of your gameplay that GameplayKit can understand. GameplayKit uses your game model to do the following:
- Analyze the game state by asking your model for the available moves for a given player.
- Test future moves by using copies of your game state to test the results of hypothetical moves.
- Rate each move to determine the optimal one. Since GameplayKit can simulate future moves, it will favor a move that provides better future results for the AI player.
Your model keeps track of all the players in the game. To GameplayKit, a player is simply a class that conforms to the GKGameModelPlayer protocol. This protocol is very easy to implement, as it only requires the player class to have a unique playerId property so your model can distinguish between players.
A move is simply a class that implements the GKGameModelUpdate protocol. According to this protocol, this class must contain a value property so it can assign the move a score based on its calculation. You’re free to design the rest of your move class according to your game’s needs.
Setting up the Model
Since this is TicTacToe, your model will consist of a 3×3 board and 2 players: the brain and the zombie. Your move class will keep track of the position of the player. You will make the AI only smart enough to determine if the next move will win the game.
Start off by opening Player.swift from the Model folder and add the GKGameModelPlayer protocol to the class declaration:
class Player: NSObject, GKGameModelPlayer {
You’ll see that Xcode warns you that Player doesn’t conform to the GKGameModelPlayer protocol.
To fix this, add the playerId property to the variable declarations below the value and name variables:
var playerId: Int
Scroll down to the init(_:) method and assign playerId an initial value:
playerId = value.rawValue
Your player class is now ready to be used by GameplayKit.
Open Move.swift and replace the contents with the following:
class Move: NSObject, GKGameModelUpdate {

  enum Score: Int {
    case none
    case win
  }

  var value: Int = 0
  var coordinate: CGPoint

  init(_ coordinate: CGPoint) {
    self.coordinate = coordinate
  }

}
Because this is the move class, you first declare conformance to the GKGameModelUpdate protocol. You will use the Score enum to define the score of a move based on whether it results in a win. Then, you provide a value property to help GameplayKit rate a move. You should never modify this property yourself during gameplay. Finally, the coordinate property is a CGPoint that contains the location on the board.
Now you can put these pieces together in your model class. Open Board.Swift and add the following class extension to the bottom of the file:
extension Board: GKGameModel {

  // MARK: - NSCopying

  func copy(with zone: NSZone? = nil) -> Any {
    let copy = Board()
    copy.setGameModel(self)
    return copy
  }

  // MARK: - GKGameModel

  var players: [GKGameModelPlayer]? {
    return Player.allPlayers
  }

  var activePlayer: GKGameModelPlayer? {
    return currentPlayer
  }

  func setGameModel(_ gameModel: GKGameModel) {
    if let board = gameModel as? Board {
      values = board.values
    }
  }

}
GKGameModel requires conformance to NSCopying because the strategist evaluates moves against copies of the game. The players property stores a list of all the players in the match and the activePlayer property keeps track of the player in turn. setGameModel(_:) lets GameplayKit update your game model with the new state after it makes a decision.
Next, add the following below setGameModel(_:):
func isWin(for player: GKGameModelPlayer) -> Bool {
  guard let player = player as? Player else {
    return false
  }

  if let winner = winningPlayer {
    return player == winner
  } else {
    return false
  }
}
This method, which is part of the starter project, determines whether a player wins the game via winningPlayer. It loops through the board to find whether either player has won and, if so, returns the winning player. You then use this result to compare it to the player that was passed onto this method.
Next, add this code right below isWin(for:):
func gameModelUpdates(for player: GKGameModelPlayer) -> [GKGameModelUpdate]? {
  // 1
  guard let player = player as? Player else {
    return nil
  }

  if isWin(for: player) {
    return nil
  }

  var moves = [Move]()

  // 2
  for x in 0..<values.count {
    for y in 0..<values[x].count {
      let position = CGPoint(x: x, y: y)
      if canMove(at: position) {
        moves.append(Move(position))
      }
    }
  }

  return moves
}

func apply(_ gameModelUpdate: GKGameModelUpdate) {
  guard  let move = gameModelUpdate as? Move else {
    return
  }

  // 3
  self[Int(move.coordinate.x), Int(move.coordinate.y)] = currentPlayer.value
  currentPlayer = currentPlayer.opponent
}
Here’s what’s going on in the code above:
-
gameModelUpdates(for:)tells GameplayKit about all the possible moves in the current state of the game. - You loop over all of the board’s positions and add a position to the possible moves array if it is not already occupied.
- GameplayKit calls
apply(_:)after each move selected by the strategist so you have the chance to update the game state. After a player makes a move, it is now the opponent’s turn.
At the bottom of the extension add this new method:
func score(for player: GKGameModelPlayer) -> Int {
  guard let player = player as? Player else {
    return Move.Score.none.rawValue
  }

  if isWin(for: player) {
    return Move.Score.win.rawValue
  } else {
    return Move.Score.none.rawValue
  }
}
The AI uses score(for:) to calculate it’s best move. When GameplayKit creates its move tree, it will select the shortest path to a winning outcome.
That’s it — the model is done. Now your brain is ready to come alive!
Zombies love some healthy brains..

Zombies love some healthy brains..