Documenting Kotlin Code for Android Using KDoc and Dokka
Learn how to use KDoc to document your Kotlin code and generate beautiful-looking documentation pages using Dokka. By Rajdeep Singh.
Sign up/Sign in
With a free Kodeco account you can download source code, track your progress, bookmark, personalise your learner profile and more!
Create accountAlready a member of Kodeco? Sign in
Sign up/Sign in
With a free Kodeco account you can download source code, track your progress, bookmark, personalise your learner profile and more!
Create accountAlready a member of Kodeco? Sign in
Contents
Documenting Kotlin Code for Android Using KDoc and Dokka
25 mins
- Getting Started
- Understanding the Project Structure
- Making a Case for Documentation
- Going Beyond Code Comments
- Learning From Examples
- Introducing KDoc
- Defining Block Tags
- Documenting Modules and Packages
- Introducing Dokka
- Integrating Dokka
- Generating Documentation
- Customizing Dokka
- Adding External Documentation
- Customizing Member Visibility
- Customizing Module and Package Pages
- Using Custom Assets
- Where to Go From Here?
Good documentation can make a developer prefer one library over others.
Documentation comes in many forms. From simple comments that live alongside the code to complex websites like the Android Developer documentation that cover things like platform APIs, build tools, samples, etc., it’s all documentation.
In this article, you’ll learn:
- How documentation can help you to improve the quality of your projects.
- To use KDoc to document your Kotlin code.
- To use Dokka to generate great-looking documentation quickly and easily.
- How to customize Dokka to your liking.
You’ll work on an Android library project called notktx and generate customized documentation for it.
The major target audience for libraries is usually other developers, so documenting a library project can be a great way to understand how to go about documenting codebases. Making it easy for other developers to use your project is a challenging but rewarding task — and good documentation plays a major role in it.
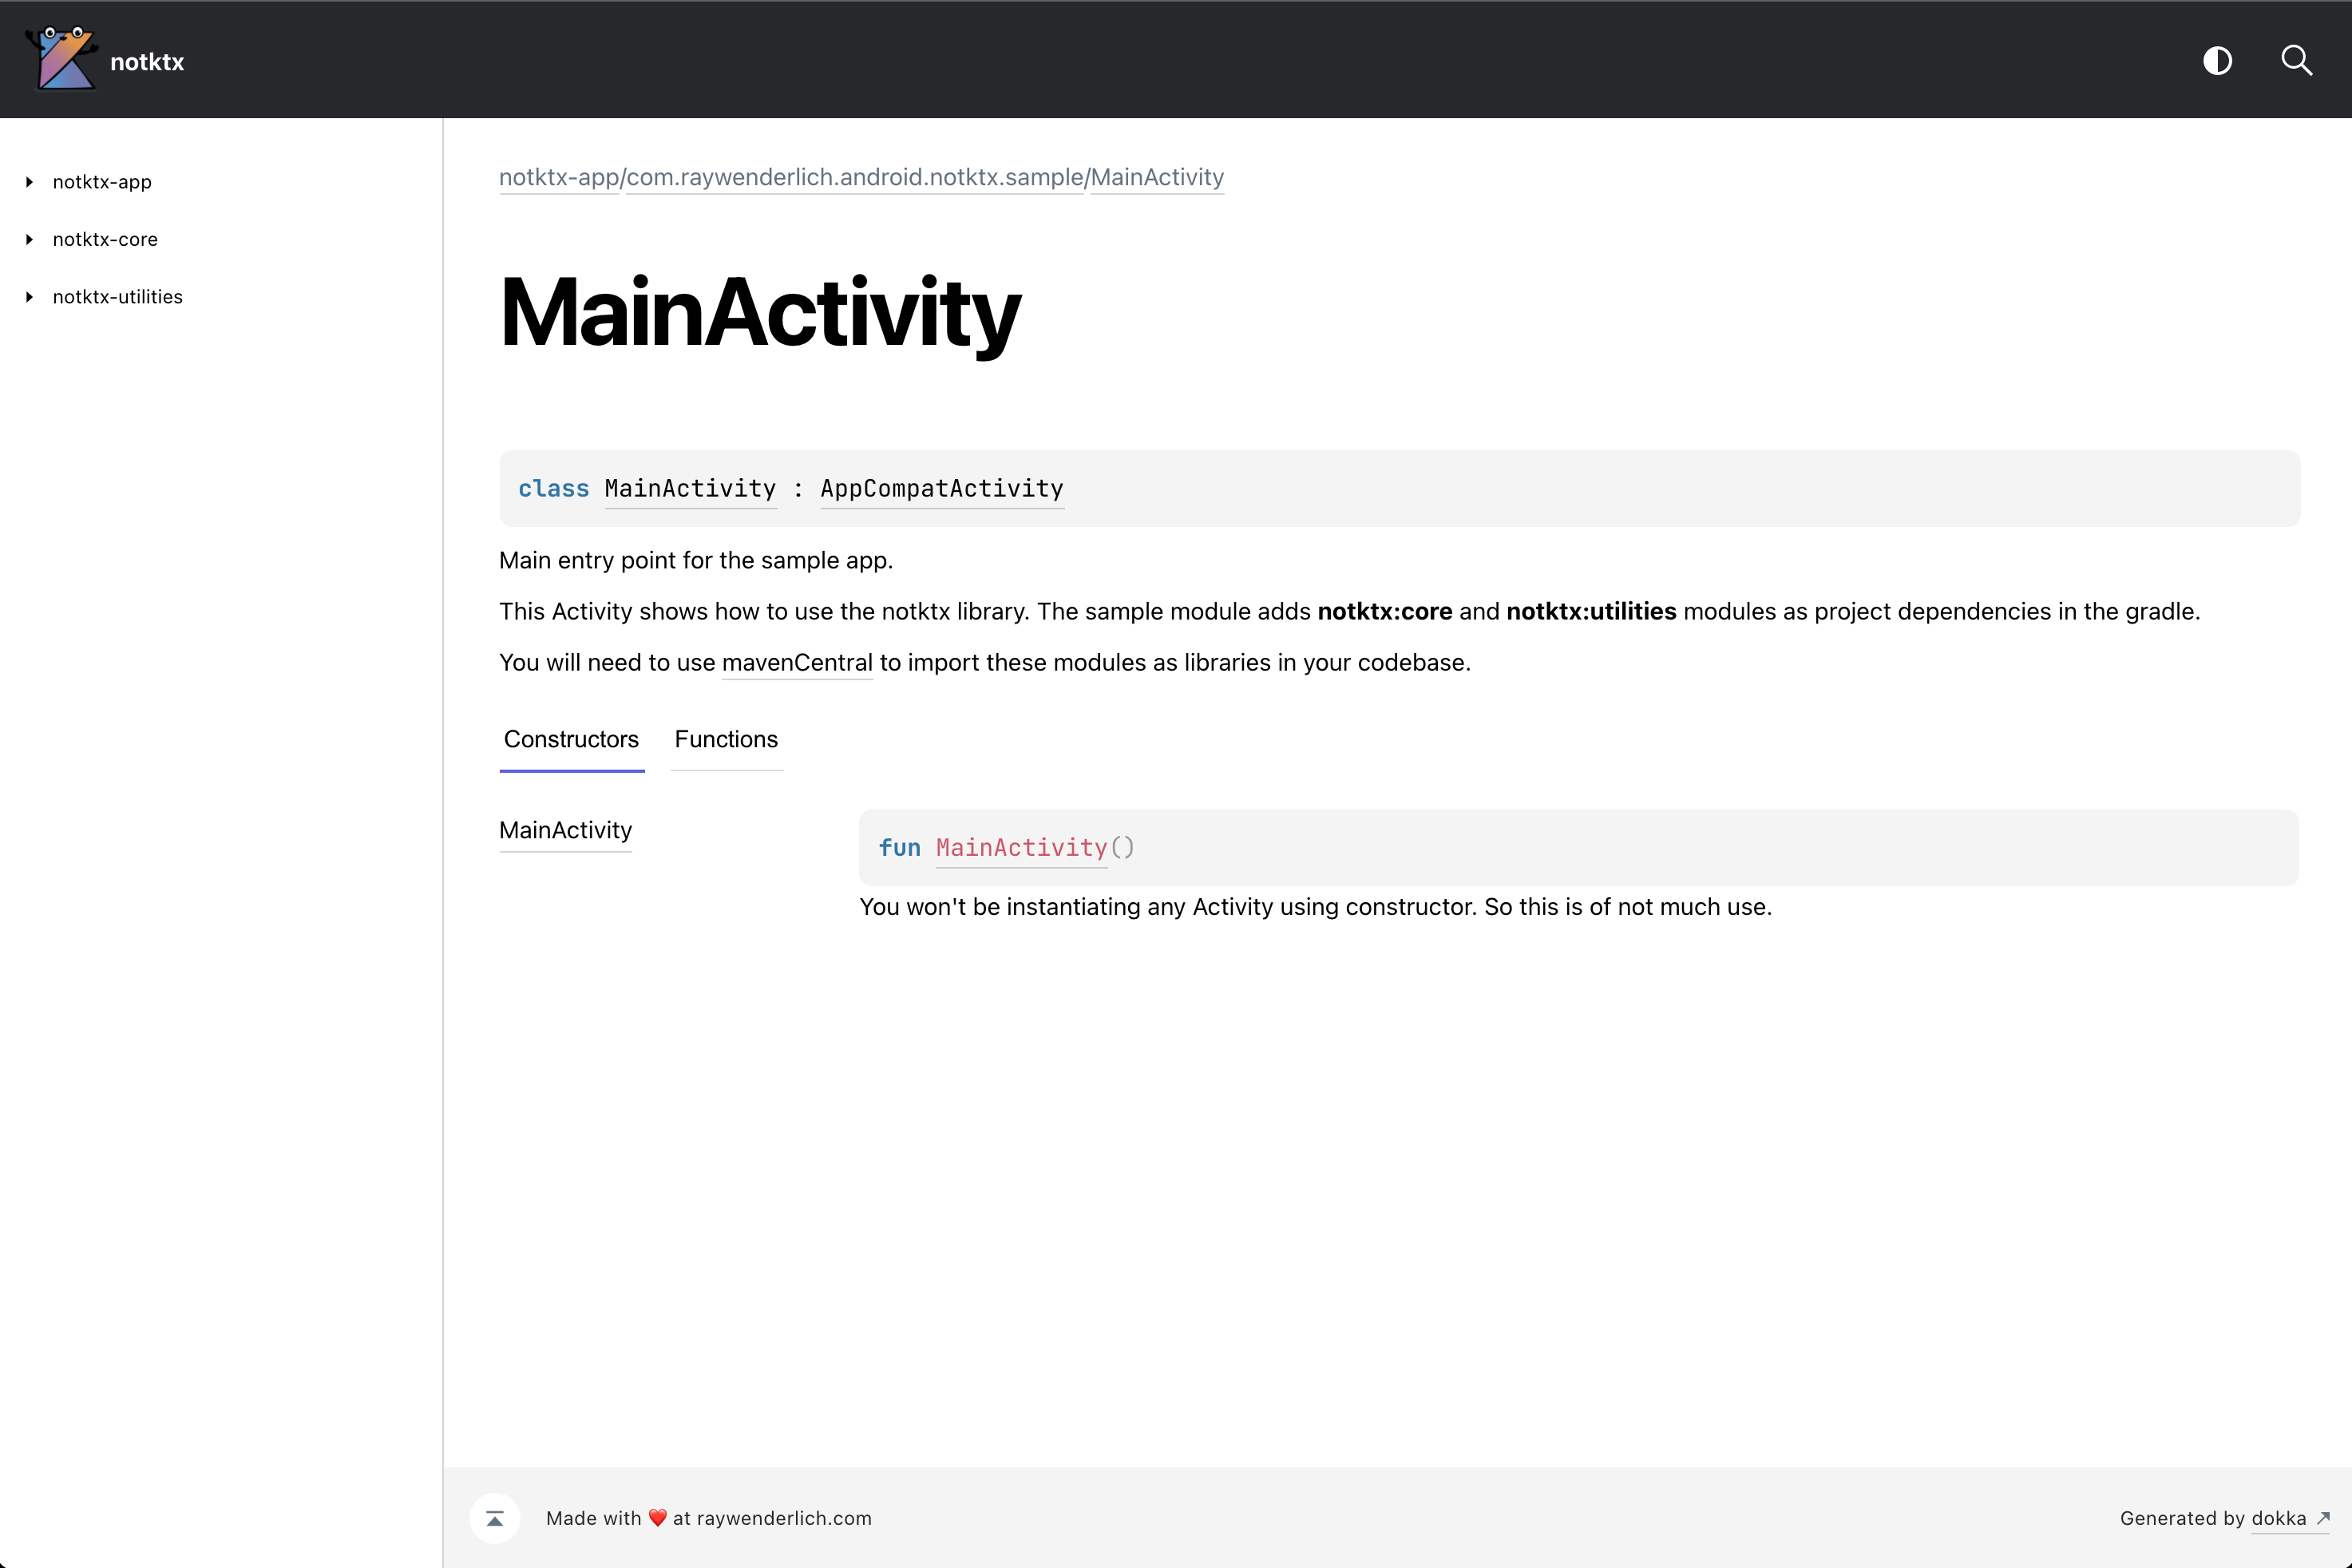
By the end of this article, you’ll have documentation generated in HTML for the notktx project. Here’s what it will look like:
This article assumes you have previous experience developing for Android in Kotlin. If you’re unfamiliar with Kotlin, take a look at this Introduction to Kotlin for Android article. If you’re also new to Android development, check out these Getting Started With Android tutorials.
Getting Started
Download the starter project by clicking the Download Materials button at the top or bottom of the tutorial.
Open Android Studio and click Open an existing Android Studio project.
Navigate to the starter project directory you downloaded and click Open.
Take some time to familiarize yourself with the project.
Understanding the Project Structure
The project implements extensions for Android widgets to help users by handling boilerplate code for various use cases.
You’ll find these three modules in the starter project:
- app: An app module that shows sample usage of the library.
- core: A library module that provides extensions for Android framework-related APIs and widgets.
- utilities: Another library module that provides extensions that use third-party libraries to work.
Now that you have an overview of the files in this project, build and run. You’ll see a screen like this:
Making a Case for Documentation
Without realizing it, you might already be documenting your code. The code snippets below show different ways to write an Extension Function for SharedPreferences
to add key-value pairs and commit the changes.
inline fun SharedPreferences.edit(ca: SharedPreferences.Editor.() -> Unit) {
val e = edit()
ca.invoke(e)
e.commit()
}
//vs
inline fun SharedPreferences.editAndCommit(action: SharedPreferences.Editor.() -> Unit) {
val prefsEditor = edit()
action.invoke(prefsEditor)
prefsEditor.commit()
}
Choosing descriptive names for variables and functions is the first step toward a well-documented codebase. In the example above, it’s much easier to understand what’s going on in the second function than in the first one.
You can go even further and add comments describing the function. For example:
/*
* An extension function on SharedPreferences receiver type.
*
* It uses commit to persist the changes and invokes
* action lambda function on the editor instance before committing.
*/
inline fun SharedPreferences.editAndCommit(action: SharedPreferences.Editor.() -> Unit) {
val prefsEditor = edit()
action.invoke(prefsEditor)
prefsEditor.commit()
}
When you document your code, you help new users and contributors to trust and understand your project better. In a professional setting, good documentation helps new developers on your team — as well as on other teams — to get started with your project quickly.
Documentation also helps you. Going through your old codebase line by line after some time away can be time-consuming. So by documenting it, you’re helping your future self, too.
Going Beyond Code Comments
Documentation doesn’t have a fixed definition — but it goes way beyond comments. You can get as creative as you want while documenting your code, as long as it helps others to understand your code.
There are many ways to document a project:
- Hosting API references online.
- Writing a small book to give users an overview.
- Recording screencast videos walking users through major parts of the code.
- …and the list goes on.
Learning From Examples
In the Android world, Glide and Retrofit are quite famous for loading images and making network calls — and their documentation pages are really good.
Both of them try to get readers started as quickly as possible with minimal setup, but they provide in-depth API references for the advanced readers, too.
Golang and Kotlin provide code playgrounds to let users directly interact with sample programs. Check those out here and here.
Another super-creative example of documentation is this YouTube channel by Andreas Kling. He regularly uploads screencasts about his project SerenityOS.
All that to say, there isn’t just one way to define documentation. In the next few sections, you’ll see how to use KDoc and Dokka to ease the process of generating documentation for your Kotlin/Java/Android projects.
Introducing KDoc
If you’re coming from a Java background and have used JavaDoc before, you’ll feel right at home with KDoc. It uses JavaDoc’s syntax and adds support for Kotlin-specific constructs.
For those who haven’t used JavaDoc before, it’s a tool by Oracle that generates HTML pages from the Java source code files. The language format it uses for documenting is also named JavaDoc.
JavaDoc parses the source files for class/method declarations along with the comments written in JavaDoc format to add descriptions for those elements.
KDoc uses JavaDoc’s syntax, but unlike JavaDoc, it isn’t a tool to generate the HTML pages. Dokka generates the documentation from KDoc comments.
Open MainActivity.kt in the starter code and replace TODO:1
with the code snippet below:
/*
Initializes the image loading sample views
This demonstrates a plain multiline comment
*/
Also, replace TODO:2
with this snippet:
/**
* Initializes the toast related views
*/
The first snippet is a plain multiline comment, and the second one is a KDoc documentation comment. It uses a forward slash followed by two asterisks instead of one.
Each line of a KDoc comment other than the first and the last one starts with an optional asterisk. Dokka ignores those asterisks.
Dokka recognizes KDoc comments only when they come immediately before a class/method/field definition — so they’re ignored when placed inside the body of a method or anywhere else.
The format of a KDoc comment consists of an initial description followed by a series of block tags. You’ll learn about the block tags in the next section.
The first paragraph of any KDoc comment before a blank line is the summary description of the element, and the text that follows is the detailed description.
Defining Block Tags
Block tags provide extra information about the element to which the comment applies.
It must appear at the beginning of a line and start with the @
character. This means you can use @
anywhere else in the comment and it won’t be interpreted as a block tag.
Enough with the theory. Open Prefs.kt in the core
module and replace TODO:3
with the following snippet:
/**
* An extension function on [SharedPreferences] receiver that uses
* <b>[commit][SharedPreferences.Editor.commit]</b> to persist the changes.
*
* It creates and uses an [Editor][SharedPreferences.Editor] object to allow editing the
* SharedPreferences instance by calling the provided [customAction] on the editor instance.
*
* <b>Sample usage</b>
*
* ```
* yourPrefsInstance.editAndCommit {
* putString("key", value)
* }
* ```
*
* @receiver [SharedPreferences]
* @param[customAction] Custom action to be executed on the created [editor][SharedPreferences.Editor]
* receiver
* @see SharedPreferences.editAndApply
*/
In the above snippet, the first paragraph is the summary description, followed by the detailed description. They get rendered differently when used with Dokka, which you’ll see later.
The block tags used in the above snippet are:
-
@receiver
: Documents the receiver of an extension function. -
@param
: Documents the properties of a class/method with its name and description. -
@see
: Adds a link to the specified class or method.
KDoc also supports HTML tags and inline markup using markdown syntax. The ‹b›
tag and [Editor][SharedPreferences.Editor]
in the snippet are some of the examples.
This is what Dokka generates:
You can look at all the block tags that KDoc supports here.
Documenting Modules and Packages
KDoc also supports documenting a package or a module using a custom markdown file.
Select the Project view in Android Studio, if it’s not already selected:
Open module.md in the app
module. Replace the contents of the file (the TODO:4
line) with the following:
# Module notktx-app
## Description
This adds a custom module-level description for the app module.
# Package com.raywenderlich.android.notktx.sample
This is the only package in the sample app.
It demonstrate usages of `notktx:core` and `notktx:utilities`
## Level 2 heading
Everything is rendered as plain markdown and gets associated with the first level heading
(Module or Package).
KDoc uses first-level headings for module and package names. You can reference the official documentation for more information on this.
This accounts for changes you’ll make later in this article.
This is how the module description will look when rendered by Dokka, which you’ll do next.
Introducing Dokka
Dokka is the documentation engine for Kotlin, performing the same function as the JavaDoc tool. The next few sections will be more hands-on than the previous ones.
Here are some of the key features of Dokka:
- Supports mixed-language Java/Kotlin projects.
- Understands standard JavaDoc comments in Java files and KDoc comments in Kotlin files. You can also use custom options to render Kotlin files as seen from the Java perspective.
- Generates documentation in multiple formats — including standard JavaDoc, HTML and Markdown.
Integrating Dokka
To integrate Dokka in this project, you’ll use gradle. You’ll do a quick Dokka setup in this section and generate a basic version of the documentation in the next.
Open the root-level build.gradle file and replace TODO:5
in the dependencies
block with the following:
classpath "org.jetbrains.dokka:dokka-gradle-plugin:1.6.0"
This adds the Dokka gradle plugin to the project’s classpath. Next, apply it to the project and modules. Replace TODO:6
in the same file with following:
apply plugin: "org.jetbrains.dokka"
You can manually add the Dokka plugin to each module or use the subprojects
block to dynamically add it. Replace the TODO:7
with the following:
apply plugin: "org.jetbrains.dokka"
Now you’re ready to use Dokka!
One more thing to note is that if you open multiple projects with the same rootProject name, notktx in this case, IntelliJ’s built-in server won’t be able to resolve the page and will give a 404 error.
Make sure you either open the starter project or the final project at this time.
Generating Documentation
Do a gradle sync for the changes you made in the last section. Then, open the terminal provided in Android Studio and run the following gradle tasks.
./gradlew dokkaHtml dokkaHtmlMultiModule
It can take a few minutes for these two tasks to complete. While they run, have a quick look at what they do:
-
dokkaHtml
: Generates HTML documentation for each module that has the Dokka plugin applied. -
dokkaHtmlMultiModule
: Generates documentation for the project as a whole by linking all the modules together.
Once the tasks complete, you’ll see build/dokka directories generated in each module and one at the root level.
The html directory in each module is generated by dokkaHtml
and contains documentation for each standalone module.
The htmlPartial directory in each module is generated by dokkaHtmlMultiModule
. It calls the dokkaHtmlPartial
gradle task in each module to generate this directory and combines them all in the root-level build/dokka/htmlMultiModule directory.
See all the gradle tasks added by Dokka by clicking on the gradle tab at the top right corner:
Right-click index.html in build/dokka/html inside the app module and select Open in ▸ Browser ▸ {Whatever browser you want}. This will use IntelliJ’s built-in server to load the file. The generated documentation will look like this:
Do the same for the index.html file in the root-level build/dokka/htmlMultiModule directory, and you’ll see this:
Congratulations! You’ve successfully generated documentation for your project. :]
If you’re facing this issue, don’t worry. You’ll fix this next by setting a custom output directory for the documentation.
Go ahead and explore the generated documentation pages. The rest of this article will build upon this and show how to customize Dokka to cater to some common use cases.
Customizing Dokka
The first thing you’ll customize is the output directory for module-level HTML documentation.
If you remember the gradle tasks from before, dokkaHtml
is the task responsible for generating HTML documentation for each individual module.
Open the root-level build.gradle file and replace TODO:8
with following:
tasks.named("dokkaHtml") {
outputDirectory.set(file("$rootProject.name-$project.name-dokka"))
}
This updates the task to use a different output directory for each module. So, Dokka will use notktx-app-dokka, notktx-core-dokka and notktx-utilities-dokka for the respective modules.
But now, calling the clean
task in gradle won’t delete the documentation directories because they aren’t under the build directory anymore.
To fix that, replace the TODO:9
line with the snippet shown below:
task cleanDokkaModuleDocs() {
subprojects {
delete file("$rootProject.name-$project.name-dokka")
}
}
To invoke this task automatically when calling ./gradlew clean
, update the clean
task to depend on dokkaHtmlMultiModule
. The task should look like this:
task clean(type: Delete, dependsOn: cleanDokkaModuleDocs) {
delete rootProject.buildDir
}
This adds a gradle task that goes through all the subprojects and deletes the custom documentation directories. Run ./gradlew dokkaHtml dokkaHtmlMultiModule
to generate documentation in the newly defined custom directory structure.
Whenever you want to delete those generated documentation directories, you need to run ./gradlew clean
in the terminal. It will call cleanDokkaModuleDocs
itself for you.
Adding External Documentation
There’s a minor problem in the documentation you generated in the last section. If you open the ImageLoaders.kt and look at the KDoc comment for loadImageFromUrl
, you’ll see this snippet:
* @see Picasso
This should add a link to Picasso
class in the See also section of loadImageFromUrl
‘s documentation.
But if you open the multimodule documentation in a browser and click loadImageFromUrl in the utilities
package, you’ll see it doesn’t provide a clickable link. Instead, it shows a text with the package name of Picasso.
Dokka needs to know the location of JavaDoc of any third-party library for this external linking to work. To do that, open the root-level build.gradle and replace TODO:10
with following snippet:
tasks.named("dokkaHtmlPartial") {
dokkaSourceSets {
named("main") {
externalDocumentationLink {
url.set(new URL("https://square.github.io/picasso/2.x/picasso/"))
}
externalDocumentationLink {
url.set(new URL("https://bumptech.github.io/glide/javadocs/4120/"))
}
}
}
}
One thing to keep in mind is that the external link has to end with a /
.
Add the external documentation links for dokkaHtml
task too by adding the below snippet in tasks.named("dokkaHtml")
:
dokkaSourceSets {
named("main") {
externalDocumentationLink {
url.set(new URL("https://square.github.io/picasso/2.x/picasso/"))
}
externalDocumentationLink {
url.set(new URL("https://bumptech.github.io/glide/javadocs/4120/"))
}
}
}
This adds the links to Picasso’s and Glide’s documentation pages. loadRoundImageFromUrl
uses Glide to load images.
Run ./gradlew clean dokkaHtmlMultiModule
in the terminal to generate the documentation again. You’ll see that Dokka adds the link to the Picasso
class in the documentation now. How it works under the hood goes beyond the scope of this article.
Dokka generates the See also section for @see
block tag. It’s useful for cases when you want to point readers to other functions or classes to get a better understanding of the current one.
Say that you decide to deprecate loadImageFromUrl
and add a new function, loadImageFromUrlV2
, that uses Glide
under the hood to load images instead of Picasso
to get consistent with loadRoundImageFromUrl
.
You’ll need to do three things:
- Add the new function and its documentation describing the library version in which it was added.
- Add a deprecation tag for
loadImageFromUrl
and a way to point users to its replacement function. - Update the library version.
Open ImageLoaders.kt and replace TODO:11
with the following snippet:
/**
* An extension function on [ImageView] receiver to load an image from some remote url.
*
* This function uses <b>Glide</b> which is a 3rd party library to handle all the networking and
* caching side of things. Glide handles the loading w.r.t. the lifecycle of the view for you.
*
* <b>Sample Usage</b>
*
* ```
* yourImageView.loadImageFromUrlV2(url = "https://someurl.com/someImage")
* ```
*
* @receiver [ImageView]
* @param url Url to load image from
* @since v1.0.2
* @see Glide
*/
fun ImageView.loadImageFromUrlV2(url: String) {
Glide.with(this).load(url).centerCrop().into(this)
}
To deprecate the existing function, you need to add Deprecated
annotation above its definition. And, to point users to the replacement function, you need to add @see loadImageFromUrlV2
in the KDoc comment.
After doing the above changes, loadImageFromUrl
will look something like this:
// Truncated code above
* @param url Url to load image from
* @see Picasso
* @see loadImageFromUrlV2
*/
@Deprecated(message = "Moving to Glide", replaceWith = ReplaceWith("loadImageFromUrlV2"),
level = DeprecationLevel.WARNING)
fun ImageView.loadImageFromUrl(url: String) {
// Truncated code below
Finally, you need to update the library version. Open publish.gradle file and change LIB_VERSION
variable to "1.0.2"
.
Run ./gradlew clean dokkaHtmlMultiModule
and you’ll see documentation pages updated to these:
Customizing Member Visibility
The next thing you’ll do is stop Dokka from showing all the methods and properties of parent classes in MainActivity.
Select the MainActivity tab in the generated docs, and you’ll see a lot of functions and properties listed there that you didn’t define. Those are from the parent classes and hide the functions and properties you actually care about.
Dokka provides a flag to hide the members of the parent class you didn’t explicitly override.
Open the root-level build.gradle file and add suppressInheritedMembers.set(true)
in both dokkaHtml
and dokkaHtmlPartial
tasks. Tasks should look like this:
// Truncated code above
tasks.named("dokkaHtml") {
outputDirectory.set(file("$rootProject.name-$project.name-dokka"))
suppressInheritedMembers.set(true)
// Truncated code
tasks.named("dokkaHtmlPartial") {
suppressInheritedMembers.set(true)
// Truncated code below
Run ./gradlew clean dokkaHtmlMultiModule
to see the changes:
The functions and properties from the parent classes are gone, but the overridden onCreate
method and other private methods and properties aren’t showing up either.
Dokka hides non public members by default. To show non-public properties and methods, you need to add includeNonPublic.set(true)
in the main source set in the dokkaSourceSets
block. It should look like this:
dokkaSourceSets {
named("main") {
includeNonPublic.set(true)
externalDocumentationLink {
url.set(new URL("https://square.github.io/picasso/2.x/picasso/"))
}
externalDocumentationLink {
url.set(new URL("https://bumptech.github.io/glide/javadocs/4120/"))
}
}
}
If you want any property, method or class to not show up in the documentation, you can use @suppress
tag. Open MainActivity.kt and replace TODO:15
with the snippet below:
/**
* @suppress
*/
Run ./gradlew clean dokkaHtmlMultiModule
to see the changes:
Customizing Module and Package Pages
Remember the changes you did in the Documenting Modules and Packages section? It’s time to start using those custom module.md files from each of the modules.
Open the root-level build.gradle file and add includes.from("module.md")
below includeNonPublic.set(true)
for both the custom tasks. It will look something like this:
// Truncated code above
named("main") {
includeNonPublic.set(true)
includes.from("module.md")
// Truncated code below
If you try generating the documentation now, the custom markdown for packages will work, but the one for modules won’t. This is because the actual module names and the ones used in module.md don’t match.
To fix this, you need to customize the module names in the documentation. Open the root-level build.gradle and add the following snippet in tasks.named("dokkaHtml")
and tasks.named("dokkaHtmlPartial")
:
moduleName.set("$rootProject.name-$project.name")
Run ./gradlew clean dokkaHtmlMultiModule
to see the changes:
Take some time to explore all three module.md files and see how their first-level heading maps to module- and package-level documentation pages.
Using Custom Assets
In this section, you’ll add a custom footer message and learn to add and replace custom CSS files.
Open the root-level build.gradle file and replace TODO:18
with the following snippet:
customFooterMessage = "Made with ❤️ at raywenderlich.com"
customLogoFile = projectDir.toString() + "/logo-style.css"
This defines extra properties for custom footer messages and CSS file paths in the project object.
In the root-level build.gradle file, add the following snippet under dokkaHtml
and dokkaHtmlPartial
tasks:
pluginsMapConfiguration.set(
[
"org.jetbrains.dokka.base.DokkaBase": """{
"footerMessage": "$customFooterMessage",
"customStyleSheets": ["$customLogoFile"]
}"""
]
)
This snippet adds a custom footer message and the path to logo-style.css in pluginsMapConfiguration
. Dokka uses it to customize documentation properties.
The CSS file is already added to the project for you. The customStyleSheets
property in Dokka adds new files or replaces old files if a file with the same name exists.
Dokka also uses logo-style.css to add a logo in the top left corner. The custom file that you used replaces that logo with another one.
Adding the snippet in those two tasks will customize the pages for standalone module documentation as well as module-level pages in the multimodule documentation.
In case of multimodule projects, the dokkaHtmlMultiModule
task generates the page that lists all the modules and not the dokkaHtmlPartial
task.
To customize that page, you need to add the same snippet in the dokkaHtmlMultiModule
task, too. You’ll add this in the afterEvaluate
block so that it gets executed after all the definitions in the build script are applied. Replace TODO:20
with the snippet below:
afterEvaluate {
tasks.named("dokkaHtmlMultiModule") {
pluginsMapConfiguration.set(
[
"org.jetbrains.dokka.base.DokkaBase": """{
"footerMessage": "$customFooterMessage",
"customStyleSheets": ["$customLogoFile"]
}"""
]
)
}
}
Run ./gradlew clean dokkaHtmlMultiModule
to see the changes:
Congratulations — you’ve completed this tutorial!
Where to Go From Here?
Download the completed project files by clicking the Download Materials button at the top or bottom of the tutorial.
Dokka uses a plugin system and provides extension points to write your custom plugins. Check that out here.
As a challenge from this article, you can generate documentation in other formats, such as JavaDoc and GFM.
We hope you enjoyed this tutorial. If you have any questions or comments, please join the forum discussion below!