An Introduction to Material Design with Kotlin
In this tutorial you’ll learn how to integrate Material Design into an existing app and create delightful interactions using the animation APIs. By Aaqib Hussain.
Implementing an Adapter for a Recycler View
You’re going to use an adapter for the RecyclerView to bind data to the view. In the main/java folder, right-click on the package com.raywenderlich.android.travelwishlist package and select New\Kotline File/Class. Create a class TravelListAdapter.
Add the following code to the class, taking care to preserve the package statement at the top of the file:
// 1
class TravelListAdapter(private var context: Context) : RecyclerView.Adapter<TravelListAdapter.ViewHolder>() {

  override fun getItemCount(): Int {

  }
  override fun onCreateViewHolder(parent: ViewGroup, viewType: Int): ViewHolder {

  }

  override fun onBindViewHolder(holder: ViewHolder, position: Int) {
  }

  // 2
  inner class ViewHolder(itemView: View) : RecyclerView.ViewHolder(itemView), View.OnClickListener {
  }
}
A couple of things are happening above:
- You make
TravelListAdapterextendRecycler.Adapterso that you can implement logic for the override methods you’ll add soon. You also setup the constructor with aContextthat will be passed in when you create an instance ofTravelListAdapterinMainActivity, which you’ll do a bit later in the tutorial. - You create the
ViewHolderclass. Whereas the use of theViewHolderpattern is optional inListView,RecyclerViewenforces it. This improves scrolling and performance by avoidingfindViewById()for each cell.
Update the RecyclerView.Adapter methods in TravelListAdapter to the following:
// 1
override fun getItemCount() = PlaceData.placeList().size

// 2
override fun onCreateViewHolder(parent: ViewGroup, viewType: Int): ViewHolder {
  val itemView = LayoutInflater.from(parent.context).inflate(R.layout.row_places, parent, false)
  return ViewHolder(itemView)
}

//3
override fun onBindViewHolder(holder: ViewHolder, position: Int) {
  val place = PlaceData.placeList()[position]
  holder.itemView.placeName.text = place.name
  Picasso.with(context).load(place.getImageResourceId(context)).into(holder.itemView.placeImage)
}
Here’s what’s happening:
-
getItemCount()returns the number of items from your data array. In this case, you’re using the size of thePlaceData.placeList(). -
onCreateViewHolder(...)returns a new instance of yourViewHolderby passing an inflated view ofrow_places. -
onBindViewHolder(...)binds thePlaceobject to the UI elements inViewHolder. You’ll use Picasso to cache the images for the list.
Add a field in MainActivity that will hold a reference to your adapter:
lateinit private var adapter: TravelListAdapter
And then create an instance of your adapter and pass it to the RecyclerView at the bottom of onCreate(), just after you configure the layout manager:
adapter = TravelListAdapter(this)
list.adapter = adapter
Now build and run the app, and you’ll see a populated list of places.
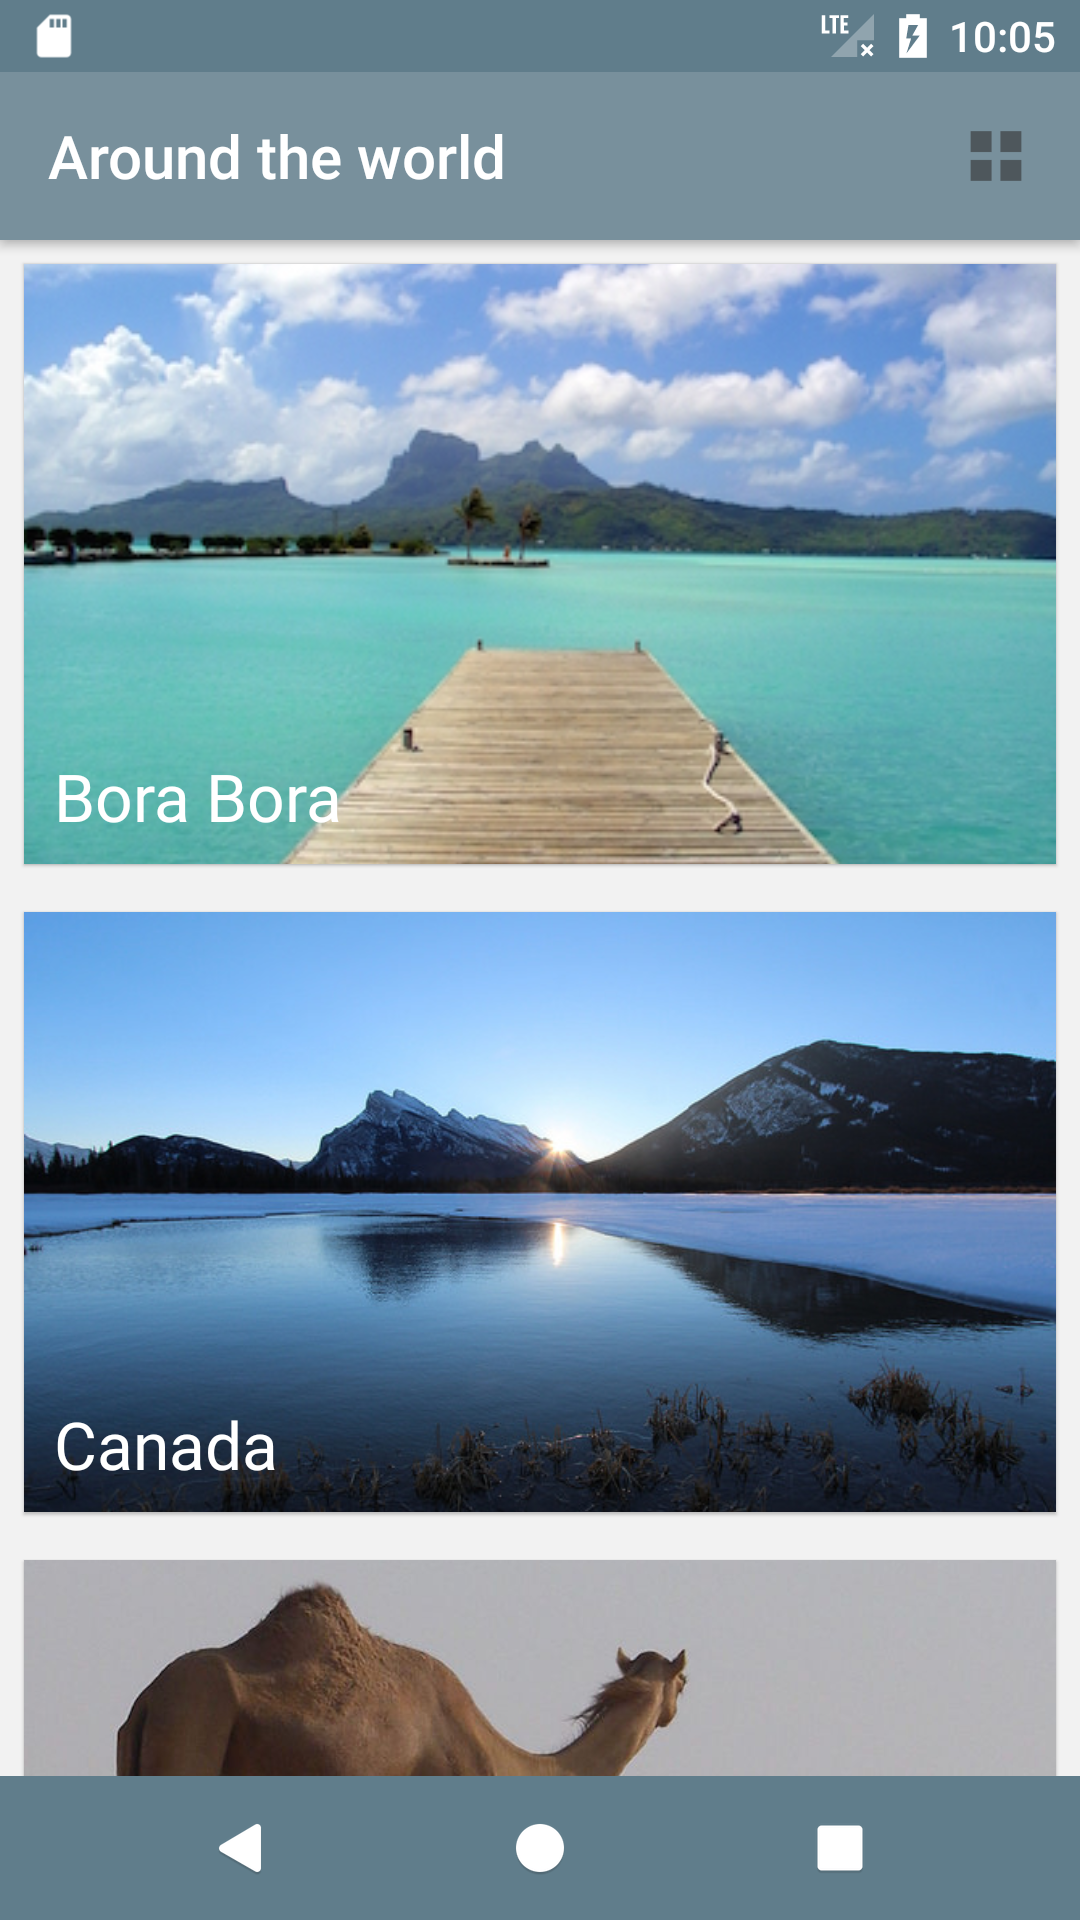
Which place is calling your name? I like the look of that turquoise water. But wherever you want to go, you’ll want to cultivate your dream by taking notes about what to do there. First, you need to make the cells respond to a user’s touch.

Implementing a Click Interface for Each Cell
Unlike ListView, RecyclerView doesn’t come with an onItemClick interface, so you have to implement one in the adapter. In TravelListAdapter, create a property to hold an instance of OnItemClickListener. Add the following to the top of TravelListAdapter:
lateinit var itemClickListener: OnItemClickListener
Now implement View.OnClickListener by adding the interface to the ViewHolder inner class definition like this:
inner class ViewHolder(itemView: View) : RecyclerView.ViewHolder(itemView), View.OnClickListener {
Then add the following method stub to the inner ViewHolder class:
override fun onClick(view: View) {

}
Hook the two up by adding the following init block to the top of ViewHolder:
init {
  itemView.placeHolder.setOnClickListener(this)
}
Above, you initiate setOnClickListener for placeHolder and implement the onClick override method.
You need to do a few more things to implement the onClick interface for the RecyclerView. First, after the inner ViewHolder class definition add the following:
interface OnItemClickListener {
  fun onItemClick(view: View, position: Int)
}
Next, add the setter method of the onClickListener to TravelListAdapter:
fun setOnItemClickListener(itemClickListener: OnItemClickListener) {
  this.itemClickListener = itemClickListener
}
Now implement the logic in the empty onClick() stub within the inner ViewHolder class:
override fun onClick(view: View) = itemClickListener.onItemClick(itemView, adapterPosition)
In MainActivity, create an instance of OnItemClickListener above onCreate():
private val onItemClickListener = object : TravelListAdapter.OnItemClickListener {
  override fun onItemClick(view: View, position: Int) {
    Toast.makeText(this@MainActivity, "Clicked " + position, Toast.LENGTH_SHORT).show()
  }
}
Finally, set the listener to the adapter by adding the following code to the bottom of onCreate(), just after where you set the adapter:
adapter.setOnItemClickListener(onItemClickListener)
Build and run. Now when you tap a cell you’ll see ripple effect every time you touch a row, and a Toast notification displaying the position of the cell in the list.
From List to Grid and Back
StaggeredLayoutManager lets you add versatility to your layouts. To change your existing list to a more compact two-column grid, you simply have to change the spanCount of the StaggeredLayoutManager in MainActivity.
In toggle(), add the following to the top of the showGridView():
staggeredLayoutManager.spanCount = 2
And now add the following to the top of showListView():
staggeredLayoutManager.spanCount = 1
Here you’re simply switching between single and double span counts, which displays single and double columns respectively.
Build and run and use the action bar button to toggle between list and grid views.
Using the Palette API in the List
Now you can add some interesting Material Design features into the mix, starting with the Palette API. Head back to TravelListAdapter, where you’ll define a background color for placeNameHolder that will be determined dynamically using the colors in the image.
Add the following to the bottom of onBindViewHolder(...):
val photo = BitmapFactory.decodeResource(context.resources,
place.getImageResourceId(context))
Palette.from(photo).generate { palette ->
  val bgColor = palette.getMutedColor(ContextCompat.getColor(context,
 android.R.color.black))
  holder.itemView.placeNameHolder.setBackgroundColor(bgColor)
}
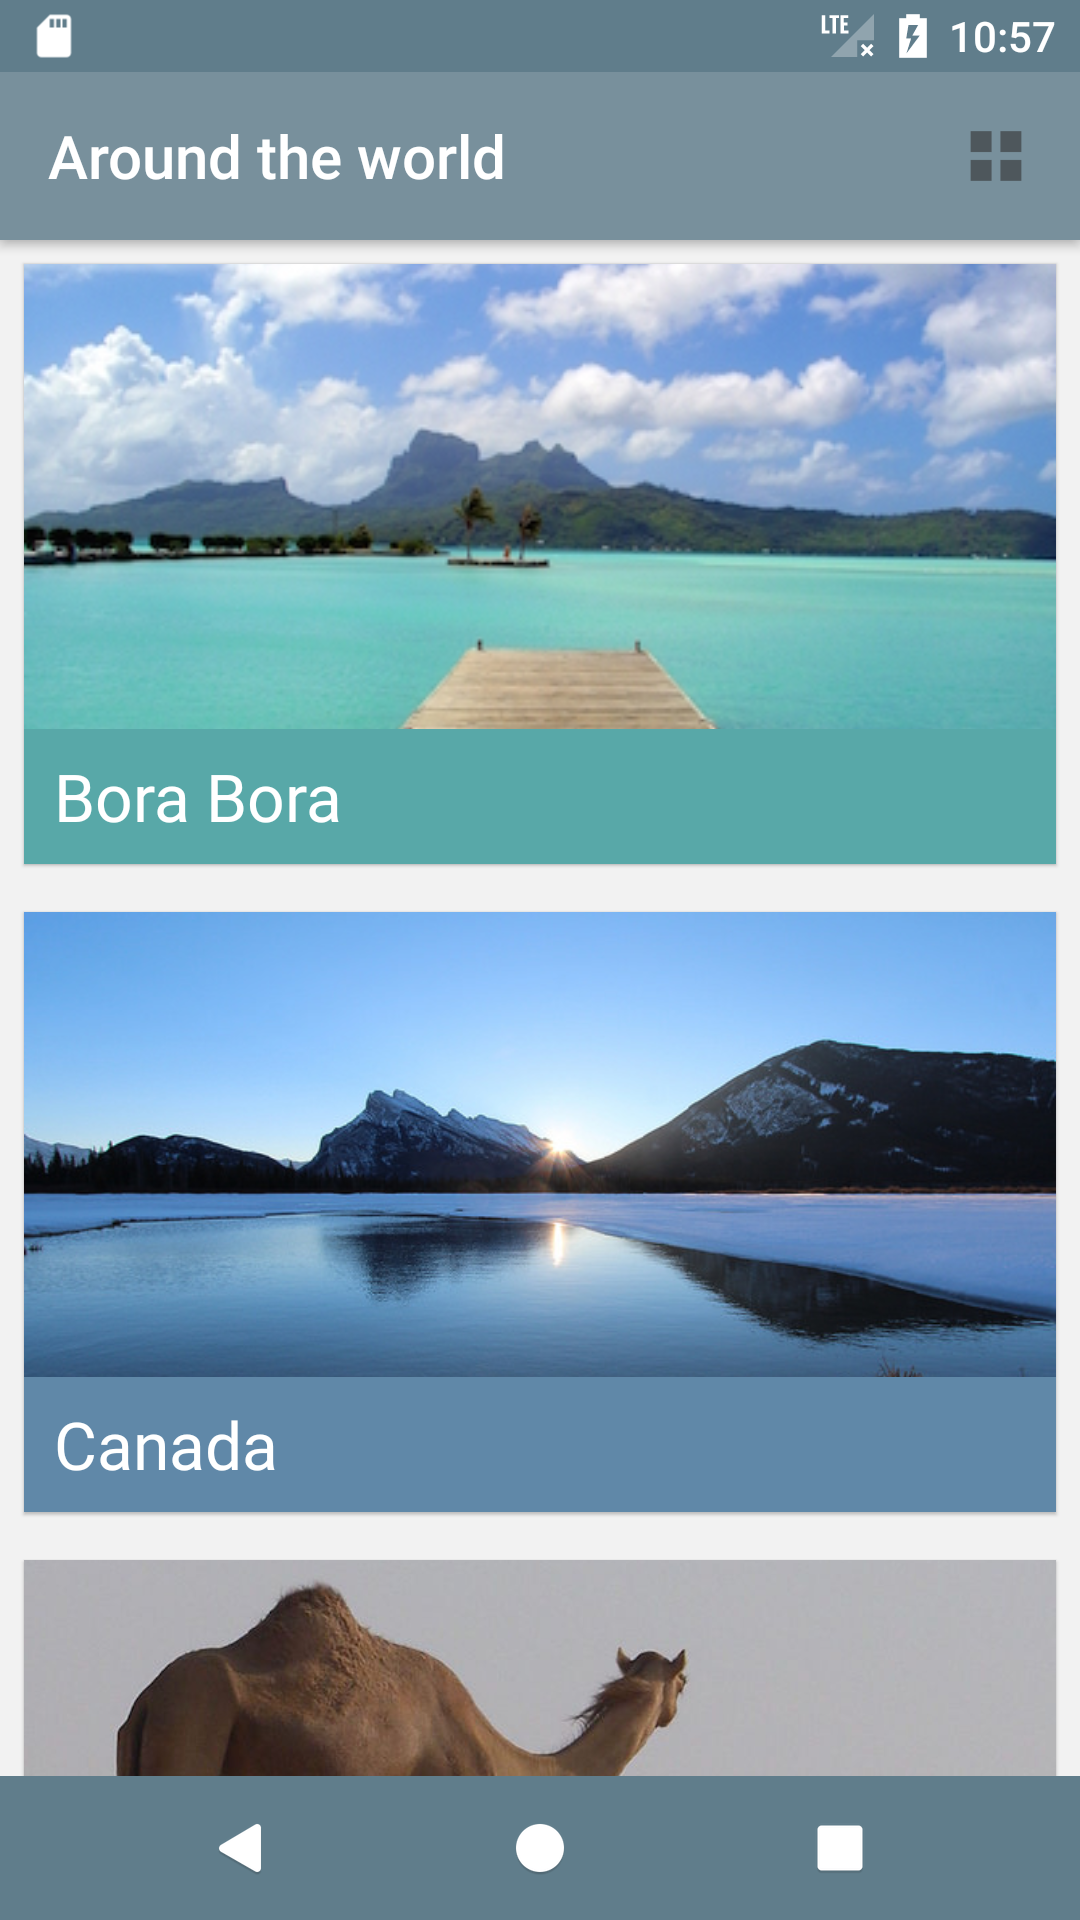
The generate(...) method creates a color palette in the background, and is passed a lambda that is called when the palette has been generated. Here you can access the generated color palette and set the background color of holder.itemView.placeNameHolder. If the color doesn’t exist, the method will apply a fallback color — in this case, android.R.color.black.
Build and run to see the Palette API in action!
I encourage you to experiment with these. Instead of palette.getMutedColor(...), try palette.getVibrantColor(...), palette.getDarkVibrantColor(...) and so on.
- Vibrant
- Dark Vibrant
- Light Vibrant
- Muted
- Dark Muted
- Light Muted
- Vibrant
- Dark Vibrant
- Light Vibrant
- Muted
- Dark Muted
- Light Muted
I encourage you to experiment with these. Instead of palette.getMutedColor(...), try palette.getVibrantColor(...), palette.getDarkVibrantColor(...) and so on.