Developing and Testing Server-Side Swift with Docker and Vapor
Use Docker to develop and test your Vapor apps and learn to use Docker Compose to run different services, which include a database. By Natan Rolnik.
Using Docker Compose to Configure PostgreSQL
The TIL app now uses SQLite, which is an easy-to-configure database, ideal for getting up and running locally.
Although SQLite is great for prototyping, you’ll still want to deploy your application with a production-scale database, like PostgreSQL.
Instead of installing PostgreSQL on your machine, a better approach is to use an existing PostgreSQL image, so that your development and production environments are the same. And here is where Docker Compose comes in handy.
Docker Compose is a tool for managing apps that require multiple containers. You define all your services in a YAML file, and each service has its Dockerfile or base image. Then, the tool builds all of them with a single command, saving you from the manual overhead of building each container separately and connecting them.
Creating the Docker Compose File
In the root directory of the project, create a file named docker-compose-development.yml. Open it and paste the following contents:
# 1
version: '3'

services:
  # 2
  til-app-dev:
    build:
      context: .
      dockerfile: development.Dockerfile
    ports:
      - "8080:8080"
    # 3
    environment:
      # 4
      - DATABASE_HOST=postgres
      - DATABASE_PORT=5432
    # 5
    depends_on:
      - postgres
  # 6
  postgres:
    image: "postgres"
    # 7
    environment:
      - POSTGRES_DB=vapor_database
      - POSTGRES_USER=vapor_username
      - POSTGRES_PASSWORD=vapor_password
  # 8
  start_dependencies:
    image: dadarek/wait-for-dependencies
    depends_on:
      - postgres
    command: postgres:5432
Let’s look at the instructions included in this file:
- Specify the version of your Compose file, followed by the list of services you want.
- The first service is the app itself. It will use development.Dockerfile and expose the
8080port. Until now, this matches the flags you used in the previous sections when running the image. - Use
environmentto pass the database hostname and port to the app. Some values can change depending on the configuration, and you shouldn’t commit secrets, such as passwords and tokens, into source control. For that reason, use environment variables in these situations, which your app will be able to access. - Connect to the postgres container, defined a few lines below, using the
postgreshostname and port5432. - Set the
depends_onoption, to indicate dependencies between services and startup order. In this case, the app depends on the database container. - Define the database container, naming it
postgresand using the Postgres base image. - Pass the database name within the Postgres image, along with the user and password you chose.
- Use the
wait-for-dependenciesimage to start the database container before starting the app.
You’ve now created the Docker Compose file. But, you can’t use it yet. The app is still using SQLite. Next, you’ll replace it with PostgreSQL.
Changing the App to Use PostgreSQL
Before building with the Docker Compose file, change the app to use PostgreSQL. The sample project already includes the Fluent Postgres driver, so you won’t need to add it to the package description.
Because you won’t be using SQLite anymore, you no longer need the package fluent-sqlite-driver. So remove it by following the instructions below:
- Open the Package.swift file and remove the two references to
fluent-sqlite-driver. One is in the package’s dependencies, and the other one in the target’s dependencies. - There’s no more need to install
libsqlite3-devin the docker image. Open development.Dockerfile and remove the lineRUN apt-get update && apt-get install libsqlite3-dev.
To replace SQLite with Postgres in the app itself, open configure.swift and replace the statement import FluentSQLiteDriver with import FluentPostgresDriver. Then, replace the following line:
app.databases.use(.sqlite(), as: .sqlite)
with:
app.databases.use(.postgres(
  hostname: Environment.get("DATABASE_HOST") ?? "localhost",
  port: Environment.get("DATABASE_PORT").flatMap(Int.init) ?? 5432,
  username: Environment.get("DATABASE_USERNAME") ?? "vapor_username",
  password: Environment.get("DATABASE_PASSWORD") ?? "vapor_password",
  database: Environment.get("DATABASE_NAME") ?? "vapor_database"), as: .psql)
To configure a Postgres database, you need to configure a bunch of parameters. All of them use environment variables, and in case they’re not set, use the hardcoded fallback. The parameters are:
- The host name: the address of the database server. Use the environment variable and fall back to the localhost. In this case, that’s your local machine.
-
The port to connect to: If not set, use the
5432port by default. -
The username and password to authenticate with the server. The fallback values match the username and password environment variables you declared in the
postgresservice in the Docker Compose file. -
The database name. Although it’s also an optional parameter, it’s appropriate to set a name if you have different purposes, such as testing. This also must match the
POSTGRES_DBenvironment variable from thepostgresservice.
You’re now ready to build your first Docker images using Compose.
Building and Running with Docker Compose
Open Terminal again in the root directory and run the following command:
docker-compose --file docker-compose-development.yml build til-app-dev
The --file flag tells Docker to use the docker-compose-development.yml file you just created and build only the app service with it (at least initially). Composing will take a few minutes to complete.
Now that the app image is ready, your next step is certifying that the database is running. Run this in Terminal:
docker-compose --file docker-compose-development.yml run --rm start_dependencies
This will ensure that the database container is up, running and ready to be connected to. Here, you use --rm to certify that Docker will remove this container after the command returns. Once the previous command has finished, run the app image using Docker Compose, as follows:
docker-compose --file docker-compose-development.yml up til-app-dev
Open http://localhost:8080 in the browser and you’ll see that the app is running and it’s now using PostgreSQL. Well done!
Open Docker for Desktop and you’ll see that it lists the services and containers grouped by project, as defined in the Docker Compose file.
Services and containers grouped per project, as defined in Docker Compose.
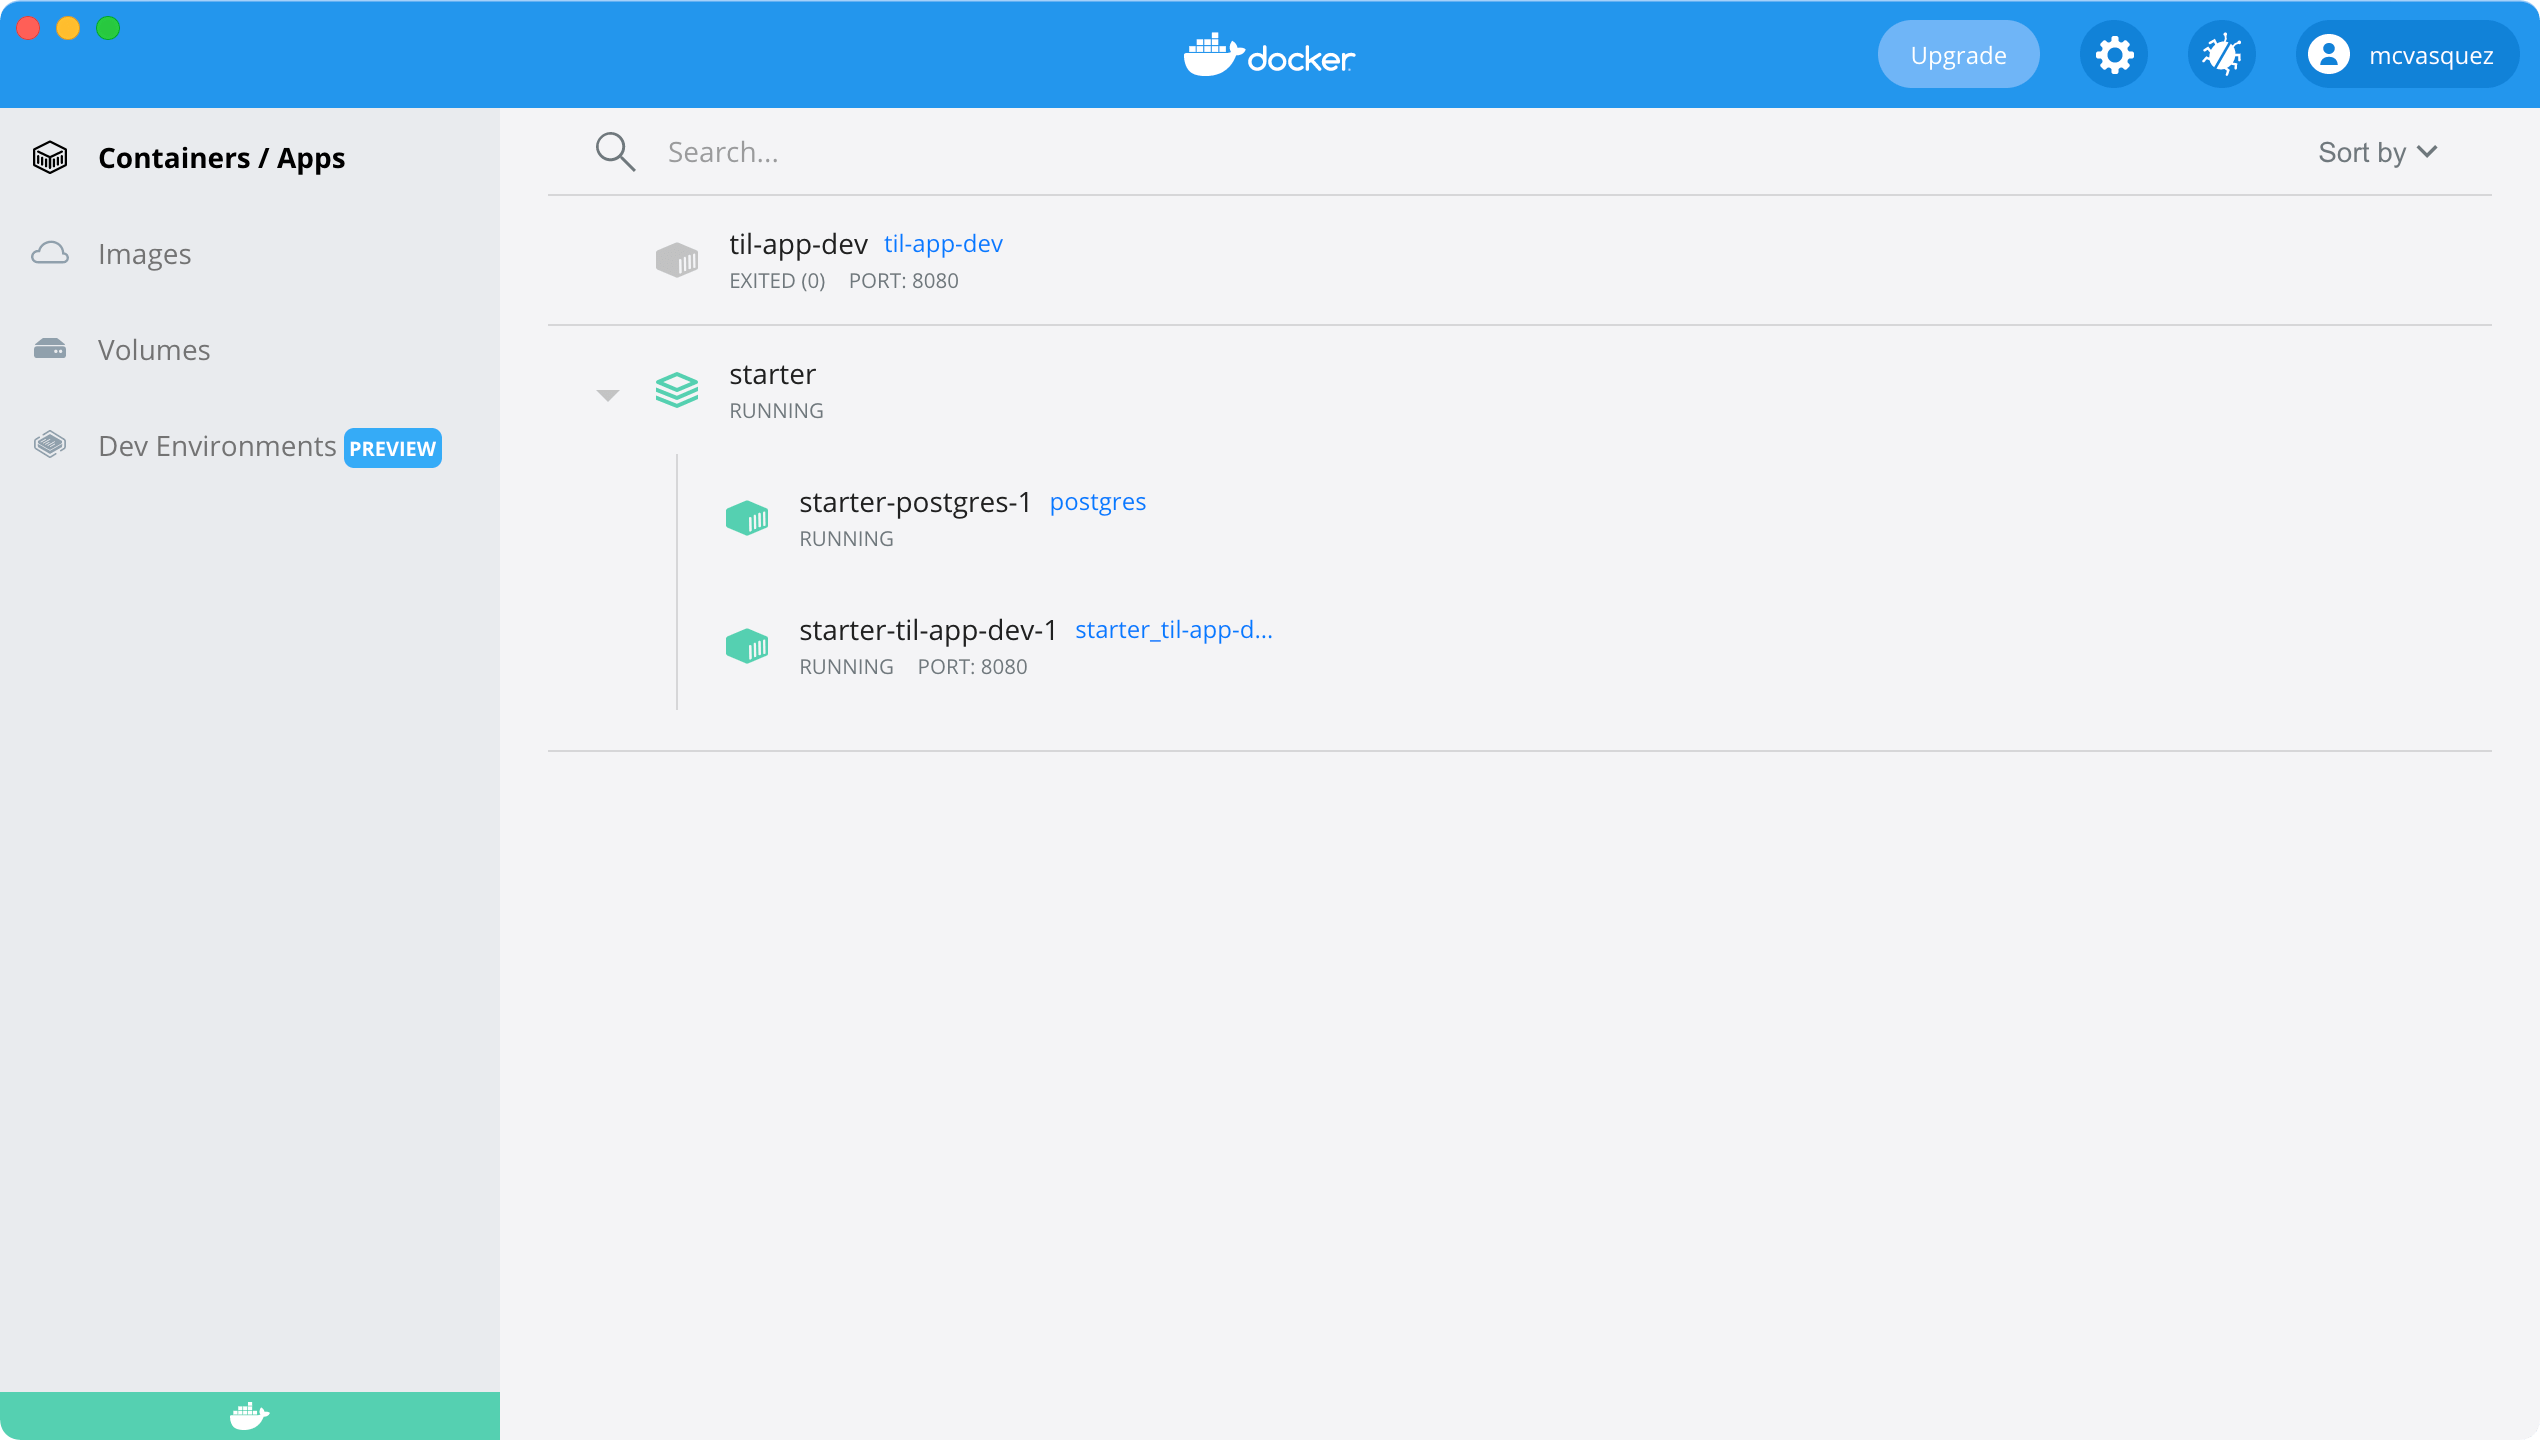
Services and containers grouped per project, as defined in Docker Compose.
Running Your App’s Tests
The next critical piece is testing. Your tests need to run on Linux as well. Docker does the heavy lifting for you once again to make this happen.