AVAudioEngine Tutorial for iOS: Getting Started
Learn how to use AVAudioEngine to build the next greatest podcasting app! Implement audio features to pause, skip, speed up, slow down and change the pitch of audio in your app. By Ryan Ackermann.
Implementing Rate Change
The next feature to add is a nice quality-of-life addition to any audio app. Listening to podcasts at higher than 1× speeds is a popular feature these days.
Add the following to updateForRateSelection():
let selectedRate = allPlaybackRates[playbackRateIndex]
timeEffect.rate = Float(selectedRate.value)
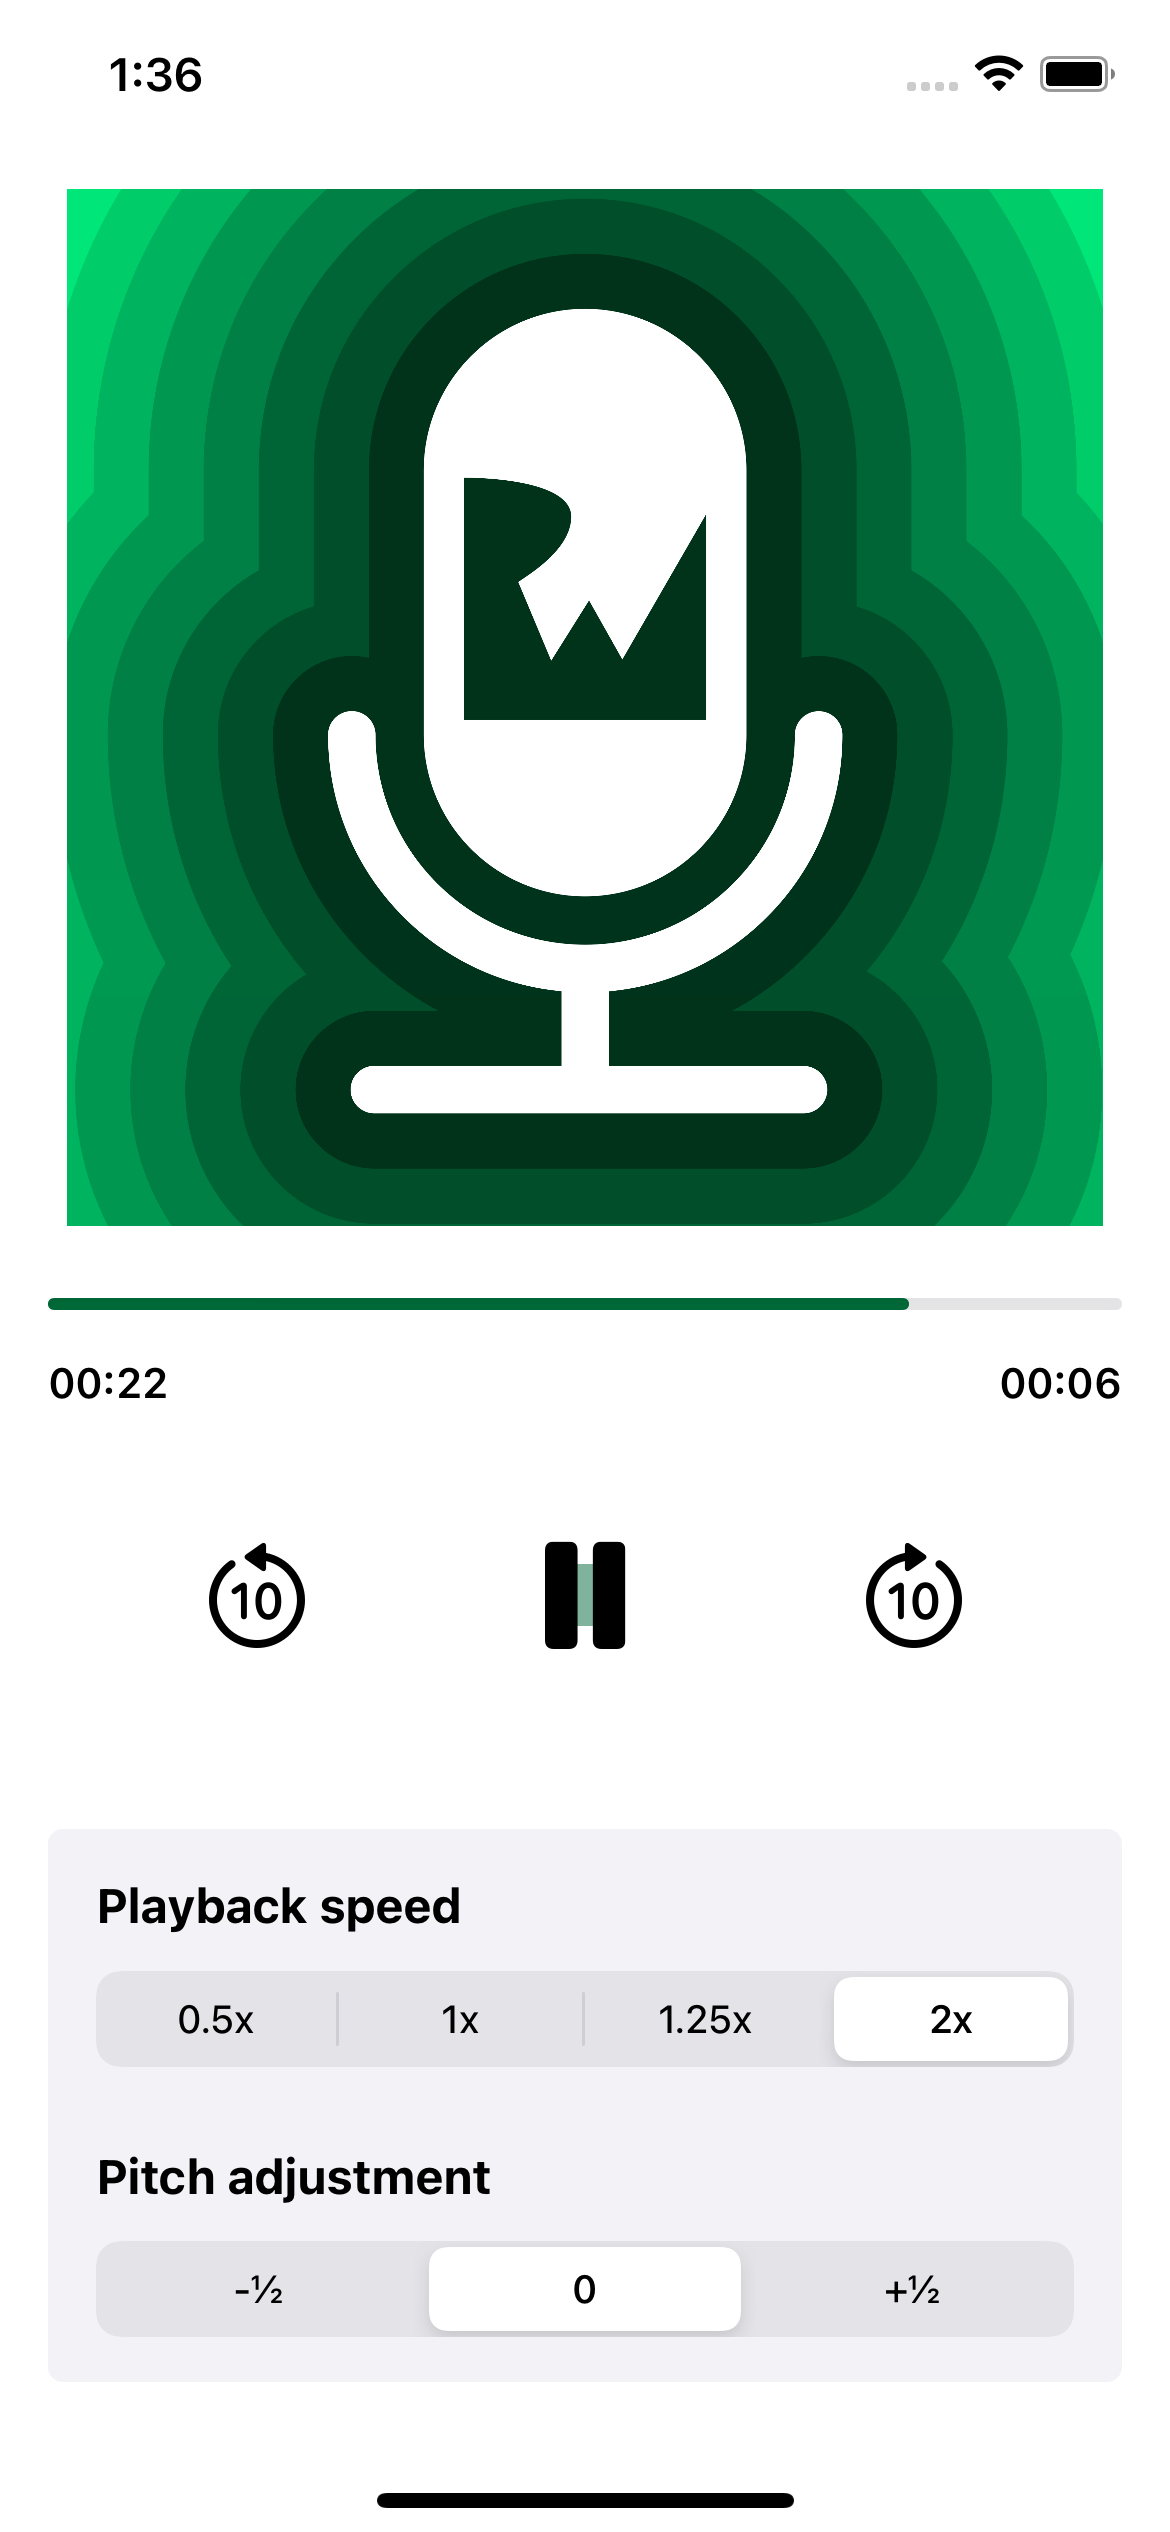
In the interface, users will tap on a segmented picker to choose the playback speed. You translate the selected option into a multiplier to send to the audio player.
Build and run, then play the audio. Adjust rate control to hear what Ray and Dru sound like when they've had too much or too little coffee.
Implementing Pitch Change
The last thing to implement is changing the pitch of playback. Although pitch control isn't as practical as changing the rate, it's still fun to hear chipmunk voices. :]
Add the following to updateForPitchSelection():
let selectedPitch = allPlaybackPitches[playbackPitchIndex]

timeEffect.pitch = 1200 * Float(selectedPitch.value)
According to the docs for AVAudioUnitTimePitch.pitch, the value is measured in cents. An octave is equal to 1200 cents. The values for allPlaybackPitches, declared at the top of the file, are -0.5, 0, 0.5. Changing the pitch by half an octave keeps the audio intact so you can still hear each word. Feel free to play with this amount to distort the voices more or less.
Build and run. Adjust pitch to hear creepy and/or squirrelly voices.

Where to Go From Here?
Download the completed project files by clicking the Download Materials button at the top or bottom of the tutorial.
To recap this introduction to AVAudioEngine, the main points of interest are:
- Create an AVAudioFile from a file.
- Connect an AVAudioPlayer to an AVAudioEngine.
- Schedule the AVAudioFile for playback via AVAudioPlayer.
With those ingredients you can play audio on a device. The other key topics that are useful in creating your own player are:
- Add an effect to the engine using audio units, such as AVAudioUnitTimePitch.
- Connect a volume tap to create a VU meter using data from AVAudioPCMBuffer.
- Seek to a position in the audio file using AVAudioFramePosition.
To learn more about AVAudioEngine and related iOS audio topics, check out:
- What's New in AVAudioEngine - WWDC 2019 - Videos - Apple Developer
- Apple's "Working with Audio"
- Beginning Audio with AVFoundation: Audio Effects
- Audio Tutorial for iOS: File and Data Formats
For more information on media playback, refer to Apple's documentation on AVFoundation.
Hopefully, you enjoyed this tutorial. If you have any questions or comments, please join the discussion below!