How To Create an Xcode Plugin: Part 3/3
Wrap up your Rayrolling Xcode plugin by getting your hands dirty with more assembly language and Cycript in this final instalment of the three-part tutorial series. By Derek Selander.
Update note: This tutorial has only been tested with Xcode 6.3.2 — if you’re working with another version of Xcode, your experience might not match up perfectly with this tutorial.
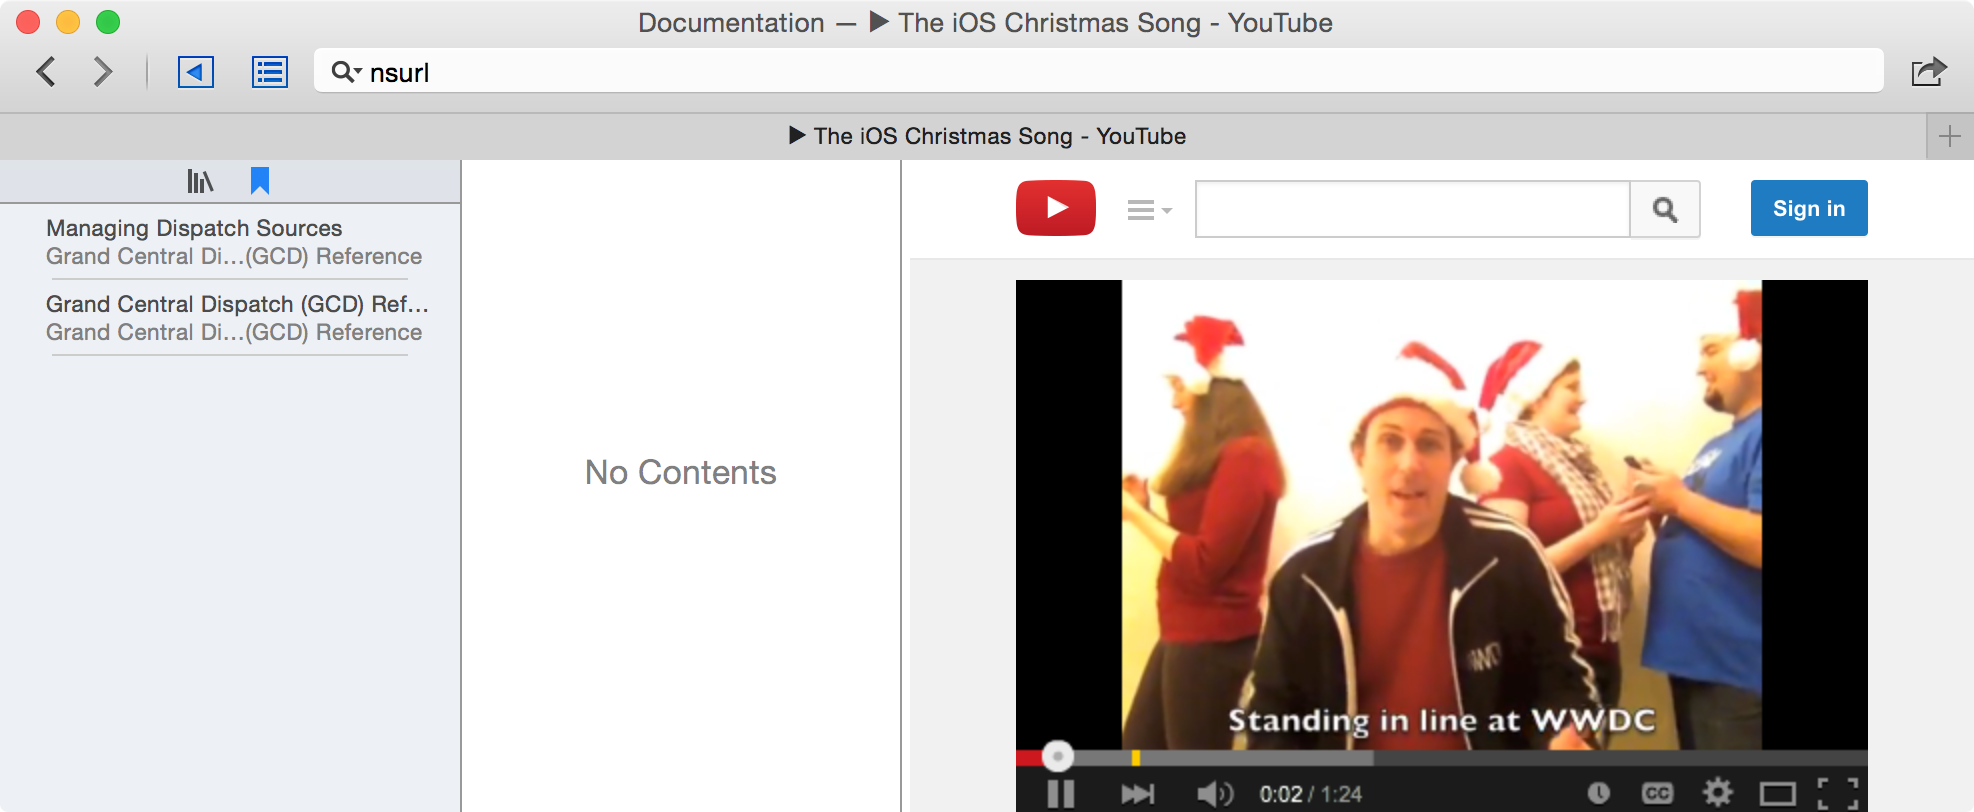
Welcome to the third and final part in this tutorial series on creating an Xcode Plugin. In the second part of this tutorial, you explored Xcode with LLDB and Dtrace while showcasing Ray’s hit song, Never Gonna Live You Up. In this tutorial, you’ll finish up your Rayrolling pranks by swapping any documentation URL requests for a YouTube link which Rayrolls the victim:
You’ll make use of the Cycript tool to dig into the x86_64 assembly behind Xcode to determine how to bend Xcode to your will. While this tutorial will walk you through each piece of assembly code, reading Part I and Part II of Mike Ash’s series on x86_64 assembly will definitely help you get the most out of this tutorial.
You’ll continue with the same Rayrolling project from before; if you didn’t work through Part 2, or just want a fresh start, you can download the finished Rayrolling Project from Part 2 here.
Getting Started
Cycript is a tool is authored by @saurik of Cydia fame, which lets you explore and modify code on iOS or OS X using a hybrid of Javascript and Objective-C. You can explore Xcode’s contents in memory while making your plugin development life considerably easier.
Download Cycript here and extract it to a convenient location.
Navigate to the Cycript.lib subdirectory and copy all of the dylibs to /usr/lib/. Copy the cycript binary found in the same directory of the dylibs to /usr/local/bin.
Open the Rayrolling project and navigate to Rayrolling.m. Add the following import header to the top of the file:
#import <dlfcn.h>
Now, add the following code to the beginning of pluginDidLoad::
// 1
void *handle = dlopen("/usr/lib/libcycript.dylib", RTLD_NOW);

// 2
void (*listenServer)(short) = dlsym(handle, "CYListenServer");

// 3
(*listenServer)(54321);
Taking each numbered comment in turn:
- Although the Cycript zip contains a Framework, you’re using the dynamic library directly instead.
dlopenopens the dynamic library given by thechar *. You specify to load the contents immediately withRTLD_NOW. - Using
dlsym, you create a function pointer to a method you’ll need to start the Cycript server. - Finally, you call
CYListenServerand specify that it broadcast itself on a specific port using C’s good ‘ol function pointers.
Build and run the Xcode plugin to generate and install it. Once the child Xcode appears, stop and quit all running Xcodes and relaunch. With a new instance of Xcode in memory, head to Terminal and type the following:
cycript -r 127.0.0.1:54321
cy#
This launches Cycript and listens to the IP address (localhost) for broadcasts on port 54321. To exit Cycript, type Ctrl-D.
If you attached Cycript without issue, you’ll see the cy# prompt. Cycript will launch and attach itself to Xcode. Cycript’s “Javascript-y” syntax makes debugging incredibly easy with its built-in tab autocompletion.
Want to see all the instance variables for a particular class? Just prepend * to your query and it will print out all instance variables for a particular instance:
cy# *NSApplication.sharedApplication.delegate
...
This is much like the malloc_info -t {heap address}you saw in the previous tutorial. The output is presented as instance variables instead of properties; you access these instance variables like so:
cy# NSApplication.sharedApplication.delegate->_sourceControlUIHandler
You also dump the contents of the _sourceControlUIHandler by using the same technique.
printMethods(); it’s incredibly useful.
Much like the heap LLDB script you explored in the previous tutorial, Cycript also has a command called choose, which hunts down all the instances of a particular class in memory:
cy# choose(NSViewController)
...
cy# choose(NSViewController)[0]
#"<IDELicenseAgreementViewController: 0x7faa3d244410>"
cy# var ivc = _
#"<IDELicenseAgreementViewController: 0x7faa3d244410>"
cy# *ivc
{isa:IDELicenseAgreementViewController,_nextResponder:null,_nibName:@"IDELicenseAgreementViewController",_nibBundle:#"NSBundle </Applications/Xcode.app/Contents/Frameworks/IDEKit.framework> (loaded)",_representedObject:null,_title:null,view:null,_topLevelObjects:null,_editors:null,_autounbinder:null,_designNibBundleIdentifier:null,__privateData:#"<_NSViewControllerPrivateData: 0x7faa3fd17370>",_viewIsAppearing:0,_delayViewDidAppear:0,_isContentViewController:0,_reserved:0,_licenseAgreementHelper:#"<DVTLicenseAgreementHelper: 0x7faa3d249610>",_agreementStatus:0,_licenseAgreement:null,_licenseAgreementTextView:null,_foregroundContentView:null,_licenseOnly:1,_licenseSubtitle:null}
This sets the contents of the Javascript ivc variable to be the first NSViewController returned in the choose(NSViewController) array.
However, there’s something very special about Saurik’s implementation of choose. Unlike objc_ref, which you learned about in the previous tutorial, choose returns an actual NSArray (or Javascript array!) of all the objects that it found in the heap. This means that you can run complex filters on any array of objects to determine how you want to filter them!
For example, try the follwing in Cycript:
cy# choose(NSTextView)
...
cy# choose(NSTextView).filter(function(object) { return  [[object string] containsString:@"Copyright"]  })
Using a mashup of Objective-C and Javascript, you can find all the NSTextView instances on the heap and filter them for only the ones with the word “Copyright” in the string property.
This feature will prove invaluable in the section to come.
Hunting For Documentation
With Cycript as your brand new best friend, you’ll hunt down all the NSViewControllers that belong to a specific window.
In Xcode, select Window\Documentation and API Reference.
Try and figure out how to filter out all the NSViewControllers that belong to this particular window using Cycript. The solution is below if you need a bit of help.
[spoiler title="NSViewController Search"]
There are many ways to do this, but one way is to filter all NSViewControllers whose NSWindow‘s title contains the text “Documentation”:
cy# choose(NSViewController).filter(function(object) { return [[[[object view] window] title] containsString:@"Documentation "] });
[/spoiler]
This filters the NSViewController array down considerably to a size that you can navigate on your own.
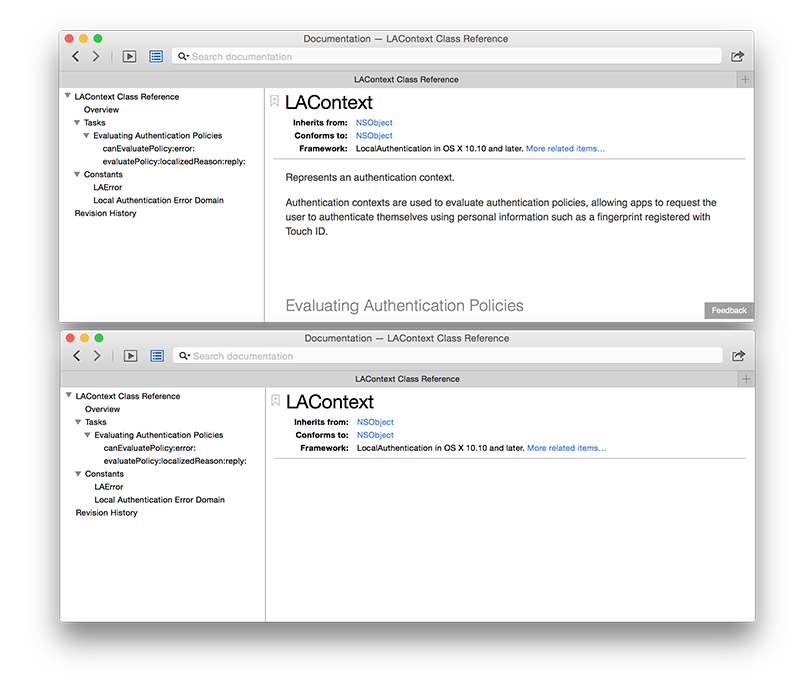
Use the familiar technique of hiding and showing NSViewController views to explore which NSViewControllers are where:
cy# var vcs = _
...
cy# vcs[0].view.hidden = true
true
cy# vcs[0].view.hidden = false
false
Views automatically update when you modify them in Cycript; you don’t have to resume or pause execution in the debugger. You’ll wonder how you went this long without this feature! :]
By going through the NSViewController array in a systematic fashion, you can build a mental picture of what each NSViewController is responsible for by toggling the NSView‘s hidden property. I’ve done this for you, and here’s a visualization of Xcode’s Documentation window:
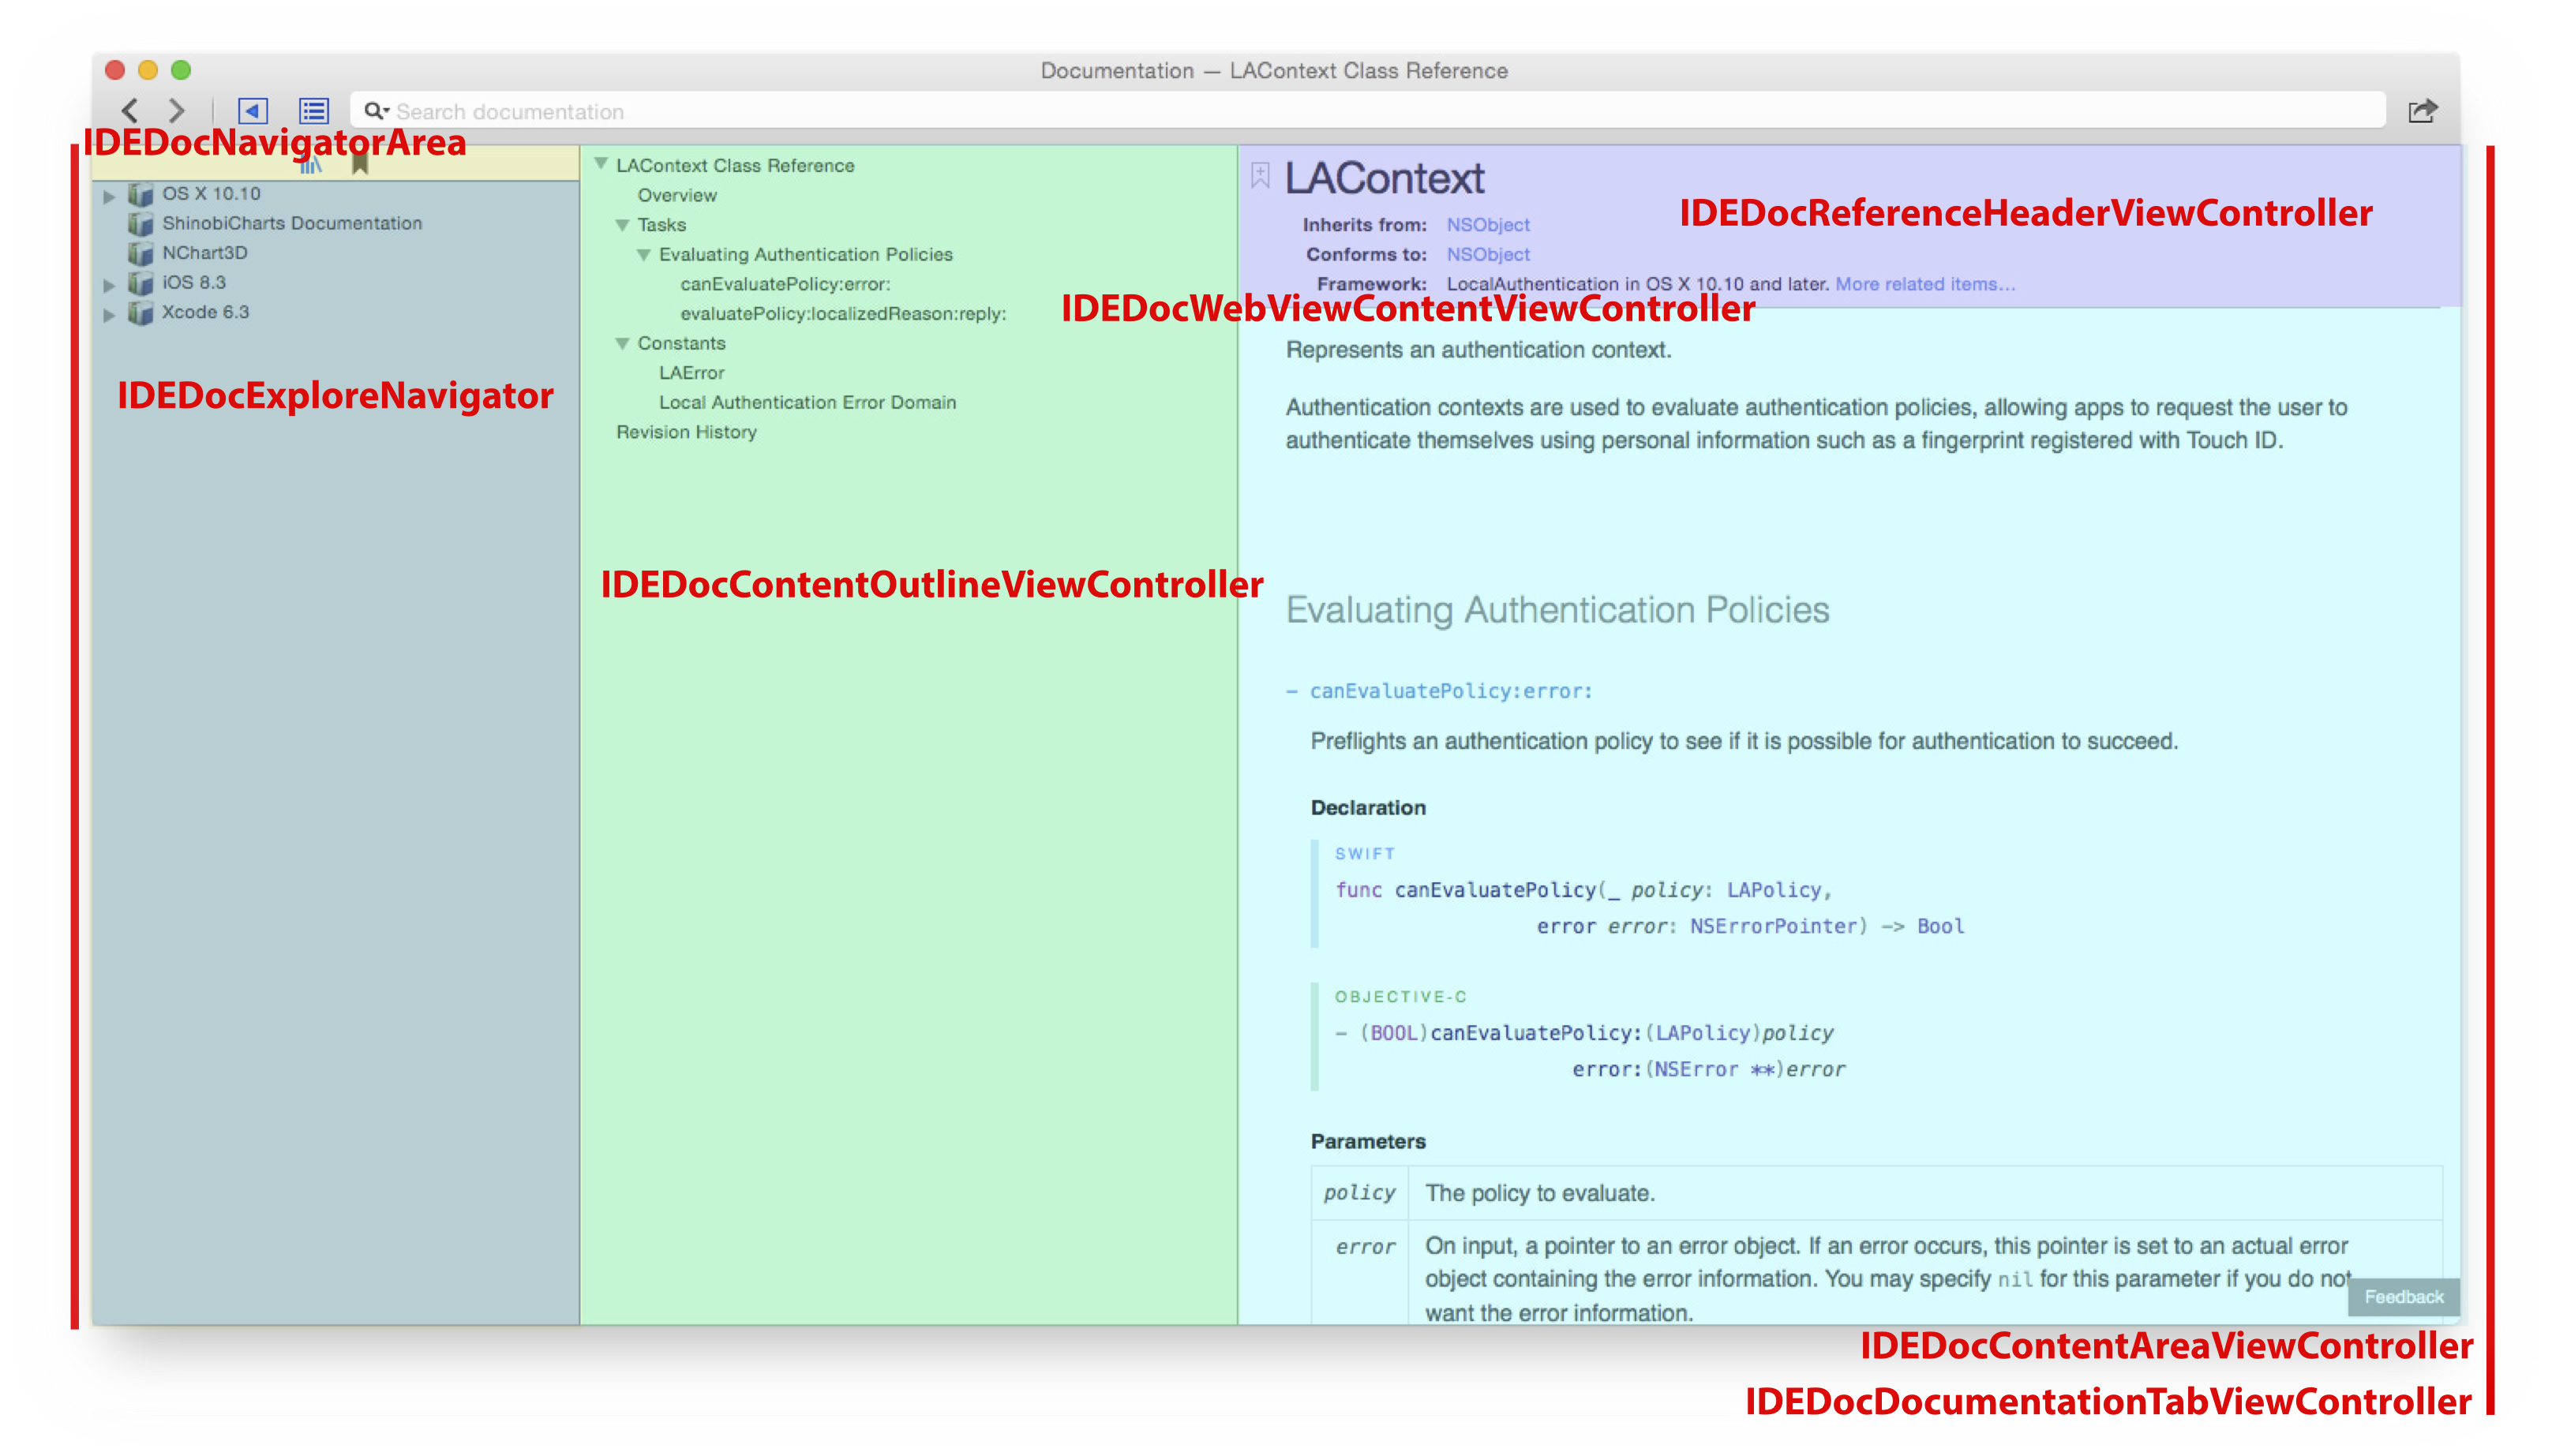
Looking at the above image, it looks like IDEDocWebViewContentViewController might be a good place to start snooping to see what you can modify.
In Cycript:
cy# choose(IDEDocWebViewContentViewController)
[#"<IDEDocWebViewContentViewController: 0x7faa42269aa0 representing: (null)>"]
cy# choose(IDEDocWebViewContentViewController)[0]
#"<IDEDocWebViewContentViewController: 0x7faa42269aa0 representing: (null)>"
cy# var wvc = _
#"<IDEDocWebViewContentViewController: 0x7faa42269aa0 representing: (null)>"
cy# *wvc
...
Wading though the instance variables of IDEDocWebViewContentViewController, there’s an interesting one called _webView. You can try to find a property equivalent to access this instance variable:
cy# wvc.webView
#"<WebView: 0x7faa41b80e50>"
Now, where is it located on the screen?
cy# wvc.webView.hidden = true
cy# wvc.webView.hidden = false
Aha — webView is responsible for the detailed documentation section in the lower right. You’ve found the NSViewController and the class of interest to start figuring out where to perform the Rayrolling!