How to Create an iOS Book Open Animation: Part 1
Learn how to create an iOS book open animation including page flips, with custom collection views layout and transitions. By Vincent Ngo.
Sign up/Sign in
With a free Kodeco account you can download source code, track your progress, bookmark, personalise your learner profile and more!
Create accountAlready a member of Kodeco? Sign in
Sign up/Sign in
With a free Kodeco account you can download source code, track your progress, bookmark, personalise your learner profile and more!
Create accountAlready a member of Kodeco? Sign in
Contents
How to Create an iOS Book Open Animation: Part 1
30 mins
In this two-part tutorial series, you’ll develop a nifty iOS book open animation and page flip animation similar to Paper by FiftyThree:
- In Part 1 you’ll learn how to customize your collection view layouts and apply depth and shadow to make the app look realistic.
- In Part 2, you’ll learn to create custom transitions between different controllers in a sensible way and integrate gestures to create natural, intuitive transitions between views.
This tutorial is for intermediate to advanced developers; you’ll be working with custom transitions and custom collection view layouts.
If you’ve never worked with a collection view before, start with some of our other iOS tutorials first.
Note: Full credit goes to Attila Hegedüs for creating this awesome sample project.
Note: Full credit goes to Attila Hegedüs for creating this awesome sample project.
Getting Started
Download the starter project for this tutorial here; extract the contents of the zip file, and open Paper.xcodeproj in Xcode.
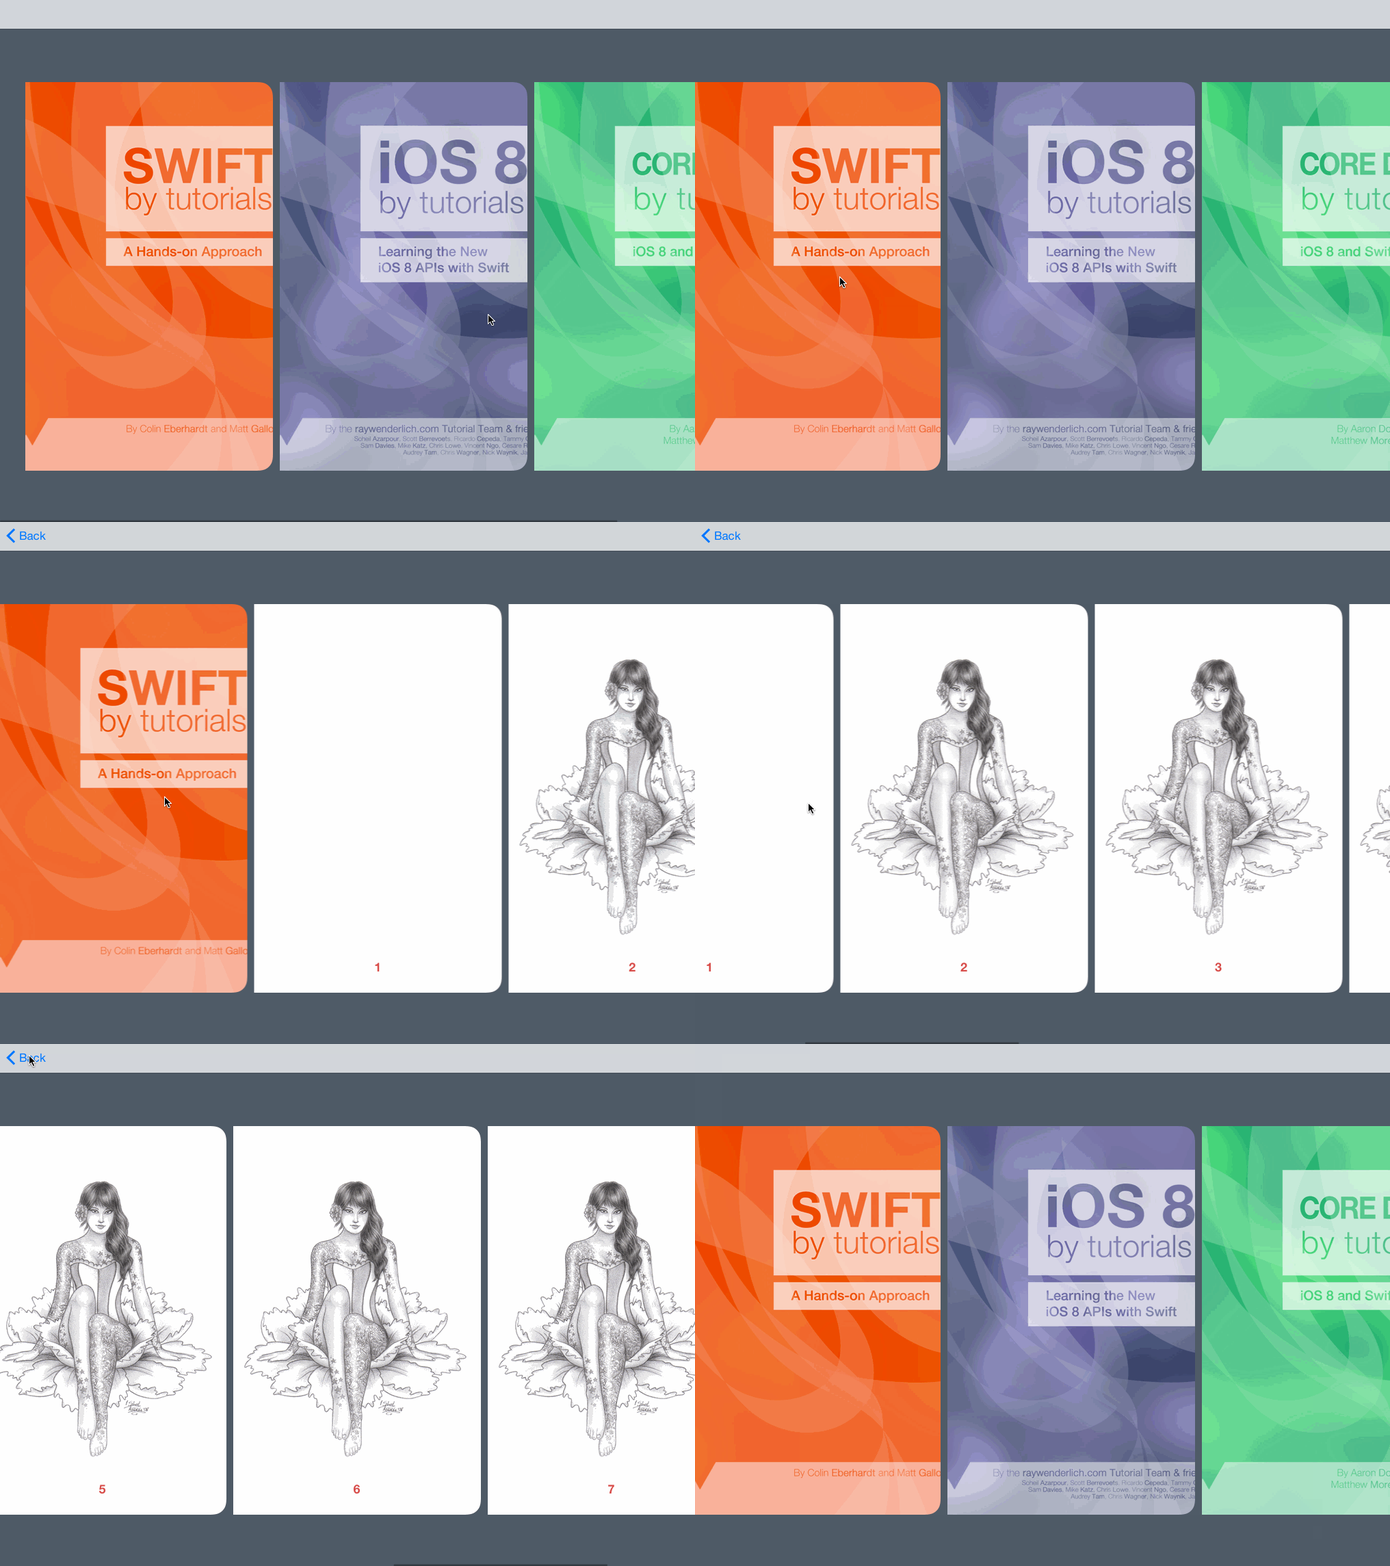
Build and run the project in the simulator; you’ll see the following:
The app is pretty much fully built; you can scroll through your library of books and select one of your favorite books to view. But when was the last time you read a book which had its pages side-by-side? With a bit of UICollectionView know-how, you can dress up the page view quite a bit!
The Project Structure
Here’s a quick rundown of the most important bits of the starter project:
The Data Models folder contains three files:
- Books.plist contains sample book data. Each book contains an image cover along with an array of images to represent pages.
- BookStore.swift is a singleton that is only created once in the life cycle of the app. The BookStore’s job is to load data from Books.plist and create Book objects.
- Book.swift is a class that stores information related to the book, such as retrieving the book cover, the image for each page index, and the number of pages.
The Books folder contains two files:
-
BooksViewController.swift is a subclass of
UICollectionViewController. This class is responsible for displaying your list of books horizontally. - BookCoverCell.swift displays all your book covers; it’s used by BooksViewController.
In the Book folder you’ll find the following:
-
BookViewController.swift is also a subclass of
UICollectionViewController. Its purpose is to display the pages of the book when you select a book from BooksViewController. - BookPageCell.swift is used by BookViewController to display all the pages in a book.
Here’s what’s in the last folder, Helpers:
-
UIImage+Helpers.swift is an extension for
UIImage. The extension contains two utility methods, one to round the corners of an image, and another to scale an image down to a given size.
That’s all! Enough of the review — it’s time to lay down some code!
Customizing the Book Layout
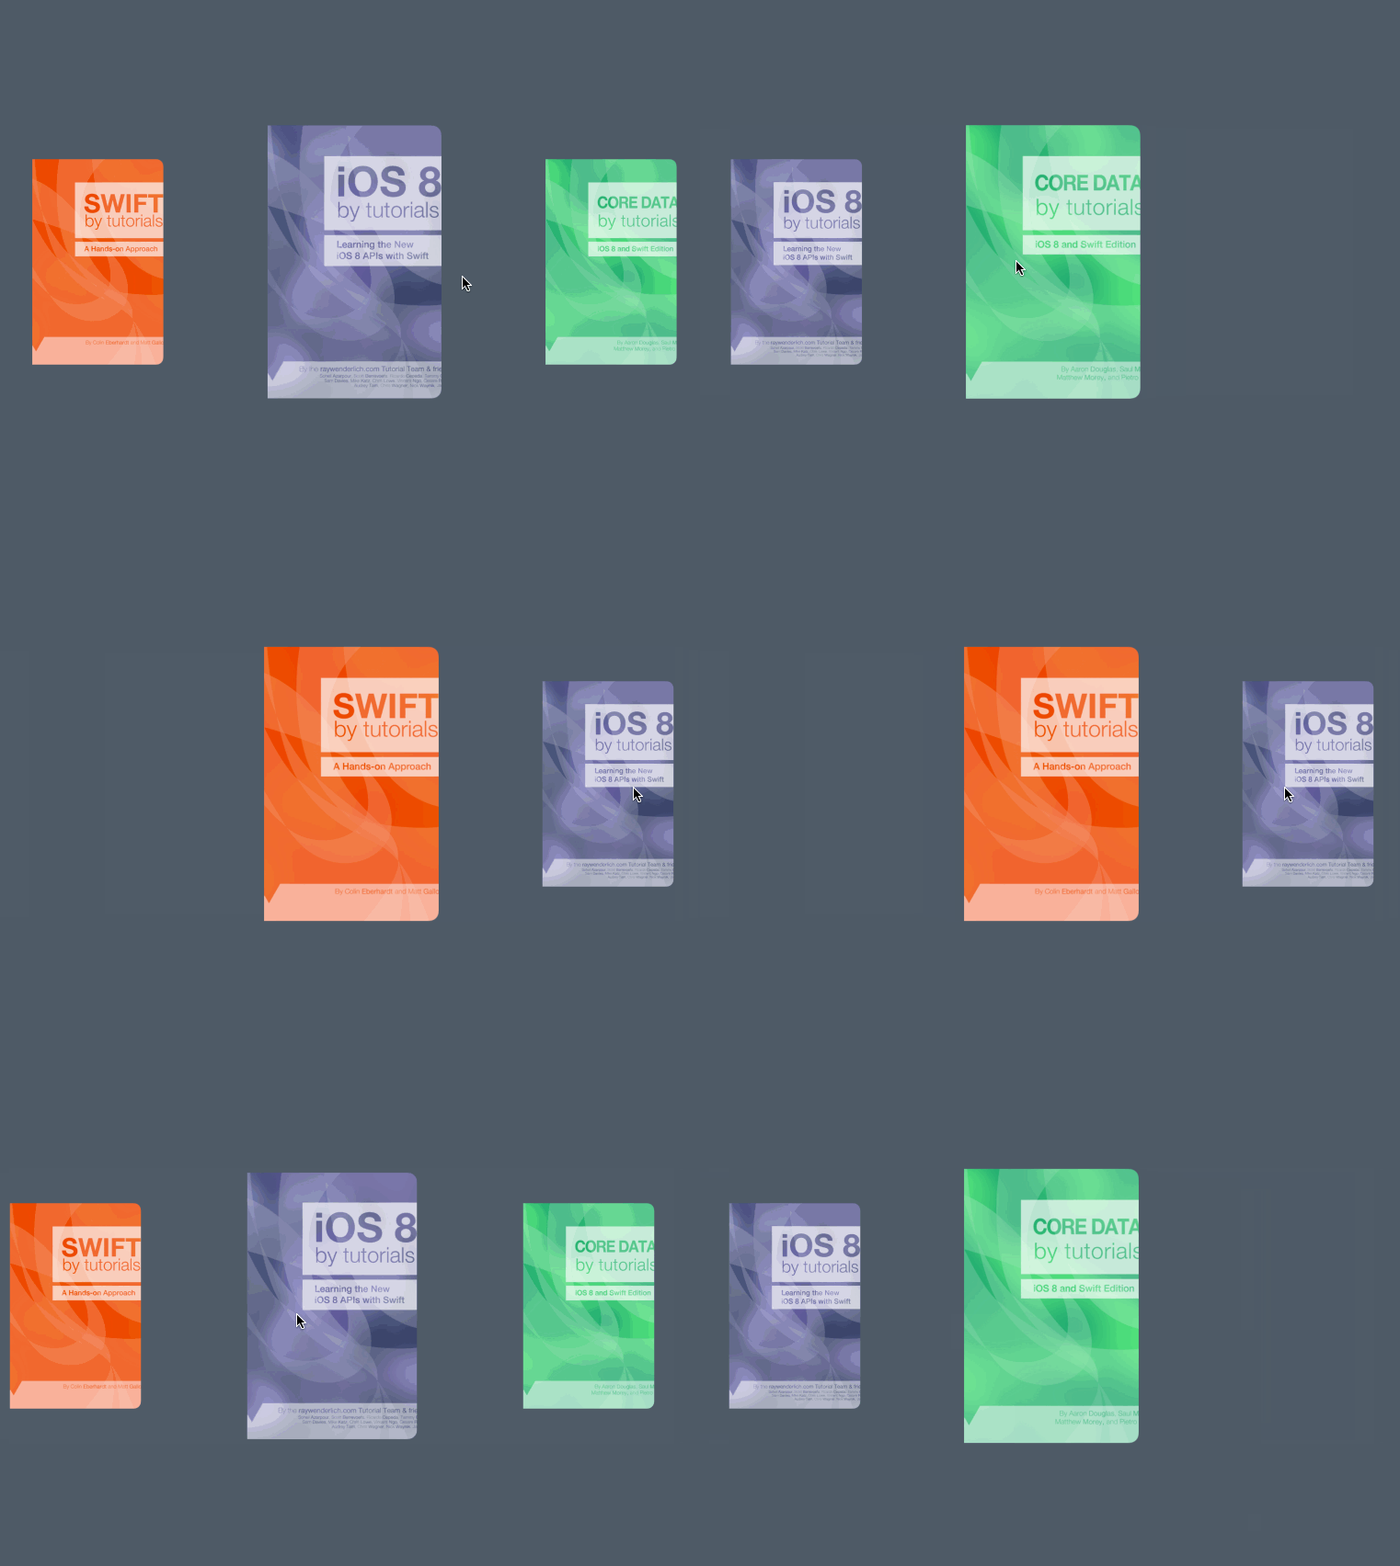
First you need to to override the default layout for BooksViewController‘s collection view. The existing layout shows three big book covers that takes up the whole screen. You’ll scale it down a bit to make it look more pleasant, like so:
As you scroll, the cover image nearest the center of the screen grows in size to indicate it’s the active selection. As you keep scrolling, the book cover shrinks in size to indicate you’re setting it aside.
Create a group named Layout under the App\Books group. Next right-click the Layout folder and select New File…, then select the iOS\Source\Cocoa Touch Class template and click Next. Name the class BooksLayout, make it a subclass of UICollectionViewFlowLayout, and set Language to Swift.
Next you need to instruct BooksViewController‘s collection view to use your new layout.
Open Main.storyboard, click on BooksViewController then click on the Collection View. In the Attributes Inspector, set Layout to Custom and Class to BooksLayout as shown below:
Open BooksLayout.swift and add the following code above the BooksLayout class declaration.
private let PageWidth: CGFloat = 362
private let PageHeight: CGFloat = 568
These two constants will be used to set the size of the cell.
Now add the following initialization method within the class curly braces:
required init(coder aDecoder: NSCoder) {
  super.init(coder: aDecoder)

  scrollDirection = UICollectionViewScrollDirection.Horizontal //1
  itemSize = CGSizeMake(PageWidth, PageHeight) //2
  minimumInteritemSpacing = 10 //3
}
Here’s what the code above does:
- Sets the collection view’s scroll view direction to horizontal.
- Sets the size of the cell to the page width of 362 and to a height of 568.
- Set the minimum spacing between cells to 10.
Next, add the following code after init(coder:):
override func prepareLayout() {
  super.prepareLayout()

  //The rate at which we scroll the collection view.
  //1
  collectionView?.decelerationRate = UIScrollViewDecelerationRateFast

  //2
  collectionView?.contentInset = UIEdgeInsets(
    top: 0,
    left: collectionView!.bounds.width / 2 - PageWidth / 2,
    bottom: 0,
    right: collectionView!.bounds.width / 2 - PageWidth / 2
  )
}
prepareLayout() gives you the chance to perform any calculations before you come up with any layout information for each cell.
Taking each numbered comment in turn:
- Sets how fast the collection view will stop scrolling after a user lifts their finger. By setting it to
UIScrollViewDecelerationRateFastthe scroll view will decelerate much faster. Try playing around withNormalvsFastto see the difference! - Sets the content inset of the collection view so that the first book cover will always be centered.
Now you need to handle the layout information of each cell.
Add the following code below prepareLayout():
override func layoutAttributesForElementsInRect(rect: CGRect) -> [AnyObject]? {
  //1
  var array = super.layoutAttributesForElementsInRect(rect) as! [UICollectionViewLayoutAttributes]

  //2
  for attributes in array {
    //3
    var frame = attributes.frame
    //4
    var distance = abs(collectionView!.contentOffset.x + collectionView!.contentInset.left - frame.origin.x)
    //5
    var scale = 0.7 * min(max(1 - distance / (collectionView!.bounds.width), 0.75), 1)
    //6
    attributes.transform = CGAffineTransformMakeScale(scale, scale)
  }

  return array
}
layoutAttributesForElementsInRect(_:) returns an array of UICollectionViewLayoutAttributes objects, which provides the layout attributes for each cell. Here’s a breakdown of the code:
- Calling the superclass of
layoutAttributesForElementsInRectreturns an array that contains all default layout attributes for each cell. - Loop through each attribute in the array.
- Grab the frame for the current cell attribute.
- Calculate the distance between the book cover — that is, the cell — and the center of the screen.
- Scale the book cover between a factor of 0.75 and 1 depending on the distance calculated above. You then scale all book covers by 0.7 to keep them nice and small.
- Finally, apply the scale to the book cover.
Next, add the following code right after layoutAttributesForElementsInRect(_:):
override func shouldInvalidateLayoutForBoundsChange(newBounds: CGRect) -> Bool {
  return true
}
Returning true forces the layout to recalculate its attributes every time the collection view’s bound changes. A UICollectionView changes its bounds while scrolling, which is perfect for recalculating the cell’s attribute.
Build and run your app; you’ll see that book in the middle of the view is larger than the others:
Scroll through the books to see how each book cover scales up and down. But wouldn’t it be great if the book could snap into place, indicating the selection?
The next method you’ll add will do just that!


