Getting Started With Widgets
In this tutorial, you’ll add a widget to a large SwiftUI app, reusing its views to show entries from the app’s repository. By Audrey Tam.
As soon as I saw the new home screen widgets in this year’s WWDC Platforms State of the Union, I knew I had to make one for my favorite app! It would be so great to see it right there on the home screen. And I’m not alone. Everyone’s doing it! Apple knows it’s on a winner and provided a three-part code-along to get everyone started.
There are several how-tos already published, so what’s different about this tutorial? Well, I decided to add a widget to a sizable SwiftUI app written by a team of developers — and none of them was me. There’s a huge amount of code to sift through to find what I need to build my widget. And none of it was written with widget-making in mind. So follow along with me as I show you how I did it.
You need a raywenderlich.com login, but you don’t need to be a subscriber. If you’re not a subscriber, this version of the app won’t play videos that are subscriber-only. But this tutorial doesn’t require you to play any videos.
Most importantly, this is a truly bleeding-edge API at the moment. Things that appeared in the WWDC demos have changed for GM. You might still experience some instability. That said, Widgets are cool and a ton of fun!
Getting Started
Download the project materials using the Download Materials button at the top or bottom of this tutorial. Before you open the starter project, open Terminal, cd to the starter/emitron-iOS-development folder, then run this command:
scripts/generate_secrets.sh
You’re generating some secrets files needed to run the project.
Now open the Emitron project in the starter/emitron-iOS-development folder. This takes a while to fetch some packages, so here’s some information about the project while you wait.
Emitron is the raywenderlich.com app. If you’re a subscriber, you’ve surely installed it on your iPhone and iPad. It lets you stream videos and, if you have a Professional subscription, you can download videos for off-line playback.
The project is open source. You can read about it in its GitHub repository, and you’re certainly welcome to contribute to improving it.
The starter version you’ve downloaded has a few modifications:
- Settings are up-to-date and the iOS Deployment Target is 14.0.
- In Downloads/DownloadService.swift, two
promisestatements that caused errors in Xcode beta 1 are commented out. The download service is for the Professional subscription, and you don’t need it for this tutorial. - In Guardpost/Guardpost.swift,
authSession?.prefersEphemeralWebBrowserSessionis set tofalse, which avoids the need to enter login details every time you build and run the app. You still have to tap Sign in, which prompts you to use raywenderlich.com to sign in. Tap Continue. The first time you build and run, you might still have to enter your email and password, but in subsequent build and runs, tapping Continue skips the login form.
By now, Xcode has installed all the packages. Build and run in a simulator.
Emitron running in simulator.
Emitron running in simulator.
Ignore the warnings about Hashable and SwiftyJSON. Scrolling and playback don’t work well in Xcode beta 1, but you won’t be fixing that in this tutorial. If you scroll “too much”, the app crashes. Also not your problem. ;]
WidgetKit
This tutorial is all about adding a shiny new widget to Emitron.
Adding a Widget Extension
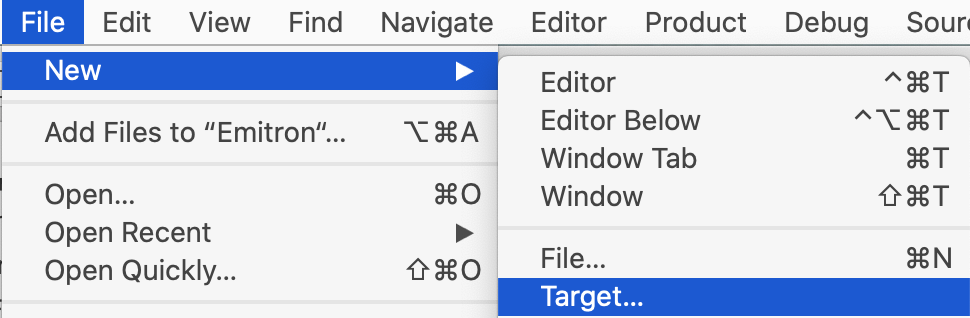
Start by adding a widget extension with File ▸ New ▸ Target….
Create a new target.
Create a new target.
Search for “widget”, select Widget Extension and click Next:
Search for “widget”.

Search for “widget”.
Name it EmitronWidget and make sure Include Configuration Intent is not checked:
Don’t select Include Configuration Intent.

Don’t select Include Configuration Intent.
There are two widget configurations: Static and Intent. A widget with IntentConfiguration uses Siri intents to let the user customize widget parameters. Your first widget will be static.
Click Finish and agree to the activate-scheme dialog:
Activate scheme for new widget extension.

Activate scheme for new widget extension.
Running Your Widget
The widget template provides a lot of boilerplate code you just have to customize. It works right out of the box, so you can set up everything now to make sure everything runs smoothly when you’re ready to test your code.
In the Project navigator, select the top level Emitron folder to sign your targets. Change the bundle identifiers and set the team for every version of every target.
One last gotcha: Make sure your widget’s bundle ID prefix matches the app’s. This means you will need to insert dev between “ios” and “EmitronWidget” to get your.prefix.emitron.ios.dev.EmitronWidget.
OK, now select the Emitron scheme, then build and run. Sign in, then close the app and press on some empty area of your home window until the icons start to jiggle.
Tap the + button in the upper right corner, then scroll down to find raywenderlich:
Scroll down in widget gallery.

Scroll down in widget gallery.
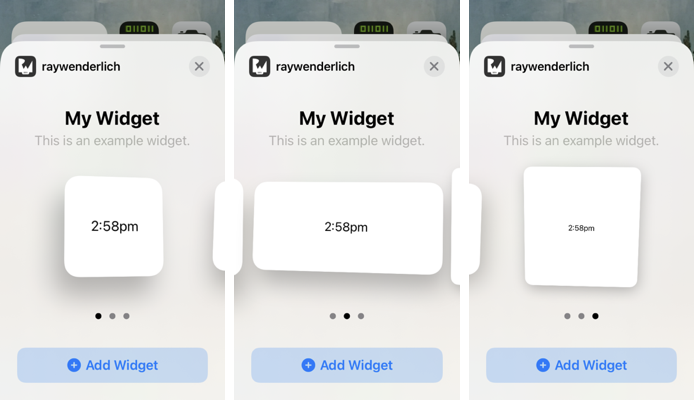
Select it to see snapshots of the three sizes:
Snapshots of the three widget sizes.
Snapshots of the three widget sizes.
Tap Add Widget to see your widget on the screen:
Your widget on the home screen.

Your widget on the home screen.
Tap the widget to reopen Emitron.
Your widget works! Now, you simply have to make it display information from Emitron.