Elegant Networking in Flutter with Chopper
Learn how to easily create REST API calls and parse JSON data from the internet using the Flutter networking library Chopper. By Kevin D Moore.
Generating JSON files
To get rid of the errors from the missing *.g.dart files, you need to run the generator.
Open Android Studio’s Terminal tab. You’ll see a terminal prompt displaying the current folder:

Type flutter pub run build_runner build and press enter. This runs the json_serializable tool to generate both result.g.dart and popular.g.dart. When the generator finishes running, you’ll see the two files in the models folder.
Now, open result.g.dart and popular.g.dart. You’ll see each file refers back to the parent file and then defines two methods: One to turn a map of strings into that class and another to change that class into a map – i.e. one method to serialize the class into JSON and one method to deserialize JSON into your class. You’ll also notice the red squiggle lines have disappeared from result.dart and popular.dart.
Movie API Service
To get the data needed for the models you just created, you need to make a network call. Instead of calling low-level network calls, you’ll define a class that defines your API calls and sets up the Chopper Client that does the work for you.
In the service folder, create a new dart file named movie_service.dart. Add the following:
// 1
import 'package:chopper/chopper.dart';
// 2
import 'package:movies/models/popular.dart';

// 3
part 'movie_service.chopper.dart';

// 4
@ChopperApi()
// 5
abstract class MovieService extends ChopperService {

  // 6
  @Get(path: 'movie/popular')
  // 7
  Future<Response<Popular>> getPopularMovies();

  // 8
  static MovieService create() {
    // 9
    final client = ChopperClient(
      // 10
      baseUrl: 'https://api.themoviedb.org/3',
      // 11
      services: [
        _$MovieService(),
      ],
    );
    // 12
    return _$MovieService(client);
  }
}
Here you:
- Import the chopper package.
- Then, import your models.
- Define your chopper generated file, which doesn’t exist yet.
- Then, use the ChopperApi annotation so the chopper generator knows to create the movie_service.chopper file.
- The abstract class extends ChopperService.
- Next, use the Get annotation to define the path for the popular movies. There are other HTTP methods you can use, such as Post, Put, Delete, but you won’t use those in this app.
- Next, you define a function that returns a
Futureof a Chopper Response using the previously created Popular class. - Define a static method to create the movie service.
- Then, create a
ChopperClientclass. - Set the
baseUrlall calls will use, pre-pended to their path. - Define all of the services used.
- Finally, return the generated
MovieServiceclass.
The MovieService class will host your method for getting the list of popular movies. Notice there are several errors:
- The .chopper file does not exist.
- _$MovieService does not exist.
You need to generate movie_service.chopper.dart, like you generated the model files. The chopper_generator service will generate them for you.
If it’s closed, open Android Studio’s Terminal tab, type flutter pub run build_runner build and press enter. This runs the chopper_generator tool to generate movie_service.chopper.dart.
Next, open movie_service.chopper.dart. You’ll see the _$MovieService extended class which does a bit more work for you.
Since MovieService is abstract you can’t create an instance. That’s where the static MovieService create() method comes in.
getPopularMovies is the method you’ll use to get the Popular class that contains the list of movies. Since it returns a Future, the method can run asynchronously.
Later in the UI Code, you’ll use create to get an instance of the MovieService. You’ll use baseUrl as the starting point for building the URL. The @Get annotation defines the rest of the path.
Interceptors
Interceptors intercept either a request or a response. They’re useful for logging requests and responses, adding headers to calls or handling authentication.
You’ll use one built-in interceptor that logs all your requests and responses to verify that what you’re calling and receiving is what you expect. Chopper includes HttpLoggingInterceptor for this purpose. You’ll also create a Header Interceptor that injects the authentication header to each call.
In movie_service.dart, under the baseUrl statement, add:
interceptors: [HttpLoggingInterceptor()],
For the logging interceptor to work, you need to set up logging for Flutter.
Open main.dart. At the top of the file, add the import statement for the logging package:
import 'package:logging/logging.dart';
Change the main method to:
void main() {
  _setupLogging();
  runApp(MyApp());
}
Then, after the main() class, add:
void _setupLogging() {
  Logger.root.level = Level.ALL;
  Logger.root.onRecord.listen((rec) {
    print('${rec.level.name}: ${rec.time}: ${rec.message}');
  });
}
This sets up the logger so it prints a log in the specified format. Without this, the HttpLoggingInterceptor wouldn’t output anything.
Header Interceptor
Next, you’ll create a Header Interceptor that’s a Request interceptor that adds the Auth Token you received from the TMDb website.
Right-click the service folder and choose New Dart File. Then, name the file header_interceptor.dart and add the following:
import 'dart:async';
import 'package:chopper/chopper.dart';

// 1
class HeaderInterceptor implements RequestInterceptor {
  // 2
  static const String AUTH_HEADER = "Authorization";
  // 3
  static const String BEARER = "Bearer ";
  // 4
  static const String V4_AUTH_HEADER =
      "< your key here >";

  @override
  FutureOr<Request> onRequest(Request request) async {
    // 5
    Request newRequest = request.copyWith(headers: {AUTH_HEADER: BEARER + V4_AUTH_HEADER});
    return newRequest;
  }

}
Here’s a breakdown of what you added:
- Implement the RequestInterceptor interface.
- Constant for the Header type.
- Part of final authorization string.
- The auth key you attained from themoviedb.
- Create a copy of the request with your new header.
This interceptor creates a copy of the current request and adds your auth header to each call.
If you’ve closed https://www.themoviedb.org/, reopen it. Make sure you’re on your account’s Settings page.
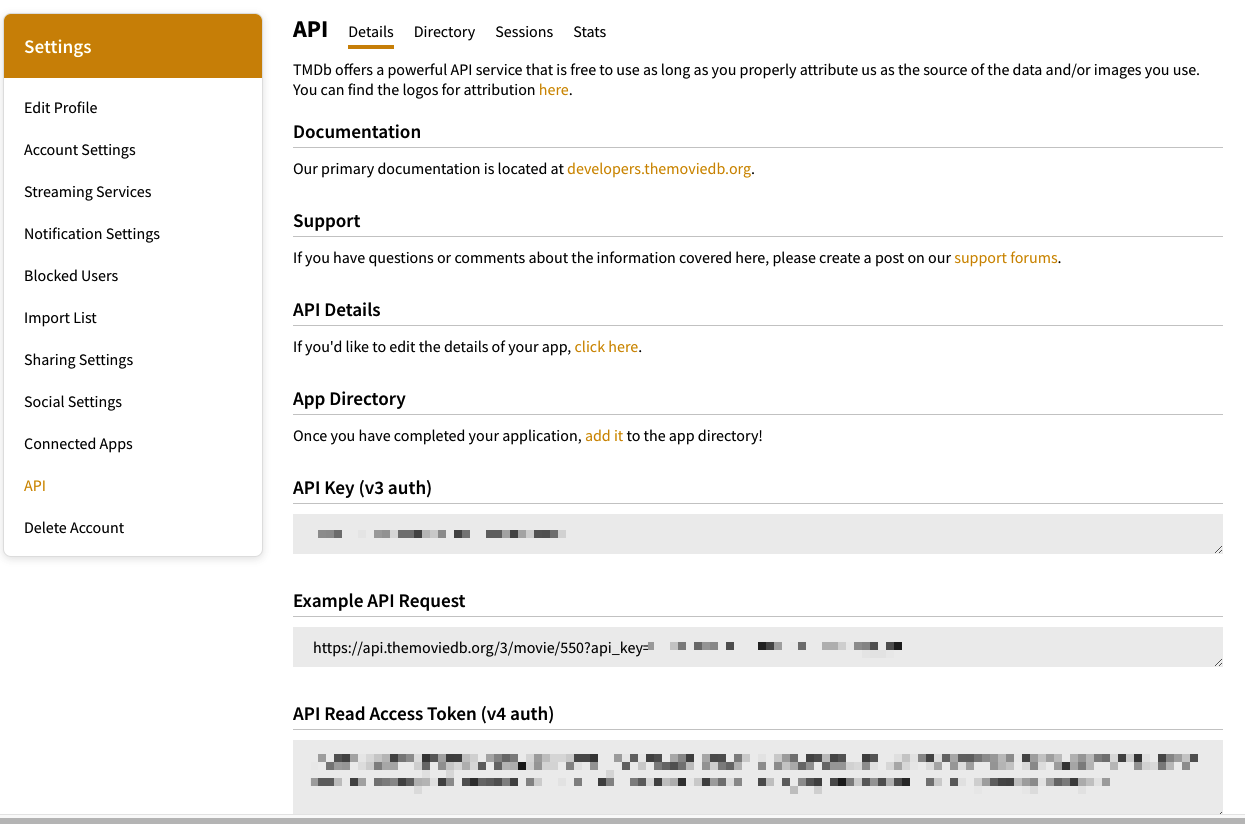
Copy the API Read Access Token (v4 auth) and, in header_interceptor.dart, replace "< your key here >" with your V4 Auth Token.
Now you have to add a few things to MovieService. At the top, add the following import:
import 'header_interceptor.dart';
Inside ChopperClient, change the interceptors parameter to:
interceptors: [HeaderInterceptor(), HttpLoggingInterceptor()],
Converters
To convert the json string you get from the API into an instance of the Popular class, you need a converter. You’ll create a converter class modeled after the JsonConverter class included with Chopper.
First, right-click the service folder and create a file named model_converter.dart. Add the following:
import 'dart:convert';
import 'package:chopper/chopper.dart';
import 'package:movies/models/popular.dart';

class ModelConverter implements Converter {
  @override
  Request convertRequest(Request request) {
    final req = applyHeader(
      request,
      contentTypeKey,
      jsonHeaders,
      override: false,
    );

    return encodeJson(req);
  }
}
This adds the application/json content type to the header. After this method and before the ModelConverter closing }, add:
  Request encodeJson(Request request) {
    var contentType = request.headers[contentTypeKey];
    if (contentType != null && contentType.contains(jsonHeaders)) {
      return request.copyWith(body: json.encode(request.body));
    }
    return request;
  }
This method creates a new request that encodes the body of the original request.
To decode the JSON string add another method:
  Response decodeJson<BodyType, InnerType>(Response response) {
    var contentType = response.headers[contentTypeKey];
    var body = response.body;
    if (contentType != null && contentType.contains(jsonHeaders)) {
      body = utf8.decode(response.bodyBytes);
    }
    try {
      var mapData = json.decode(body);
      var popular = Popular.fromJson(mapData);
      return response.copyWith<BodyType>(body: popular as BodyType);
    } catch (e) {
      chopperLogger.warning(e);
      return response.copyWith<BodyType>(body: body);
    }
  }
Now you’ll use the built-in JSON converter to turn the body into a map of strings. The Popular.fromJson method is called with that map to turn it into a Popular class. Then a new response is sent with that data.
The last method added calls the decodeJson method.
  @override
  Response<BodyType> convertResponse<BodyType, InnerType>(Response response) {
    return decodeJson<BodyType, InnerType>(response);
  }
Open the MovieService file. At the top import the model_converter class, add:
import 'model_converter.dart';
In the MovieService class, add the following after the interceptors:
      converter: ModelConverter(),
      errorConverter: JsonConverter(),