Physics-Based Animations in Android with DynamicAnimation: Getting Started
In this tutorial, you’ll learn how to use realistic, physics-based animations like fling animations and spring animations in your Android apps. By Jemma Slater.
There are many ways to make your app stand out. For example, you can add cool features and slick designs, or you can build a solid and robust architecture. However, a simple and effective way to give your app an edge and delight your users is by using realistic animations.
Physics-based animations might sound complicated, but this tutorial will teach you how to use Jetpack’s DynamicAnimation library to animate your views with just a few lines of code. Adding these little flourishes to your app make it feel natural to use and may surprise your users — in a good way!
In this tutorial you’ll cover:
- What physics-based animations are and when to use them.
- Using fling animations to let the user move objects.
- Implementing spring animations and chaining them together.
Getting Started
Start by downloading the starter project using the Download Materials button at the top or bottom of this tutorial.
Open the project in Android Studio and open FlingAnimationActivity.kt. You’ll notice immediately that Android Studio shows several errors in red.

The error Unresolved reference: FlingAnimation means the code doesn’t recognize the FlingAnimation object type. This is because you haven’t imported Jetpack’s DynamicAnimation library, where FlingAnimation is defined.
Using Android Jetpack
Android Jetpack contains the latest libraries and advice from Google to help developers build modern, high-quality apps.

The DynamicAnimation library is relatively small but powerful. It contains several classes including FlingAnimation and SpringAnimation, which allow you to create seamless physics-based animations in your apps.
This tutorial will cover these classes in detail later on. First, you need to be able to access them in your code. To do this, you need to declare the DynamicAnimation library as a dependency in the starter project so you can import the classes from it to use in your code.
Open your app’s build.gradle. Add the following line to the dependencies block near the bottom of the file to declare the library:
implementation 'androidx.dynamicanimation:dynamicanimation-ktx:1.0.0-alpha03'
Your build.gradle will look like this:

Because you edited build.gradle, you’ll need to sync. Press the Sync Now button in the banner at the top of the file.
When that’s finished, build the app again and get familiar with the files. You’ll see the code now compiles without issue and no longer has a problem resolving the reference to FlingAnimation.
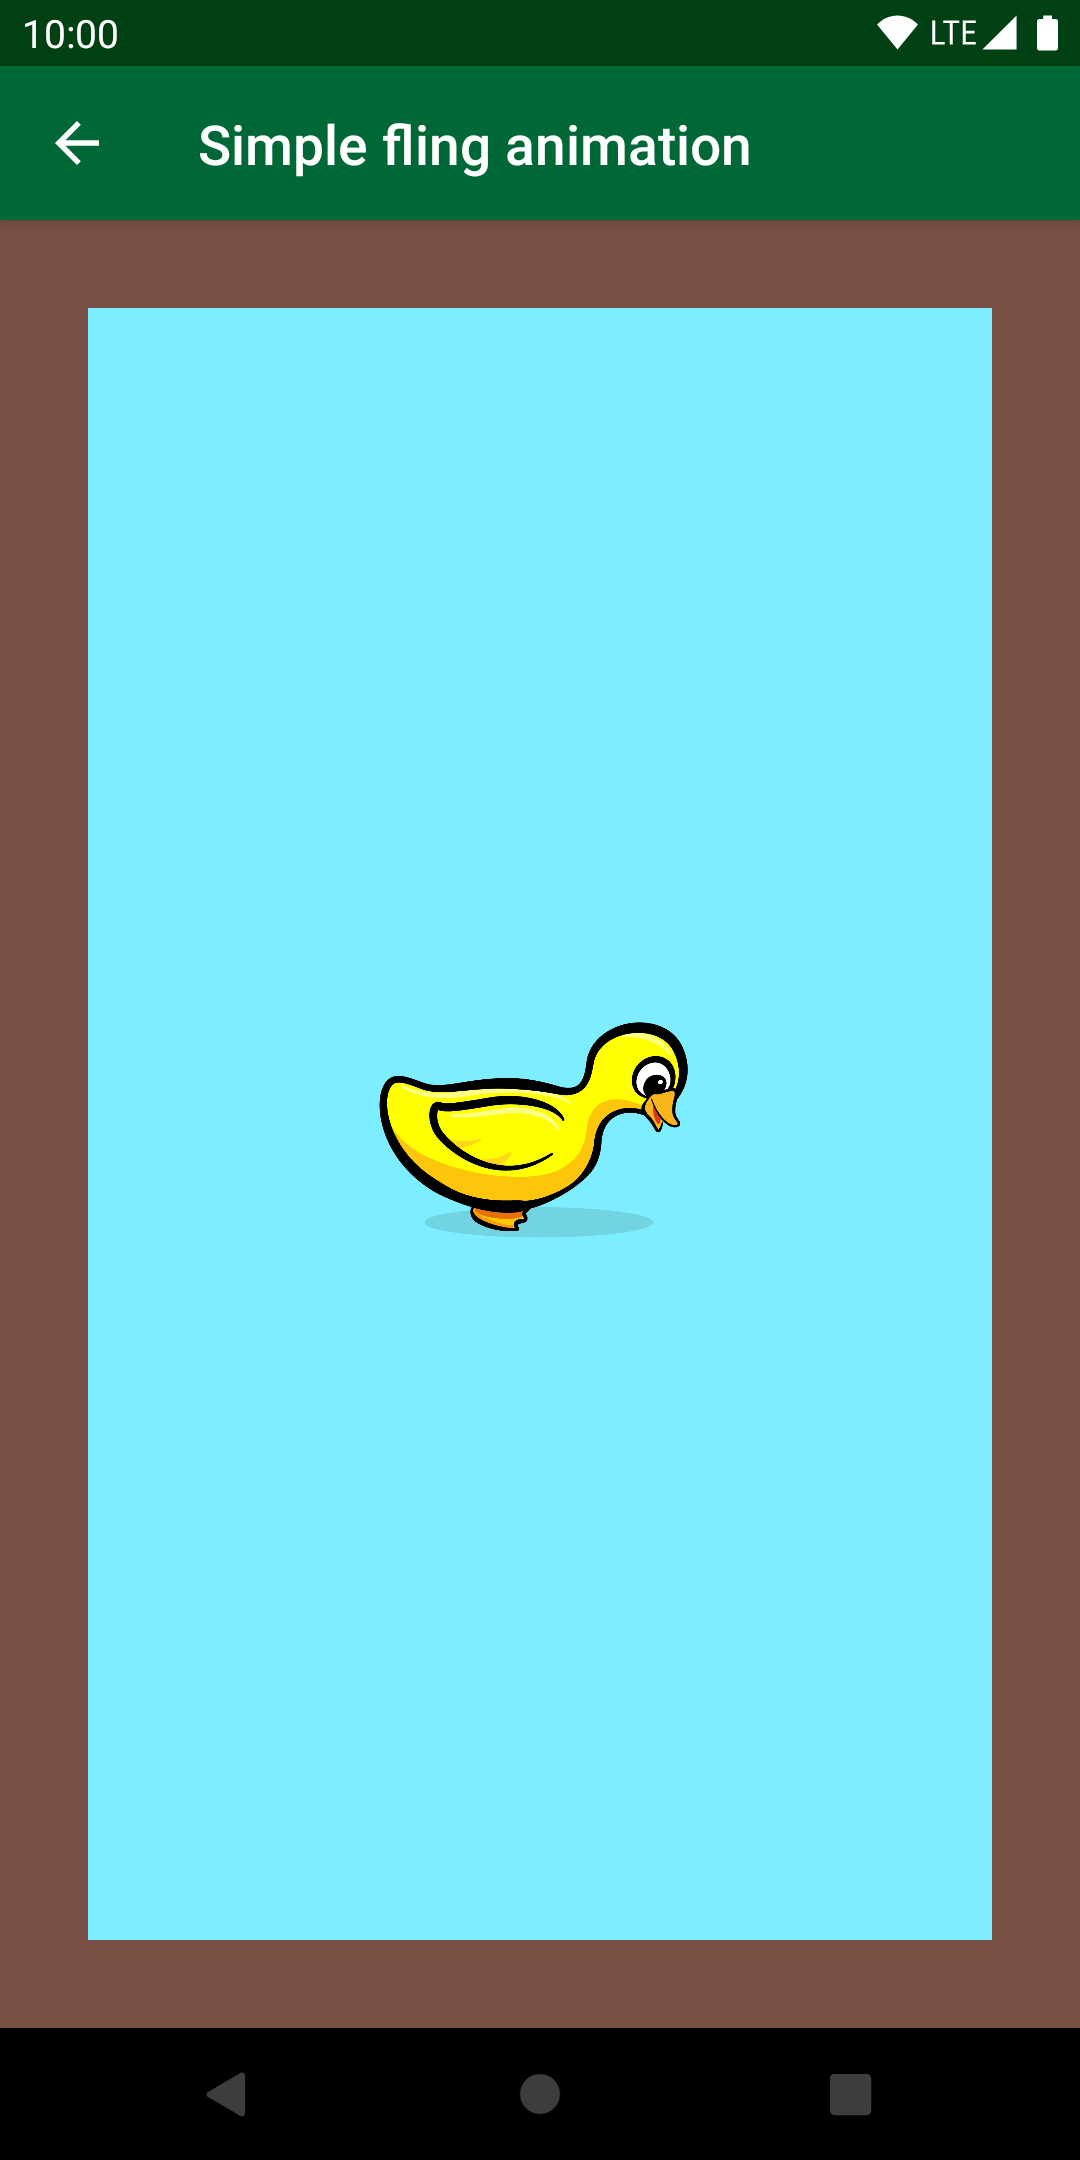
Getting to Know the Digital Duck Pond
Throughout this tutorial, you may find it easiest to test on a real device. If you don’t have access to one, the emulator should be good enough to try everything out.
Build and run the app to see how it looks.

The first screen contains three buttons, which lead to areas of the app where you’ll experiment with different types of animation.
Each screen contains digital animals playing in the pond. Look and you will find a little duck, a friendly frog on a lily pad and a couple of mother ducks with their ducklings.
At the moment, the animals are stationary. You need to liven up the pond needs a bit!

By the end of this tutorial, you and your newly-acquired physics-based animation knowledge will breathe some life into the duck pond.
Why Use Physics-Based Animation?
You’re all set up and raring to go, but before you start coding, take a moment to learn why you should use physics-based animations.

When your animations use physical principles, they seem more realistic. Users can understand and recognize them more easily.
Physics-based animation works by applying the concept of force to transitions and changes. Using the rules of the physical world to drive design decisions aligns with the ethos of the Material Design guidelines recommended by Google for designing Android apps.
Animations that use non-physics-based methods like ObjectAnimator often look clunky and disjointed. They come with fixed durations and you need to cancel and re-configure them if their target values change.
Physics-based animations mitigate this problem by using physical forces to drive the changes, creating a smoother result.
Understanding Fling Animations
Fling animations mimic the effects of friction on the animated objects. When you apply force to an object, its velocity reduces over time and the animation comes to a stop in a natural, gradual way.
This type of animation often accompanies onscreen gestures by the user, which set an initial momentum.
Build and run the app. Navigate to the fling animation screen, where you’ll see a single, static duck in the middle of a duck pond.
Your aim is to enable this duck to swim around the duck pond, helped by the gentle fling actions of the user.
Setting up Your Fling Animation
In the project, open FlingAnimationActivity.kt. There are two unused variables: duckFlingAnimationX and duckFlingAnimationY. You need to initialize them to animate the duck.
In setupFlingAnimations(), add the following code:
duckFlingAnimationX = FlingAnimation(duck, DynamicAnimation.X)
duckFlingAnimationY = FlingAnimation(duck, DynamicAnimation.Y)
The FlingAnimation object takes two parameters: the view, and the property of the view you want to animate.
The code to initialize each variable here is very similar, only differing in the view property each will animate: X or Y. These properties refer to the position of the view in its container.
Now that you’ve defined FlingAnimation objects for the X and Y values of the duck, the next step is to detect user interaction to determine the initial momentum.
Detecting the User’s Flings
To achieve a user-driven fling effect on a view, your app needs to be able to detect when the user has made the fling gesture on the screen. Luckily, Android has listeners you can use to achieve this.
In the last line of onCreate(), you’ll see that the duck view already has a touch listener.

When the user touches a view, it triggers a touch listener. The callback allows you to invoke actions before activating the touch event on the view.
The listener interface method has two parameters: the target view and a MotionEvent containing details of the touch action. In this case, the MotionEvent is passed as a parameter to the onTouchEvent() function of the GestureDetector, which you initialized earlier in onCreate().