Docker on macOS: Getting Started
In this Docker tutorial, you’ll learn Docker vocabulary and the commands for creating, inspecting and removing containers, networks and data volumes. You’ll learn how to run Docker containers in the background or foreground, and switch between the two; how to publish ports; how to connect a database app and a web app running in separate containers; and how to share directories between containers and your Mac and among containers. By Audrey Tam.
Docker is a tool that makes it easy to run applications in containers. Containers provide isolation and security like virtual machines, but they’re much smaller because they run in the host machine’s system.
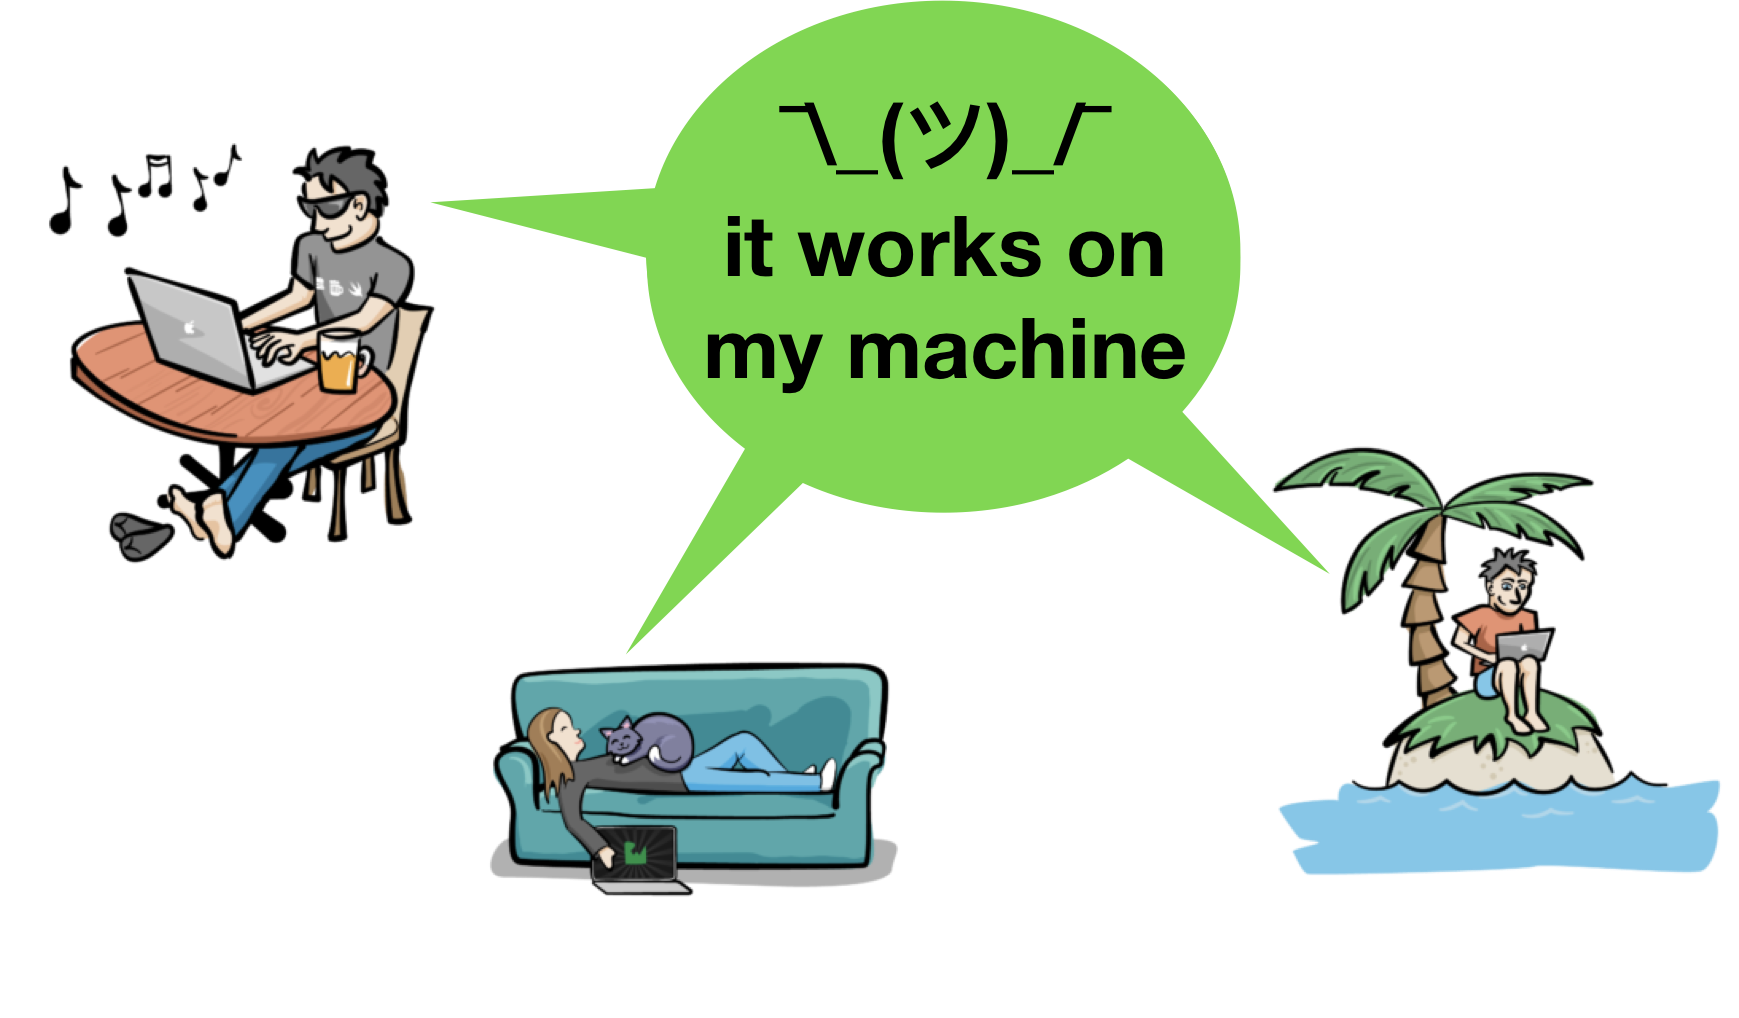
As an iOS developer, why would you want to use Docker? To avoid version problems — to run versions of operating systems, programming languages, database apps, web apps and web servers, machine learning programs — all in isolated environments, to avoid side effects from whatever else you’ve installed on your Mac. Basically, to join the ranks of it-works-on-my-machine developers!
In this tutorial, you’ll get comfortable with Docker vocabulary and commands for creating, inspecting and removing containers, networks and data volumes. You’ll learn how to run Docker containers in the background or foreground, and switch between the two; how to publish ports; how to connect a database app and a web app running in separate containers; and how to share directories between containers and your Mac, and among containers. After completing this tutorial, you’ll be well on your way to Docker ninjadom!
localhost ports will be helpful.
Getting Started
Click the Download Materials button at the top or bottom of this tutorial to get the project files you’ll use to build the web server app, later in this tutorial.
Installing Docker
Docker was originally developed for Linux. Running Docker on macOS used to be pretty complicated, but a native macOS app Docker for Mac launched in July 2016, so now it’s a breeze!
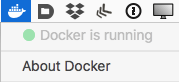
The Community Edition (CE) is a free download, so download Docker CE for Mac, then install and run the app. Moby the whale should appear in your Mac’s status bar:
Docker Terminology & Housekeeping
In this section, you’ll learn some Docker vocabulary and get comfortable with using the Unix command line for basic housekeeping tasks.
Hello World
Open Terminal, and enter this command to see that Docker is running OK:
docker run hello-world
The workhorse Docker command is docker run, and this is the simplest docker run command — it specifies the Docker image to run. If the image is not on your host system, it tries to pull it from the default Docker image registry. The meaning of the word image is similar to the disk images you download as .dmg files. A Docker image is an app, and you run it on your system in a Docker container.
The output of this command explains what Docker just did:
Unable to find image 'hello-world:latest' locally
latest: Pulling from library/hello-world
d1725b59e92d: Pull complete
Digest: sha256:0add3ace90ecb4adbf7777e9aacf18357296e799f81cabc9fde470971e499788
Status: Downloaded newer image for hello-world:latest

Hello from Docker!
This message shows that your installation appears to be working correctly.

To generate this message, Docker took the following steps:
 1. The Docker client contacted the Docker daemon.
 2. The Docker daemon pulled the "hello-world" image from the Docker Hub.
    (amd64)
 3. The Docker daemon created a new container from that image which runs the
    executable that produces the output you are currently reading.
 4. The Docker daemon streamed that output to the Docker client, which sent it
    to your terminal.
Wow, lots of new terms to learn! Starting from the top:
- Although you only asked for
hello-world, Docker looked forhello-world:latest—latestis a tag indicating the version. If you don’t ask for a specific version, Docker assumes you want the latest version. - Because the image isn’t on your system, Docker pulls it from
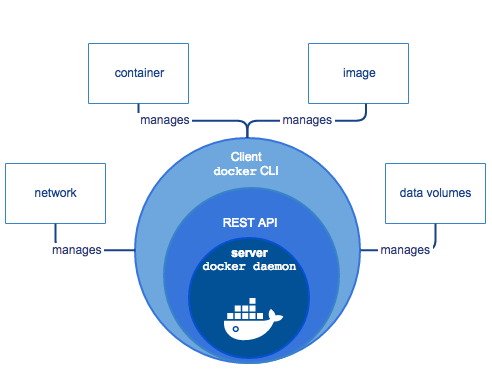
library/hello-world— its location in the default image registry Docker Hub. You’ll visit this place in the Running a Web App section. - The Docker client and Docker daemon are parts of the Docker Engine, which is the client-server application now running on your Mac. The daemon is the server, and the client is the
dockercommand line interface (CLI). The client gives instructions to the daemon using the engine’s REST API.
Docker engine (image from docs.docker.com)
Docker engine (image from docs.docker.com)
There are many types of Docker images:
- OS: mostly Linux flavors like Ubuntu, Alpine etc.
- programming languages: Swift, Ruby, PHP, Haskell, Python, Java, Golang etc.
- databases: MySQL, CouchDB, PostgreSQL, Oracle, IBM Db2 etc.
- application frameworks: Node.js, Flask, Kitura, Tomcat etc.
- web servers: Nginx, Apache etc.
- web apps including Python apps and Jupyter notebooks for machine learning
A Docker image consists of layers — lower layers (OS or programming language) are used by higher layers (API or app). Running an image creates a container — a thin read-write layer on top of the read-only layers of the image. You can run the same image in multiple containers using very little memory. Each container is just the read-write layer, and only one copy of the image exists on your system. The image’s top read-only layer specifies the command to run in the container — for hello-world, this command just outputs the Hello from Docker! message.
Container layer on top of image layers (image from docs.docker.com)

Container layer on top of image layers (image from docs.docker.com)
Using Docker Commands
Now to the housekeeping part — you need to keep track of what Docker is creating on your system, so you can remove stuff when you don’t need it anymore.
First, some general information about the Docker command line interface (CLI) syntax: Docker commands are similar to Unix commands, but they start with “docker”, like docker run, docker image, docker container, docker network.
Most commands have several options, and many options have shorthand versions. The full name of the option is --something, with two dashes, like --name or --publish. The shorthand version is -abbrev, with one dash, like -p for --publish or -v for --volume. A few options, like --name, don’t have a shorthand version.
Most options require values, like -p 8080:8080 or --name kitura. A few don’t have values, and can be run together, like -it or -ti, short for --interactive --tty. You must specify an option’s value right after the option name, but options and option-value pairs can appear in any order.
Many option values map something on the host machine to something in the container. In your case, the host machine is your Mac.
You’ll use all of these, and more, in this tutorial.
Start by entering this command in the terminal window:
docker images
The output lists the Docker images on your system, in particular the hello-world:latest image that Docker pulled:
REPOSITORY    TAG     IMAGE ID      CREATED       SIZE
hello-world   latest  e38bc07ac18e  2 months ago  1.85kB
As the output of docker run hello-world says, the Docker daemon created a container from this image, to run the executable that produced the output.
Run this command to show all (-a) the Docker containers on your system:
docker ps -a
docker container ls -a. For both commands, leaving off the -a option lists only containers that are running.
The output shows just one container:
CONTAINER ID  IMAGE        COMMAND   CREATED    STATUS  PORTS  NAMES
4ed31ad50912  hello-world  "/hello"  16 sec...  Exited ...     stupefied_gates
Docker created an ID and a name for the container — your values will be different. Although the container exited, it’s still on your system.
Run hello-world, then show all containers again:
docker run hello-world
docker ps -a
Now there’s a second container, with different ID and name values:
CONTAINER ID  IMAGE        ...  NAMES
4ed31ad50912  hello-world  ...  stupefied_gates
e5d3669f5ca1  hello-world  ...  flamboyant_zhukovsky
You can remove a container by specifying its name or its ID or just the first 3 characters of its ID, and you can remove several containers in a single command, like so (your ID and name will be different):
docker rm e5d stupefied_gates
The output just echoes the container IDs or names. Confirm the containers are gone:
docker ps -a
It’s fun to see the names that Docker comes up with but, when you’ll be working with a container for a while, it’s convenient to give your own name to the container. Enter this command:
docker run --name helloWorld hello-world
Then list the container:
docker ps -a
And you’ve named your container:
CONTAINER ID  IMAGE        ...  NAMES
c5f411a593a3  hello-world  ...  helloWorld
Run the same command again:
docker run --name helloWorld hello-world
Now you get an error message, because that container name is already in use:
docker: Error response from daemon: Conflict. The container name "/helloWorld"
  is already in use by container
"c5f411a593a341593ff531c444c44f7dd7fd3f1a006395c9c3cbf5ff687838e1". You have to
  remove (or rename) that container to be able to reuse that name.
Next, I want to show you a cool housekeeping trick, so run docker run hello-world several times, to get lots of exited containers cluttering up your system. Then run this command to list them:
docker ps -a -q -f status=exited
This is the docker ps -a command you’ve been using to show all the Docker containers on your system, plus two options. Option -q is short for --quiet, so the command displays only the numeric IDs. Option -f is short for --filter, and the filter condition is status=exited. So the output looks like this (your IDs will be different):
d8d962602abf
64b2eb1af5da
5fde263a26a0
1659b24f2ce2
ff5e7f6a17b5
ab4bf3b4c32b
0d0e48dfcf32
18d8beb2fe60
c5f411a593a3
Now, instead of copy-pasting each ID into the docker rm command, just feed this output into the docker rm command:
docker rm $(docker ps -a -q -f status=exited)
This command first runs the part inside $(), to get the list of IDs for exited containers, then removes them all — brilliant!
Now that you’ve removed the containers, you can also remove the image:
docker rmi hello-world
Your output looks similar to this:
Untagged: hello-world:latest
Untagged: hello-world@sha256:f5233545e43561214ca4891fd1157e1c3c563316ed8e237750d
59bde73361e77
Deleted: sha256:e38bc07ac18ee64e6d59cf2eafcdddf9cec2364dfe129fe0af75f1b0194e0c96
Deleted: sha256:2b8cbd0846c5aeaa7265323e7cf085779eaf244ccbdd982c4931aef9be0d2faf
Check for images again:
docker images
And your system is now clean:
REPOSITORY TAG IMAGE ID CREATED SIZE
history to find the number of the command you want, then run that command again by entering !. For example, below are the last few commands in my history, so entering the command !18 will remove all exited containers.
15  docker run --name helloWorld hello-world
16  docker ps -a
17  docker ps -a -q -f status=exited
18  docker rm $(docker ps -a -q -f status=exited)
19  docker rmi hello-world
20  docker images
21  history