IBM Watson Services for Core ML Tutorial
In this tutorial, you’ll set up an IBM Watson account, then train a custom visual recognition Watson service model, and set up an iOS app to use the exported Core ML model. By Audrey Tam.
6. Build, Run, Test
The moment of truth!
Select the Core ML Vision Custom scheme, then build and run, on an iOS device if possible. You’ll need to take photos of your cables to test the model, and it’s easier to feed these to the app if it’s running on the same device.
Note: To run the app on your device, open the target and, in the Bundle Identifier, replace com.ibm.watson.developer-cloud with something unique to you. Then in the Signing section, select a Team.
The app first compiles the model, which takes a little while:
Then it tells you the ID of the current model:
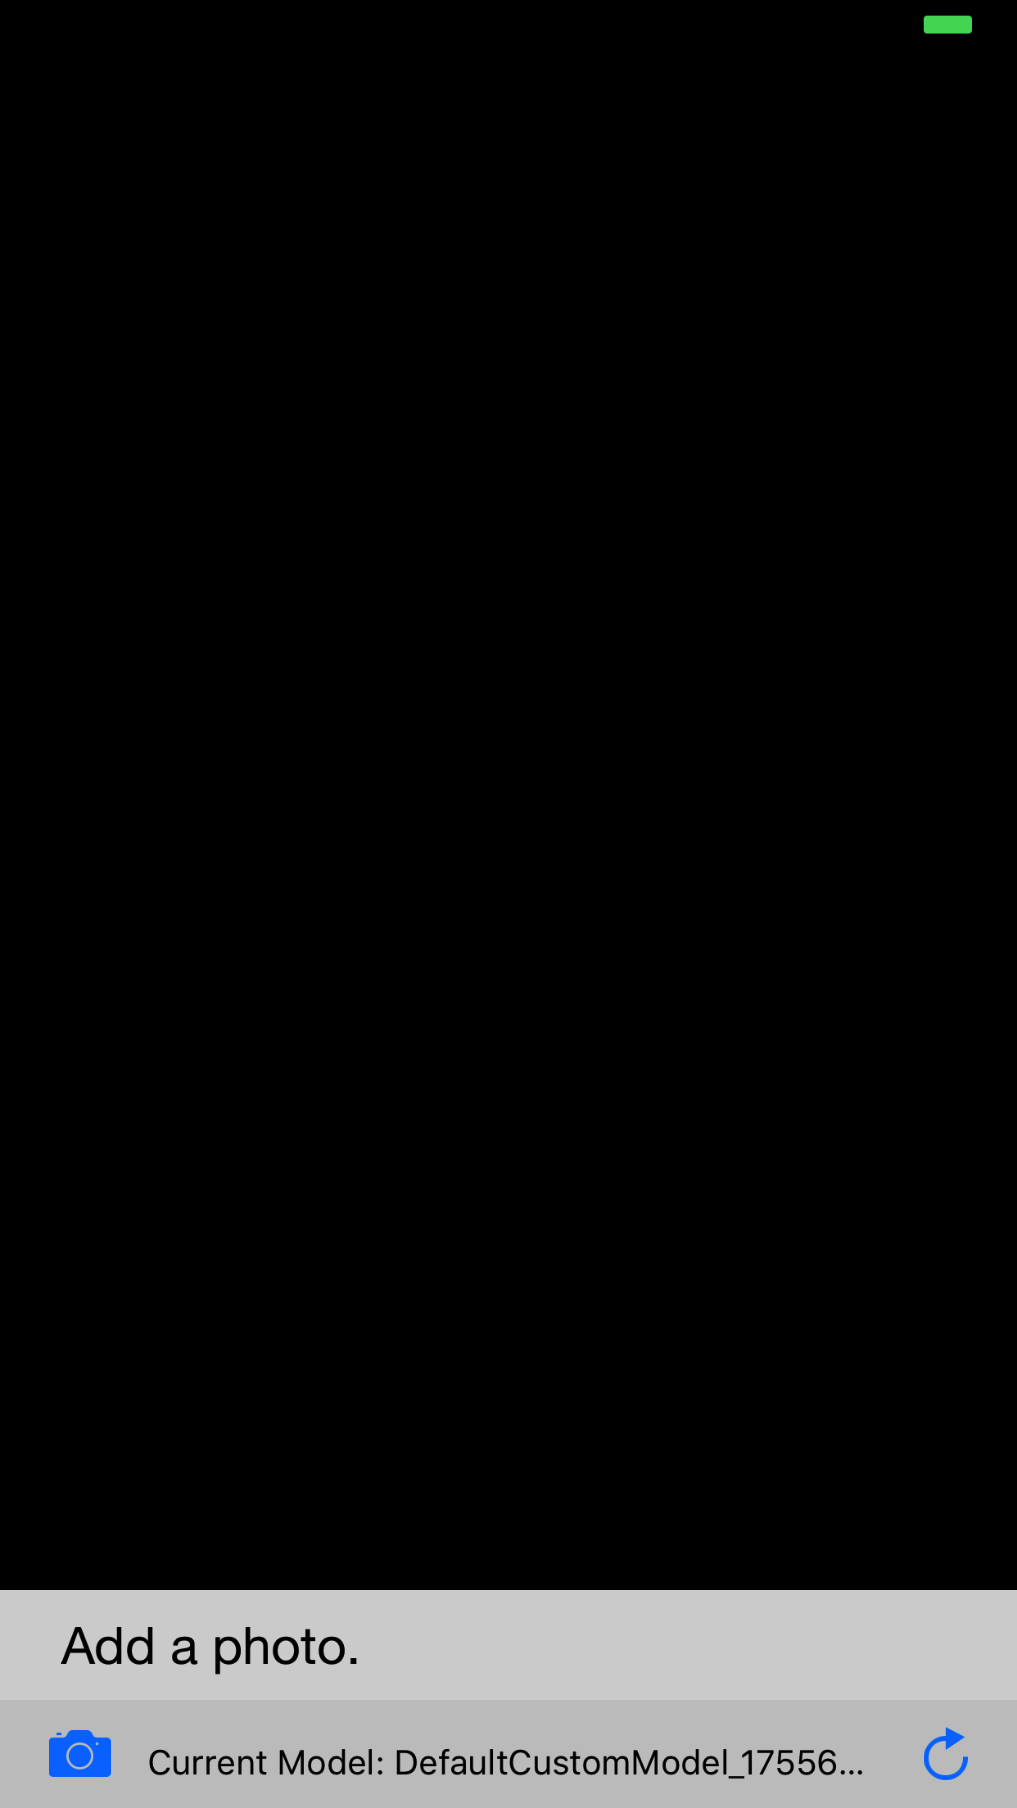
Note: If you get an error message about the model, tap the reload button to try again.
Tap the camera icon to add a test photo. The app then displays the model’s classification of the image:
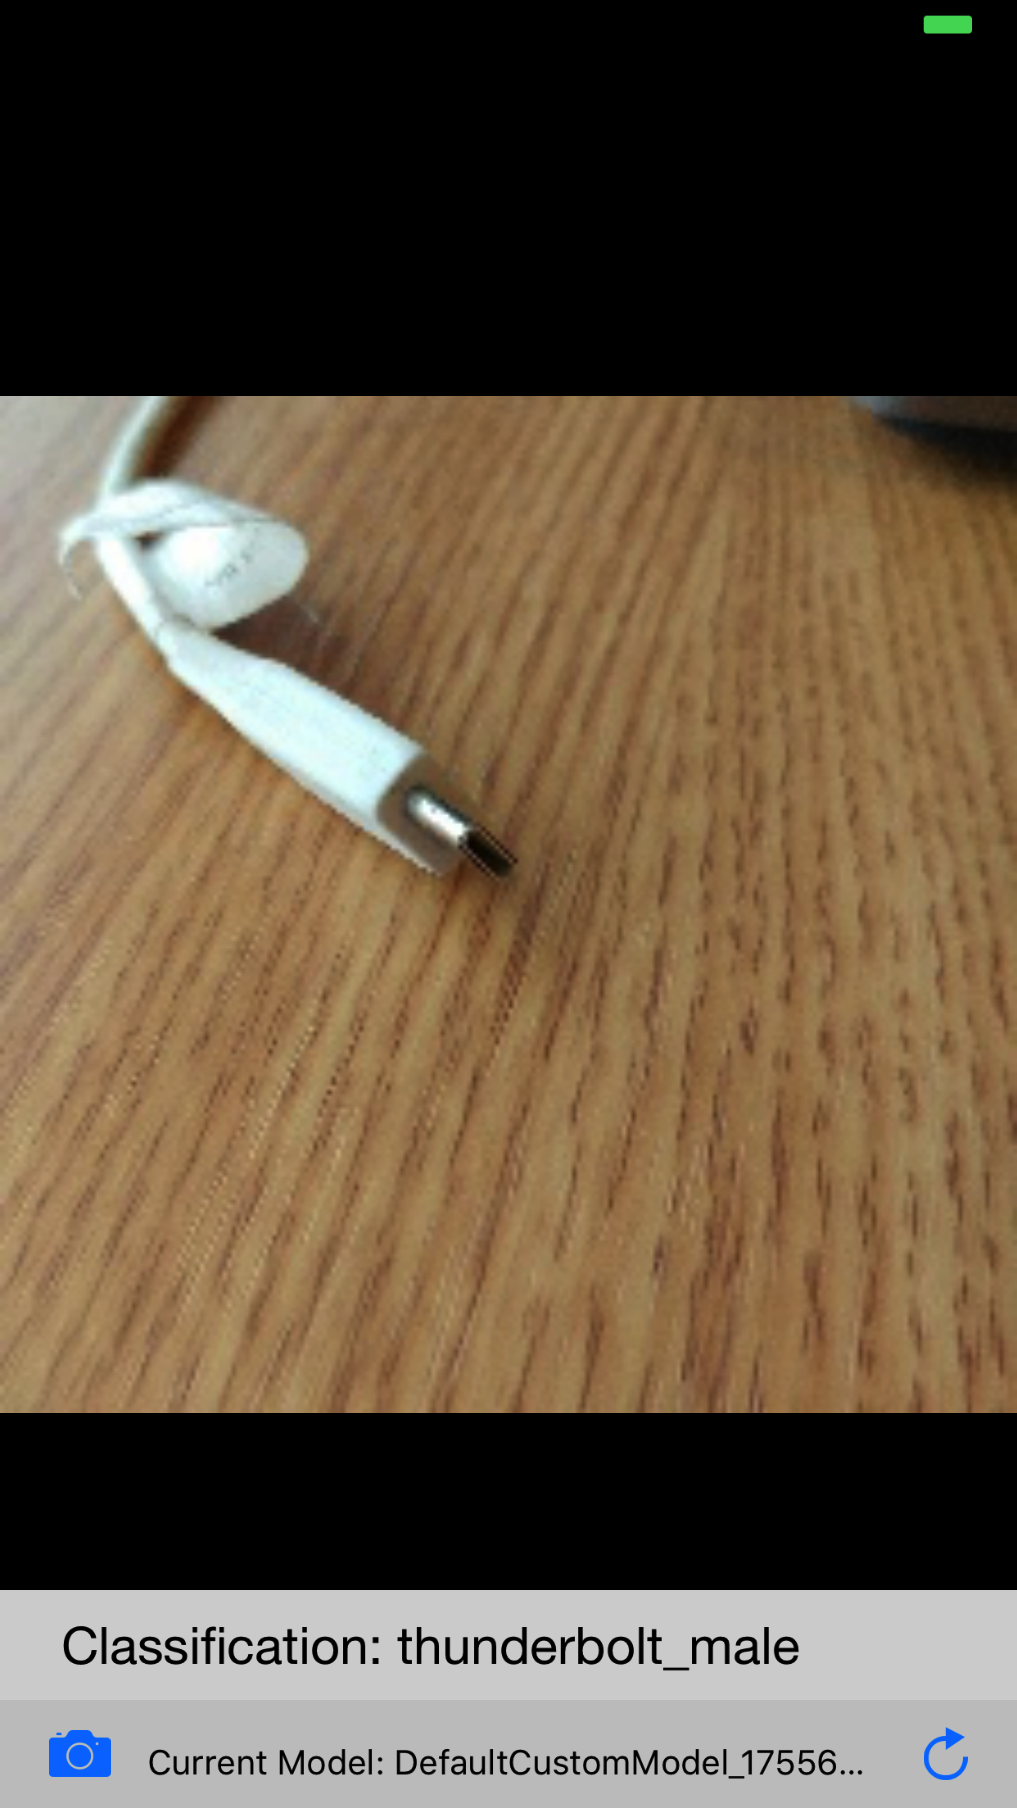
The model isn’t always right: it kept insisting that my Thunderbolt cable was a USB, no matter what angle I took the photo from.
Note: I couldn’t see any obvious reason why you must add the apiKey and classifierId before you build the Watson Swift SDK, so I tried doing it the other way around. I downloaded a fresh copy of the sample code, and ran the carthage command in its Core ML Vision Custom directory: the output of the command looks the same as above, and the Carthage folder contents look the same. Then I added the apiKey and classifierId to the app, and built and ran it: the app didn’t download the model. Breakpoints in viewDidLoad() or viewWillAppear(_:) don’t fire! The app loads, you add a photo of a thunderbolt cable, and it classifies it as a hoe handle or cap opener — it’s using the basic visual recognition model.
TL;DR: Follow the instructions in the order given!
Show Me the Code!
So the sample app works. Now what code do you need to include in your apps, to use your models?
Actually, IBM presents all the code very clearly in the Visual Recognition section of their Watson Swift SDK GitHub repository README. There’s no Core ML code! The Vision Recognition framework wraps the Core ML model that’s wrapped around the Watson vision recognition model!
The only thing I’ll add is this note:
Note: To automatically download the latest model, check for updates to the model by calling the VisualRecognition method updateLocalModel(classifierID:failure:success) in viewDidLoad() or viewDidAppear(_:). It won’t download a model from Watson unless that model is a newer version of the local model.
Updating the Model
What I wanted to do in this section is show you how to implement continous learning in your app. It’s not covered in the GitHub example, and I haven’t gotten definitive answers to my questions. I’ll tell you as much as I know, or have guessed.
Directly From the App
You can send new data sets of positive and negative examples to your Watson project directly from your app using this VisualRecognition method:
public func updateClassifier(classifierID: String, positiveExamples: [VisualRecognitionV3.PositiveExample]? = default, negativeExamples: URL? = default, failure: ((Error) -> Swift.Void)? = default, success: @escaping (VisualRecognitionV3.Classifier) -> Swift.Void)
The documentation for non-Swift versions of this describes the parameters, but also announces:
Important: You can’t update a custom classifier with an API key for a Lite plan. To update a custom classifier on a Lite plan, create another service instance on a Standard plan and re-create your custom classifier.
To be on a Standard plan, you must hand over your credit card, and pay between US$0.002 and US$0.10 for each tagging, detection or training event.
Using Moderated User Feedback
But you shouldn’t send data directly from the app to the model unless you’re sure of the data’s correctness. Best practice for machine learning is to preprocess training data, to “fix or remove data that is incorrect, incomplete, improperly formatted, or duplicated” — you know: garbage in, garbage out! So the idea of feeding uninspected data to your model is anathema.
Instead, you should enable the Data Preparation tool in the Tools section of your project’s Settings page:

Then your app should send positive and negative examples to a storage location, which you connect to your project as a data source. Back in Watson, you (or your ML experts) use the Data Refinery tool to cleanse the new data, before using it to train your model.

This information is from the IBM Watson Refine data documentation.
Watson Services
Curious about what else is available in Watson Services? Let’s take a look!
Find your Visual Recognition : watson_vision_combined-dsx page:

Command-click Watson Services to open this in a new tab:

Click Add Service to see the list:

Click a service’s Add link to see what’s available and for how much but, at this early stage, Watson generates Core ML models only for Visual Recognition. For the other services, your app must send requests to a model running on the Watson server. The Watson Swift SDK GitHub repository README contains sample code to do this.
Note: Remember, you can get back to your project page by clicking the IBM Watson home button in the upper left corner, then scrolling down to Watson Services to find its link.
Where to Go From Here?
There’s no finished project for you to download from here since it’s all IBM’s code and you can reproduce it yourself.
Resources
watson github from Apple’s page: The sample project used in this tutorial.
watson swift-sdk github repo: using core ml: A slightly different version of the sample visual recognition app; this repository contains sample code for all the Watson Services.
Swift@IBM Slack: Join this Slack to ask questions and lobby for your favorite Watson Services to be Core-ML-enabled.
IBM Watson Visual Recognition API
IBM Cloud Docs: Guidelines for Training Classifiers: Scroll down to Guidelines for good training to see recommendations for image size and depth, and number of images.
Further Reading
Core ML and Vision: Machine Learning in iOS 11 Tutorial: Our first Core ML tutorial, cited by an Apple ML Journal article!
Beginning Machine Learning with Keras & Core ML: A gentle introduction to machine learning for developers — how to use the toolset, not how to add to it!
IBM Watson Services for Core ML: Apple’s page
IBM Think Blog announcement: IBM’s announcement.
IBM Cloud Blog: Best practices for custom classifiers in Watson Visual Recognition
- Beginning Machine Learning with scikit-learn: A different, gentle introduction to machine learning for developers with a different toolset.
I hope you enjoyed this introduction to IBM Watson Services for Core ML. Please join the discussion below if you have any questions or comments.