IBM Watson Services for Core ML Tutorial
In this tutorial, you’ll set up an IBM Watson account, then train a custom visual recognition Watson service model, and set up an iOS app to use the exported Core ML model. By Audrey Tam.
5. Building the Watson Swift SDK
The final magic happens by building the Watson Swift SDK in the app’s directory. This creates frameworks for all the Watson Services.
Open Terminal and navigate to the Core ML Vision Custom directory, the one that contains Cartfile. List the files, just to make sure:
cd <drag folder from finder>
ls
You should see something like this:
Audreys-MacBook-Pro-4:Core ML Vision Custom amt1$ ls
Cartfile			Core ML Vision Custom.xcodeproj
Core ML Vision Custom
Open the Core ML Vision Custom project in the Project navigator:

VisualRecognitionV3.framework is red, meaning it’s not there. You’re about to fix that!
Remember how you installed Carthage, at the start of this tutorial? Now you get to run this command:
carthage bootstrap --platform iOS
This takes around five minutes. Cloning swift-sdk takes a while, then downloading swift-sdk.framework takes another while. It should look something like this:
$ carthage bootstrap --platform iOS
*** No Cartfile.resolved found, updating dependencies
*** Fetching swift-sdk
*** Fetching Starscream
*** Fetching common-crypto-spm
*** Fetching zlib-spm
*** Checking out zlib-spm at "1.1.0"
*** Checking out Starscream at "3.0.4"
*** Checking out swift-sdk at "v0.23.1"
*** Checking out common-crypto-spm at "1.1.0"
*** xcodebuild output can be found in /var/folders/5k/0l8zvgnj6095_s00jpv6gxj80000gq/T/carthage-xcodebuild.lkW2sE.log
*** Downloading swift-sdk.framework binary at "v0.23.1"
*** Skipped building common-crypto-spm due to the error:
Dependency "common-crypto-spm" has no shared framework schemes for any of the platforms: iOS

If you believe this to be an error, please file an issue with the maintainers at https://github.com/daltoniam/common-crypto-spm/issues/new
*** Skipped building zlib-spm due to the error:
Dependency "zlib-spm" has no shared framework schemes for any of the platforms: iOS

If you believe this to be an error, please file an issue with the maintainers at https://github.com/daltoniam/zlib-spm/issues/new
*** Building scheme "Starscream" in Starscream.xcodeproj
Look in Finder to see what’s new:

A folder full of frameworks! One for each Watson Service, including the formerly missing VisualRecognitionV3.framework. And sure enough, there it is in the Project navigator:

Note: IBM recommends that you regularly download updates of the SDK so you stay in sync with any updates to this project.
Note: IBM recommends that you regularly download updates of the SDK so you stay in sync with any updates to this project.
6. Build, Run, Test
The moment of truth!
Select the Core ML Vision Custom scheme, then build and run, on an iOS device if possible. You’ll need to take photos of your cables to test the model, and it’s easier to feed these to the app if it’s running on the same device.
Note: To run the app on your device, open the target and, in the Bundle Identifier, replace com.ibm.watson.developer-cloud with something unique to you. Then in the Signing section, select a Team.
Note: To run the app on your device, open the target and, in the Bundle Identifier, replace com.ibm.watson.developer-cloud with something unique to you. Then in the Signing section, select a Team.
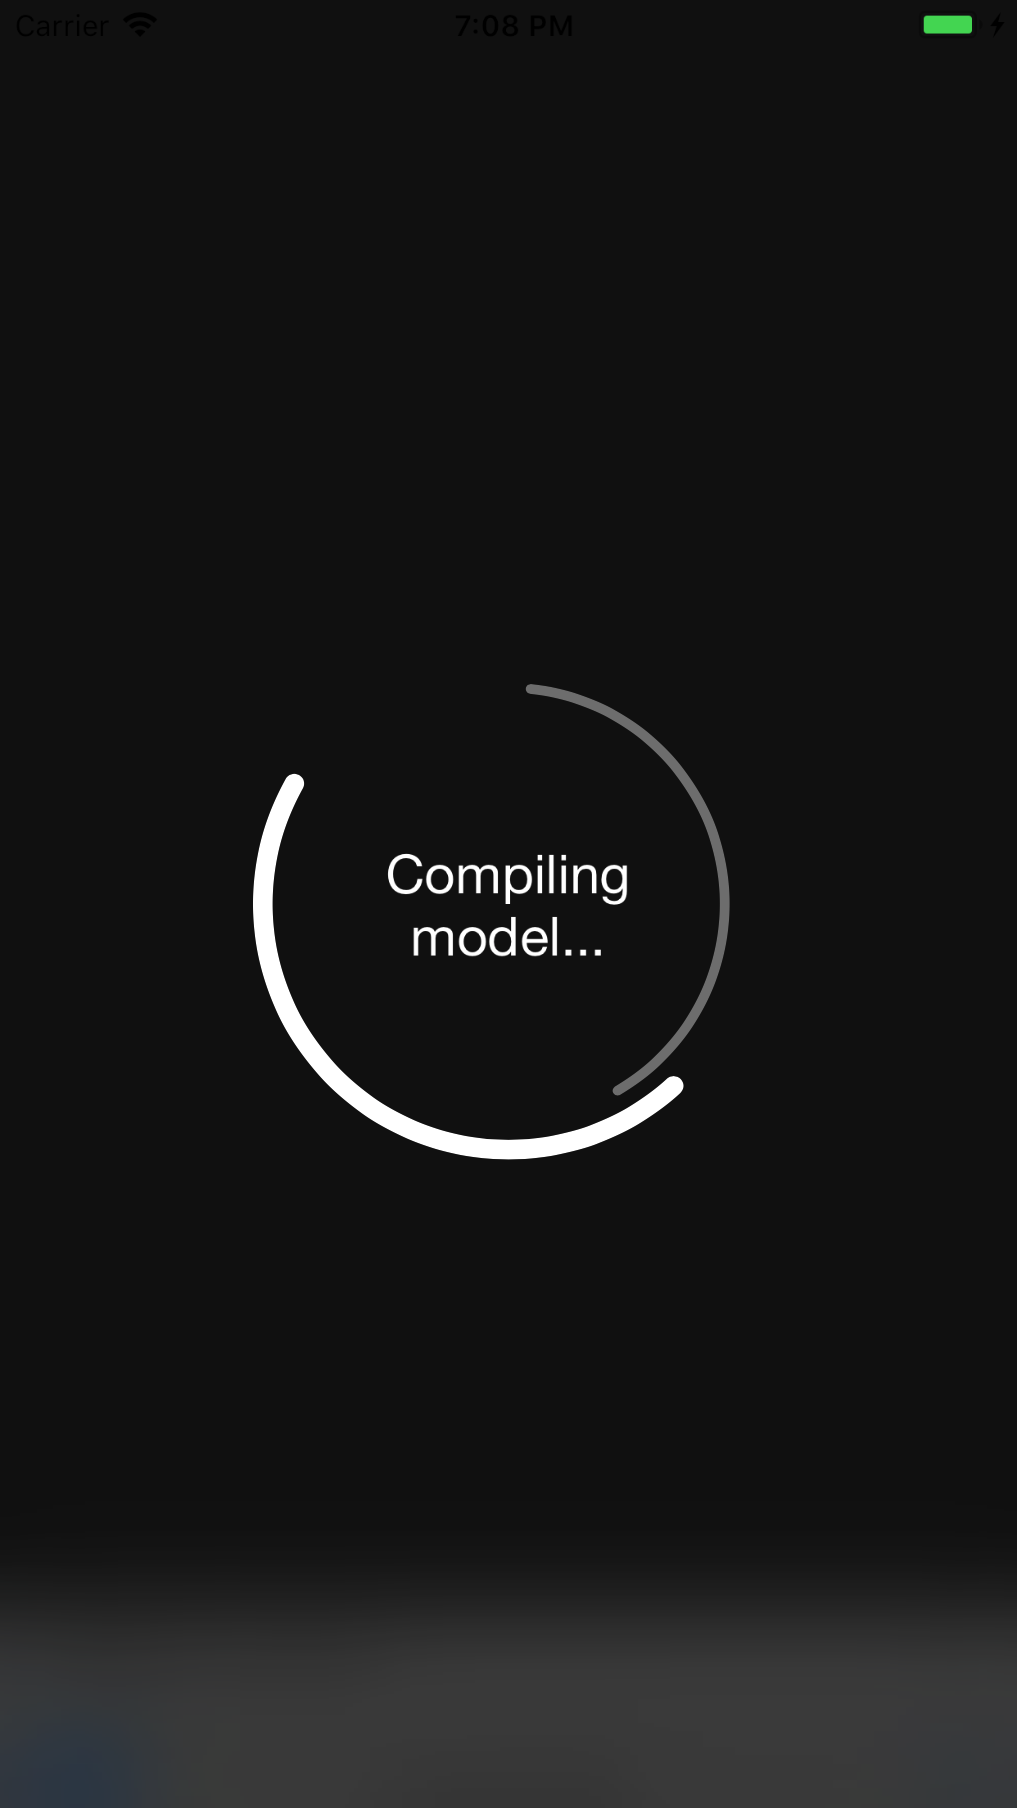
The app first compiles the model, which takes a little while:
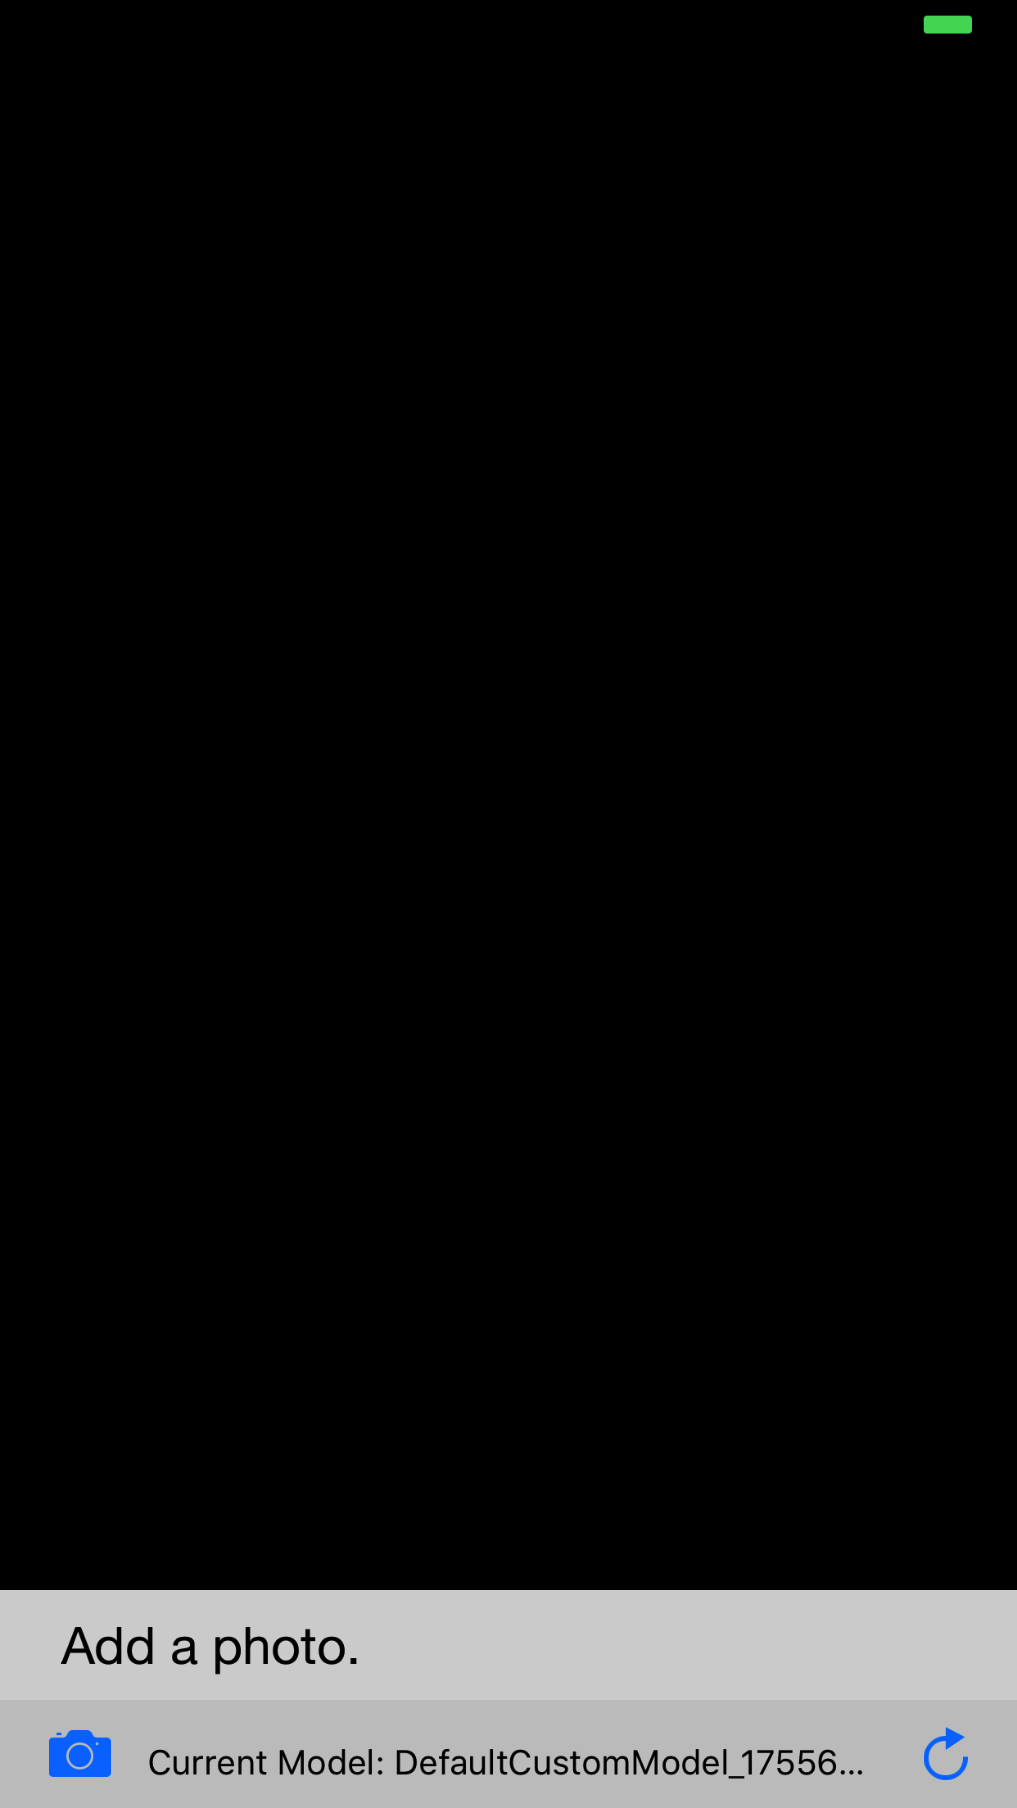
Then it tells you the ID of the current model:
Note: If you get an error message about the model, tap the reload button to try again.
Note: If you get an error message about the model, tap the reload button to try again.
Tap the camera icon to add a test photo. The app then displays the model’s classification of the image:
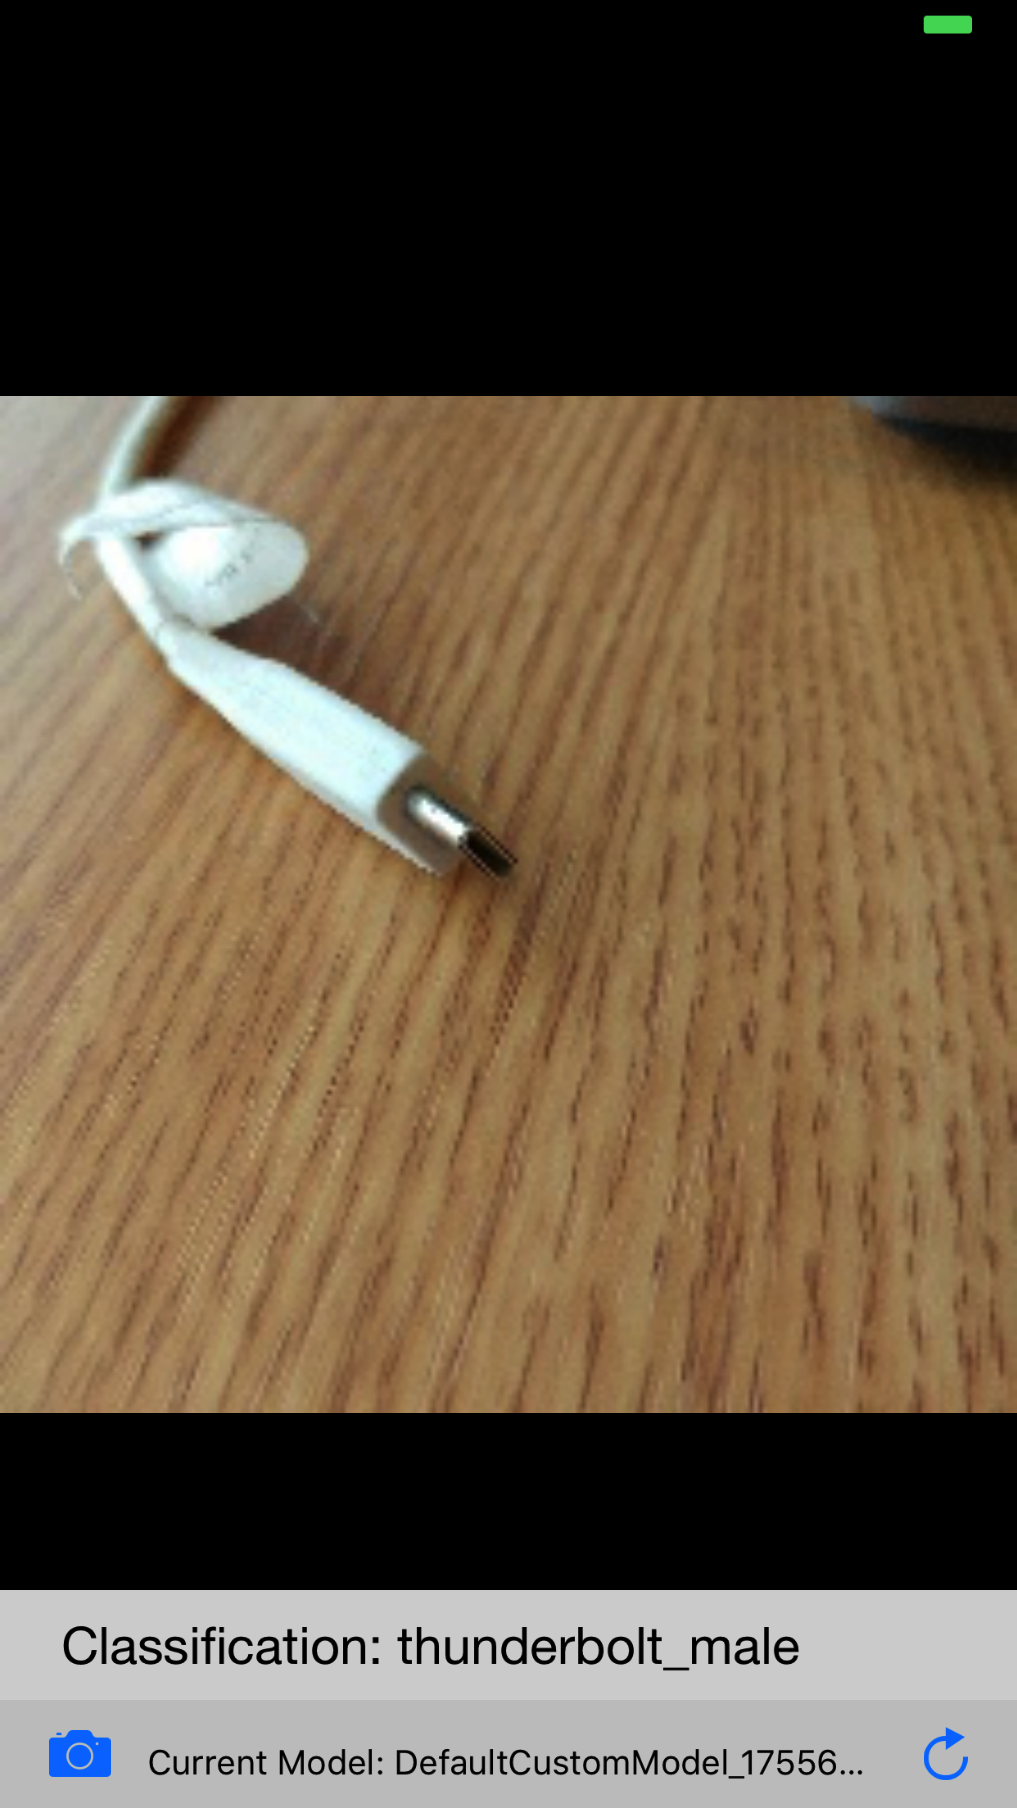
The model isn’t always right: it kept insisting that my Thunderbolt cable was a USB, no matter what angle I took the photo from.
Note: I couldn’t see any obvious reason why you must add the apiKey and classifierId before you build the Watson Swift SDK, so I tried doing it the other way around. I downloaded a fresh copy of the sample code, and ran the carthage command in its Core ML Vision Custom directory: the output of the command looks the same as above, and the Carthage folder contents look the same. Then I added the apiKey and classifierId to the app, and built and ran it: the app didn’t download the model. Breakpoints in viewDidLoad() or viewWillAppear(_:) don’t fire! The app loads, you add a photo of a thunderbolt cable, and it classifies it as a hoe handle or cap opener — it’s using the basic visual recognition model.
TL;DR: Follow the instructions in the order given!
Show Me the Code!
So the sample app works. Now what code do you need to include in your apps, to use your models?
Actually, IBM presents all the code very clearly in the Visual Recognition section of their Watson Swift SDK GitHub repository README. There’s no Core ML code! The Vision Recognition framework wraps the Core ML model that’s wrapped around the Watson vision recognition model!
The only thing I’ll add is this note:
Note: To automatically download the latest model, check for updates to the model by calling the VisualRecognition method updateLocalModel(classifierID:failure:success) in viewDidLoad() or viewDidAppear(_:). It won’t download a model from Watson unless that model is a newer version of the local model.
Note: To automatically download the latest model, check for updates to the model by calling the VisualRecognition method updateLocalModel(classifierID:failure:success) in viewDidLoad() or viewDidAppear(_:). It won’t download a model from Watson unless that model is a newer version of the local model.