Augmented Reality iOS Tutorial: Location Based
In this augmented reality tutorial, you’ll learn how to use your iOS users location to create compelling augmented reality experiences. By Jean-Pierre Distler.
4.5 (4) · 2 Reviews
Adding Google Places
Now that you have a current location, you can load a list of POIs. To get this list, you’ll use Google's Places API.
Google Places API requires you to register for access. If you've already created a Google account in the past to access APIs like Maps, go here and select Services. Then skip the following steps until you reach Enabling the Places API.
However, if you've never used Google Places API before, you'll need to register for an account.

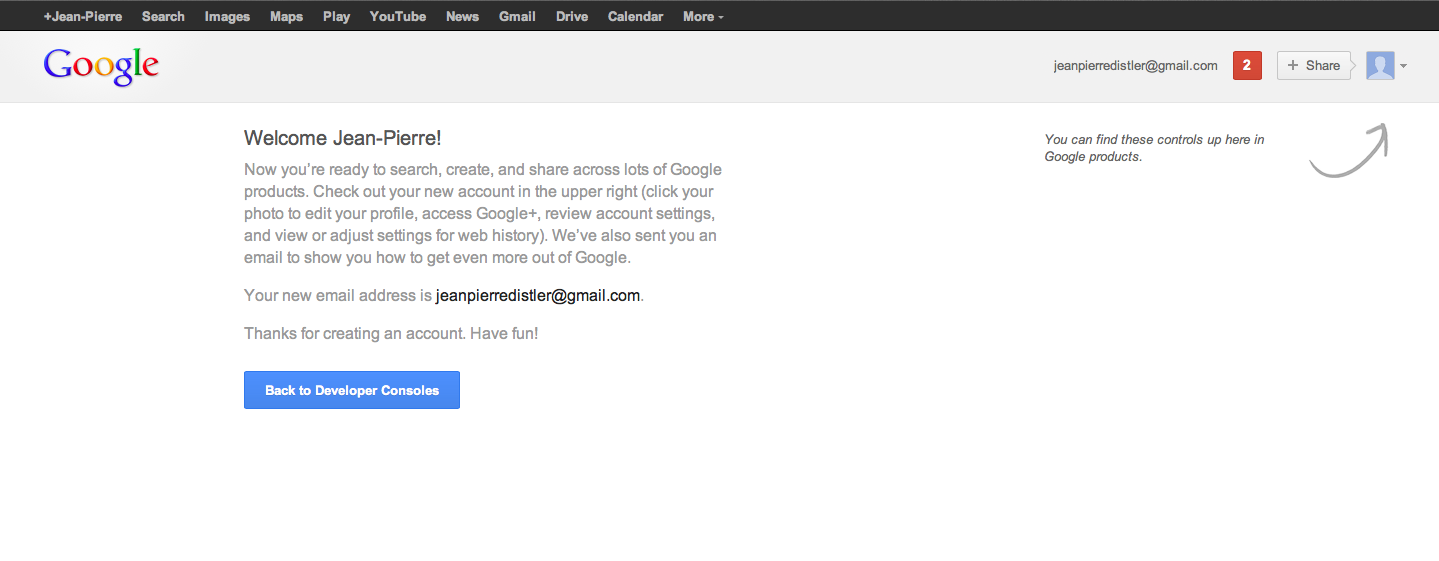
You can skip the second screen and on the third, click on Back to Developer Consoles.
Now click on Project/Create Project in the upper left and enter a name for your project. To enable the Places API, search for the line Google Places API Web Service and click the link. Click ENABLE on the top. Now click on Credentials and follow the steps to receive your API key.
Loading Points of Interest
Now that you have an API key open PlacesLoader.swift and find the line let apiKey = "Your API key" and replace the value with your API key.
This is a great time for a new test, but before you build and run, open ViewController.swift and add two new properties below the locationManager property.
fileprivate var startedLoadingPOIs = false
fileprivate var places = [Place]()
startedLoadingPOIs tracks if there is a request in progress, it can happen that the CLLocationManagerDelegate method is called multiple times even after you stopped updating the location. To avoid multiple requests you use this flag. places stores the received POIs.
Now find locationManager(manager: didUpdateLocations:). Inside the if statement, add the following code, right after the "More code later ..." comment:
//1
if !startedLoadingPOIs {
  startedLoadingPOIs = true
  //2
  let loader = PlacesLoader()
  loader.loadPOIS(location: location, radius: 1000) { placesDict, error in
  	//3
    if let dict = placesDict {
      print(dict)
    }
  }
}
This starts loading a list of POIs that are within a radius of 1000 meters of the user’s current position, and prints them to the console.
Build and run, and watch the console’s output. It should look like this, but with other POIs:
{
    "html_attributions" =     (
    );
    "next_page_token" = "CpQCAgEAAJWpTe34EHADqMuEIXEUvbWnzJ3fQ0bs1AlHgK2SdpungTLOeK21xMPoi04rkJrdUUFRtFX1niVKCrz49_MLOFqazbOOV0H7qbrtKCrn61Lgm--DTBc_3Nh9UBeL8h-kDig59HmWwj5N-gPeki8KE4dM6EGMdZsY1xEkt0glaLt9ScuRj_w2G8d2tyKMXtm8oheiGFohz4SnB9d36MgKAjjftQBc31pH1SpnyX2wKVInea7ZvbNFj5I8ooFOatXlp3DD9K6ZaxXdJujXJGzm0pqAsrEyuSg3Dnh3UfXPLdY2gpXBLpHCiMPh90-bzYDMX4SOy2cQOk2FYQVR5UUmLtnrRR9ylIaxQH85RmNmusrtEhDhgRxcCZthJHG4ktJk37sGGhSL3YHgptN2UExsnhzABwmP_6L_mg";
    results =     (
                {
            geometry =             {
                location =                 {
                    lat = "50.5145334";
                    lng = "8.3931416";
                };
                viewport =                 {
                    northeast =                     {
                        lat = "50.51476485000001";
                        lng = "8.393168700000002";
                    };
                    southwest =                     {
                        lat = "50.51445624999999";
                        lng = "8.3930603";
                    };
                };
            };
            icon = "https://maps.gstatic.com/mapfiles/place_api/icons/lodging-71.png";
            id = c64c6c1abd02f4764d00a72c4bd504ab6d152a2b;
            name = "Schlo\U00df-Hotel Braunfels";
            photos =             (
                                {
                    height = 4160;
                    "html_attributions" =                     (
                        "<a href=\"https://maps.google.com/maps/contrib/113263673214221090182/photos\">Ralph Peters</a>"
                    );
                    "photo_reference" = "CoQBdwAAABZT7LYlGHmdep61gMOtwpZsYtVeHRWch0PcUZQOuICYHEWnZhKsSkVdMLx3RBTFIz9ymN10osdlqrPcxhxn-vv3iSsg6YyM18A51e3Sy0--jO2u4kCC05zeMyFp-k7C6ygsDsiOK4Dn3gsu_Bf5D-SZt_SrJqkO0Ys6CwTJ75EPEhDcRLUGnYt2tSODqn_XwxKWGhRMrOG9BojlDHFSoktoup1OsbCpkA";
                    width = 3120;
                }
            );
            "place_id" = ChIJdadOzRdPvEcRkItOT1FMzdI;
            rating = "3.8";
            reference = "CmRSAAAAgvVO1e988IpXI7_u0IsRFCD1U1IUoSXlW7KfXvLb0DDtToodrGbiVtGZApSKAahnClm-_o-Nuixca_azt22lrT6VGwlJ1m6P0s2TqHAEmnD2QasXW6dCaDjKxesXCpLmEhAOanf32ZUsfX7JNLfNuuUXGhRrzQg-vvkQ0pGT-iSOczT5dG_7yg";
            scope = GOOGLE;
            types =             (
                lodging,
                "point_of_interest",
                establishment
            );
            vicinity = "Hubertusstra\U00dfe 2, Braunfels";
        },
Pardon my french! :]
If you get NULL back for a response, try increasing the radius to a larger value.
So far, your app can determine a user’s position and load a list of POIs inside the local area. You have a class that can store a place from this list, even if you don't use it at the moment. What’s really missing is the ability to show the POIs on the map!
Displaying Places of Interest
To make an annotation on the mapView, you need another class. So go to File\New\File…, choose the iOS\Swift File and click Next. Name the file PlaceAnnotation.swift and click Create.
Inside PlaceAnnotation.swift replace the contents with the following:
import Foundation
import MapKit

class PlaceAnnotation: NSObject, MKAnnotation {
  let coordinate: CLLocationCoordinate2D
  let title: String?

  init(location: CLLocationCoordinate2D, title: String) {
    self.coordinate = location
    self.title = title

    super.init()
  }
}
Here you've made the class implement the MKAnnotation protocol and defined two properties and a custom init method.
Now you have everything you need to show some POIs on the map!
Go back to ViewController.swift and complete the locationManager(manager: didUpdateLocations:) method. Find the print(dict) line and replace it with this:
//1
guard let placesArray = dict.object(forKey: "results") as? [NSDictionary]  else { return }
//2
for placeDict in placesArray {
  //3
  let latitude = placeDict.value(forKeyPath: "geometry.location.lat") as! CLLocationDegrees
  let longitude = placeDict.value(forKeyPath: "geometry.location.lng") as! CLLocationDegrees
  let reference = placeDict.object(forKey: "reference") as! String
  let name = placeDict.object(forKey: "name") as! String
  let address = placeDict.object(forKey: "vicinity") as! String

  let location = CLLocation(latitude: latitude, longitude: longitude)
  //4
  let place = Place(location: location, reference: reference, name: name, address: address)
  self.places.append(place)
  //5
  let annotation = PlaceAnnotation(location: place.location!.coordinate, title: place.placeName)
  //6
  DispatchQueue.main.async {
    self.mapView.addAnnotation(annotation)
  }
}
Here's a closer look at what’s happening above:
- The
guardstatement checks that the response has the expected format - This line iterates over the received POIs
- These lines get the needed information from the dictionary. The response contains a lot more information that is not needed for this app.
- With the extracted information a
Placeobject is created and appended to theplacesarray. - The next line creates a
PlaceAnnotationthat is used to show an annotation on the map view. - Finally the annotation is added to the map view. Since this manipulates the UI, the code has to be executed on the main thread.
Build and run. This time, some annotations appear on the map and when you tap one, you’ll see the name of the place. This app looks nice for now, but where is the augmented reality?!

Introducing HDAugmentedReality
You’ve done a lot of work so far, but they’ve been necessary preparations for what you’re about to do: it’s time to bring augmented reality to the app.
You may have seen the Camera button in the bottom right. Currently nothing happens if you tap the button. In this section you'll add some action to this button and show a live preview of the camera with some augmented reality elements.
To make your life easier you'll use the HDAugmentedReality library. It is already included in the starter project you downloaded earlier, if you want to grab the latest version you can find it on Github, but what can this lib do for you?
First, HDAugmentedReality handles the camera captioning for you so that showing live video is easy. Second, it adds the overlays for the POIs for you and handles their positioning.
As you’ll see in a moment, the last point is perhaps your greatest boon, because it saves you from having to do some complicated math! If you want to know more about the math behind HDAugmentedReality, continue on.
If, on the other hand, you want to dig immediately into the code, feel free to skip the next two sections and jump straight to Start Coding.