Building a Museum App with ARKit 2
Have you ever stood at a museum exhibit and wanted to know more about the art or artifact than the little placard provides? There should really be an app for that. Well, you can make such an app with image and object detection and tracking in ARKit 2! By Michael Katz.
Adding Image Tracking
In ViewController.swift, add a new variable under the comment: // Add configuration variables here:
private var imageConfiguration: ARImageTrackingConfiguration?
This sets up a variable to hold the image-tracking configuration, once created.
Now, look for setupImageDetection() and add the following code:
imageConfiguration = ARImageTrackingConfiguration()
This sets that instance variable to a new ARImageTrackingConfiguration. As the name implies, this class is an ARKit configuration that is set up to detect and track images.
Under that line, add the following:
guard let referenceImages = ARReferenceImage.referenceImages(
  inGroupNamed: "AR Images", bundle: nil) else {
      fatalError("Missing expected asset catalog resources.")
  }
imageConfiguration?.trackingImages = referenceImages
This creates an ARReferenceImage set using the images in the AR Images group that you just created in the asset catalog. You then add them to the configuration as the list of images to track.
To use the configuration, add the following to viewWillAppear(_:):
if let configuration = imageConfiguration {
  sceneView.session.run(configuration)
}
This starts the ARKit session with the imageConfiguration. Once this runs, ARKit will process the camera data to detect the reference images.
To make sure this all gets kicked off, add the following to the bottom of viewDidLoad():
setupImageDetection()
Finally, to balance out the session running, add to viewWillDisappear(_:):
sceneView.session.pause()
This pauses the session when the view disappears. ARKit sessions are battery drains due to camera use, video processing and rendering. It’s not a big deal in our one-view app, but it’s always a good idea to respect the user’s device and pause the session whenever it’s not shown.
Handling Detected Images
Once an image is detected, the AR session adds an ARImageAnchor to its world map. When that happens, you’ll get a callback at renderer(_:didAdd:for:).
Find this function at the bottom of ViewController.swift and add the following code:
DispatchQueue.main.async { self.instructionLabel.isHidden = true }
if let imageAnchor = anchor as? ARImageAnchor {
  handleFoundImage(imageAnchor, node)
}
This code checks that the newly added node was added for an image anchor. This means that an image was detected in the real world.
Replace the handleFoundImage(_:_:) body with:
let name = imageAnchor.referenceImage.name!
print("you found a \(name) image")

let size = imageAnchor.referenceImage.physicalSize
if let videoNode = makeDinosaurVideo(size: size) {
  node.addChildNode(videoNode)
  node.opacity = 1
}
This obtains the name and size of the image from the anchor’s reference image. You specified those values in the asset catalog. Using the size, a helper function is called to create a video player to sit on top of the detected image.
To make the video node, replace the contents of makeDinosaurVideo(size:) with:
// 1
guard let videoURL = Bundle.main.url(forResource: "dinosaur",
                                     withExtension: "mp4") else {
  return nil
}

// 2
let avPlayerItem = AVPlayerItem(url: videoURL)
let avPlayer = AVPlayer(playerItem: avPlayerItem)
avPlayer.play()

// 3
NotificationCenter.default.addObserver(
  forName: .AVPlayerItemDidPlayToEndTime,
  object: nil,
  queue: nil) { notification in
    avPlayer.seek(to: .zero)
    avPlayer.play()
}

// 4
let avMaterial = SCNMaterial()
avMaterial.diffuse.contents = avPlayer

// 5
let videoPlane = SCNPlane(width: size.width, height: size.height)
videoPlane.materials = [avMaterial]

// 6
let videoNode = SCNNode(geometry: videoPlane)
videoNode.eulerAngles.x = -.pi / 2
return videoNode
This function creates a video player and puts it in a SceneKit node sized to the image. It does that by:
- Grabbing the video from the resource bundle. This has a simple animation used for all the dinosaurs. But you could use the image anchor’s name to serve up a different video for each dinosaur type.
- Creating and starting an
AVPlayerfor that video. -
AVPlayerinstances don’t automatically repeat. This notification block loops the video by listening for the player to finish. It then seeks back to the beginning and starts it over again. - SceneKit doesn’t use
UIViews and, instead, uses nodes to render a scene. AnAVPlayercan’t be added directly. Instead, the video player can be used as a node’s texture or “material.” This will map video frames on to the associated node. - The detected image is a flat square (i.e., a plane), so the node that will overlap it is a
SCNPlaneof the same size as the detected image. This plane gets decorated with the video as its texture. - Creating the actual node that will be part of the scene. This is flipped on the x-axis so that it shows up correctly to the user.
Tryin’ It Out
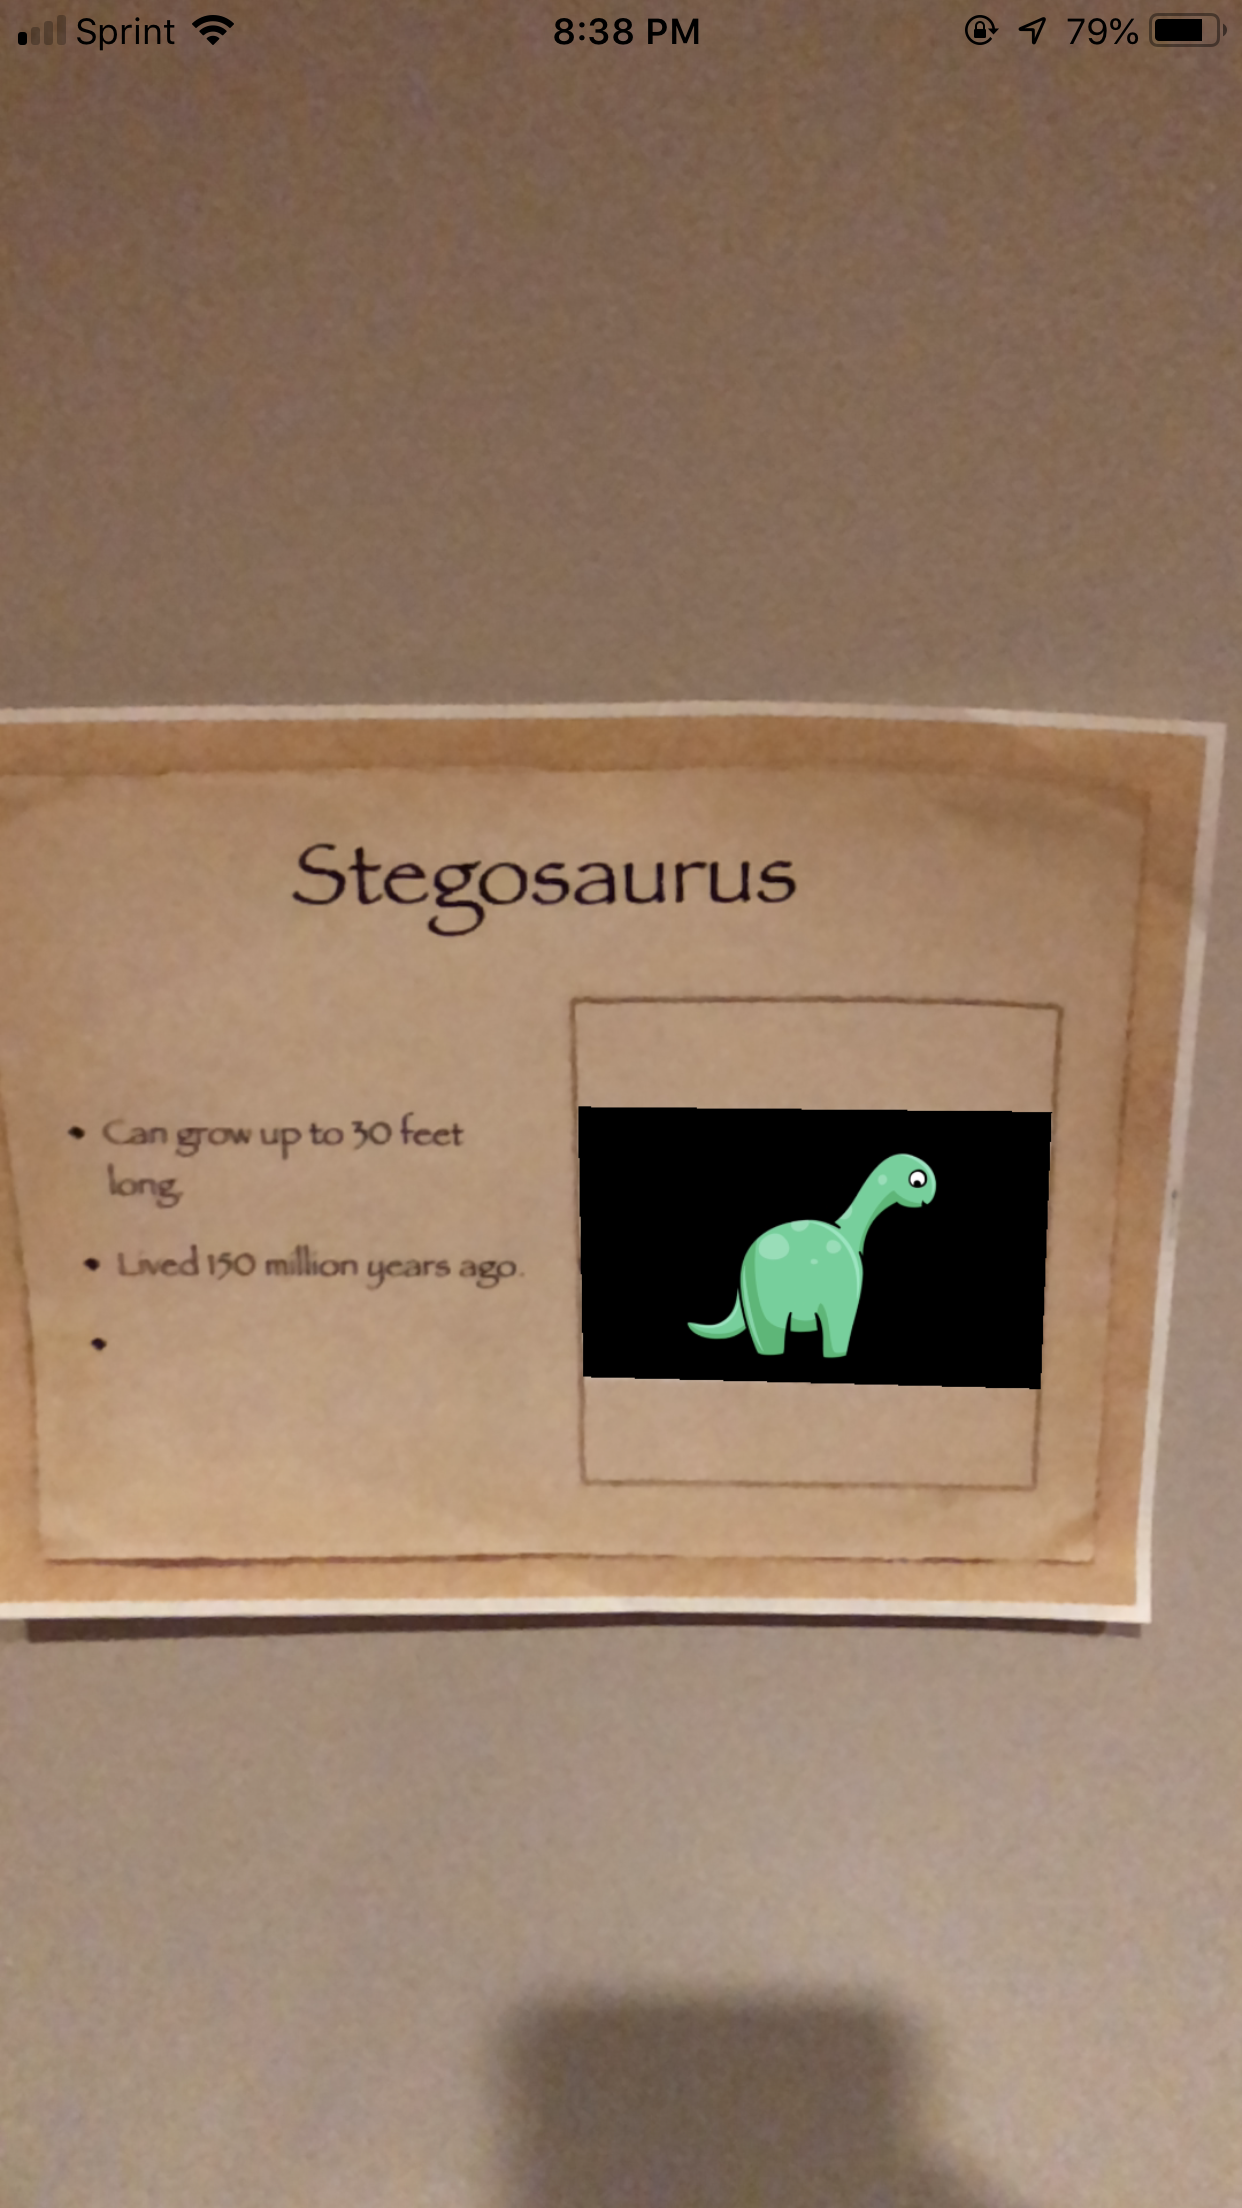
Finally, after all this, it’s time to build and run! But, first, print out at least one of the slides of Dinosaurs.key. Place it flat (vertical or horizontal) in a well-lit area.
Build and run the app. Once you accept camera permissions and the video appears, point it at the printed page. It may take a second or two of a steady hand to detect the image. When done correctly, you’ll see a comment in the console and an animated overlay on the screen.
Unfortunately, if the session starts but it doesn’t detect an image, there is no error message. Most of the time, ARKit is not expecting to find the image, so it’s not considered an error. As long as there are no warnings in the asset catalog about the image, it should eventually be detected.
Adding Object Detection and Tracking
Now, you’ve seen image detection in action. Next, you’ll add object detection to the app. From a developer perspective, object detection works pretty much the same way. The main difference is that it will look for three-dimensional objects rather than flat images. Object detection is slightly more complicated to set up. Object reference creation is a fair bit more complicated as well.
To review, here are the steps for using image and object detection:
- Create the references.
- Put the references in an AR Resources group in the asset catalog.
- Set up an ARKit session.
- Load the reference images/objects and set the session to detect them.
- Start the session.
- Wait for the callback when an anchor is added.
- Add the interactive nodes to the scene, or take other action.