Building a Museum App with ARKit 2
Have you ever stood at a museum exhibit and wanted to know more about the art or artifact than the little placard provides? There should really be an app for that. Well, you can make such an app with image and object detection and tracking in ARKit 2! By Michael Katz.
Displaying Text Nodes
Now, to dive into the SceneKit text nodes.
Add the helper function for creating the text node below handleFoundObject(_:_:):
private func createTitleNode(info: DinosaurFact) -> SCNNode {
  let title = SCNText(string: info.name, extrusionDepth: 0.6)
  let titleNode = SCNNode(geometry: title)
  titleNode.scale = SCNVector3(0.005, 0.005, 0.01)
  titleNode.position = SCNVector3(info.titlePosition.x, info.titlePosition.y, 0)
  return titleNode
}
This creates a text node with the dinosaur’s name. A SCNText is a geometry that describes the shape of the string. It allows you to create a shape that can be placed in the scene. The default text size is huge compared to the object, so scaling the titleNode shrinks it to a reasonable size.
The position specified here aligns the text over the center of the object. Because the size of the object can vary from object to object, it needs to be specified for each individual dinosaur representation. You can adjust the values in DinosaurFacts.swift for your own objects. The dimensions are in meters by default for SceneKit.
Next, add the other helper function for the fun facts:
private func createInfoNode(facts: String) -> SCNNode {
  // 1
  let textGeometry = SCNText(string: facts, extrusionDepth: 0.7)
  let textNode = SCNNode(geometry: textGeometry)
  textNode.scale = SCNVector3(0.003, 0.003, 0.01)
  textNode.position = SCNVector3(0.02, 0.01, 0)

  // 2
  let material = SCNMaterial()
  material.diffuse.contents = UIColor.blue
  textGeometry.materials = [material]

  // 3
  let billboardConstraints = SCNBillboardConstraint()
  textNode.constraints = [billboardConstraints]
  return textNode
}
This is similar to the previous helper, but with a few extras:
- First, like the previous helper function, this creates a text geometry with a node and scales it down to a reasonable size.
- This makes the text blue. The blue color is set by creating a new material with its
diffusecontents set to the blue color. A node’s material helps the scene renderer figure out how the object responds to light. The diffuse property is like the base appearance. Here, it’s set to a blue color, but could instead be an image or a video, as you’ve seen previously. -
SCNBillboardConstraintis a useful constraint that keeps oriented to the node so that the text is always facing the user. This improves readability; as you move around, you won’t have to move to an awkward angle to see the text.
Build and run the app, then point at one of the scanned objects.
Detection may require several attempts. It helps to move around the object: forward and back, around the sides, etc., to give ARKit the best chance of realizing the shape. Be sure to move slowly and steadily.

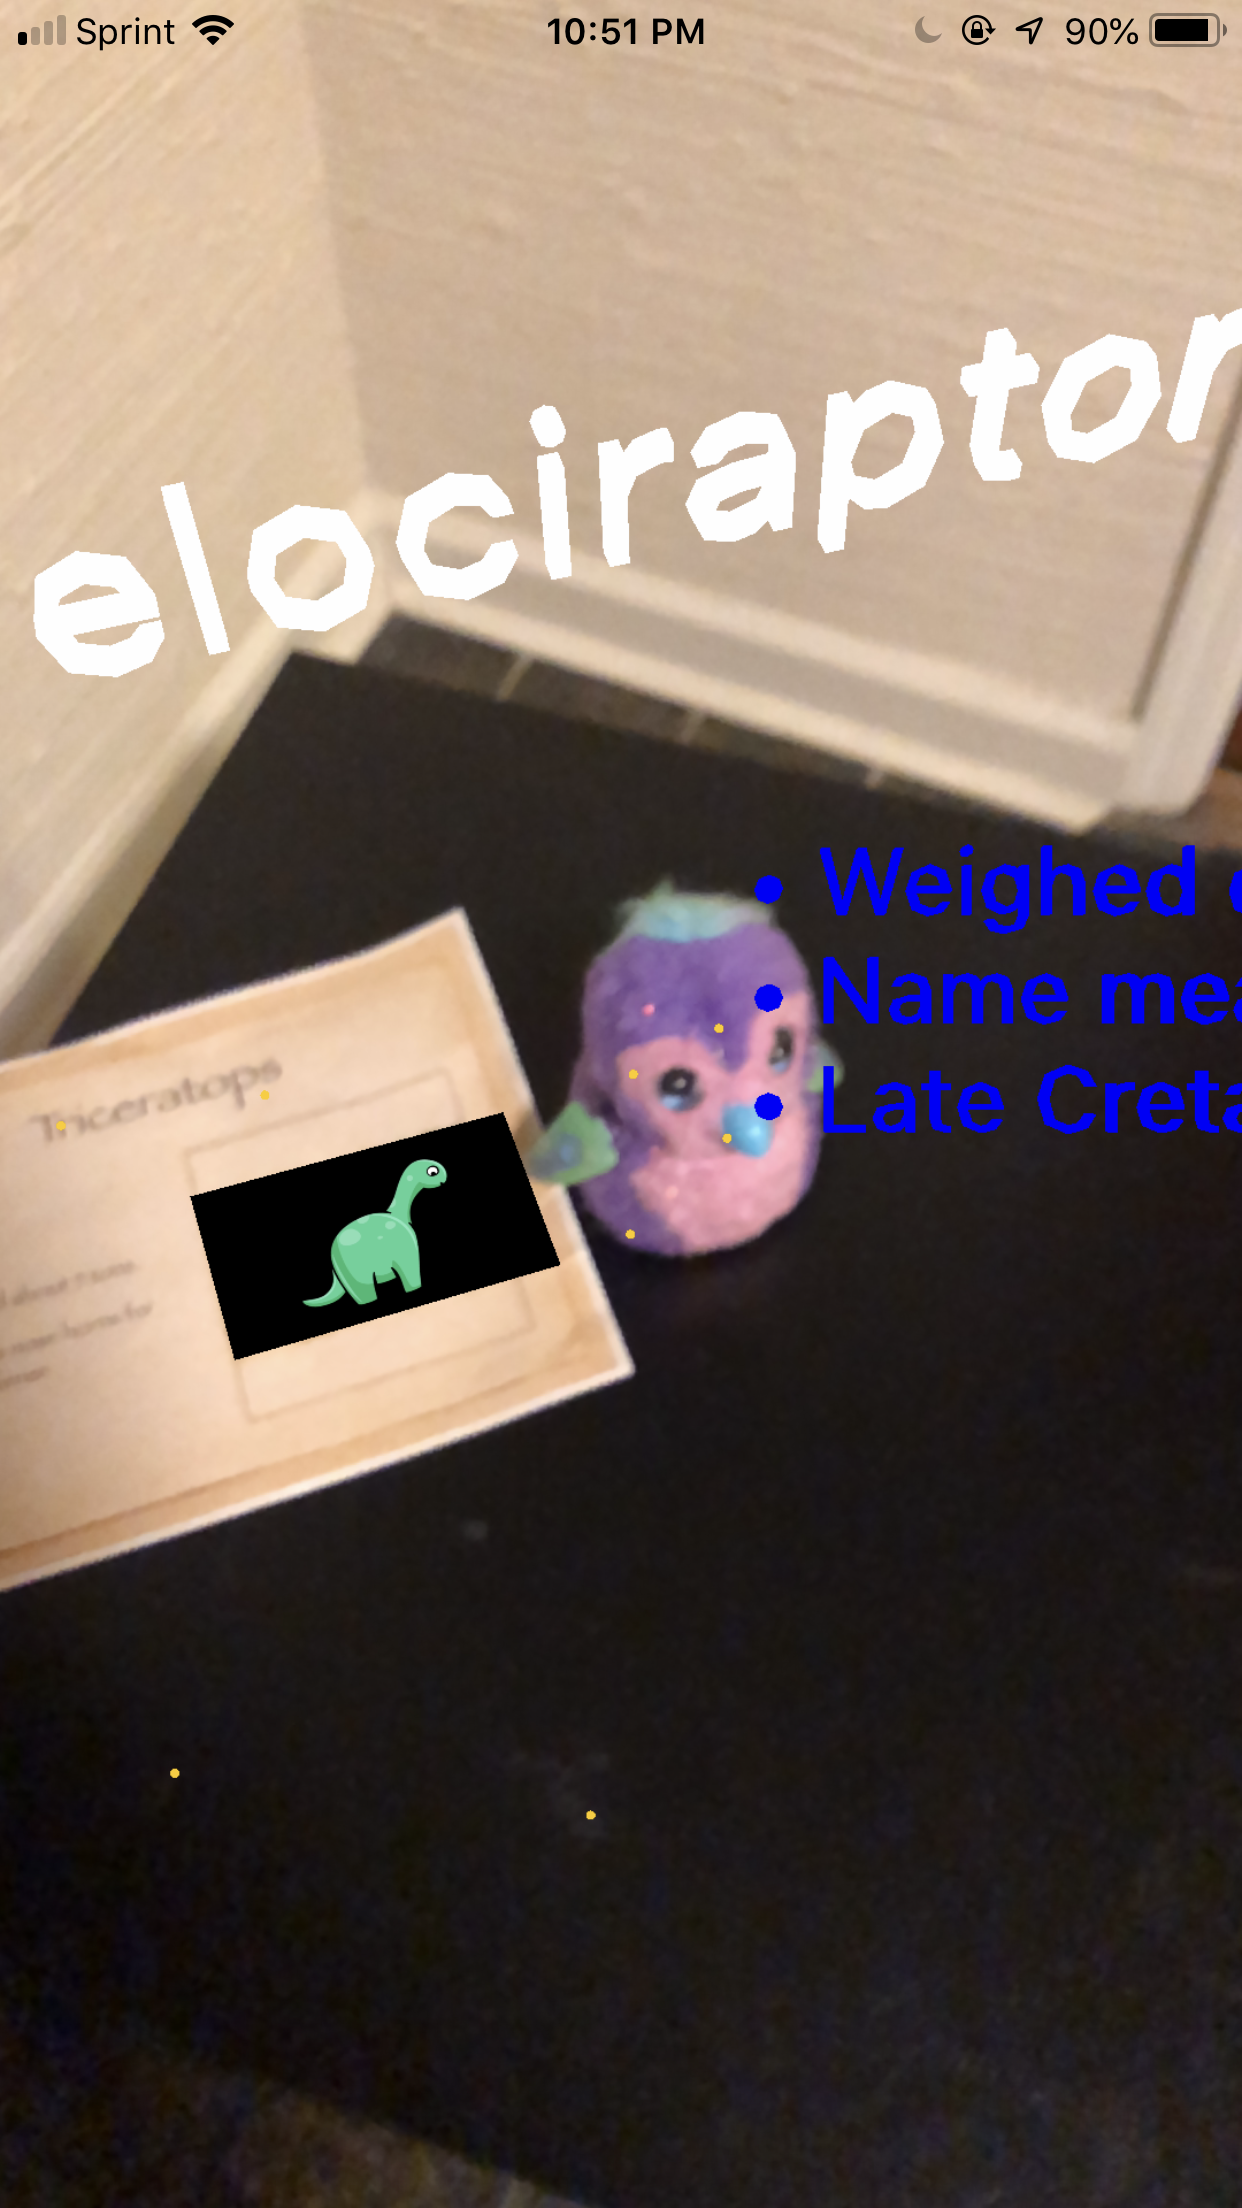
Once ARKit detects an object, the app displays the information next to the object. Notice that the title floats above the object. If your objects are taller than a few inches, you’ll have to adjust the titlePosition.y in DinosaurFacts.swift. This text will orient along the origin that was set during the scan.
In contrast with the title, the informational bullets move along with the camera so that they are always facing you.
Simultaneous Image and Object Tracking
At this point, you’ve replaced image tracking with object tracking. The ARWorldTrackingConfiguration is a super-set configuration; it supports the same image tracking as ARImageTrackingConfiguration.
To get image tracking back, add the following lines to the bottom of setupObjectDetection.
guard let referenceImages = ARReferenceImage.referenceImages(
  inGroupNamed: "AR Images", bundle: nil) else {
    fatalError("Missing expected asset catalog resources.")
}
worldConfiguration?.detectionImages = referenceImages
This loads the same set of reference images as before, but sets them as the detectionImages of the world-tracking configuration.
Build and run, again. Now, you’ll see both the animation on the dinosaur posters and the informational text on the objects.
Adding Sound
A cool way to punch up any app is with some positional audio. Time to add some scary dinosaur sounds!
At the top of the file, add a new variable below the configurations:
lazy var audioSource: SCNAudioSource = {
  let source = SCNAudioSource(fileNamed: "dinosaur.wav")!
  source.loops = true
  source.load()
  return source
}()
This creates a SCNAudioSource, which holds sound data for use in SceneKit. This data is loaded from the included sound file.
Next, at the very end of handleFoundObject(_:_:), add this one line:
node.addAudioPlayer(SCNAudioPlayer(source: audioSource))
Voilà! That’s it. By default, a SCNAudioPlayer handles all the details of creating a 3D sound effect from its source.
Build and run, again. Aim the camera at the object. Once it’s recognized, the scary audio starts playing. For the best experience, put on headphones. You should hear the sound modulate between your ears as you walk around the object.
Where to Go From Here?
It’s time to say goodnight to the museum and move on for the day. That doesn’t mean the ARKit fun has to stop.
This app itself is hardly complete. There is a lot more information and more media types that you can display in the scene. And, you can add more exhibits beyond just dinosaurs. You saw some hints for this earlier: switch up configurations when moving between areas and combine with Core Location to automatically determine where the user is standing.
ARKit also allows sharing world maps. This means museum goers could share notes and reviews of individual objects.
There is a lot of great free and premium ARKit content here to find out what else you can do.
And if you would like to learn more about SceneKit, check out the SceneKit Tutorial with Swift or have a look at our book.
If you have any questions or comments, please join the discussion below!