Data Persistence With Room
Learn how to persist data in your Android app using the Room SQLite wrapper from Google, and how to test your database using Espresso. By Lance Gleason.
Entities
An entity is an object that holds data for you to use in your application with some extra information to tell Room about its structure in the database. To start, you are going to create an Entity to store a category_name and id in a table called list_categories.
Under the com.raywenderlich.listmaster.listcategory package in your app you will see a Kotlin class named ListCategory. Open it by double-clicking and replace the data class with the following code:
@Entity(tableName = "list_categories")
data class ListCategory(@ColumnInfo(name="category_name") var categoryName: String,
                        @ColumnInfo(name="id") @PrimaryKey(autoGenerate = true) var id: Long = 0)
The @Entity(tableName = "list_categories") annotation is telling Room that this is an Entity object that is mapped to a table called list_categories. The @ColumnInfo annotation is telling Room about the columns in your table. For example, the name argument in the @ColumnName(name="category_name") annotation tells Room that the data class property categoryName directly after it has a column name of category_name in the table.
DAOs
Now that you have your Entity which contains your data, you are going to need a way to interact it. This is done with a data access object, also referred to as a DAO. To start out, you are going to create a DAO to insert and retrieve records from the table that you’ve created with your Entity.
To do that, right-click the listcategory package in com.reywenderlich.listmaster in your project, select New > Kotlin File/Class, give it a name of ListCategoryDao and press OK. When the editor opens up your new file, paste the following code snippet:
@Dao
interface ListCategoryDao {

  @Query("SELECT * FROM list_categories")
  fun getAll(): List<ListCategory>

  @Insert
  fun insertAll(vararg listCategories: ListCategory)
}
The first thing you will notice is that for a DAO you’re creating an interface instead of a class. That is because Room is creating the implementation for you. The @Dao annotation tells Room that this is a Dao interface.
The @Query annotation on getAll() tells room that this function definition represents a query and takes a parameter in the form of a SQL statement. In this case you have a statement that retrieves all of the records in the list_categories table.
Your getAll() method has a return type of List. Under the hood, Room looks at the results of the query and maps any fields that it can to the return type you have specified. In your case, you’re querying for multiple ListCategory entities and have your return value specified as a List of ListCategory items.
If you have a query that returns data that Room is not able to map, Room will print a CURSOR_MISMATCH warning and will continue to set any fields that it’s able to.
If you have a query that returns data that Room is not able to map, Room will print a CURSOR_MISMATCH warning and will continue to set any fields that it’s able to.
Your insertAll method is annotated with @Insert. This tells Room that you are inserting data into the database. Because Room knows about the table and its columns, it takes care of generating the SQL for you.
Database
Now that you have an Entity and a DAO, you’re going to need an object to tie things together. This is what the Database object does. Under the com.reywenderlich.listmaster package in your app, create a new Kotlin File/Class called AppDatabase and paste in the following code:
@Database(entities = [(ListCategory::class)], version = 1)
abstract class AppDatabase : RoomDatabase() {
  abstract fun listCategoryDao(): ListCategoryDao
}
You tell Room that the class is a Database object using the @Database annotation. The entities parameter tells your database which entities are associated with that database. There is also a version that is set to 1. The database version will need to be changed when performing a database migration, which will be covered in a later tutorial.
Your database class can be named whatever you want it to be, but it needs to be abstract, and it needs to extend RoomDatabase. All of your DAOs need to have abstract methods that return the corresponding DAO. This is how Room associates a DAO with a database.
Database Instances
In order to use your database, you’re going to need to create an instance of it in your application. Although you only needed to create a few classes, behind the scenes, Room is doing a lot of work for you to manage, map and generate SQL. Because of this, an instance of Room is resource-intensive, which is why its creators recommend that you use a singleton pattern when when using it in your application.
An easy way to achieve that is by creating an instance of the database when the application is loaded, and then referencing it at the Application level. Go to the com.reywenderlich.listmaster package, open ListMasterApplication by double clicking, and replace the class with the following code:
class ListMasterApplication: Application() {

  companion object {
    var database: AppDatabase? = null
  }

  override fun onCreate() {
    super.onCreate()
    ListMasterApplication.database = Room.databaseBuilder(this, AppDatabase::class.java,
        "list-master-db").build()
  }
}
When looking at the call to create your database instance you’ll notice that three parameters are passed in. A reference to the app context, a reference to your database class, and a name. Behind the scenes, this name corresponds to a filename that is used to store your database in your apps’ internal storage.
Testing the Essence of your Database with Espresso
When you think about espresso, your first thought may be about about a machine creating a delicious brown nectar that gives you energy during the day. :]

While the happiness and energy from a good cup of espresso are always helpful when you’re developing Android applications, in this case, we are talking about an Android testing framework called Espresso.
Now, to test your database, you could write some code in your activity that inserts data and then prints out the results. You could also begin to wire it to a UI. But, this can be treated as a separate testable piece of the application to make sure your database is set up correctly.
If you haven’t worked with Espresso or unit testing before, don’t worry, we’ll guide you through what you need test your database with it. So grab your cup of espresso and let’s get testing!
In your project, there’s a com.raywenderlich.listmaster package with (androidTest) next to it.
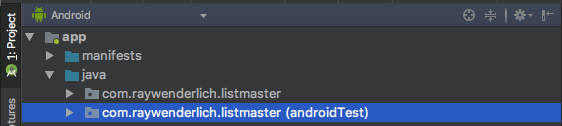
Under that package, there’s a Kotlin file called ListCategoryDaoTest. Open it by double-clicking and replace the contents with the following code:
@RunWith(AndroidJUnit4::class)
class ListCategoryDaoTest {

  @Rule
  @JvmField
  val rule: TestRule = InstantTaskExecutorRule()

  private lateinit var database: AppDatabase
  private lateinit var listCategoryDao: ListCategoryDao

  @Before
  fun setup() {
    val context: Context = InstrumentationRegistry.getTargetContext()
    try {
      database = Room.inMemoryDatabaseBuilder(context, AppDatabase::class.java)
          .allowMainThreadQueries().build()
    } catch (e: Exception) {
      Log.i("test", e.message)
    }
    listCategoryDao = database.listCategoryDao()
  }

  @After
  fun tearDown() {
    database.close()
  }
}
So, what is going on here? You created database and DAO properties for the test class. In your setup() method, you are creating an in-memory version of our database using Room.inMemoryDatabaseBuilder and getting a reference to your listCategoryDao. You close the database in tearDown().
Now, using the magic of testing you’re going to create some queries and use asserts to see what is going on. Add the following test into the test class:
@Test
fun testAddingAndRetrievingData() {
  // 1
  val preInsertRetrievedCategories = listCategoryDao.getAll()

  // 2
  val listCategory = ListCategory("Cats", 1)
  listCategoryDao.insertAll(listCategory)

  //3
  val postInsertRetrievedCategories = listCategoryDao.getAll()
  val sizeDifference = postInsertRetrievedCategories.size - preInsertRetrievedCategories.size
  Assert.assertEquals(1, sizeDifference)
  val retrievedCategory = postInsertRetrievedCategories.last()
  Assert.assertEquals("Cats", retrievedCategory.categoryName)
}
Your test is doing the following:
- First, your test calls the
getAll()method on your DAO that will get all of the current records in your database. - Second, you create an entity object and insert it into your database.
- Finally, you perform some
Assert.assertEqualscalls on the result set after the record is added to ensure that a record was added. To do that, you are comparing the size before and after adding a record to make sure that the difference is 1, and then you look at the last record to ensure that its elements match the record you added.
When you run an Espresso test, it installs your application on a device or emulator and then runs all of the code in your tests. Under the com.raywenderlich.listmaster package with the (androidTest) notation, right-click your ListCategoryDaoTest file and select Run ‘ListCategoryDaoTest’. You can also click the green arrow next to the test class name, or click the arrow next to an individual test.

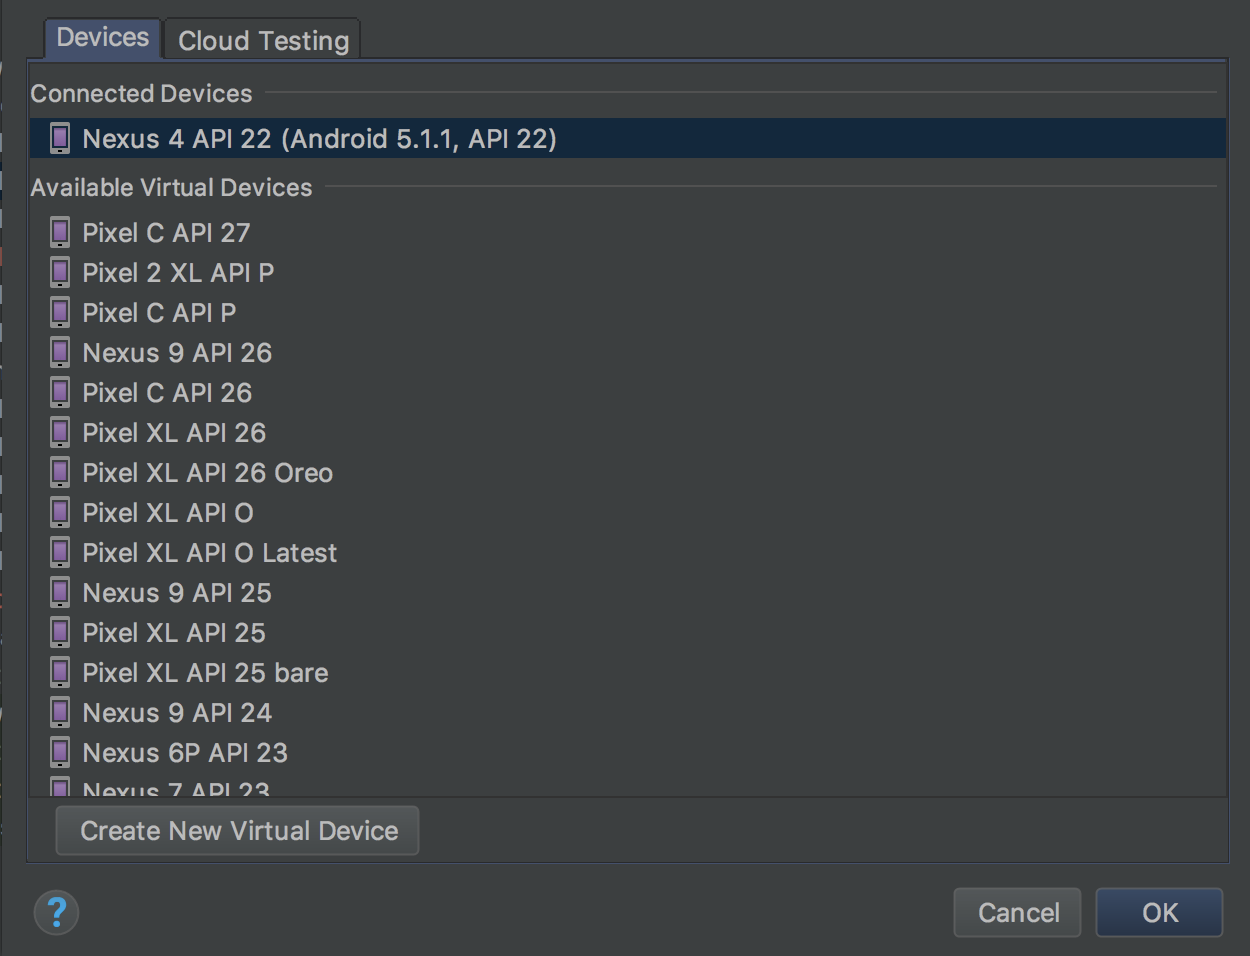
When it asks you to select a deployment target, select your favorite emulator or device.
Your project will build, install, and the tests will run. The bottom of your Android Studio window should look like this:
