Data Persistence With Room
Learn how to persist data in your Android app using the Room SQLite wrapper from Google, and how to test your database using Espresso. By Lance Gleason.
Wiring Up Your Interface
While a unit test against your database is a good start, when you try to run the application, you may feel like this…

To get beyond that, you’d need to have an interface to interact with your database. Your sample project already has the skeleton elements for your applications layout, colors etc. You’re going to hook up some queries to read from and write to your database.
To make that process smoother, you’ll use data binding to feed that data into and out of the interface. Your list will also be using a Recycler View.
When you’re finished, you’ll have an app that shows a list of categories. Each row will have a circle that has the first letter of the category on the left, with one of six colors based on a hash code of the letter.
To begin, go to the listcategory package under com.raywenderlich.listmaster, and double-click the file called ListCategoryViewModel. You will see the following code:
data class ListCategoryViewModel(val listCategory: ListCategory = ListCategory("")) {

  private val highlightColors = arrayOf(R.color.colorPrimary, R.color.colorPrimaryDark, R.color.colorAccent,
      R.color.primaryLightColor, R.color.secondaryLightColor, R.color.secondaryDarkColor)

  fun getHighlightLetter(): String {
    return listCategory.categoryName.first().toString()
  }

  fun getHighlightLetterColor(): Int {
    val uniqueIdMultiplier = getHighlightLetter().hashCode().div(6)
    val colorArrayIndex = getHighlightLetter().hashCode() - (uniqueIdMultiplier * 6)
    Log.i("color", colorArrayIndex.toString())
    return (highlightColors[colorArrayIndex])
  }
}
In this code, you’re using a standard data class and adding some extra logic for setting up the circle and highlight letter. The highlight tint is hooked in using the adapter in your DataBindingAdapters.kt file. You’re going to display your list in a RecyclerView, which consists of a ViewHolder and Adapter that you will initialize in your Activity.
To use the adapter, you’ll need to a layout for each item. Your starter project already has one. To take a look at it, open the file under the res/layout part of your project called holder_list_category_item.xml, a snippet of which is shown here:
  <data>

    <variable
      name="listCategoryItem"
      type="com.raywenderlich.listmaster.listcategory.ListCategoryViewModel" />
  </data>

  <android.support.constraint.ConstraintLayout xmlns:android="http://schemas.android.com/apk/res/android"
    android:layout_width="match_parent"
    android:layout_height="wrap_content"
    tools:layout_editor_absoluteX="8dp">

    <TextView
      android:id="@+id/category_header"
      android:layout_width="0dp"
      android:layout_height="wrap_content"
      android:layout_marginBottom="16dp"
      android:layout_marginEnd="8dp"
      android:layout_marginStart="16dp"
      android:layout_marginTop="16dp"
      android:background="@drawable/circle"
      android:gravity="center"
      android:highlight_tint="@{listCategoryItem.highlightLetterColor}"
      android:text="@{listCategoryItem.highlightLetter}"
      android:textAlignment="center"
      android:textColor="@android:color/white"
      android:textSize="20sp"
      app:layout_constraintBottom_toBottomOf="parent"
      app:layout_constraintEnd_toStartOf="@+id/category_name"
      app:layout_constraintHorizontal_chainStyle="spread"
      app:layout_constraintHorizontal_weight=".15"
      app:layout_constraintStart_toStartOf="parent"
      app:layout_constraintTop_toTopOf="parent" />
The listCategoryItem in the data tag is your bound View Model. The various @{...} items in the text view attribute values make use of the data in the View Model. You will also notice a text view attribute called highlight_tint. This is a custom field that was added via a BindingAdapter in the file named DataBindingAdapters.kt under com.raywenderlich.listmaster in your starter package.
Your starter project already has a ListCategoryAdapter and ListCategoryViewHolder under the listcategory package.

In order to display your list, you’re going to need a RecyclerView for the ListCategoriesActivity. Luckily your starter project has that in the content_list_categories.xml layout, which is included under the res/layout section of your project.
<?xml version="1.0" encoding="utf-8"?>
<layout>

    <android.support.constraint.ConstraintLayout xmlns:android="http://schemas.android.com/apk/res/android"
        xmlns:app="http://schemas.android.com/apk/res-auto"
        xmlns:tools="http://schemas.android.com/tools"
        android:layout_width="match_parent"
        android:layout_height="match_parent"
        app:layout_behavior="@string/appbar_scrolling_view_behavior"
        tools:context="com.raywenderlich.listmaster.ListCategoriesActivity"
        tools:showIn="@layout/activity_list_categories">

        <android.support.v7.widget.RecyclerView
            android:id="@+id/list_category_recycler_view"
            android:layout_width="match_parent"
            android:layout_height="match_parent" />

    </android.support.constraint.ConstraintLayout>
</layout>
Now it’s time to wire up your activity. To do that, you will need to add a few things to ListCategoriesActivity. Go to the listcategory package under com.raywenderlich.listmaster and open ListCategoriesActivity by double-clicking.
To start, paste in the following properties near the top of the class:
private lateinit var contentListsBinding: ContentListCategoriesBinding
private lateinit var appDatabase: AppDatabase
private lateinit var listCategoryDao: ListCategoryDao
The first property will be generated by the data binding API when the project is built. The other properties are for references to the database and the list category DAO. If necessary, add the following import to your import statments:
import com.raywenderlich.listmaster.databinding.ContentListCategoriesBinding
Next, add the following function to the bottom of the activity:
private fun setupRecyclerAdapter() {
  val recyclerViewLinearLayoutManager = LinearLayoutManager(this)
  contentListsBinding = activityListsBinding.contentLists!!
  contentListsBinding.listCategoryRecyclerView.layoutManager = recyclerViewLinearLayoutManager
  listCategoryAdapter = ListCategoryAdapter(listOf(), this)
  contentListsBinding.listCategoryRecyclerView.adapter = listCategoryAdapter
}
As its name suggests, this function sets up the recycler view. In order to initialize this before you have a list of items from the database, an empty list is passed to its adapter.
Now that you have these building blocks, paste the snippet below right after the setupAddButton() call in your onCreate() method:
// Set up our database
appDatabase = ListMasterApplication.database!!
listCategoryDao = appDatabase.listCategoryDao()

// Set up our recycler adapter
setupRecyclerAdapter()
This is getting references to your database and listCategoryDao for use in your activity, along with calling your setupRecyclerAdapter() method.
Next, add code to query Room for the list of categories and add them to the adapter by pasting the onResume method into your ListCategoriesActivity class:
override fun onResume() {
  super.onResume()
  AsyncTask.execute({
    listCategoryAdapter.categoryList = listCategoryDao.getAll()
    runOnUiThread { listCategoryAdapter.notifyDataSetChanged() }
  })
}
You may have noticed that this call the the DAO is run in a AsyncTask. This is because these database calls are reaching out to your file system and could take a while to complete, especially if you have a complex query. A long query can cause the UI to freeze or even produce a dreaded Application Not Responding error. Since both of these things can lead to unhappy users, it’s best to always put these calls in a background thread.
Now that you have your list query wired in, you’re going to need to have a way to add in category items. To do that, your starter project has a dialog layout in a file called dialog_add_category.xml that you are going to hook up to the Add button. Find the function called setupAddButton in your ListCategoriesActivity and update the call to setPositiveButton on alertDialogBuilder to look as follows:
alertDialogBuilder.setPositiveButton(android.R.string.ok, { dialog: DialogInterface,
                                                                  which: Int ->
  AsyncTask.execute({
    listCategoryDao.insertAll(listCategoryViewModel.listCategory)
    listCategoryAdapter.categoryList = listCategoryDao.getAll()
    runOnUiThread { listCategoryAdapter.notifyDataSetChanged() }
  })
})
You insert the new category from the dialog into the database, and then update your list of categories on the adapter and refresh the adapter on the UI thread.
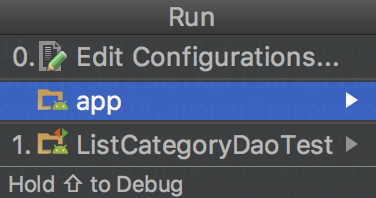
Now it’s time to run your application! Go to the Run menu and select the Run option. Note: If you select ListCategoryDaoTest instead, it will run your tests instead of your app.

Next, select the App option:
Then, select a device to run it on:
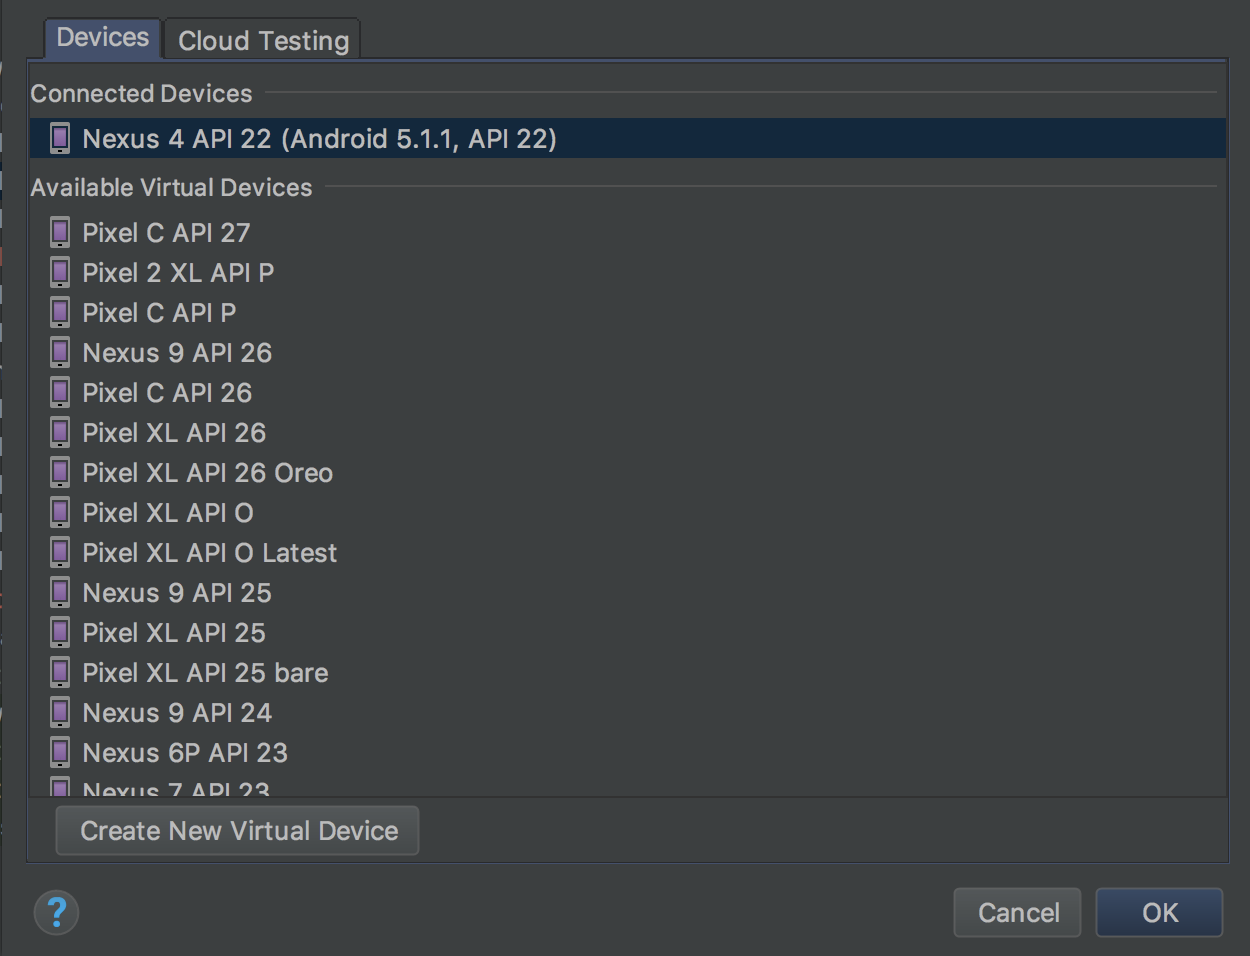
Your app will run and you’ll be able to add categories to your list.

Go ahead and add a few categories. Then stop the app and build and run again.

You see that your categories have been persisted in SQLite thanks to Room! :]