Getting Started with SwiftUI Animations
In this tutorial, you’ll learn how to add fancy animations with SwiftUI. You’ll go from basic animations to complex and custom spring animations. By Michael Katz.
Using SwiftUI’s Pre-Built Spring Options
Like everything else in SwiftUI, there are a few built-in options for springs:
- spring(): Default spring behavior. This is a good starting point.
- spring(response:dampingFraction:blendDuration): A spring animation with more options to fine tune its behavior.
- interpolatingSpring(mass:stiffness:damping:initialVelocity:): A very customizable spring based on physical modeling.
Default spring animation
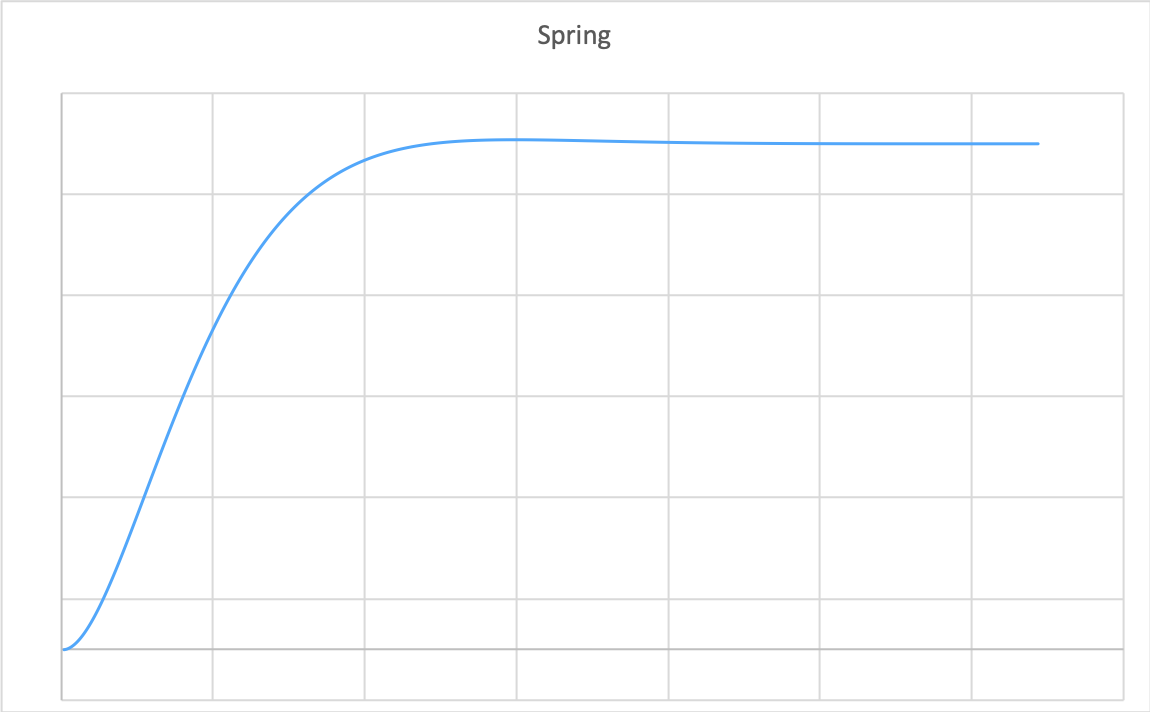
Default spring animation
Spring animations use the real-world physics of springs as their basis. Imagine, if you will, a hanging spring coil with a heavy block attached to the end of it. If that block has a large mass, then releasing the spring will cause a large displacement as it drops, causing it to bounce farther and longer.
A stiffer spring has the opposite effect — the stiffer the spring, the farther it will travel. Increasing the damping is like increasing the friction: It will result in less travel and a shorter bounce period. The initial velocity sets the speed of the animation: A larger velocity will move the view more and have it bounce longer.
spring(response:dampingFraction:) curves for various parameters

spring(response:dampingFraction:) curves for various parameters
It can be hard to map the physics to how the animation will actually work. That’s why it’s useful to play around with the parameters one at a time to get a nice animation.
This is also why there is spring(response:dampingFraction:blendDuration), which is an easier-to-understand way of writing a spring animation. Under the hood, it still uses the physical model, but it has fewer levers.
The dampingFraction controls how long the view will bounce. Zero damping is an undamped system, meaning it will bounce forever. A dampingFraction value that’s more than 1 will not spring at all. If you’re using a spring, you’ll usually choose a value somewhere between 0 and 1. Larger values will slow down faster.
The response is the amount of time to complete a single oscillation. This will control how long the animation lasts. These two values work together to tune how far and fast and often the view will bounce. The blendDuration affects the animation if you change the response or combine multiple springs. This is an advanced maneuver.
Response curves for various interpolating spring parameters

Response curves for various interpolating spring parameters
Refining the Animation
Now that you have a better idea of how springs work, take a moment to clean up the animation. One thing that’s nice to do when you’re animating in a bunch of relatively independent views is to give them slightly different timings. This helps your animation feel more alive.
In SolarSystem.swift, change animation(index:) to the following:
func animation(index: Double) -> Animation {
  return Animation
    .spring(response: 0.55, dampingFraction: 0.45, blendDuration: 0)
    .speed(2)
    .delay(0.075 * index)
}
This adds a rolling delay to each “moon,” so they start falling in 75 milliseconds after each other, giving it a little fancy effect.

Animatable
This looks great, but it would be more realistic if the moons moved along their orbits rather than bouncing down from the top. You can do this by using a custom modifier, a GeometryEffect. Geometry effects describe an animation that modifies a view’s position, shape or size.
Add the following struct to SolarSystem.swift:
struct OrbitEffect: GeometryEffect {
  let initialAngle = CGFloat.random(in: 0 ..< 2 * .pi)

  var percent: CGFloat = 0
  let radius: CGFloat

  var animatableData: CGFloat {
    get { return percent }
    set { percent = newValue }
  }

  func effectValue(size: CGSize) -> ProjectionTransform {
    let angle = 2 * .pi * percent + initialAngle
    let pt = CGPoint(
      x: cos(angle) * radius,
      y: sin(angle) * radius)
    return ProjectionTransform(CGAffineTransform(translationX: pt.x, y: pt.y))
  }
}
This OrbitEffect moves its view around in a circle. It does this through the effectValue(size:) method of GeometryEffect. This method returns a ProjectionTransform, which is a coordinate transform. In this case, a translation CGAffineTransform creates it, where the translation corresponds to a point on a circle.
The magic piece of a GeometryEffect is that it conforms to Animatable. That means it needs a property called animatableData. In this case, it wraps a CGFloat property named percent. Animatable data can be any value that conforms to VectorArithmetic, which means it can be interpolated between a start and an end value. For this effect, you’ll choose an animation between 0 and 100 percent.
You apply the percentage to the effectValue by calculating a relative value between 0 and 2π. There’s also a random initialAngle. This way each “moon” will start at a different position; otherwise, it looks weird to have them all in lockstep.
To apply this effect, you’ll need to change the SolarSystem view a bit. First, add a new state property to it:
@State private var animationFlag = false
Animations happen in response to a state change. Since the orbit animation will be constant when the view is present, this simple Boolean acts as the trigger for the animation.
Next, add this helper method:
func makeOrbitEffect(diameter: CGFloat) -> some GeometryEffect {
  return OrbitEffect(
    percent: self.animationFlag ? 1.0 : 0.0,
    radius: diameter / 2.0)
}
This creates an OrbitEffect, which starts its percentage at 0 and will change to 1 once the flag is toggled.
To call this method, in the individual moon ForEach, replace the .animation modifier with the following:
.modifier(self.makeOrbitEffect(
  diameter: planetSize + radiusIncrement * CGFloat(index)
))
.animation(Animation
  .linear(duration: Double.random(in: 10 ... 100))
  .repeatForever(autoreverses: false)
)
This applies the OrbitEffect to each moon’s circle through the use of a helper method. It also applies a linear animation of a random duration that repeats forever. This way, each moon will orbit indefinitely, each at a separate speed. It’s not a realistic view of a planet, but it is a pretty one to look at. :]
Next, replace the implementation of moon(planetSize:moonSize:radiusIncrement:index:) so it looks like this:
func moon(planetSize: CGFloat,
          moonSize: CGFloat,
          radiusIncrement: CGFloat,
          index: CGFloat) -> some View {
  return Circle()
    .fill(Color.orange)
    .frame(width: moonSize, height: moonSize)
}
The previous helper method used a MoonView, which took care of placing itself at the right radius. Now, OrbitEffect handles this placement, so changing the helper function clears up a conflict.
Finally, at the end of the ZStack in makeSystem(_:), apply the following modifier:
.onAppear {
  self.animationFlag.toggle()
}
This toggles the flag and will kick off the animations when the view appears.
Now, build and run once again. The moon balls will now circle the planet, each at a different speed.
