Platform-Aware Widgets in Flutter
Learn how to use both Android and iOS widgets so your app looks like it should on the platform you are running on. By Kevin D Moore.
Flutter is a cross-platform language that works on both Android and iOS. However, Flutter draws all of its widgets itself and doesn’t use any resources from the platform it’s running on.
This means that it will draw buttons, text, checkboxes and other items with whatever widget you are using. This might be a little jarring for users who are used to their platform’s standard look and feel.
Flutter comes with some basic widgets installed: Material Design widgets that look at home on Android and Cupertino widgets that fit iOS’ style.
Most Flutter tutorials and demos use MaterialApp and Scaffold widgets. However, those are Material Design widgets, which don’t look like iOS widgets. What if you wanted your app to look like an iOS app on an iOS device and like an Android app on an Android device?
You can use the platform call, Platform.isIOS, to check which platform you’re on and then switch between different widgets depending on the result. However, if you start to do that, your code will become littered with if (Platform.isIOS) type calls.
In this tutorial, you’ll use a library to show how you can achieve this separation with only one widget.
Getting Started
Download the starter project for this tutorial by using the Download Materials button at the top or bottom of the page.
This tutorial will use Android Studio with the Flutter extension. You can also use Visual Studio Code, IntelliJ IDEA or a text editor of your choice with Flutter at the command line.
To install the Flutter plugin, go to the Preferences dialog of Android Studio and find the Plugins section.

Click on the Marketplace tab and type Flutter, then click the Install button. You may also need to install other plugins, like Dart.
Once you’ve installed your plugins, make sure you follow any instructions to restart Android Studio.
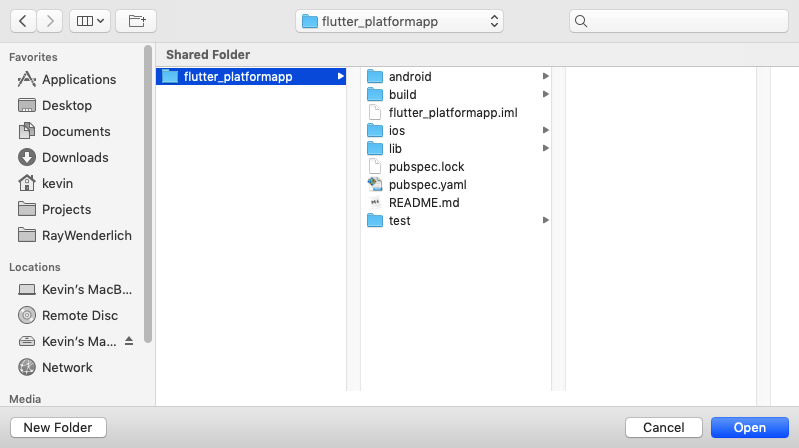
Open the starter project in Android Studio by choosing Open an existing Android Studio project and finding the root folder of the starter project zip file:
Android Studio may prompt you to fetch the packages you’ll need for the project. Open the pubspec.yaml file and click Packages Get:

Now, select either the Android emulator or the iOS simulator. Then press Control + R or click the green Run button to build and run the starter project.
![]()
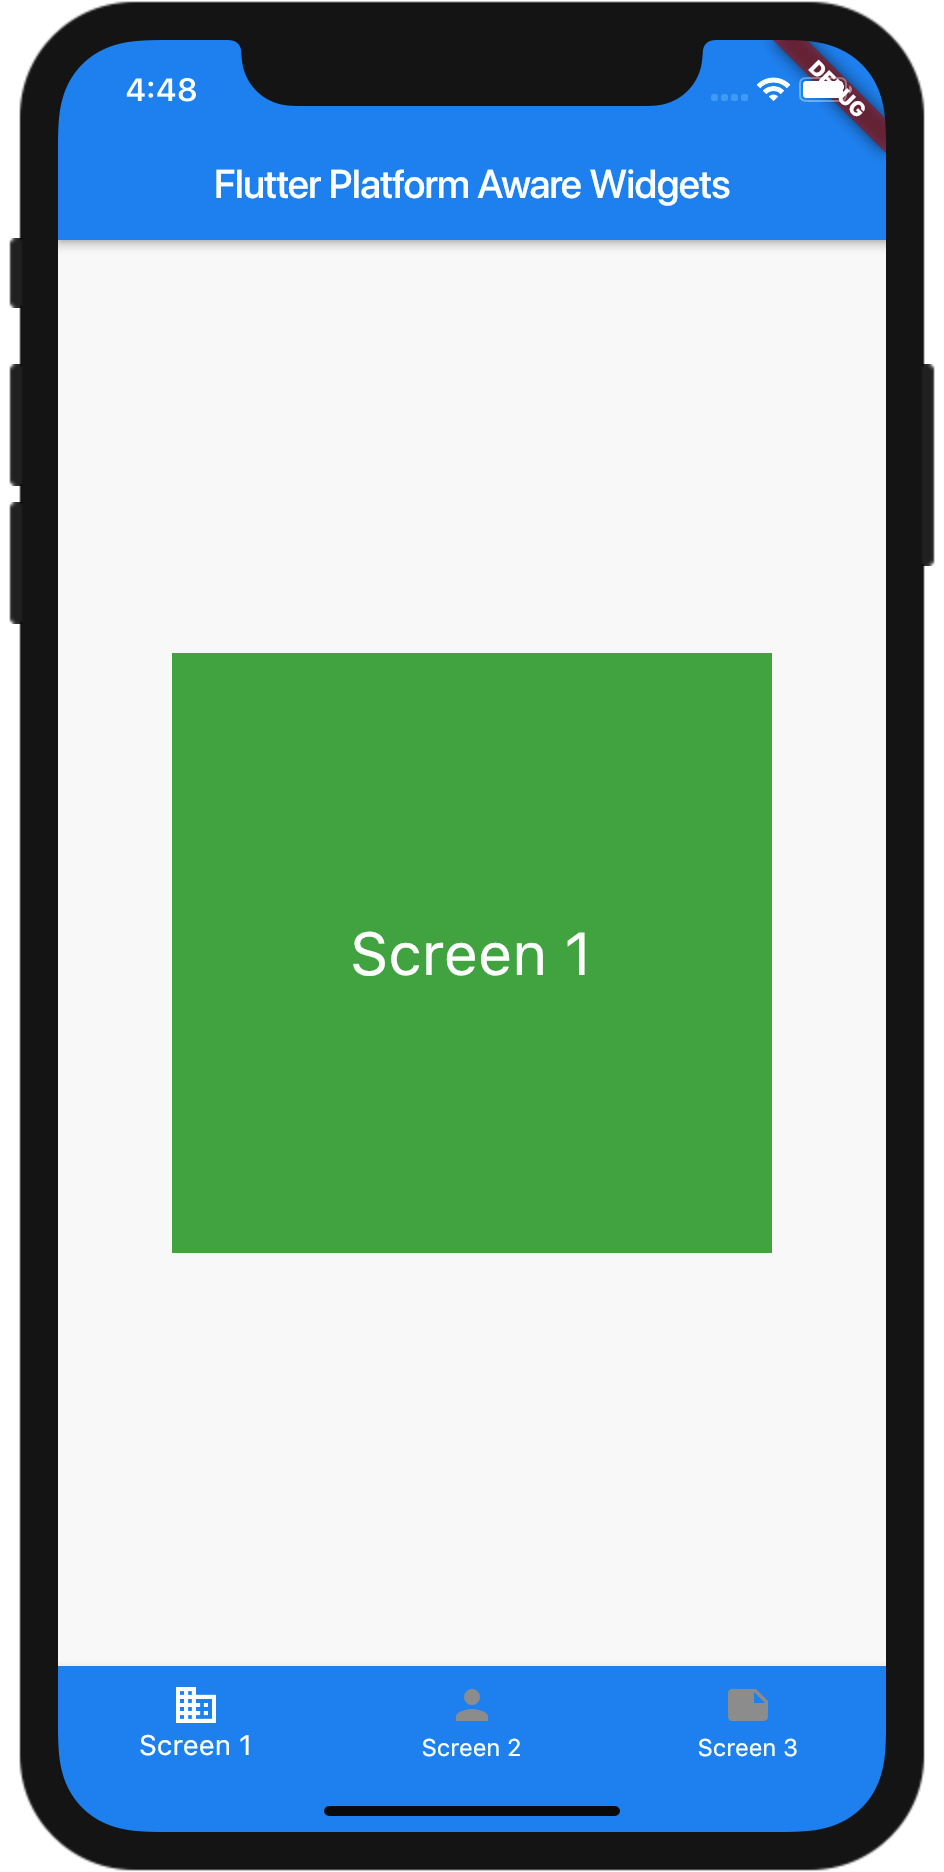
On iOS, the starter app will look like this:
and the final version will look like this:

and like this in Android:
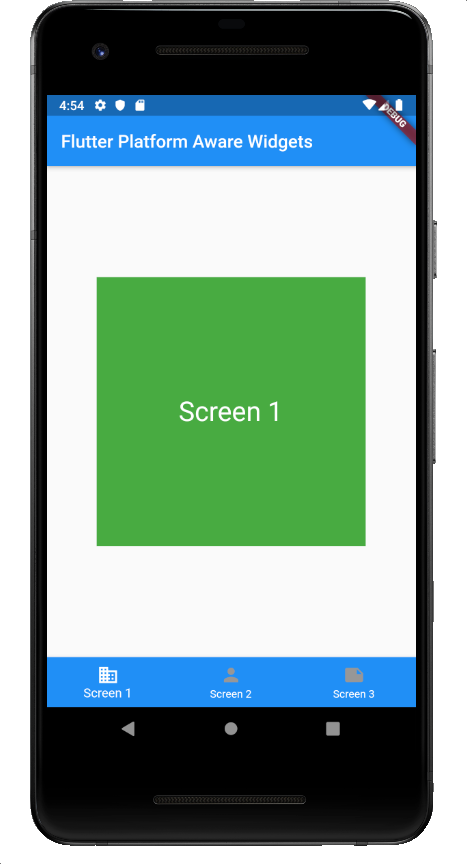

In this tutorial, you’ll start with three screens that show an app bar and a bottom navigation component. Each screen only has a colored square to show the screen changes.
You’ll change each component to use the platform’s version of the widget. You’ll then add a fourth screen that you’ll launch with a plus icon in the iOS AppBar and with a Floating Action button on Android.
Flutter Platform Widgets Library
You’ll be using the flutter_platform_widgets library, which you can find it at: flutter_platform_widgets. This library will show Cupertino-styled widgets when the app is running on iOS and Material widgets when it’s running on Android.
The flutter_platform_widgets library doesn’t provide cross-platform versions for every widget, but it does for many of them. Here’s a list of the widgets that have cross-platform versions:
PlatformWidgetPlatformTextPlatformSwitchPlatformSliderPlatformTextFieldPlatformButtonPlatformIconButtonPlatformAppPlatformScaffoldPlatformAppBarPlatformNavBarPlatformAlertDialogPlatformDialogActionPlatformCircularProgressIndicatorPlatformPageRoutePlatformProvider
You’ll use just a few of these for this project. While the flutter_platforms_widget library exposes a good set of platform-aware widgets, there are a few key widgets that we not supported by the library, such as Forms, TextFormFields, date pickers and tab bars. If you want to use these, you have to build them yourself.
Installing the Library
Open the pubspec.yaml file and go to the dependencies section. To add the library, underneath the cupertino_icons library add:
flutter_platform_widgets: ^0.32.4
Now, click the Packages Get button to pull down the flutter_platform_widgets library you just added.
Making Your App Platform-Aware With PlatformApp
When you create a new Flutter app, it automatically adds a MaterialApp widget as the top-level widget. This is the Material version of WidgetsApp, which wraps several widgets that your apps will need to work. This sets the routing and themes.
You’ll start by changing MaterialApp to PlatformApp to make the app platform-aware. Open up main.dart and change MaterialApp to PlatformApp inside the MyApp class. When Android Studio shows a red line underneath PlatformApp, press Alt + Enter on Windows or Option + Enter on Mac and import the platform library:
import 'package:flutter_platform_widgets/flutter_platform_widgets.dart';
You’ll see another red line underneath the theme. That’s because PlatformApp doesn’t use the theme field; it uses Android- and iOS-specific fields instead. Go ahead and delete the theme and title now.
Customizing Your Theme Data
The Platform library uses separate theme classes for both Android and iOS. This allows you to customize the theme that you’re using depending on the platform.
Go ahead and add some theme code that you can use with PlatformApp by adding this code at the top of main.dart, after the imports:
final materialThemeData = ThemeData(
    primarySwatch: Colors.blue,
    scaffoldBackgroundColor: Colors.white,
    accentColor: Colors.blue,
    appBarTheme: AppBarTheme(color: Colors.blue.shade600),
    primaryColor: Colors.blue,
    secondaryHeaderColor: Colors.blue,
    canvasColor: Colors.blue,
    backgroundColor: Colors.red,
    textTheme: TextTheme().copyWith(body1: TextTheme().body1));
final cupertinoTheme = CupertinoThemeData(
    primaryColor: Colors.blue,
    barBackgroundColor: Colors.blue,
    scaffoldBackgroundColor: Colors.white);
The first theme is for Material/Android and the second one is for iOS.
Now, you’ll want to import the Cupertino library for the CupertinoThemeData class:
import 'package:flutter/cupertino.dart';
You’ve now added a bit more color information for the Material Theme to show you some of the options you have. However, the Cupertino class doesn’t have as many options as the Material theme has.
Next, you’ll add that theme information to PlatformApp. Add the following after the constructor for PlatformApp:
// 1
debugShowCheckedModeBanner: false,
// 2
android: (_) => MaterialAppData(theme: materialThemeData),
// 3
ios: (_) => CupertinoAppData(theme: cupertinoTheme),
- The first option hides the debug banner on the toolbar.
- The second option sets the Android
MaterialAppData. Here, you’re just setting the theme, but you can also pass in routes and other items. - Finally, the third option sets the theme data for iOS apps.
Your build method should now look like this:
  Widget build(BuildContext context) {
    return PlatformApp(
      debugShowCheckedModeBanner: false,
      android: (_) => MaterialAppData(theme: materialThemeData),
      ios: (_) => CupertinoAppData(theme: cupertinoTheme),
      home: MyHomePage(title: 'Flutter Platform Aware Widgets'),
    );
  }