Google Maps for Flutter Tutorial: Getting Started
In this tutorial, you’ll learn how to integrate the Google Maps API into your Flutter app by creating an app to show places to eat nearby. By Kyle Jablonski.
Location-aware services are being integrated into your life almost every day through mobile applications. Implementing these services in your apps can be done through the use of the Google Maps API. It allows you to display a map, customize its attributes and render markers of places at their geo-location among other things.
In this Google Maps for Flutter tutorial, you will build an application using Flutter and Dart to show places to eat nearby using the Google Maps API and plugin for Flutter.
Although Google Maps has been around for some time, the plugin uses Flutter’s new embedding mechanism for views which is in developer pre-release, so this plugin should be considered a pre-release as well. Check back here for updates.
Getting Started
To start, download the starter project using the Download Materials button at the top or bottom of this tutorial. Open it in Visual Studio Code, Android Studio, or your favorite editor, and build the project. You can run it on an Android emulator, but you won’t see much yet:
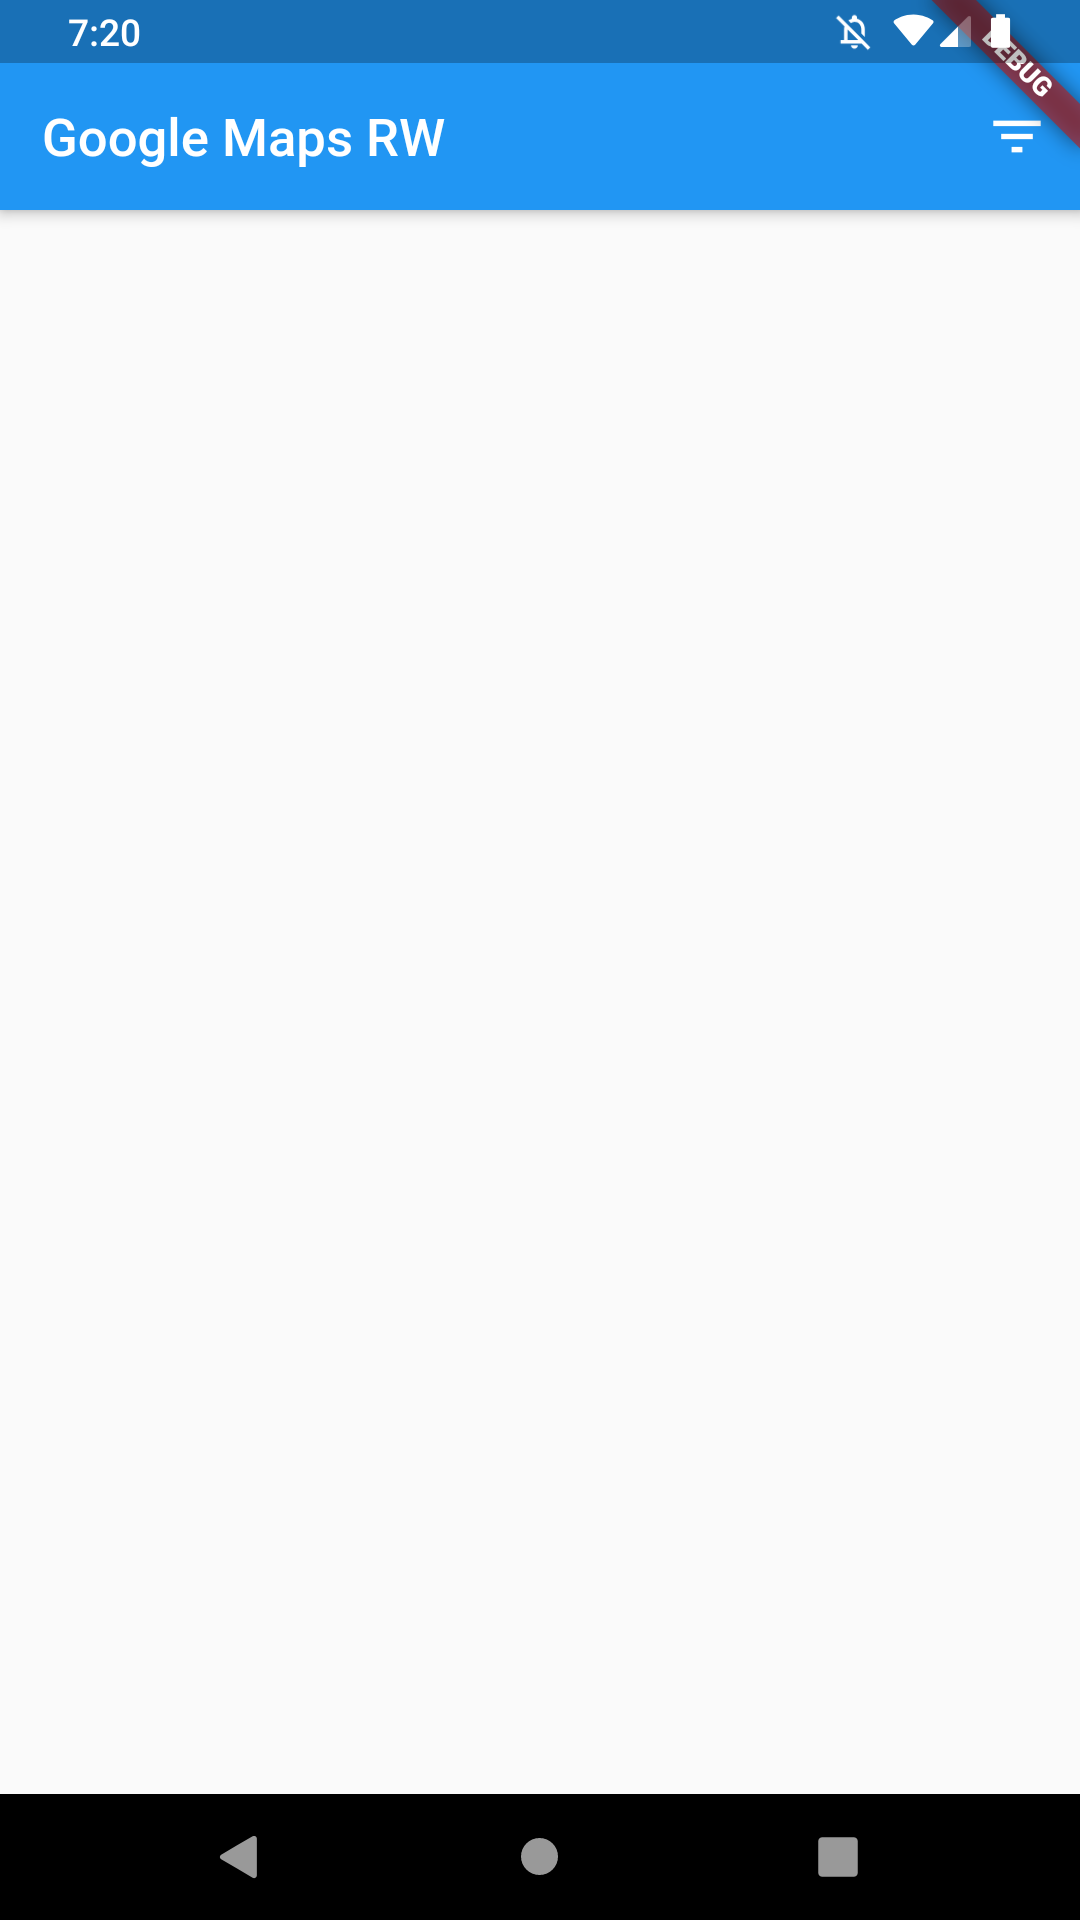
You’ll get the app running on iOS a bit later.
Take a look around the project to get familiar with the files you will be working with. Make note of the lib folder files:
- main.dart – loads the main application.
- places_search_map.dart – provides the nearby places search.
- search_filter.dart – provides a type filter for nearby places search.
These will be the files you will be most closely working in this project.
Also, notice with Flutter there are android and ios folders which you will need to familiarize yourself with, as this is where you will need to configure each platform for the Google Maps API. More on this in a bit.
Without further adieu, time to get started.
Creating API Keys
In order to get started with Google Maps you first need to create an API key for your new project. To create an API key navigate to the Google Maps and click GET STARTED to step through the wizard to set up your API key.
On the following screens you need to:
- Enable Google Maps API.
- Create a new project called Flutter Maps.
- Choose a billing account (don’t worry there is a free tier to use).
Maps API Key wizard
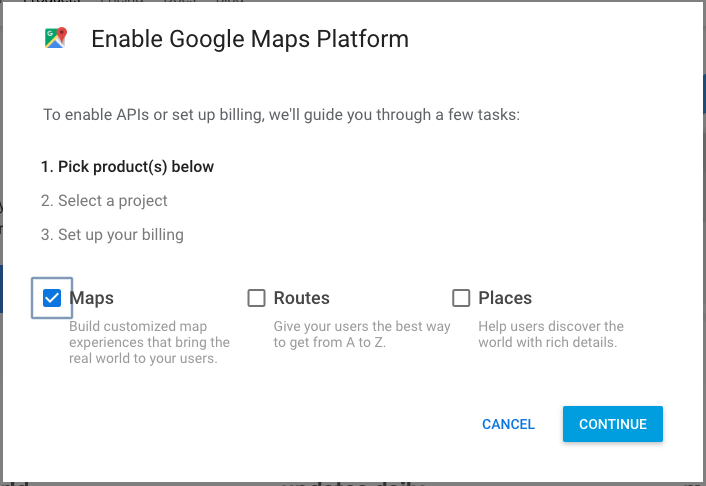
Maps API Key wizard
Once, you have successfully created your API key make sure to copy it and save it someplace, as you will need to add it into your Flutter app.
Adding the Google Maps Plugin
To get started using Google Maps Plugin open the pubspec.yaml file and under dev_dependencies paste the following, using the same indentation as flutter_test::
google_maps_flutter:
Be sure to run Packages get after you make this change.
Android Setup
Next, open android ‣ app ‣ src ‣ main ‣ AndroidManifest.xml and paste the Google Maps meta data tag into your application tag before the activity tag, placing the API key you copied before to replace {{YOUR_API_KEY_HERE}}.
<meta-data android:name="com.google.android.geo.API_KEY"
   android:value="{{YOUR_API_KEY_HERE}}"/>
Here, you register the API in the manifest for your Android app.
iOS Setup
Next, open the ios ‣ Runner ‣ AppDelegate.m file and paste the following code before the comment and return statement.
[GeneratedPluginRegistrant registerWithRegistry:self];
[GMSServices provideAPIKey:@"{{YOUR_API_KEY_HERE}}"];
This registers your API key for your iOS version of the Flutter project.
Finally, open up ios ‣ Runner ‣ Info.plist and paste in the following key value pair inside the dict tag:
<key>io.flutter.embedded_views_preview</key>
<string>YES</string>
Here you opt-in to embedded views preview for iOS. This is required in order to use Google Maps for Flutter on iOS.
Now, you are ready to add Google Maps into your application.
Adding the GoogleMap Widget
Open lib ‣ places_search_map.dart and add these two member variables to _PlacesSearchMapSample, resolving the imports with package:google_maps_flutter/google_maps_flutter.dart:
// 1
Completer<GoogleMapController> _controller = Completer();
// 2
static final CameraPosition _myLocation =
  CameraPosition(target: LatLng(0, 0),);
Here you have:
- Defined the callback for the completion of creating the map.
- Created the map’s initial camera position (where to focus on the map).
Then, replace the contents of the build() method with the following code:
return Scaffold(
  // 1
  body: GoogleMap(
    // 2
    initialCameraPosition: _myLocation,
    // 3
    mapType: MapType.normal,
    // 4
    onMapCreated: (GoogleMapController controller) {
      _controller.complete(controller);
    },
  ),
);
Here you have:
- Included the
GoogleMapwidget as the body of yourScaffoldwidget. - Set the initial camera position
- Set the
mapTypeto normal. - Added a callback to listen for the creation of the Map widget.
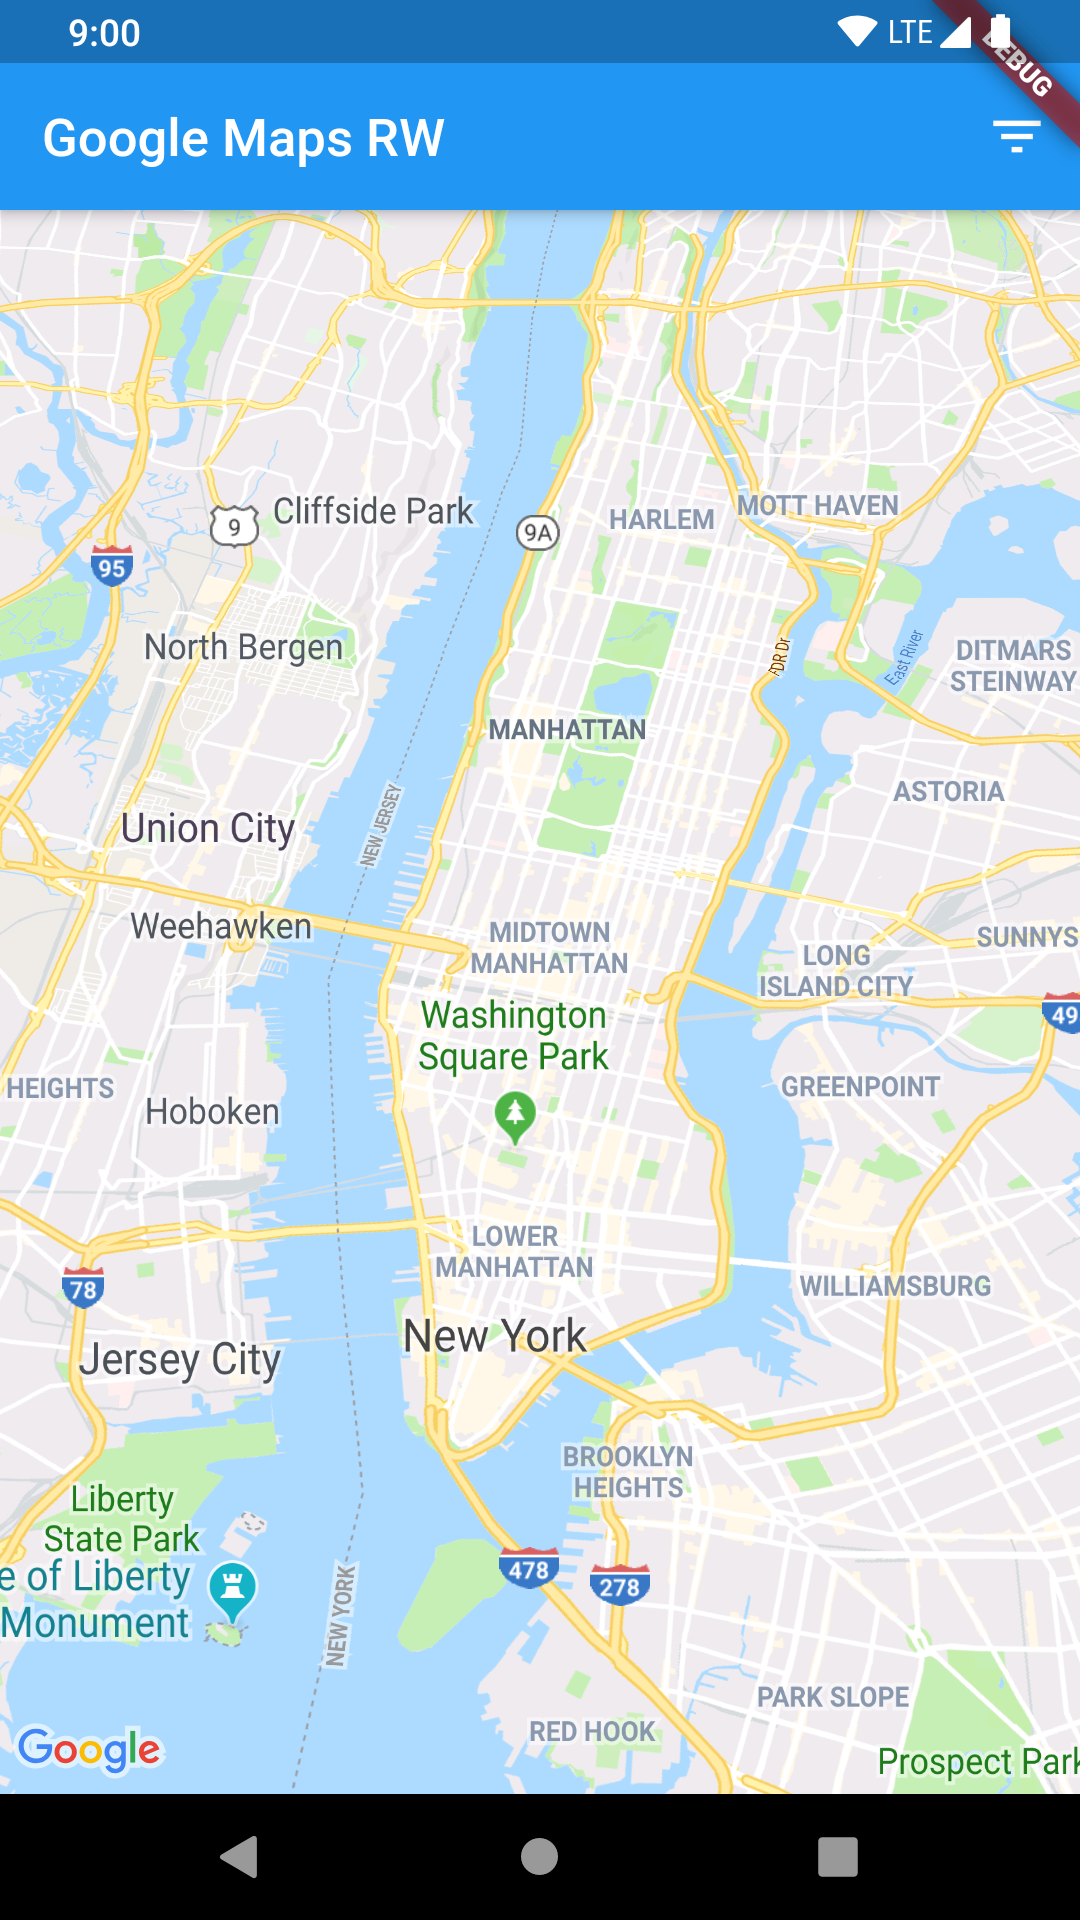
Finally run your app using the normal means in your IDE, or by typing the following command into the terminal in the project root:
flutter run
Maps on Flutter

Maps on Flutter
You can also now run the app on iOS:
Maps on iOS

Maps on iOS
Great! You now have a functioning map. Time to customize it to make it a bit more interesting.
Customizing the Map
The Google Maps widget can be customized in various ways so that it can both look great in your applications and function for your specific use case. You can alter the camera’s position (view and orientation of the map), the type of map (hybrid, satellite, etc.) and add markers and overlays.
Camera Position Attributes
To customize the location and view point of the map you can alter attributes of intitialCameraPosition the CameraPosition for the GoogleMap widget.
It allows you to set:
-
target: The latitude and longitude of where to center the map. -
bearing: The direction the camera faces (north, south, east, west, etc.). -
tilt: The angle the camera points to the center location. -
zoom: The magnification level of the camera position on the map.
Update the _myLocation class member variable you previously defined in the _PlacesSearchMapSample class to include a zoom of 12, and update the target to take advantage of the class members, latitude and longitude. It should now look like this:
  static final CameraPosition _myLocation = CameraPosition(
    // 1
    target: LatLng(latitude, longitude),
    // 2
    zoom: 12,
  );
In these changes you:
- Specified a target position for the camera in latitude and longitude.
- Added a zoom level of the camera at 12.
Re-run the app to see the changed starting location and zoom. You may need to close and open the app to see the changes throughout this tutorial.
Maps display

Maps display
Finally, add the bearing and tilt values to customize the camera position some more.
Add these two values to the _myLocation member variable:
bearing: 15.0, // 1
tilt: 75.0, // 2
Here you have:
- Pointed the camera with a bearing of 15 degrees.
- Added a tilt to the camera at a 75 degree angle.
Map with bearing and tilt
Map with bearing and tilt