UIPresentationController Tutorial: Getting Started
Learn how to build custom view controller transitions and presentations with this UIPresentationController tutorial. By Ron Kliffer.
View controller presentation has been an integral part of every iOS developer’s toolkit since the early days of iOS.
You’ve probably used present(_:animated:completion:) before but, if you’re like a lot of developers, you’ve stayed with the default transition styles shipped with iOS.
In this UIPresentationController tutorial you’ll learn how to present view controllers with custom transitions and custom presentation styles.
No longer will you be limited to full screen or popover presentations and the standard transition animations. You’ll start with some drab, lifeless view controller presentations and bring them to life.
By the time you finish, you’ll learn how to:
- Create a
UIPresentationControllersubclass. - Use a
UIPresentationControllerfor slick custom presentations. The presented view controller doesn’t even have to know it’s there. - Reuse a
UIPresentationControllerfor various controllers, by tweaking presentation parameters. - Make adaptive presentations that support any screen size your app might encounter.
Getting Started
With the 2020 summer games a year away, a client hires you to create an app that tallies the medal count for the competing nations.
While the functional requirements are pretty simple, your sponsor asked for a rather cool looking slide-in transition to present the list of games.
At first, you feel a bit of panic. But then you realize you do have transition-building tools at your fingertips. You even put down the paper bag!
Use the Download Materials button at the top or bottom of this tutorial to download the starter project.
Take a moment to familiarize yourself with the project and the following elements:
- MainViewController.swift: The main controller of this project from which all presentations start. This will be the only existing file in the project that you’ll modify.
- GamesTableViewController.swift: Displays a list of Games the user can select.
- MedalCountViewController.swift: Displays the medal count for the selected sporting event.
- GamesDataStore.swift: Represents the model layer in the project. It’s responsible for creating and storing model objects.
Before you start changing things around, build and run the app to see what it does. You’ll see the following screen:
First, tap Summer to bring up the summer menu, GamesTableViewController.

Notice the menu presentation is the default one, which is from the bottom. The client wants to see a sleek slide-in instead.
Next, tap London 2012 to dismiss the menu and return to the main screen. This time, you’ll see an updated logo.

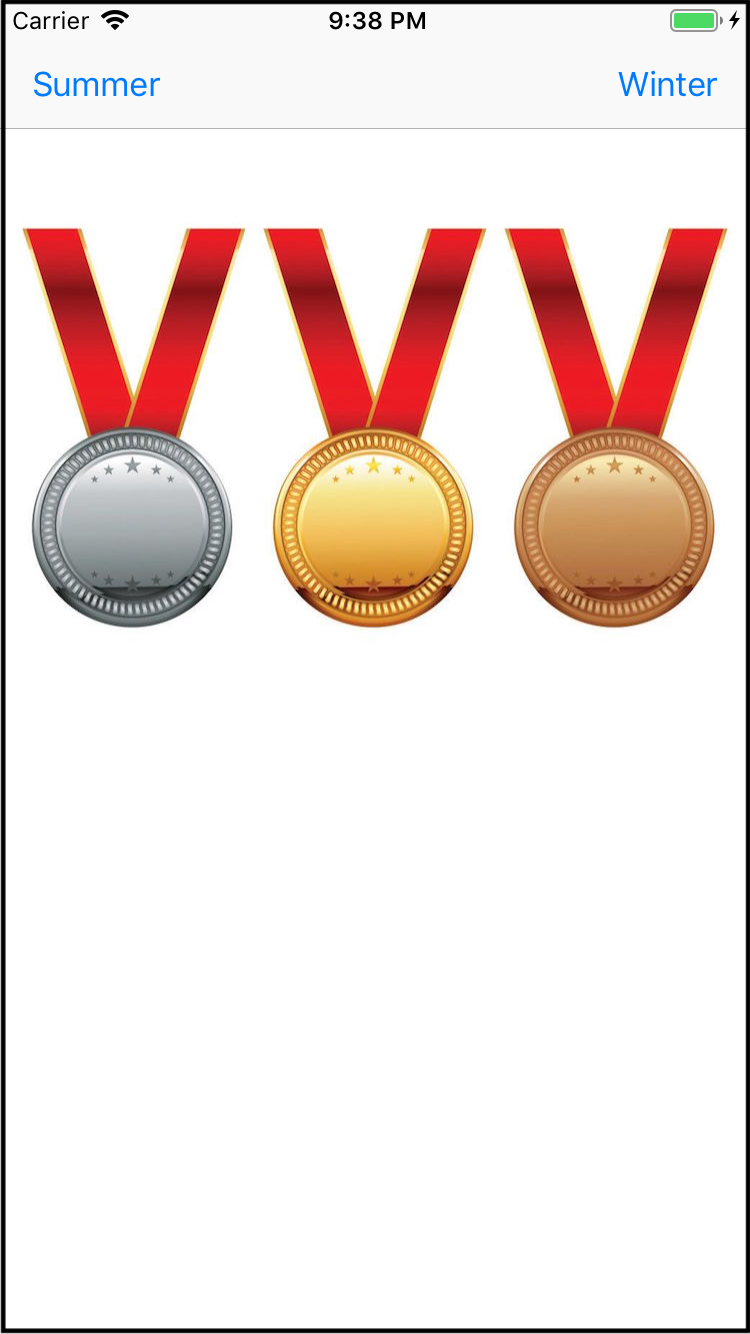
Finally, tap Medal Count to bring up MedalCountViewController for the 2012 games.

As you see, this controller also uses the old bottom-up, default presentation. Tap the screen to dismiss it.
Now you’ve seen the app you’ll upgrade, it’s time to turn your attention to some core concepts and theory for UIPresentationController.
Core Concepts for iOS Transition
When you call present(_:animated:completion:), iOS does three things.
First, it instantiates a UIPresentationController. Second, it attaches the presented view controller to itself. Finally, it presents it using one of the built-in modal presentation styles.
You have the power to override this mechanism and provide your own UIPresentationController subclass for a custom presentation.
If you want to build sweet presentations in your apps, it’s mandatory to understand these key components:
- The presented view controller has a transitioning delegate that’s responsible for loading the
UIPresentationControllerand the presentation and dismissal animation controllers. That delegate is an object that conforms toUIViewControllerTransitioningDelegate. - A
UIPresentationControllersubclass is an object that has many presentation-customizing methods. You’ll see some of these later in the tutorial. - An animation controller object is responsible for the presentation and dismissal animations. It conforms to
UIViewControllerAnimatedTransitioning. Note that some use cases warrant two controllers: one for presentation and one for dismissal. - A presentation controller’s delegate tells the presentation controller what to do when its trait collection changes. For the sake of adaptivity, the delegate must be an object that conforms to
UIAdaptivePresentationControllerDelegate.
That’s all you need to know before you dive in!
Creating the Transitioning Delegate
A transitioningDelegate inherits from NSObject and conforms to UIViewControllerTransitioningDelegate.
UIViewControllerTransitioningDelegate protocol, as its name hints, declares five optional methods for managing transitions.
You’ll work with three of these methods quite a bit in this tutorial.
Setting Up the Framework
Go to File ▸ New ▸ File…, choose iOS ▸ Source ▸ Cocoa Touch Class, and click Next. Set the name to SlideInPresentationManager, make it a subclass of NSObject and set the language to Swift.
Click Next and set the group to Presentation, then click Create.
SlideInPresentationManager to be an NSObject because transitioningDelegate of UIViewController must conform to NSObjectProtocol.Open SlideInPresentationManager.swift and add the following extension:
// MARK: - UIViewControllerTransitioningDelegate
extension SlideInPresentationManager: UIViewControllerTransitioningDelegate {
}
Here, you make SlideInPresentationManager conform to UIViewControllerTransitioningDelegate.
In MainViewController you have buttons for both seasons: Summer on the left and Winter on the right. There’s also a Medal Count on the bottom.
To make the presentations fit each button’s context, you’ll add a direction property to SlideInPresentationManager. Later, you’ll pass this property to the presentation and animation controllers.
Add the following to the top of SlideInPresentationManager.swift:
enum PresentationDirection {
  case left
  case top
  case right
  case bottom
}
Here, you declare a simple enum to represent the presentation’s direction.
Next, add the following property to SlideInPresentationManager:
var direction: PresentationDirection = .left
Here, you’re adding a direction and giving it a default value of left.
To assign an instance of SlideInPresentationManager as the transitioningDelegate for every controller you present, open MainViewController.swift and add the following above dataStore definition:
lazy var slideInTransitioningDelegate = SlideInPresentationManager()
You might ask yourself why you’re adding this as a property on MainViewController. There are two reasons:
-
transitioningDelegateis a weak property, so you must keep a strong reference to the delegate somewhere. - You don’t want to keep this reference on the presented controller itself as you might want to reuse it on different presentation styles. Deciding the type of presentation to use is now the presenting controller’s task.
Next, locate prepare(for:sender:), and replace it with the following:
override func prepare(for segue: UIStoryboardSegue, sender: Any?) {
  if let controller = segue.destination as? GamesTableViewController {
    if segue.identifier == "SummerSegue" {
      controller.gamesArray = dataStore.allGames.summer

      //1
      slideInTransitioningDelegate.direction = .left
    } else if segue.identifier == "WinterSegue" {
      controller.gamesArray = dataStore.allGames.winter

      //2
      slideInTransitioningDelegate.direction = .right
    }
    controller.delegate = self

    //3
    controller.transitioningDelegate = slideInTransitioningDelegate

    //4
    controller.modalPresentationStyle = .custom
  } else if let controller = segue.destination as? MedalCountViewController {
    controller.medalWinners = presentedGames?.medalWinners

    //5
    slideInTransitioningDelegate.direction = .bottom
    controller.transitioningDelegate = slideInTransitioningDelegate
    controller.modalPresentationStyle = .custom
  }
}
Here’s a section-by-section explanation of what you’ve set up:
- Presentation direction of the summer games menu is .left.
- Presentation direction of the winter games menu is .right.
- The games controller’s
transitioningDelegateis now theslideInTransitioningDelegatedeclared earlier. - The
modalPresentationStyleis .custom. This makes the presented controller expect a custom presentation instead of an iOS default presentation. - Presentation direction of
MedalCountViewControlleris now .bottom. ThetransitioningDelegateandmodalPresentationStyleare set as you did in steps 3 and 4.
You’ve reached the end of the section and have set yourself up with the groundwork necessary for the next big thing coming at you: the UIPresentationController subclass.