Serverless Kotlin on Google Cloud Run
Learn how to build a serverless API using Ktor then dockerize and deploy it to Google Cloud Run. By Kshitij Chauhan.
Containerizing the Application
To deploy your API on Cloud Run, you need to containerize it first. Create a file named Dockerfile in the root directory of the project.
Add the following code to it:
# 1
FROM gradle:latest as builder

# 2
WORKDIR /app
COPY . .
RUN ./gradlew installDist

# 3
FROM openjdk:latest

# 4
WORKDIR /app
COPY --from=builder /app/build/install/serverlesskt ./
CMD ["./bin/serverlesskt"]
The code above defines a multi-stage Docker build to ensure the final assembled image is as small as possible. Here’s what’s happening:
- This step instructs Docker to use the gradle:latest base image for the builder stage. It provides you with a pre-existing Gradle installation, which is great because you need it to build your application.
- The next few steps instruct Docker on how to assemble your application’s executable binary file by copying the source code to the image and invoking the installDist task.
- This step instructs Docker to add a second stage to the build using the openjdk:latest base image, which provides you with an existing Java installation.
- Finally, it copies over the built binary of your application from the previous builder stage and sets up the image to run it whenever a container with this image starts.
You must have the gcloud and docker CLIs installed, along with an existing Google Cloud Platform project with billing enabled.
To build an image with this Dockerfile, first make sure to stop the application within Intellij. Then open the terminal and run the following command:
docker build -t serverlesskt-api .
--platform linux/amd64 flag to this command. This ensures your image can run on Cloud Run too.
Here’s what you’ll see:
➜  docker build -t serverlesskt-api .
...

 => exporting to image                                                                                                                                                                                                             0.0s
 => => exporting layers                                                                                                                                                                                                            0.0s
 => => writing image sha256:3e39d9e1ab51ba1f16e1a75be7978c85de26eb6fafc2f65b5d603eb922125c0b                                                                                                                                       0.0s
 => => naming to docker.io/library/serverlesskt-api                                                                                                                                                                                0.0s

Use 'docker scan' to run Snyk tests against images to find vulnerabilities and learn how to fix them
Optionally, you can test the image locally by starting a container with this command:
docker container run -p8080:8080 serverlesskt-api
Test it with curl:
➜  ~ curl -X GET "http://0.0.0.0:8080"
Hello, world!
If you got the same response, then your image is built correctly! Next step is to push the image to an image registry on Google Cloud.
Pushing Images to Artifact Registry
Artifact Registry is a GCP product that lets you host build artifacts such as container images, Maven packages, etc. on Google Cloud in public or private repositories.
To push your image to Artifact Registry, you must have an existing Google Cloud Project with billing enabled, as well as a Docker image repository on Artifact Registry. See the documentation on how to accomplish this if you haven’t already.
Once you’ve created a repository for Docker images on Artifact Registry, the next step is to use the gcloud CLI to authenticate docker CLI with your repository. The process is as simple as running the following command:
gcloud auth configure-docker "<project-region>-docker.pkg.dev"
project-region depends on the specifics of your Google Cloud project.
Next, you must tag your Docker image with the the following pattern: LOCATION-docker.pkg.dev/PROJECT-ID/REPOSITORY/IMAGE.
-
LOCATIONis the region of your GCP project (e.g., us-east-1). -
PROJECT-IDis the ID of your GCP project. -
REPOSITORYis the name of your Artifact Registry repository. -
IMAGEis the name you want to give to your image.
Remember to substitute the placeholders with information specific to your project and then tag the Docker image:
docker tag serverlesskt-api LOCATION-docker.pkg.dev/PROJECT-ID/REPOSITORY/IMAGE
Finally, push the image to Artifact Registry:
docker push LOCATION-docker.pkg.dev/PROJECT-ID/REPOSITORY/IMAGE
You’ll see your uploaded image in Artifact Registry.
➜  ~ gcloud artifacts docker images list asia-south2-docker.pkg.dev/cloud-run-kt/cloud-run-kt
Listing items under project cloud-run-kt, location asia-south2, repository cloud-run-kt.

IMAGE                                                            DIGEST                                                                   CREATE_TIME          UPDATE_TIME
asia-south2-docker.pkg.dev/cloud-run-kt/cloud-run-kt/iplocation  sha256:a6803aa97e720e3870fca2e63e49ce0739ac4c4a322e93f34c0b7ddf5b49efe7  2022-02-06T12:03:18  2022-02-06T12:03:18
Deploying Image to Cloud Run
Once you’ve pushed an image to Artifact Registry, deploying it to Cloud Run is as simple as invoking a single command.
Deploy your image to Cloud Run with the gcloud CLI:
gcloud run deploy iplocation2 \
   --image <image-url> \
   --project <project-id> \
   --region <project-region> \
   --port 8080 \
   --allow-unauthenticated
-
imageflag specifies the URL of the image to deploy. Set it to the tag of the image you uploaded to Artifact Registry. -
projectandregionflags are specific to your project’s settings. -
portflag tells Cloud Run which port the container listens on for incoming requests. -
allow-unauthenticatedflag lets anyone on the internet invoke your API. For the purposes of this tutorial, the API you deploy should be public.
You’ll see a success message followed by the URL of your deployed API!
Deploying container to Cloud Run service [iplocation] in project [cloud-run-kt] region [asia-south2]
✓ Deploying... Done.
  ✓ Creating Revision...
  ✓ Routing traffic...
  ✓ Setting IAM Policy...
Done.
Service [iplocation2] revision [iplocation2-00002-qaq] has been deployed and is serving 100 percent of traffic.
Service URL: https://iplocation2-eny7psifaq-em.a.run.app
Try sending requests to your API’s URL with curl:
➜  ~ curl https://iplocation2-eny7psifaq-em.a.run.app
Hello, world!
You’ve successfully deployed a Kotlin Ktor application to Cloud Run!
Try experimenting with all three endpoints to test your deployment. Once you’re satisfied with the results, you can begin integrating the API within an Android app.
Consuming the API
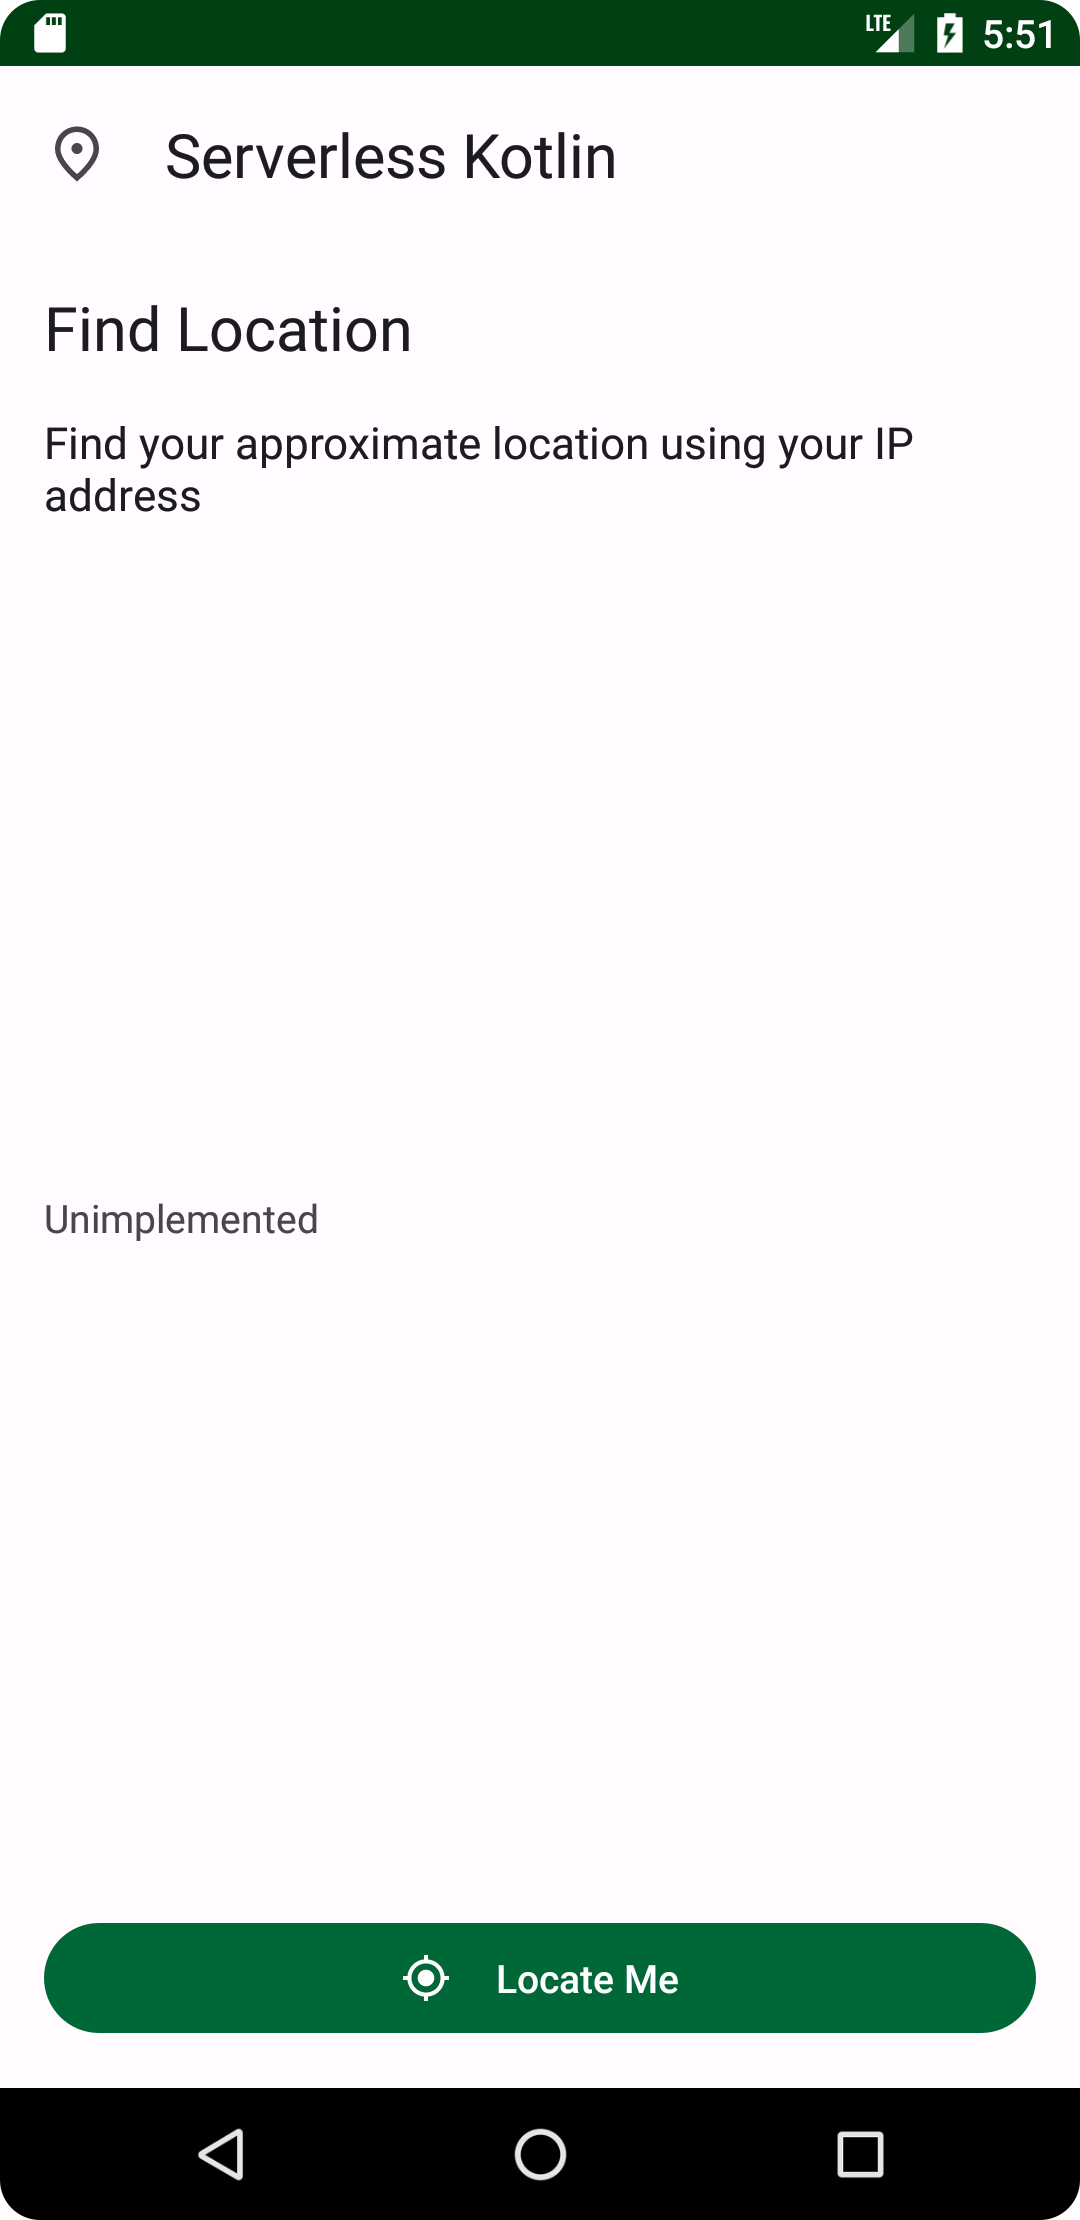
The starter material for this project also includes an Android app to consume the API. Head over to Android Studio and open the starter app project in it.
Build and run the app. You’ll see a simple screen that lets you request your current location.
In the next few steps, you’ll add code to integrate the API with this application using the Retrofit library.
Defining a Service Interface
To interact with an API using Retrofit, you must have an interface to model its routes.
Create a new package api under the com.yourcompany.android.serverlesskt package, and then add a new file named LocationApi.kt to it. Within this file, add the following code:
import com.jakewharton.retrofit2.converter.kotlinx.serialization.asConverterFactory
import kotlinx.serialization.ExperimentalSerializationApi
import kotlinx.serialization.json.Json
import okhttp3.MediaType
import retrofit2.Retrofit

// Put your Cloud Run service's URL here
private const val API_URL = ""

val contentType: MediaType = MediaType.get("application/json")

@OptIn(ExperimentalSerializationApi::class)
val retrofit: Retrofit = Retrofit.Builder()
  .baseUrl(API_URL)
  .addConverterFactory(Json.asConverterFactory(contentType))
  .build()
This defines a Retrofit instance to communicate with your API. Populate API_URL with the URL of your deployed API on Cloud Run (e.g. https://iplocation2-eny7psifaq-em.a.run.app).
API_URL with http://10.0.2.2:8080 if you’re using an emulator, or use the corresponding IP address if you’re using a device connected to the same network.
Then, create models to communicate with your API. First, define a class to model the API response, and then an interface LocationApi to model the API routes:
import retrofit2.http.GET
import kotlinx.serialization.Serializable

@Serializable
data class LocationResponse(
  val country: String,
  val regionName: String,
  val city: String,
  val query: String
)

interface LocationApi {

  @GET("location")
  suspend fun getLocation(): LocationResponse
}
With this complete, move on toward instantiating the service interface and using it.