Creating Local Notifications in Flutter
Learn how to create cross-platform local notifications in Flutter using the flutter_local_notifications package. By Ken Lee.
Local notifications are a useful tool to notify users of important messages in your app. Not only do they increase user engagement for your apps, but they also allows you to deliver important information that can help your users stay up to date on important information.
In this tutorial, you’ll develop PomoTimer, an app that implements the Pomodoro Technique and notifies users when it’s time to take a break. In the process, you’ll learn:
- The anatomy of local notifications on Android and iOS.
- How to schedule local notifications in Flutter using the flutter_local_notifications package.
- About how you can customize the sound of local notifications in Flutter.
- How to cancel a scheduled notification.
Getting Started
Download the project by clicking Download Materials at the top or bottom of the tutorial. Next, extract it to a suitable location. Then, open the Starter project in VS Code. You can also use Android Studio, though you’ll have to adapt the instructions as needed.
VS Code should prompt you to get dependencies. Click the button to get them. You can also run flutter pub get from the terminal to get the dependencies.
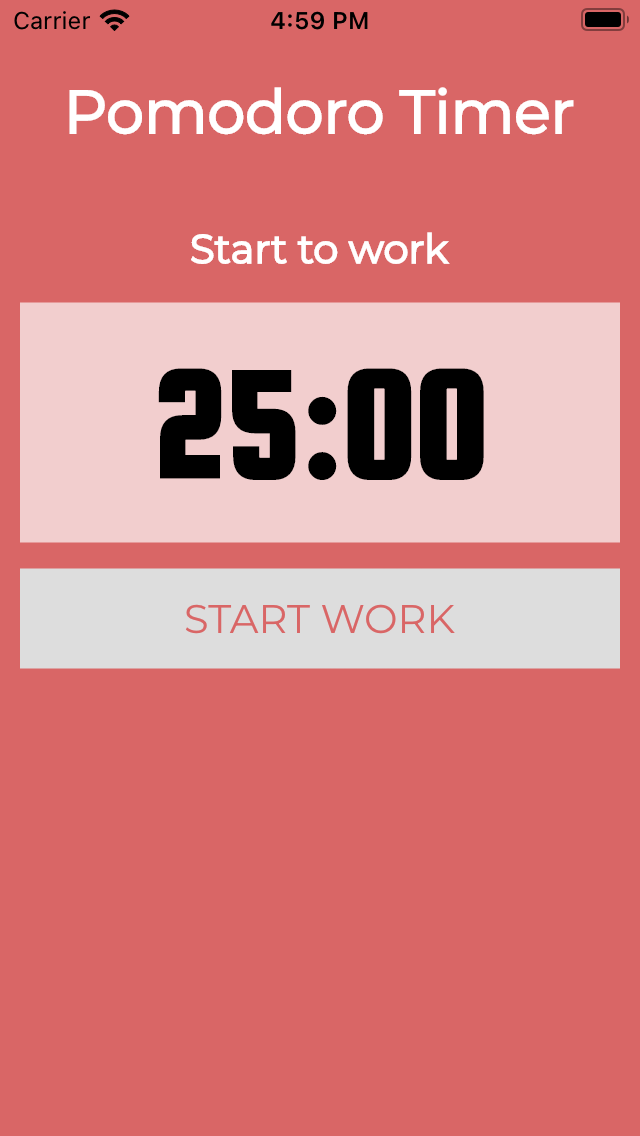
After getting dependencies, build and run the project. You should see the following screen:
By default, the timer waits for a work session. Tap the START WORK button to start one. It should start counting down, and you should see a DISCARD button. Now tap DISCARD. It enters the rest session, and the button changes to START REST. The session starts when you tap the button, and the timer turns to begin the work state after the session is over.
Don’t worry if you don’t understand what’s happening with the timers. They’re based on the Pomodoro Technique and you’ll cover that in the next section.
As you can see, the starter project already comes with a ready-to-use Pomodoro timer. But it doesn’t notify the user when work or break time is up. You’ll add this feature later in this tutorial. But next, you’ll learn the theory behind the Pomodoro Technique.
The Pomodoro Technique
The Pomodoro Technique is a time management technique to help people focus on their work. Its idea is to organize your work with the following flow:
- Start with a 25 minute work session and focus on your work during the session.
- Take 5 minutes break. During the break, you can do anything to rejuvenate yourself.
- Repeat Step 1. Focus on your work for 25 minutes again.
- After 4 consecutive work sessions, take a longer break of 15 minutes.
The idea of the Pomodoro Technique is to remind people to focus on their work for a certain amount of time. Then, it reminds them to rest after half an hour of concentration. This technique fits well for people who need to concentrate on their work with limited distractions, for example, programmers.
To know more about this technique, watch the introductory video about it here.
Adjusting the Timer Setting
Currently, the timer is 25 minutes for work, 5 minutes for a short break and 15 minutes for a long break. It’s great if you want to use the Pomodoro Technique. But it’s not so good for developers as you need to wait 25 minutes for each test run.
Therefore, you need to change the configuration to a shorter interval to cut out those idle times.
To do that, open lib/widget/pomodoro_timer.dart and modify the following variables:
const int kWorkDuration = 5; // production: 25 minutes
const int kRestDuration = 2; // production: 300 (5 minutes)
const int kLongRestDuration = 3; // production: 900 (15 minutes)
That shortens the work interval from 25 minutes to five seconds, a short break from five minutes to two seconds and a long break from 15 minutes to three seconds. You can now quickly test things out without waiting too long.
Now, build and run the app to see the changes:

Understanding Local Notifications
When users finish using your app, they close it or switch it to the background. As a result, your app becomes non-interactive. It can’t show anything to the user at this stage if something happens.
You can use the notification system to let the user know that something occurred in the app.
There are two kinds of notifications that both iOS and Android offer. The first is local notifications, and the other one is push notifications. Local notifications let you schedule messages to the user at a specific time in the future locally from the phone. Push notifications allow you to send messages to users from a backend server.
You’re going to focus on local notifications. It’s good for pre-determined events such as alarms or reminders.
Anatomy of a Local Notification
A notification is a tiny card that contains information. The operating system provides some of this information while the developer provides the rest.
The following shows the information that an iOS local notification contains:

Translating the numbered bubbles into points, you have the:
- App icon: The icon of your application, provided by iOS.
- Title: The notification title, provided by you.
- Notification time: The time that the notification was created.
- Body: The notification body, provided by you.
Android is similar, except that Android supports a few extra features:

- Small icon: Defaults to showing the app icon if you don’t provide one.
- App Name: The name of the application, provided by Android.
- Time: The scheduled time of the notification.
- Large icon: An icon provided by you. A common use case is the profile photo.
- Title: The notification title, provided by you.
- Body: The notification body message, provided by you.
Setting Up Local Notifications in Flutter
You’ll use the flutter_local_notifications package to send notifications. So, open pubspec.yaml and add the following line below the dependencies section:
flutter_local_notifications: ^9.5.3+1
Save the file and/or click Get Packages to install the package. Alternatively, you can run the flutter pub add command from the terminal to install it:
flutter pub add flutter_local_notifications
Next, you need to modify AppDelegate.swift in the ios/Runner folder to make the package run correctly on iOS. Open ios/Runner/AppDelegate.swift and add the following lines in didFinishLaunchingWithOptions:
if #available(iOS 10.0, *) {
      UNUserNotificationCenter.current().delegate = self as? UNUserNotificationCenterDelegate
    }
GeneratedPluginRegistrant.register(with: self)
The code above defines the delegate of the notification system and links the package with the native iOS system.
It’s good practice to build and run your Flutter app after adding new packages and before adding new code. So, build and run the app to ensure it works for Android and iOS before going forward.