Deploying Server-Side Swift Apps With Docker on Heroku
In this tutorial, you’ll learn how to deploy server-side applications developed in Vapor as well as Docker images of your application into Heroku. By Natan Rolnik.
Setting the Database Based on the Environment
So far, this function doesn’t have any callers. At the beginning of configure(_ app: Application), look for the line with the call to configureLocalDatabase(for: app), and replace it with the following code:
if let dbURLString = Environment.get("DATABASE_URL"),
   let url = URL(string: dbURLString) {
   configureDatabase(with: url, for: app)
} else {
  configureLocalDatabase(for: app)
}
This statement has one purpose: Detect if the app is running in an environment where the DATABASE_URL variable exists. If this is the case, convert its value from a string to URL, and call the function you just implemented. Otherwise, if no database URL is set, fall back to configuring a local database, just as before.
Binding to the Correct Port
The next change you need to make relates to how HTTP servers receive connections in Heroku. When a server starts up, it needs to bind to a specific port.
Because of the way Heroku works, it may assign a different port every time it launches a dyno of your app. This happens on every deployment, at restarts or when scaling up your app dynos. For this reason, as the port is dynamic between dynos, it sets the environment variable PORT containing the correct port app servers should bind to, regardless of the programming language or stack.
By default, Vapor listens on the 8080 port. To change that, still in configure.swift, add the following code anywhere inside configure(_ app: Application):
// 1
app.http.server.configuration.hostname = "0.0.0.0"

// 2
if let port = Environment.get("PORT").flatMap(Int.init(_:)) {
  app.http.server.configuration.port = port
}
A quick explanation of what these lines do:
- Set the server hostname to
0.0.0.0, as this is the IP address of the Docker container. - Check if the
PORTenvironment variable exists. If so, map theStringto anInt, unwrap it and set the server port.
0.0.0.0 is a placeholder IP address for the source host. The source host in this scenario is the container in itself. Docker automatically assigns this IP address to the containers it creates. This is a valid IP address syntax and is treated as a wildcard address. Also note that this is a non-routable IP address, as it can’t receive any TCP/IP connections.
These are the only changes in the Vapor app you’ll need to make for your server to conform to Heroku’s requirements and connect to the database. In the next section, you’ll see the last changes the Heroku app needs.
Building and Deploying the App Image
--platform linux/amd64 flag to your docker build command below. Be warned that this isn’t 100% reliable and may crash. If you encounter this, you can skip to the section on getting Heroku to build your container.
Both the Vapor and Heroku apps are now ready, although you still need to compile the changes above. Run the build command again to include them:
docker build . --tag til-app
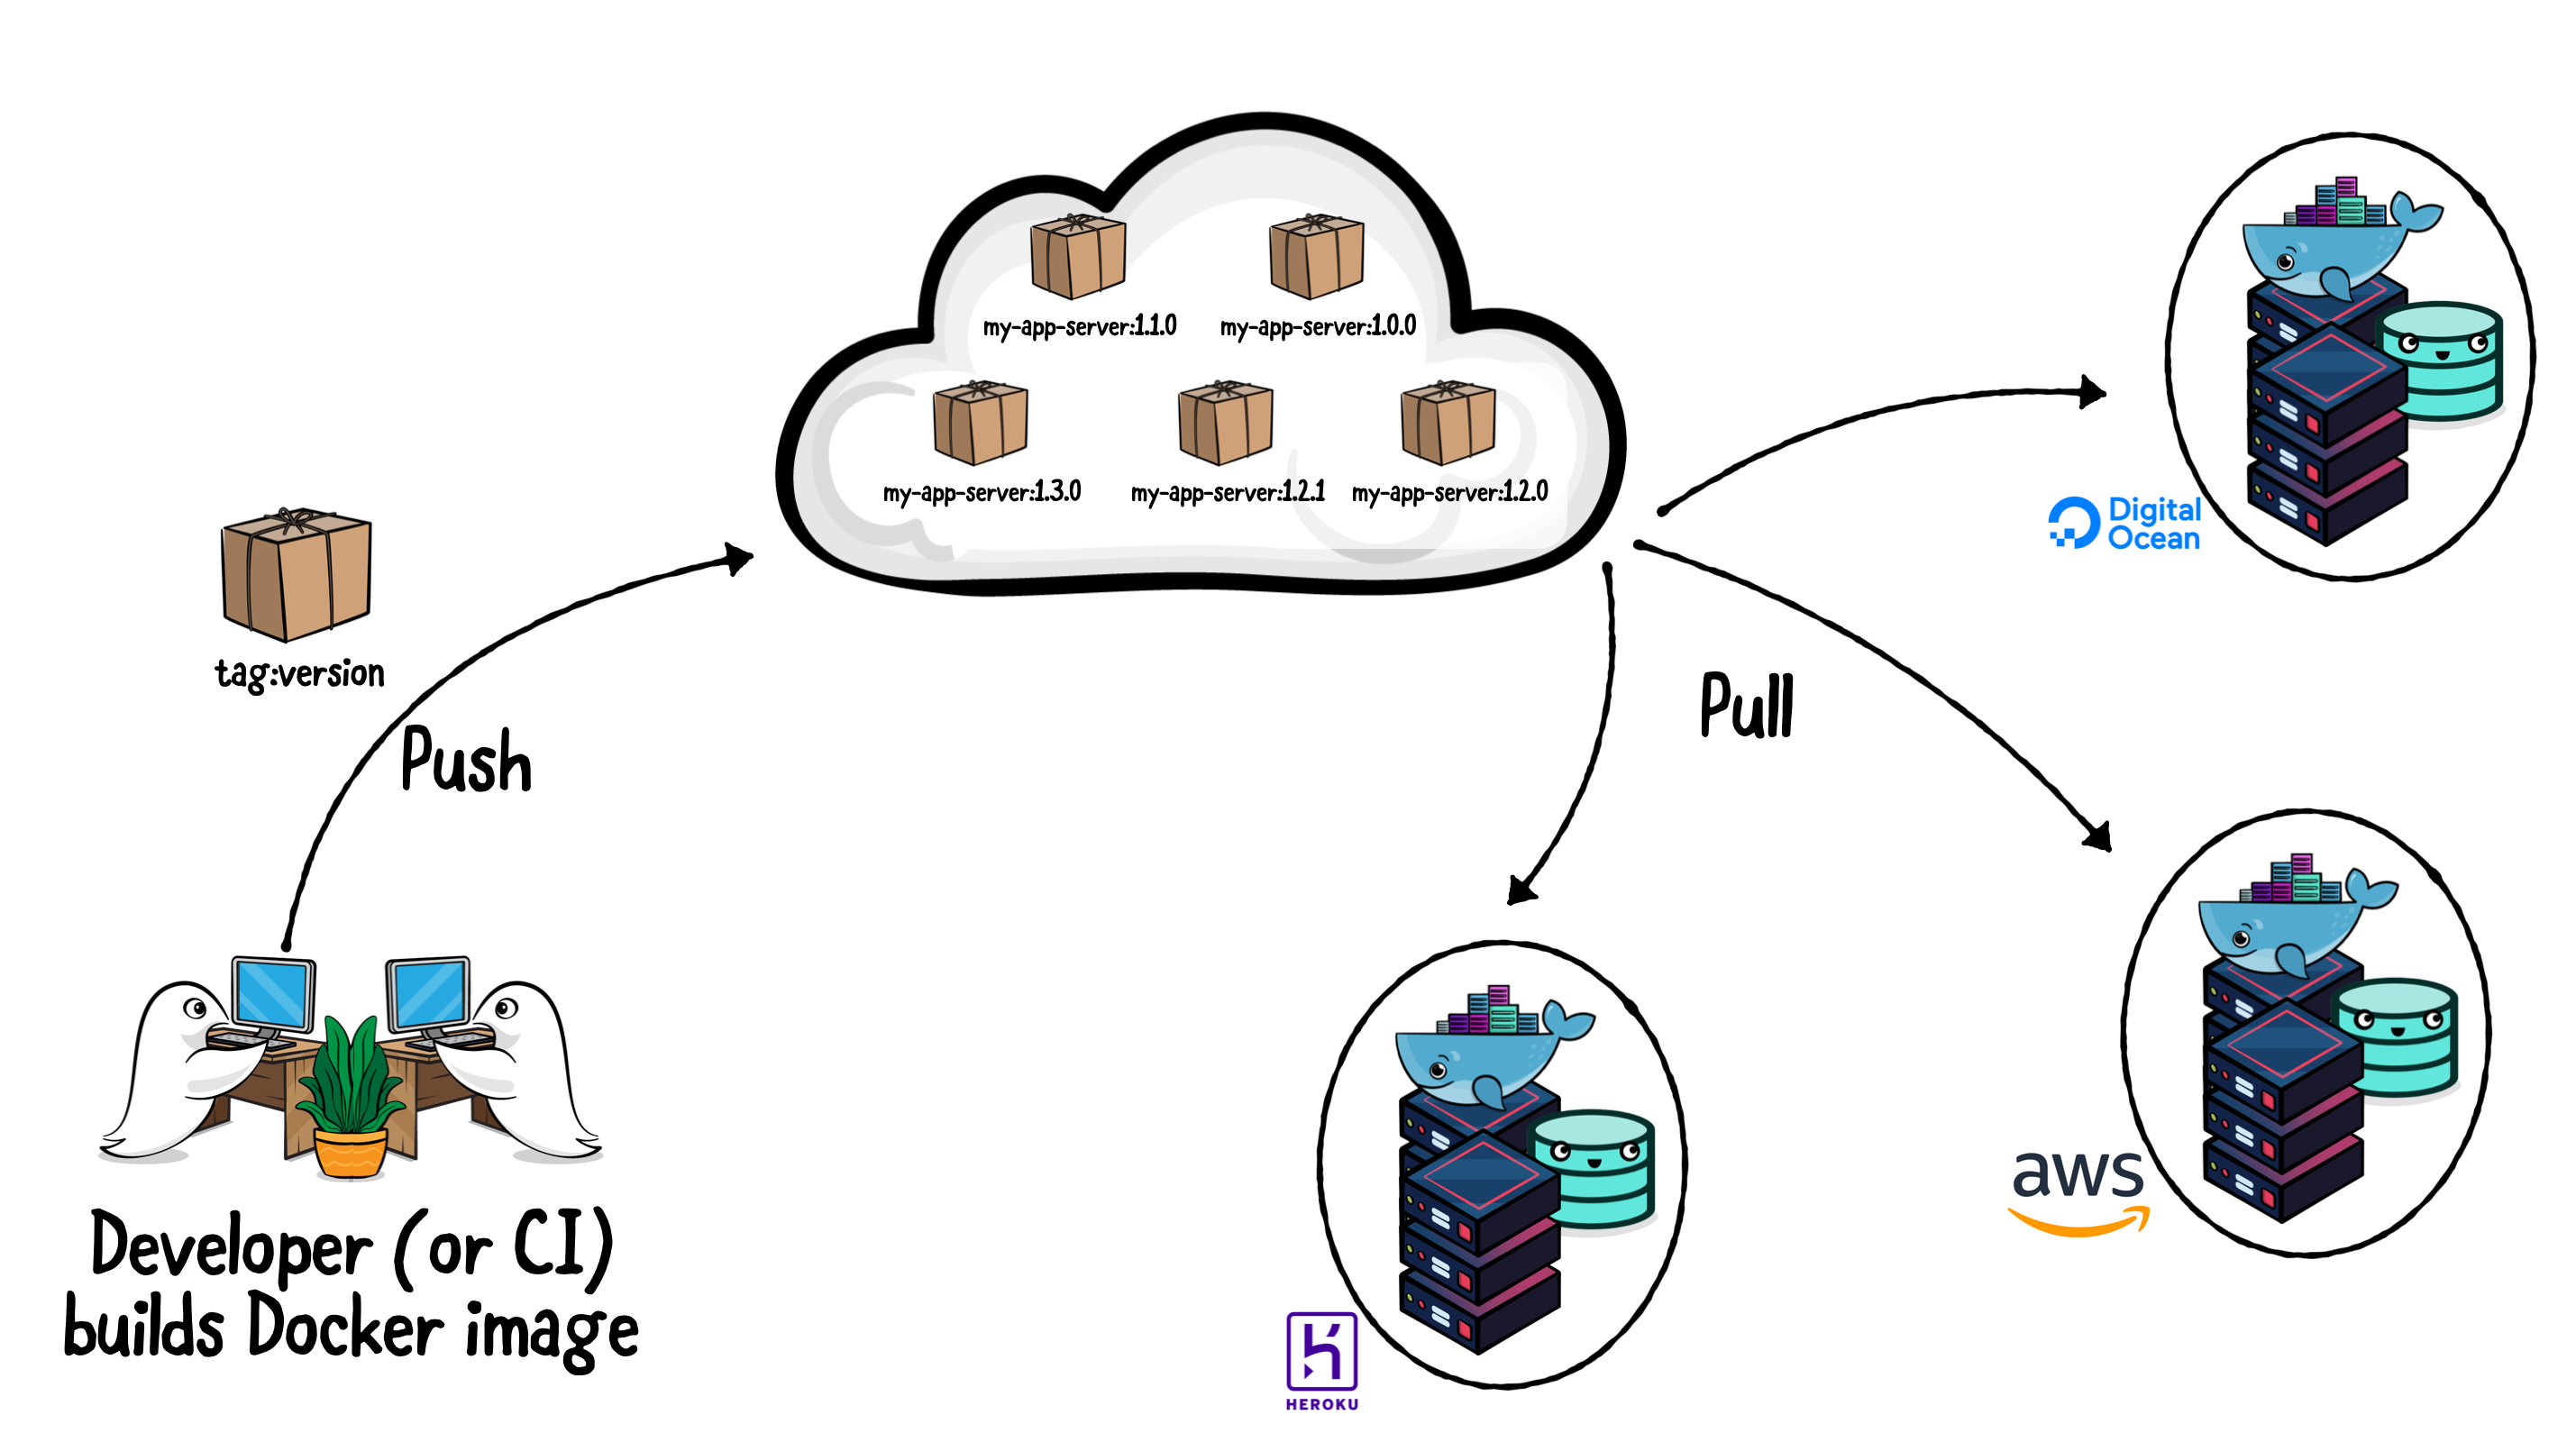
While Docker rebuilds your app’s image, and before advancing to the stage where you’ll deploy it, it’s helpful to understand what a container registry is and how it works.
Container Registry
When working with Docker, it’s very common to build new images quite frequently. In the process of deploying them, or when there’s the need to roll back to a specific version, it’s essential to have them available in some sort of remote repository.
This is exactly the role a container registry plays: storing (pushing) and distributing (pulling) images. Docker, the company, provides its own registry as a service. And guess what: Heroku does as well, making it even easier to deploy your containers.
With a Docker Container Registry, you can push Docker images from your machine and pull them from your cloud providers to deploy
With a Docker Container Registry, you can push Docker images from your machine and pull them from your cloud providers to deploy
Logging in to Heroku’s Container Registry
The Heroku CLI provides the container command, and all its subcommands, to interact with the Heroku container registry, which is located at registry.heroku.com. These subcommands include building, pushing and pulling images, deleting, and also releasing them to Heroku applications. In fact, they work on top of Docker’s existing commands to interact with any container registry.
To use them, you’ll need to run a login command once again. This time, it’s faster and slightly different, as you’ve previously logged into the CLI.
heroku container:login
You’ll see a Login Succeeded message, confirming you can access Heroku’s container registry.
heroku containter command to work, Docker daemon must be running. To ensure Docker daemon is running in macOS, check if Docker Desktop is running in the menu bar.
Uploading and Releasing the App Image
You are now ready to push your image to the Heroku container registry and release the first version of the app.
Before pushing, run this command to associate a local image with the remote repository. Replace <your-app-name> with the Heroku app name.
docker tag til-app registry.heroku.com/<your-app-name>/web
Then, push it with this command:
docker push registry.heroku.com/<your-app-name>/web
This command uploads the image you built previously to the Heroku container registry. It might take a few minutes to complete depending on the upload speed of your internet connection.
Finally, after successfully uploading the image, release it by running the command below:
heroku container:release web
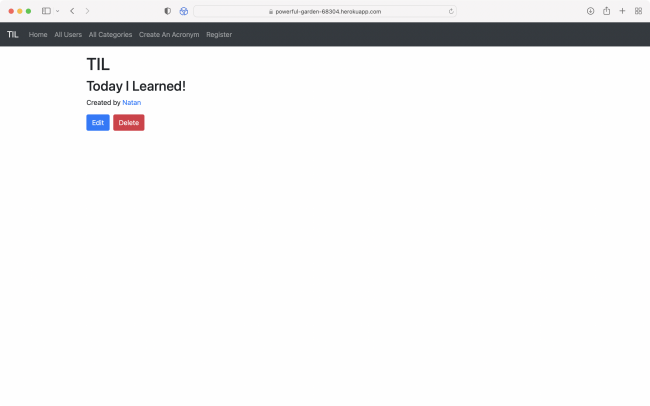
Now, visit the web URL of your app. As a reminder, it should follow this pattern: https://<your-app-name>.herokuapp.com. Replace your Heroku app name in the URL, and visit it in the browser. If you performed all the steps above correctly, you’ll see the same TIL homepage as when running it locally.
As you’ve previously configured the database, register a user and try to add an acronym. See the Postgres database in action for yourself!
TIL running in Heroku with the Postgres add-on
TIL running in Heroku with the Postgres add-on
Run the server-info endpoint again, but this time calling the server you just deployed:
curl https://<your-app-name>.herokuapp.com/server-info
Notice how appEnvironment now equals the heroku-prod variable you set earlier through environment variables.