Jetpack Compose Accessibility: Getting Started
Almost everyone will experience a disability that impacts their ability to use a mobile phone at some point in their life. Adding accessibility features to your app will help broaden access to it. By Victoria Gonda.
Understanding Jetpack Compose and Accessibility
You may have noticed that Jetpack Compose can be accessibility forward at times. Both accessibility and testing use the semantics tree, so having testable components encourages accessible components and vice versa. Components such as Image require a content description, forcing you to make a decision about it.
You’ll keep seeing this encouragement as you work with Compose, but stay vigilant. You still have work to do!
Grouping
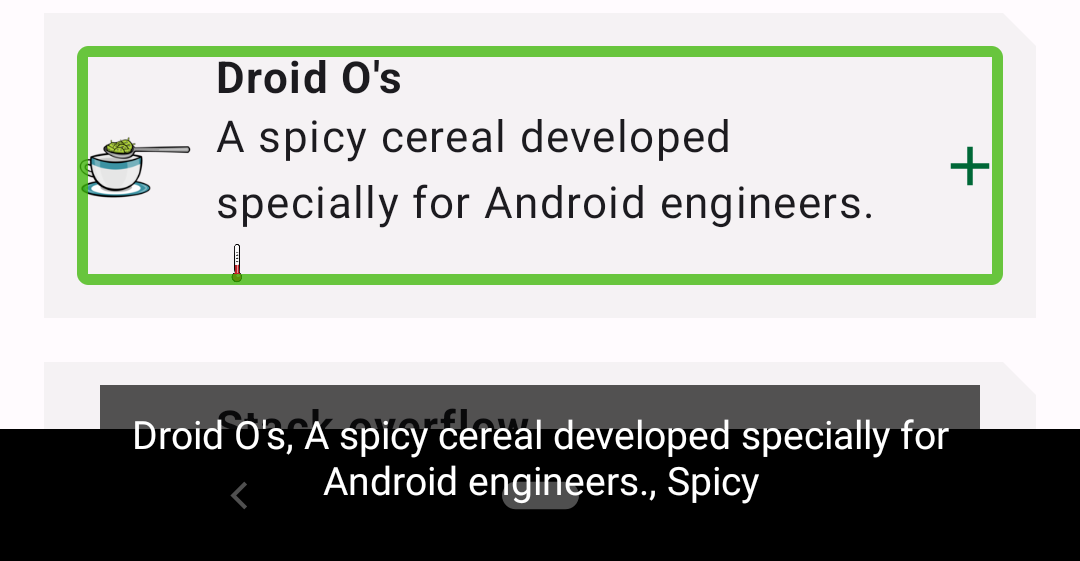
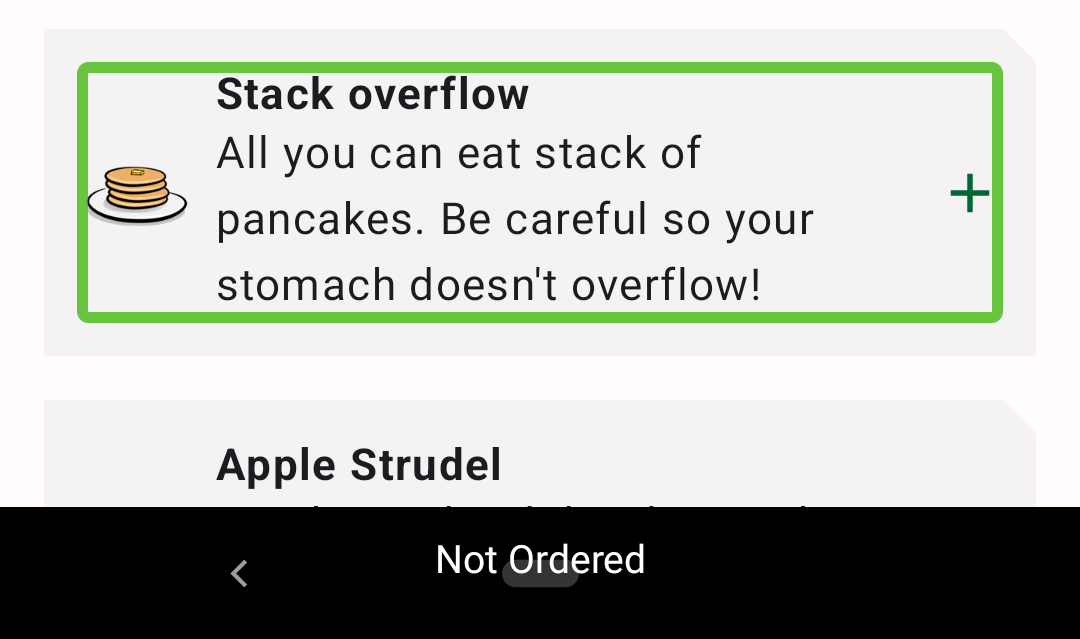
When navigating through the app using TalkBack, you may have found it cumbersome to walk through each element of a dish before moving to the next: the title, the description, the attributes…
Wouldn’t it be nice to be able to consume all this information at once? You can!
Open MenuItem.kt and find the semanticsModifier. This modifier is applied to the Row that describes each dish. Change this modifier to look like this:
val semanticsModifier =
  Modifier.semantics(mergeDescendants = true) { }
This semantics modifier, using mergeDescendants = true, will merge the descendent semantics tree so it’s treated as a single node. This has the effect of grouping the elements so they can all be read at once.
Build and run the app, navigating it using TalkBack. Isn’t it much nicer to navigate now?
Heading Navigation
You can do even more to improve the navigation of the menu. Accessibility services such as TalkBack provide navigation shortcuts. One of those is jumping between headers to skip to the content the user is interested in. Maybe someone just wants a drink and isn’t interested in ordering any food.
You can inform accessibility services that something is a header using the same semantics modifier you used previously.
Open MenuList.kt and find the Heading composable. Within it, there’s a Text composable that already has a chain of modifiers. Add .semantics { heading() } so the chain looks like:
modifier = Modifier
  .fillMaxWidth(0.75f)
  .padding(horizontal = 16.dp, vertical = 8.dp)
  .background(
    colorPrimary,
    shape = CutCornerShape(topEnd = 12.dp)
  )
  .padding(16.dp)
  .semantics { heading() }
Build and run the app. Now, while using TalkBack, you can navigate through the headings.
.assert(isHeading()) assertion. You can test numerous attributes using this pattern.
How this navigation works depends on your device. Learn how to navigate through headings using the TalkBack tutorial.
Two of the possible options include:
- Swipe right with three fingers until you hear “headings”. Then, swipe up or down with one finger to navigate between headings.
- Open the local context menu using the swipe up then to the right gesture or Alt-Shift-Space with the keyboard. Once selected, you can navigate forward like you usually would by swiping right, but now you move through the headers.
Handling Actions
All that is great, but what good is an app if you can’t perform any actions in it? This app might as well be a PDF at this point. Time to add some actions.
When tapping a dish, it should toggle whether you want to order that menu item. Displaying an icon representing the state is already set up, but there’s no click handler. Nothing happens on tap.
Open MenuItem.kt and find clickableModifier. This is already applied to the Row, so you only have to update the modifier here.
Update clickableModifier like so:
val clickableModifier = Modifier.clickable() {
  onDishSelected(dish)
}
Now, when you tap an item, the onDishSelected callback is called, and this updates the state for whether you’re ordering the dish.
clickable modifier automatically applies mergeDescendants = true for you. You can remove that declaration now, or leave it and keep it specific. Either way, you’d have the same behavior.
Build and run the app. Using TalkBack, you’ll notice some new behavior. When you reach a menu item, it reads “Double-tap to activate”.

When double-tapping, it appropriately toggles the state.
Adding State Descriptions
It’s great that you can now toggle that state, but you can’t perceive that state using TalkBack. You could accomplish this using a content description, but there’s another way.
In MenuItem.kt, find that semanticsModifier again. Just like you used it to set heading semantics, you can use this modifier to describe state.
To start, you need some strings that describe the state. Add these lines before the modifier:
val selectedDescription =
  stringResource(R.string.description_selected)
val unselectedDescription =
  stringResource(R.string.description_unselected)
This sets up descriptions for both the selected and unselected states.
Next, set stateDescription and selected in the lambda that’s passed to semantics(). Your code will look like this:
val semanticsModifier =
  Modifier.semantics(mergeDescendants = true) {
    stateDescription = if (dish.selected) {
      selectedDescription
    } else {
      unselectedDescription
    }
  }
Now, this node knows:
- That it’s selectable.
- If it’s currently selected.
- What it means to be selected or unselected.
Build and run the app to find out how the selected and unselected states change the behavior. Use TalkBack to select an item. It now describes the state and announces when it changes.

Testing Selectable
It’s worth jumping back to testing for a moment. Along with headings and content descriptions, it’s possible to test if something is selectable and if it’s currently selected.
You’ll write some tests now and use them later when you refactor to make sure you don’t have any regressions.
Open MenuItemTest.kt and add the following test:
@Test
fun isSelectable() {
  composeTestRule.setContent {
    MenuItem(
      dish = testDish,
      onDishSelected = {},
      modifier = Modifier.testTag(testTag)
    )
  }

  composeTestRule.onNodeWithTag(testTag).assertIsSelectable()
}
Modifier, use import from the androidx.compose.ui package.
This test is similar to what you wrote before, except for the assertion: assertIsSelectable. Build and run the test, and it should prove that your MenuItem is selectable. It would fail if you didn’t set those semantics.
Similarly, add some tests to check if the item is currently selected:
@Test
fun isSelected() {
  composeTestRule.setContent {
    MenuItem(
      dish = testDish.copy(selected = true),
      onDishSelected = {},
      modifier = Modifier.testTag(testTag)
    )
  }

  composeTestRule.onNodeWithTag(testTag).assertIsSelected()
}

@Test
fun isNotSelected() {
  composeTestRule.setContent {
    MenuItem(
      dish = testDish.copy(selected = false),
      onDishSelected = {},
      modifier = Modifier.testTag(testTag)
    )
  }

  composeTestRule.onNodeWithTag(testTag).assertIsNotSelected()
}
Selected and unselected each have one test. You use a dish with the given state and use assertIsSelected and assertIsNotSelected to verify.
Run these tests to see them pass.
