Firebase Real-Time Database Tutorial for iOS
Learn how to use Firebase Real-Time Database to seamlessly store and fetch data in real time, while supporting offline mode and secure access. By Yusuf Tör.
When developing an app, you might need to store data in a database. Additionally, you’ll probably need an API to interact with it. This can become complex and distract you from your main goal of producing a killer app. Fortunately, the Firebase Real-Time Database has you covered. This database supports storing and fetching data seamlessly as well as listening for data in real-time. On top of this, the Firebase Real-Time Database handles authenticated flows to protect your data. You also can opt into local storage to store user data when the device is offline and sync it up to the database when the device returns online.
In this tutorial, you’ll build a journaling app that logs a daily thought and syncs it with the Real-Time Database. Along the way, you’ll learn:
- How to implement authentication with Firebase.
- How to protect data access with security rules.
- The differences between the Real-Time Database and Firestore.
- How to implement, listen to and store data with the Real-Time Database.
- How to persist data offline.
Getting Started
Download the starter project by clicking the Download Materials button at the top or bottom of the tutorial.
Once downloaded, open DailyThoughts.xcodeproj from the starter folder and look around. You’ll see the code split into Sign Up and Journal folders. App users have to sign up before they can post in the journal. Additionally, data is segmented on a per-user basis because you don’t want others stealing the genius thoughts and ideas you store in the database.
Before you run the app, you’ll need to configure Firebase.
Creating a Firebase Account and Project
If you’re new to Firebase, you’ll need to create an account. Don’t worry! It’s easy and free.
Head to the Firebase signup site and create an account. Then, click the Create a project button on the Welcome to Firebase screen. Alternatively, if you already have a Firebase account, click Add project instead. Next, type the project name DailyThoughts into text field. If new to Firebase, click the box to accept the Firebase terms. Then, click the Continue button. On the next screen, disable support for Google Analytics because it isn’t needed for this tutorial. Now, click the Create project button. If successful, you’ll see a screen informing you that your new project is ready. Finally, press the Continue button.
Return to Xcode. Click the app name in the Project navigator pane and again under Targets. Now, click the General tab and change the Bundle Identifier to any value you like. Finally, click the Signing & Capabilities tab and select a Team from the pull-down menu.
Linking the Firebase Database to Your App
Having set up the project, return to the Firebase console. Click the Project Overview home button in the left navigation menu and then the iOS+ button under the text “Get started by adding Firebase to your app”:

After clicking the button, you’ll see instructions to add Firebase to your iOS app:

Next, enter the app’s bundle ID (the one you chose earlier in Xcode) and name (DailyThoughts) into the form and click the Register app button.
Download and add GoogleService-Info.plist to your project under the Supporting Files group as shown in the Firebase instructions. This file contains the configuration information you need to integrate Firebase with your app:

Now that you’ve completed some preliminary steps, switch back to Xcode. Build and run the app. You’ll see the signup screen for your journaling app:
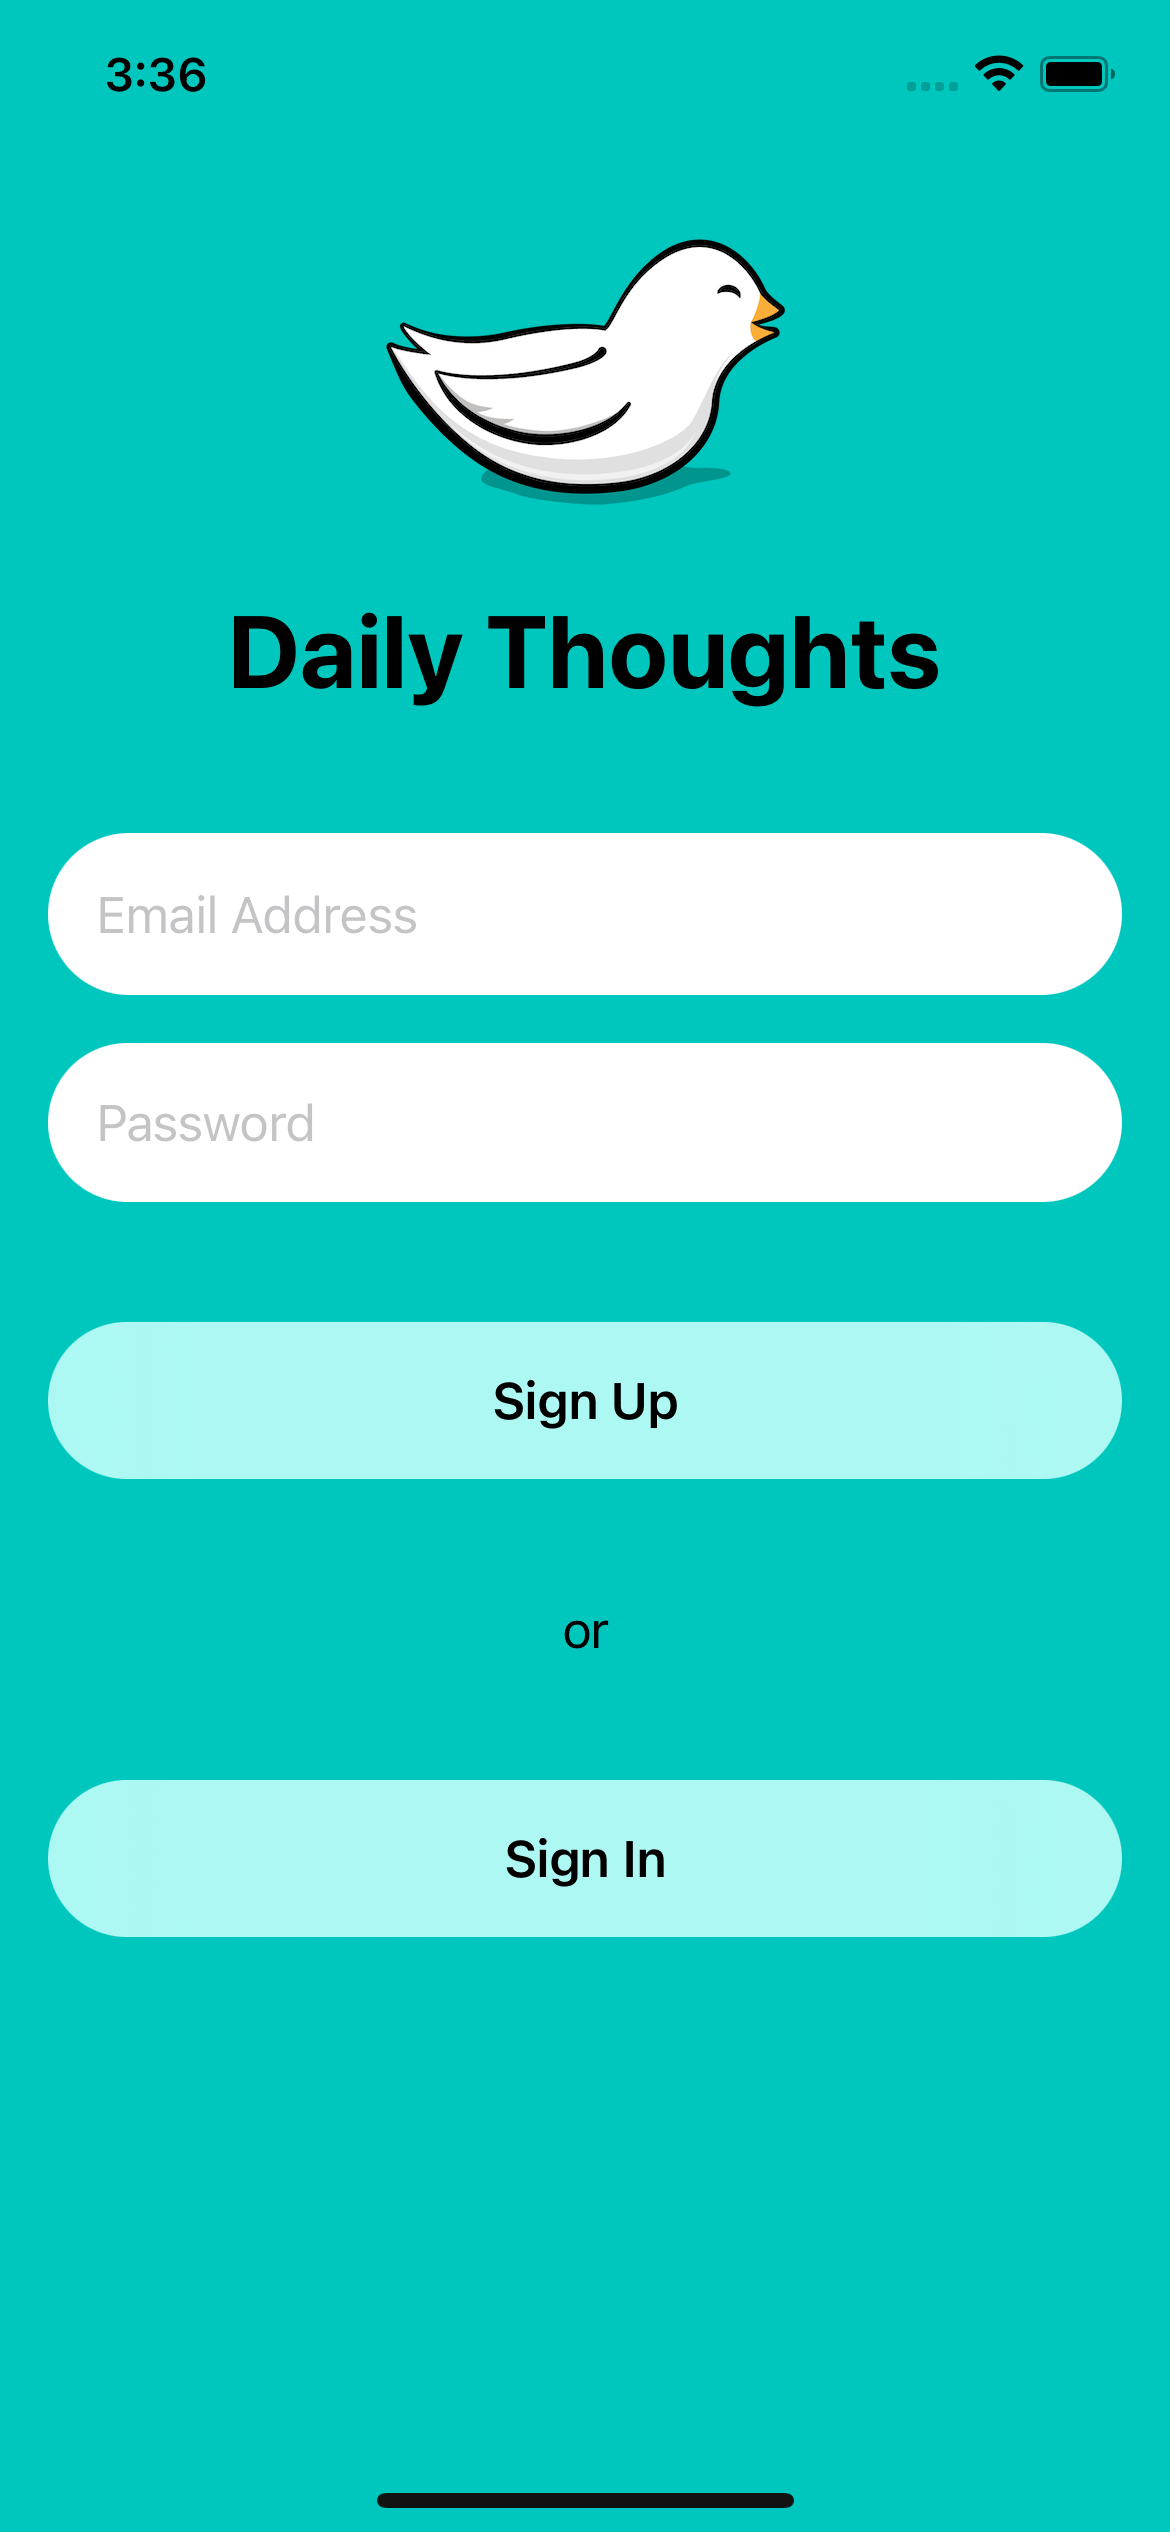
Fill in the email address and password fields and tap Sign Up. Nothing happened! That’s because you need to set up Firebase Authentication.
Setting Up Authentication With Firebase
If the user’s identity is important in your app, you’ll need to implement authentication before allowing access to sensitive data. Fortunately, Firebase provides an Authentication SDK supporting a seamless setup. In addition, Firebase supports authentication via several methods:
- Email and password: Authenticates with an email and password provided by the user.
- Phone Number: Authenticates by sending SMS messages to the user’s phone.
- Federated Identity Provider: Authenticates via popular social media services such as Facebook or Twitter as well as Sign In with Apple and Google.
- Anonymous Authentication: Authenticates by creating a temporary account for the user’s device without the user having to specifically sign up.
- Custom Authentication: Connects an app’s existing sign-in system to the Firebase Authentication SDK to gain access to Firebase’s services.
Each has its advantages, and it’s typical for an app to offer a few of these methods for users to sign up. For this app, you’ll use email and password authentication.
To set this up, open the Firebase console (and, if necessary, click the DailyThoughts tile if a list of projects is displayed), select Authentication on the left and click Get Started:

Then, select Email/Password. Toggle Enable and click Save:

That’s all you need to do on the Firebase console side to set up authentication! Easy, wasn’t it? If you build and run now, though, you still can’t sign up. That’s because you need to make some modifications on the client-side (i.e., your DailyThoughts app).
Authenticating on the Client
In Xcode, open AuthenticationModel.swift and add the following code to signUp(emailAddress:password:):
Auth.auth().createUser(withEmail: emailAddress, password: password)
Then, add the following code to signIn(emailAddress:password:):
Auth.auth().signIn(withEmail: emailAddress, password: password)
These methods asynchronously sign up and sign in to Firebase using the user’s provided credentials.
createUser(withEmail:, password:, completion:) and signIn(withEmail:, password:, completion:).In signOut(), add the following:
try? Auth.auth().signOut()
This signs out the current user.
Next, add the following code to listenToAuthState():
Auth.auth().addStateDidChangeListener { [weak self] _, user in
  guard let self = self else {
    return
  }
  self.user = user
}
This listens to the user’s authentication state. When the state changes, it receives a callback with the Firebase user object, which may or may not be nil. Upon successful authentication, the user object will exist. This causes ContentView to update to show JournalListView as its root view.
Build and run the app. Then fill out the Email Address and Password fields and tap Sign Up again:

You’ve now signed up! :]
With the signup phase completed, the app will display a new view with all the thoughts posted to your database. It’s looking a bit empty, so tap the + button in the bottom right corner to bring up the ThoughtView, then type a thought:

Once you’ve finished composing your deep thought, tap the Post button at the top right of the screen. The view dismisses. Unfortunately, nothing has changed. That’s because you need to set up the Firebase Real-Time Database.