Android App Bundles: Play Feature Delivery
Learn how to configure your app for Play Feature Delivery which uses advanced capabilities of app bundles, allowing certain features of your app to be delivered conditionally or downloaded on demand. By Harun Wangereka.
Downloading an On-Demand Module
To download an on-demand module, you’ll use the Play Core Library. You’ll see it’s already in the project in the app-level build.gradle.
Initiating Download of On-Demand Modules
Locate setupModulesDownload() inside MainActivity in app module. Then replace TODO - Create Split Install Request with:
val catsModuleInstallRequest = SplitInstallRequest.newBuilder()
    .addModule(CATS_MODULE)
    .build()
In the code above, you create a new SplitInstallRequest builder. It requests the download of CATS_MODULE.
Now, resolve the IDE imports when IDE prompts you. Declare the companion object block globally within your MainActivity to resolve the error on CATS_MODULE:
  companion object {
    private const val DOGS_MODULE = "dog"
    private const val CATS_MODULE = "cats"
  }
Here, you specify your module names with the names you used while creating the modules. Your SplitInstallRequest is ready for use!
You need to register a listener that will notify your app of the download’s progress. To achieve this, first define a SplitInstallManager below ActivityMainBinding and import the corresponding packages:
private val splitInstallManager: SplitInstallManager by lazy { SplitInstallManagerFactory.create(this) }
SplitInstallManager handles requests for downloading modules.
Next, inside setupModulesDownload(), replace TODO - Register Listener with the following code and import respective packages:
// 1
splitInstallManager.registerListener {
// 2
when (it.status()) {
SplitInstallSessionStatus.DOWNLOADING -> {
binding.progressIndicator.visibility = View.VISIBLE
Toast.makeText(applicationContext, "Downloading", Toast.LENGTH_SHORT).show()
}
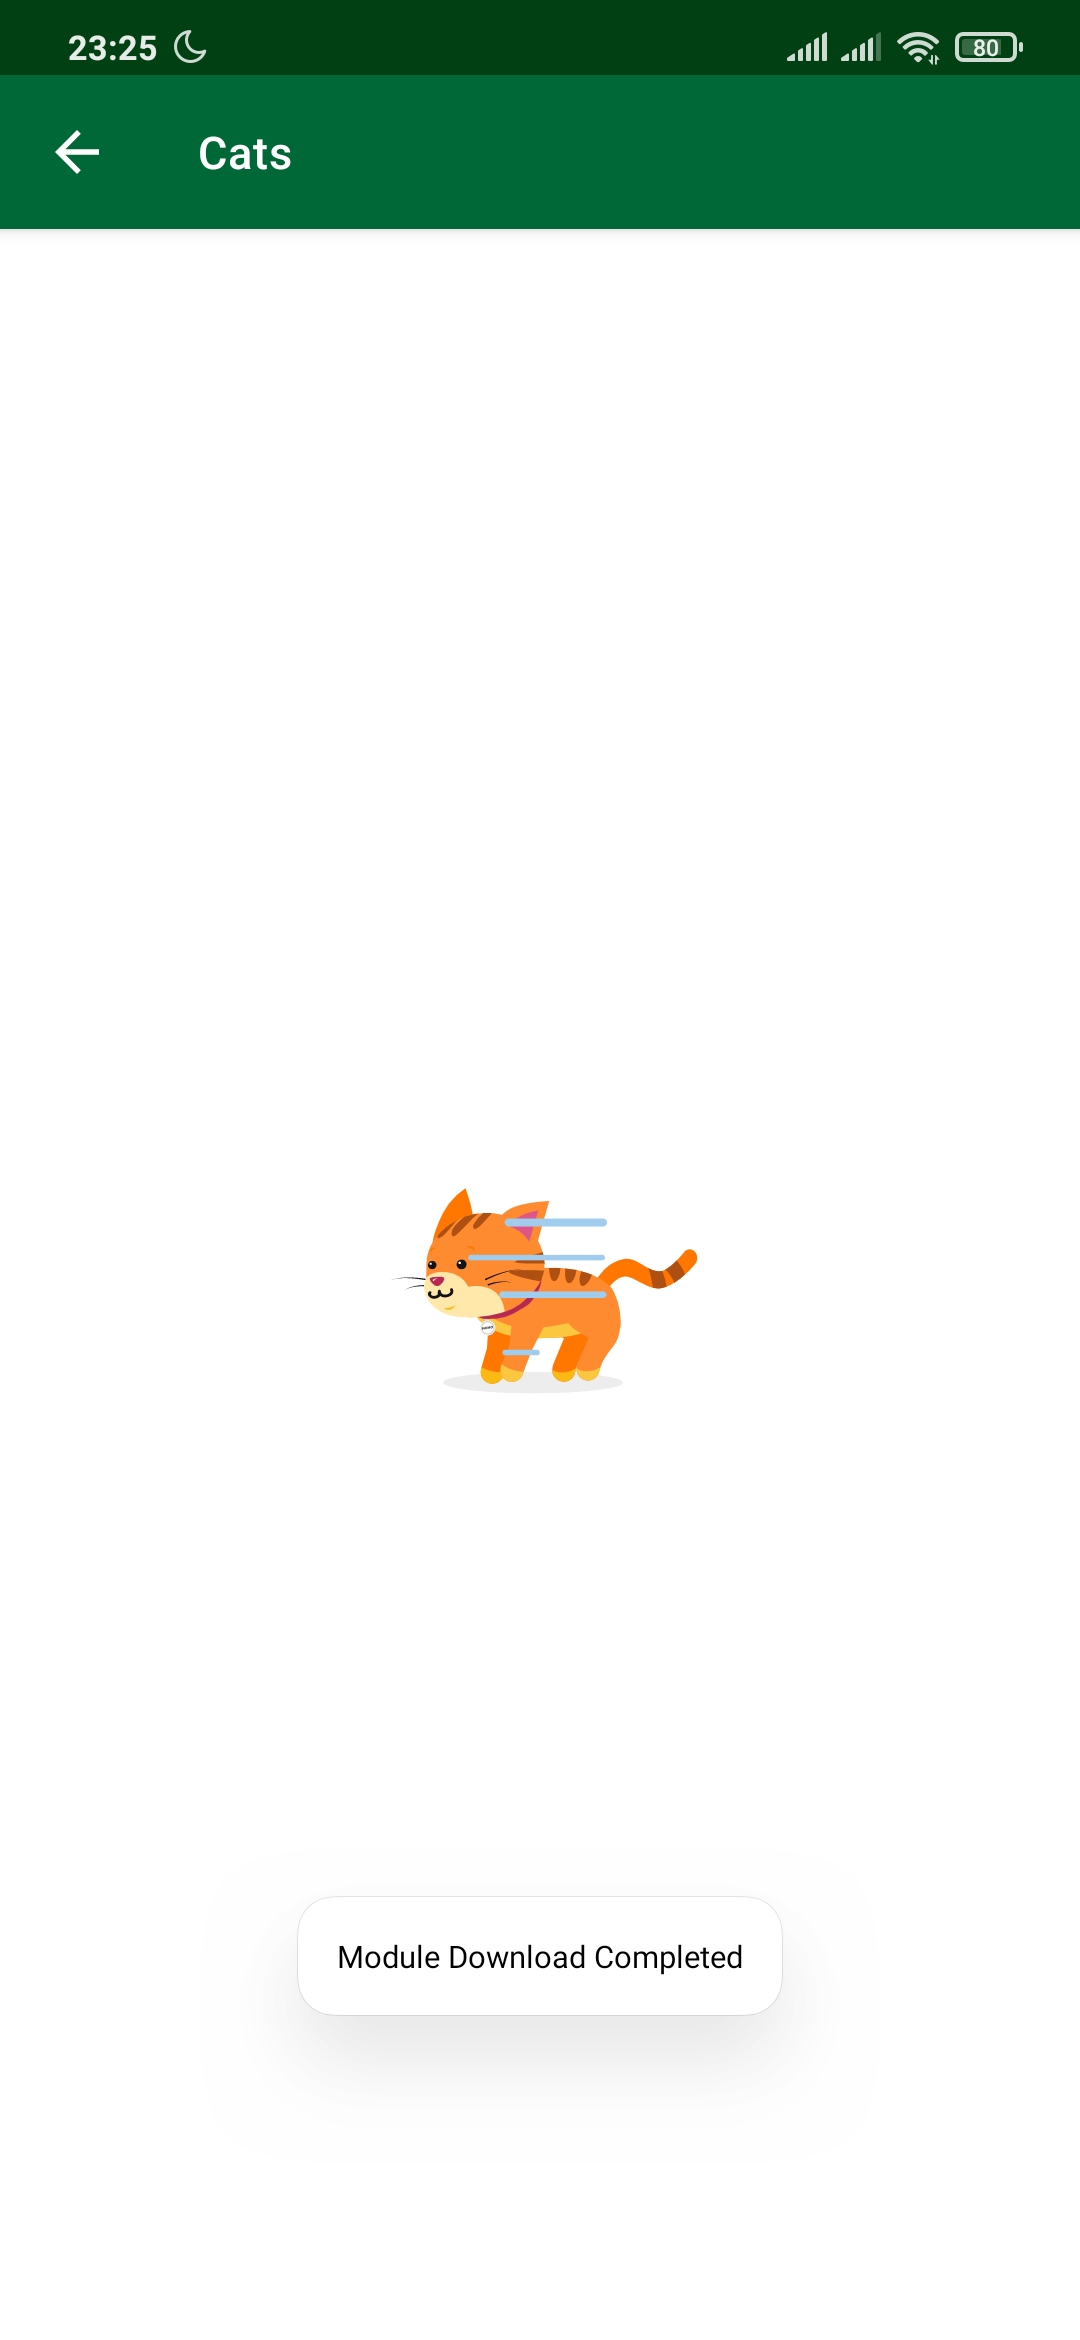
SplitInstallSessionStatus.INSTALLED -> {
binding.progressIndicator.visibility = View.GONE
Toast.makeText(applicationContext, "Module Download Completed", Toast.LENGTH_SHORT).show()
// 3
val intent = Intent()
intent.setClassName(BuildConfig.APPLICATION_ID, "com.raywenderlich.android.cats.CatsActivity")
startActivity(intent)
}
}
}
Here, you:
- Register a listener with your
SplitInstallManager. Your app will now receive updates when the download reaches all the states. - Then, you check for the various states.
- When the state is
SplitInstallSessionStatus.INSTALLED, you navigate toCatsActivity, which is in the on-demandcatsmodule.
Refer to SplitInstallErrorCode in Android’s documentation. It provides several states you can handle, for example NETWORK_ERROR. These states help you to properly redirect the user or notify the user of the error.
With this set, you need to start the download of your module when you tap the CATS card. To do this, below registerListener, add:
binding.catsCard.setOnClickListener {
  splitInstallManager.startInstall(catsModuleInstallRequest)
}
Here, you start the download of your module with the SplitInstallRequest you created. Now, open Run/Debug Configurations as shown below:

Use the bundle option to test this. Build and run.

Testing with default configurations can lead to weird scenarios. You should always build using the APK from the bundle option so you can test whether your modules have the expected behavior.
Build and run. The tap CATS. Nothing happens because SplitInstallManager needs to download the module from Play Store.
Deploying On-Demand Modules
Deploying on-demand modules is similar to how you usually deploy normal AAB. Please see Android’s documentation on this subject. The only difference is that the Play Core Library will now start downloading on-demand modules when you download an APK from Play Store.
Once you have your app on the Internal testing track, or any other track, and install the app, you’ll see:

Open the app and tap CATS. You’ll see a ProgressDialog indicating that your module is being downloaded.
Once the download is complete, you’ll see a Toast with a Module Download Complete message. The app will redirect to CatsActivity where you’ll fetch the cat images and display them.

Congratulations! You added an on-demand module, uploaded it to Google Play Store and tested it on a real device! In the next section, you’ll learn some of the methods for testing your on-demand modules locally.
Testing On-Demand Modules Locally
Testing on-demand modules is essential to ensure you have the correct working flow. You can test them locally before deploying them to Google Play Store.
The following testing options are available:
-
bundletoolis a command-line tool. It helps you generate a set of APKS for testing locally. You deploy these APKs to your test device and then you can test your apps. -
Globally Dynamic has a set of tools to help you test your dynamic modules locally.
bundletoolhas an API similar to the Play Core Library which also has theSplitInstallManager. It gives you a uniform way to deliver dynamic modules on all platforms that support dynamic delivery.
Configuring Instant Apps
Android Instant Apps evolves Android apps to run instantly, without requiring installation. You’ll configure your app module to be an instant-module.
First, you need to add the Google Instant APIs to your app. To the app-level build.gradle, add:
implementation "com.google.android.gms:play-services-instantapps:17.0.1"
Next, inside app/AndroidManifest.xml above your permission declaration, add:
<dist:module dist:instant="true" />
This code enables instant app support in your app module. Next, you need to change your version code because you deploy Instant apps on a separate track. So, you need to have versions codes for your instant app and your production release.
Locate your app-level build.gradle and change it to:
defaultConfig {
  applicationId "com.raywenderlich.android.playfeaturedelivery"
  minSdkVersion rootProject.ext.minSdkVersion
  targetSdkVersion rootProject.ext.targetSdkVersion
  versionCode 1006
  versionName "1.6"
  testInstrumentationRunner "androidx.test.runner.AndroidJUnitRunner"
}
Here, you modify the version code to 1006 or any number you prefer.
Ensure that your instant app’s versionCode is always less than that of your installable app because usually, the best UX is for users to move from an instant experience to your app. Google Play considers this an update, so you need to have a lower versioning system for your instant apps.
Your instant app is ready for deployment. Next, you’ll deploy your instant app to a physical device and also to Google Play Store.
Deploying Instant Apps to a Physical Device
To deploy your instant app to a physical device or emulator, modify your Run Configurations to:

As you can see, you set the app to deploy as an instant app. Now, uninstall the previous versions of your app. Then build and run.

The app runs as before, but as an instant app. When you exit the app and check your installed apps, it won’t be there.
Deploying Instant Apps to Google Play Store
By default, Google Play doesn’t have Instant Apps enabled. To enable it, go to the Google Play Console and select your app. Navigate to Security▸Advanced Settings:

Then click Advanced Settings and navigate to Release types. You’ll see:

Click Add Release Type and select Google Play Instant from the drop-down list that appears.

As you can see, Google Play Instant is active now.