Advanced Data Binding in Android: Layout Expressions
Learn how to use layout expressions for data binding in Android and make your code more concise and less error-prone. By Ivan Kušt.
In this tutorial, you’ll learn to use layout expressions for data binding in Android. It enables you to do some powerful stuff when binding layouts and makes your code more concise and less prone to error.
You’ll work on the Go-Buy application from Data Binding Getting started tutorial. It’s a simple app for making a shopping list. You’ll refactor it slightly and learn:
- Which mathematical expressions you can use with data binding.
- How to move simple logic from code to layout expressions.
- An easy way to reference strings and pass them arguments in data binding.
- How to handle view events like clicks with data binding.
Getting Started
Download the starter project by clicking the Download Materials button at the top or bottom of the tutorial. Unzip it and import the starter project into Android Studio.
Wait for the Gradle sync to finish.
The project structure follows Model-View-Viewmodel (MVVM) architecture. There is one model GroceryItem that represents an item in the shopping list. GroceryListActivity shows the shopping list using GroceryAdapter. NewItemDialogFragment shows a dialog for adding an item to the shopping list.

You continue where Getting Started tutorial left. Before you get your hands dirty, what was it that data binding does?
Recapping Data Binding
Android Data Binding Library is part of Android Jetpack and it simplifies binding your data classes to layout. You bind your classes in the layout XML file and set view properties there. That approach isolates the logic for showing data on views in one place. Using the traditional “findViewById” approach of connecting data and view, you would call methods on views from code to set the data shown to user. This can be error-prone. Using data binding reduces the amount of code and the risk of bugs.
To use data binding in your layout, the root tag must be layout. It must contain two elements:
-
dataelement: used to describe data that will be shown in layout. -
viewroot element: this would be the root tag in a “regular” layout.
Data defined in the data element are used in expressions when setting the view properties using @{} syntax.
Seeing The Difference to View Binding
The Android documentation for Data Binding points to the main difference: “If you are using data binding primarily to replace findViewById() calls, consider using view binding instead.”
View Binding Library simplifies access to views from your Activities or Fragments.
Data Binding Library gives access to data classes in your layout files. Instead of setting data on each view from code, you pass the data class and set view properties in XML.

Understanding Layout Expressions
Data Binding Library provides language for writing expressions in your layouts. This includes mathematical operations, concatenating, formatting and using strings from resources. This should be enough to implement a simple logic for showing and formatting your data within layouts. Be careful. This can be double-edged – adding too complex logic using layout expressions can make them unreadable. With great power comes great responsibility!
Using Mathematical and String Operators
The simplest and most used are mathematical expressions. Supported mathematical operators are + - / * %.
To test this you’ll move logic for calculating total price of items from GroceryAdapter to R.layout.grocery_list_item.
Open R.layout.grocery_list_item and replace data element them with:
<data>
  <variable
    name="item"
    type="com.raywenderlich.android.gobuy.model.GroceryItem" />
</data>
This enables you to bind GroceryItem objects that hold data for adapter items to layout and calculate the amount for an item (row in the Go-Buy item list).
Find TextView with id tv_grocery_item_name and replace android:text property with:
android:text='@{item.itemName + ": " + item.amount + "x"}'
This sets the text to item name followed by the amount, for example: Bread: 2x.
Note two critical items. First, the strings in layout expressions can be concatenated in a way similar to concatenating strings in code. Second, if you are using strings in layout expressions, open them with single quotes (‘) in order to use double quotes (“) inside the expression.
Next, add layout expression for showing single-item price and total price (item price multiplied by number of items). This time you’ll use String.format() to format prices.
Find TextView with id tv_grocery_item_price and again replace android:text property with:
android:text='@{"$" + String.format("%.2f", item.price) + "/$" + String.format("%.2f", item.price * item.amount)}'
Let’s go over this expression.
You are concatenating four parts: dollar sign, single-item price, dollar sign and total price.
Each price is formatted using String.format().
You can use most expressions that you can use in code. For a detailed list check the official documentation.
In order for the new layout expression to work, you need to pass GroceryItem instance to GroceryListItemBinding. Open GroceryAdapter and change bind function from ViewHolder to:
fun bind(item: GroceryItem) {
  binding.item = item
}
Build and run the app and tap “Add item” to add a new item to the shopping list:

After adding, you can see the prices formatted using layout expressions.

Using String Resources With Parameters
You can also use strings from resources along with parameters in layout expression.
Open activity_grocery_list.xml and replace the definitions in data tags with:
<data>
    <variable
        name="total"
        type="Double" />
</data>
Find TextView with id total_text_view and replace android:text property with:
android:text="@{@string/money_amount(total)}"
This expression is equal to using getString(R.string.money_amount, total) in code.
Open GroceryListActivity and replace assignments of binding.totalAmount with:
binding.total = viewModel.getTotal()
deleteGroceryItem will look like:
private fun deleteGroceryItem(position: Int) {
  Log.d("GoBuy", "delete")
  viewModel.removeItem(position)
  binding.total = viewModel.getTotal()
  binding.rvGroceryList.adapter?.notifyDataSetChanged()
}
and onDialogPositiveClick:
override fun onDialogPositiveClick(dialog: DialogFragment, item: GroceryItem, isEdit: Boolean, position: Int?) {
  if (!isEdit) {
    viewModel.groceryListItems.add(item)
  } else {
    viewModel.updateItem(position!!, item)
    binding.rvGroceryList.adapter?.notifyDataSetChanged()
  }
  binding.total = viewModel.getTotal()
   Snackbar.make(binding.addItemButton, "Item Added Successfully", Snackbar.LENGTH_LONG).setAction("Action", null).show()
}
Build and run the app and add some items.
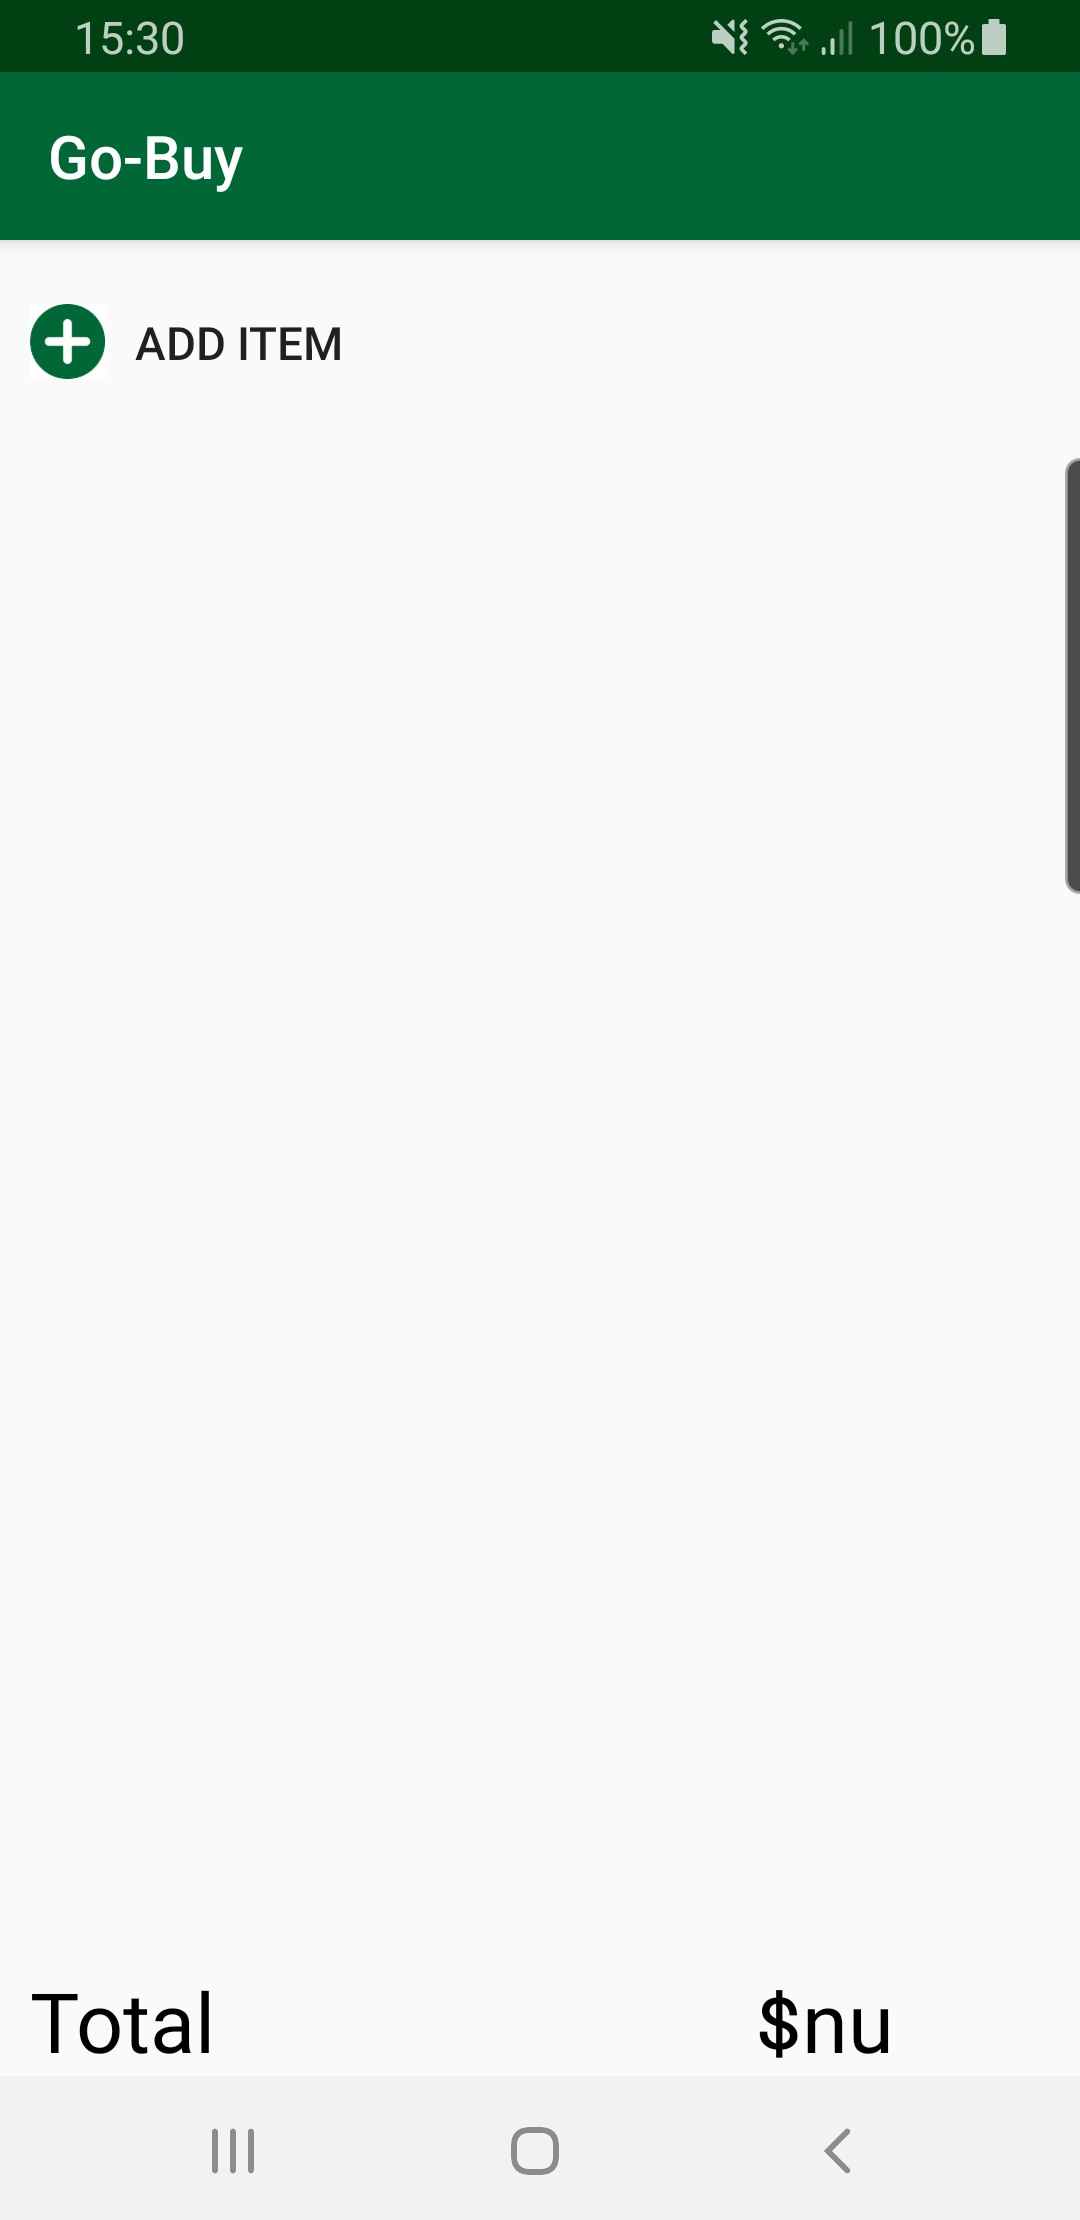
Whoa! What’s that weird value displayed as total? That’s because total variable isn’t set initially.
To fix it, add the following at the end of onCreate:
binding.total = viewModel.getTotal()
Build and run again – the total value is now displayed properly.
