Intermediate RecyclerView Tutorial with Kotlin
In this RecyclerView tutorial you will learn how to build out intermediate techniques like swiping, animation and filtering in Kotlin. By Kevin D Moore.
Updating the main UI
It’s time to update MainActivity to setup the spinners and load some photos!
Add a few variables to hold the current rover string and the spinner positions, at the top of MainActivity
private var currentRover = "curiosity"
private var currentRoverPosition = 0
private var currentCameraPosition = 0
Above the MainActivity class declaration add:
private const val TAG = "MarsRover"
The TAG will be used for logging errors.
Add the following below the onCreate method:
private fun setupSpinners() {
   setupRoverSpinner()
   setupCameraSpinner()
}

private fun setupCameraSpinner() {
   // Camera spinner
   val cameraStrings = resources.getStringArray(R.array.camera_values)
   val cameraAdapter = ArrayAdapter.createFromResource(this, R.array.camera_names, android.R.layout.simple_spinner_item)
   cameraAdapter.setDropDownViewResource(android.R.layout.simple_spinner_dropdown_item)
   cameras.adapter = cameraAdapter
   cameras.onItemSelectedListener = object : AdapterView.OnItemSelectedListener {
       override fun onNothingSelected(parent: AdapterView<*>) {
       }

       override fun onItemSelected(parent: AdapterView<*>, view: View, position: Int, id: Long) {
           currentCameraPosition = position
       }
   }
}

private fun setupRoverSpinner() {
   // Setup the spinners for selecting different rovers and cameras
   val roverStrings = resources.getStringArray(R.array.rovers)
   val adapter = ArrayAdapter.createFromResource(this, R.array.rovers, android.R.layout.simple_spinner_item)
   adapter.setDropDownViewResource(android.R.layout.simple_spinner_dropdown_item)
   rovers.adapter = adapter
   rovers.onItemSelectedListener = object : AdapterView.OnItemSelectedListener {
       override fun onNothingSelected(parent: AdapterView<*>) {
       }

       override fun onItemSelected(parent: AdapterView<*>, view: View, position: Int, id: Long) {
           if (currentRoverPosition != position) {
               currentRover = roverStrings[position].toLowerCase()
               loadPhotos()
           }
           currentRoverPosition = position
       }
   }
}
These setup the spinners to hold the corresponding string arrays.
At the end of the onCreate method, add the following two lines that will setup the spinners and load the photos:
setupSpinners()
loadPhotos()
Next, you’ll load and sort our photos. Add the following after setupRoverSpinner in the MainActivity:
private fun loadPhotos() {
    progress.visibility = View.VISIBLE
    recycler_view.visibility = View.GONE
    NasaPhotos.getPhotos(currentRover).enqueue(object : Callback<PhotoList> {
       override fun onFailure(call: Call<PhotoList>?, t: Throwable?) {
           Snackbar.make(recycler_view, R.string.api_error, Snackbar.LENGTH_LONG)
           Log.e(TAG, "Problems getting Photos with error: $t.msg")
       }

       override fun onResponse(call: Call<PhotoList>?, response: Response<PhotoList>?) {
           response?.let { photoResponse ->
               if (photoResponse.isSuccessful) {
                  val body = photoResponse.body()
                  body?.let {
                     Log.d(TAG, "Received ${body.photos.size} photos")
                     if (recycler_view.adapter == null) {
                        val adapter = PhotoAdapter(sortPhotos(body))
                        recycler_view.adapter = adapter
                     } else {
                        (recycler_view.adapter as PhotoAdapter).updatePhotos(sortPhotos(body))
                     }
                   }
                   recycler_view.scrollToPosition(0)
                   recycler_view.visibility = View.VISIBLE
                   progress.visibility = View.GONE
               }
           }
       }
   })
}

fun sortPhotos(photoList: PhotoList) : ArrayList<PhotoRow> {
   val map = HashMap<String, ArrayList<Photo>>()
   for (photo in photoList.photos) {
       var photos = map[photo.camera.full_name]
       if (photos == null) {
           photos = ArrayList()
           map[photo.camera.full_name] = photos
       }
       photos.add(photo)
   }
   val newPhotos = ArrayList<PhotoRow>()
   for ((key, value) in map) {
       newPhotos.add(PhotoRow(RowType.HEADER, null, key))
       value.mapTo(newPhotos) { PhotoRow(RowType.PHOTO, it, null) }
   }
   return newPhotos
}
You’ll have to import a few classes to get rid of the errors. Note that any of the imports that provide multiple options should use the ones in the retrofit2 package.
In the sortPhotos method, you put the photos into sections arranged by camera.
Now it’s time to try it out. Build and run the app, and within about 10 or 20 seconds, you should see something like:
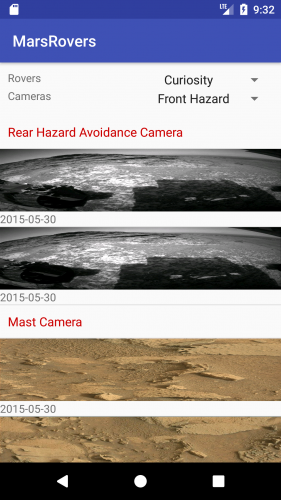
If you don’t see any images, make sure you have your personal key in the Retrofit @GET annotation.
You can choose different rovers from the spinner in the top right and different cameras from the spinner below the rover spinner but they won’t do anything until they are hooked up. Note also that not all rovers have images from all cameras.
Filtering
In order to filter the list, add the filterCamera method to PhotoAdapter below getItemViewType:
fun filterCamera(camera: String) {
   filtering = true
   val newPhotos = photoList.filter { photo -> photo.type == RowType.PHOTO && photo.photo?.camera?.name.equals(camera) } as ArrayList<PhotoRow>
   DiffUtil.calculateDiff(PhotoRowDiffCallback(newPhotos, photoList), false).dispatchUpdatesTo(this)
   filteredPhotos = newPhotos
}
Now go back to your MainActivity and hook up the camera filtering. Add the following code to the beginning of the OnItemSelectedListener.onItemSelected() in the setupCameraSpinner method:
if (recycler_view.adapter != null && currentCameraPosition != position) {
   (recycler_view.adapter as PhotoAdapter).filterCamera(cameraStrings[position])
}
You pass in the camera string to filter on and create a new list with just those photos. You use Kotlin’s filter function on the collection and return a list of photos and has the given camera value.
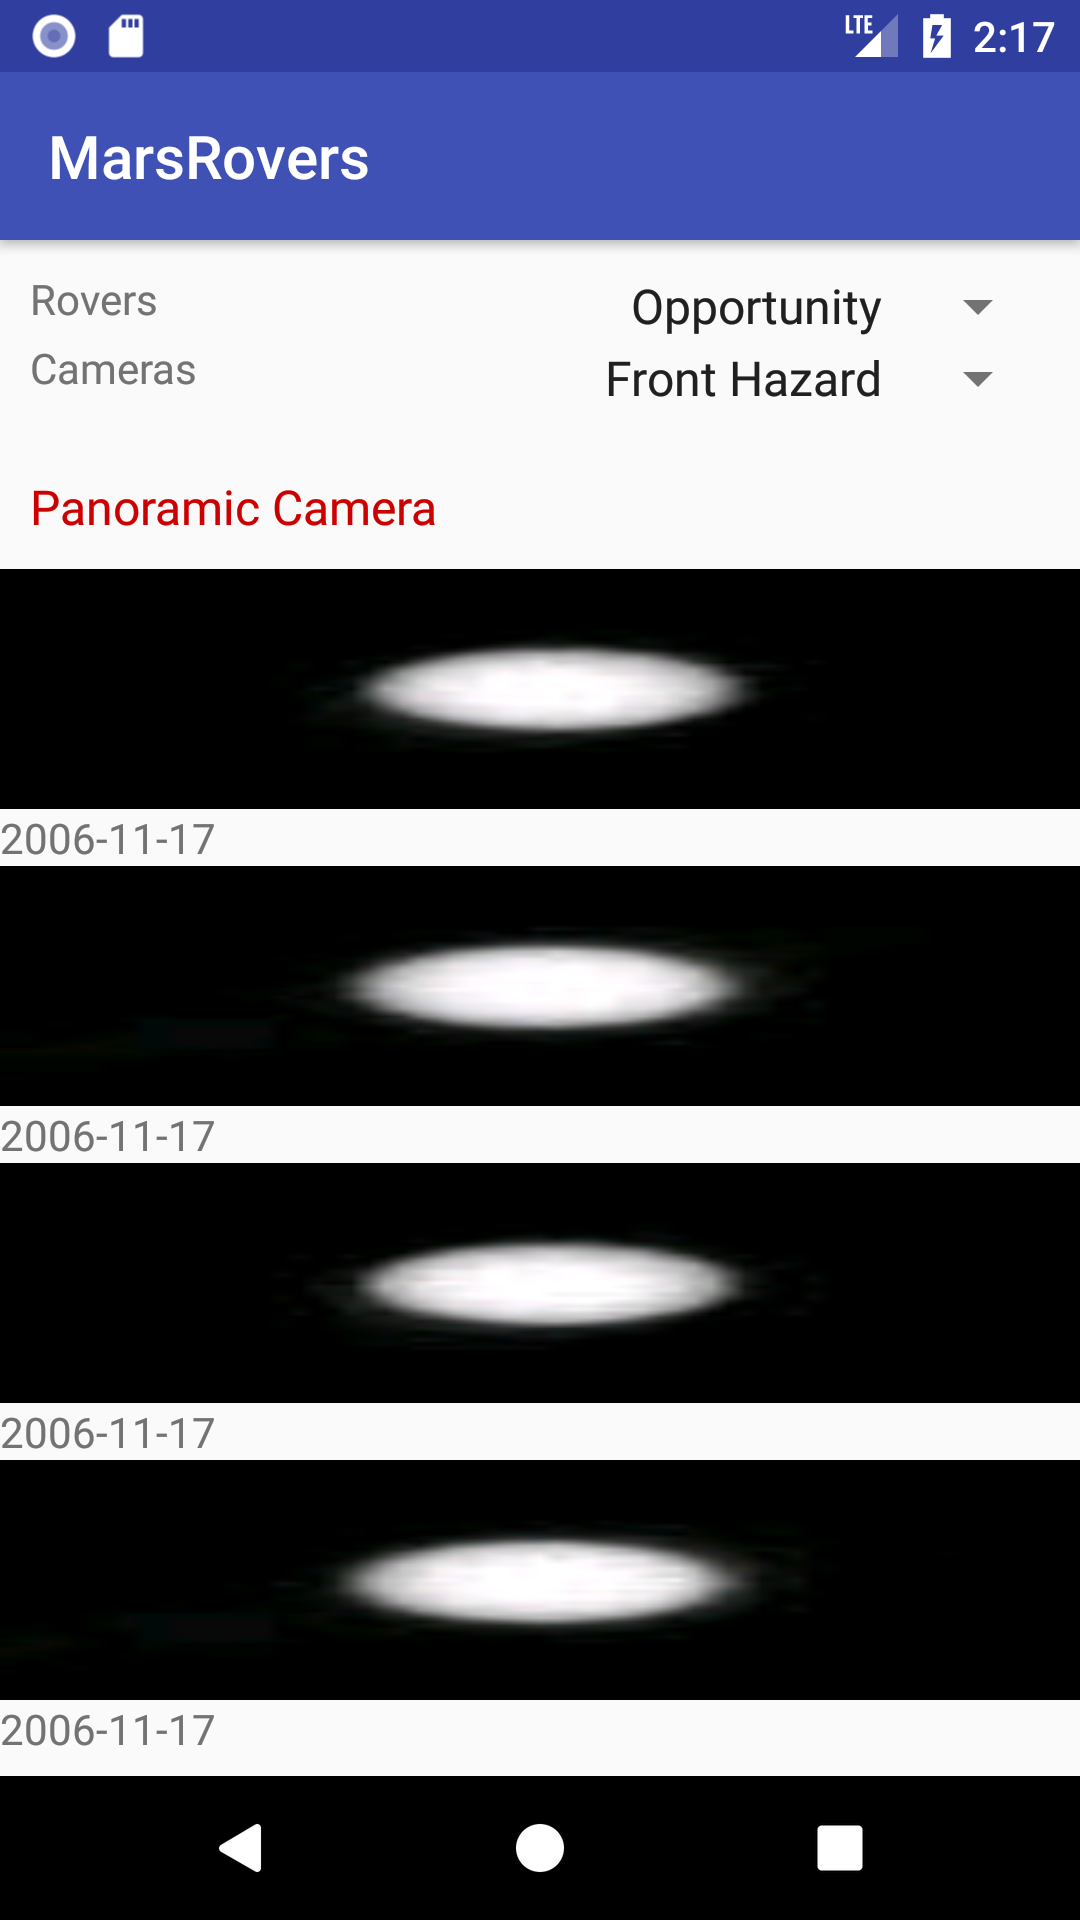
Now run the app and choose Opportunity as the new rover and you should see something like:
ItemDecorators
Unlike ListView, RecyclerView does not come with any built-in dividers. Instead, RecyclerView allows you to add your own decorators.
The RecyclerView library comes with a DividerItemDecoration that can be used to put dividers between your rows. You can add a divider with this one line, which you should add to onCreate() in MainActivity after the line: recycler_view.visibility = View.GONE:
recycler_view.addItemDecoration(DividerItemDecoration(this, DividerItemDecoration.VERTICAL))
You can see the divider after the photo date on the last photo in a section.
To create your own decorator, just subclass ItemDecoration and implement the onDraw and/or the onDrawOver methods.
Animations
RecyclerViews allow animations for each row and provides built-in animations for adding and removing rows.
To show an animation for adding a row, make sure you use notifyItemAdded(position) instead of calling notifyDataChanged(). This lets the view know that just one row has been added and can animate that addition.
For deleting, call notifyItemRemoved(position).
To animate the addition of each item, add the following method to PhotoAdapter:
private fun setAnimation(viewToAnimate: View) {
  if (viewToAnimate.animation == null) {
    val animation = AnimationUtils.loadAnimation(viewToAnimate.context, android.R.anim.slide_in_left)
    viewToAnimate.animation = animation
  }
}
This will provide an animation where the row slides in from the left.
Then add:
setAnimation(holder.itemView)
as the last line in onBindViewHolder. Now try running again.
The animation adds a nice dynamic effect to the presentation of the photos.
Swiping
Swiping is great way to let your user delete rows. You’re going to implement swiping in both the left and right direction to delete a row.
RecyclerView uses an ItemTouchHelper class along with a swipe callback to handle the movement. The callback is simple and you will just call your adapter’s removeRow method in the onSwiped callback.
Open MainActivity.kt and add the following at the bottom of the class:
class SwipeHandler(val adapter: PhotoAdapter, dragDirs : Int, swipeDirs : Int) : ItemTouchHelper.SimpleCallback(dragDirs, swipeDirs) {
  override fun onMove(recyclerView: RecyclerView?, viewHolder: RecyclerView.ViewHolder?, target: RecyclerView.ViewHolder?): Boolean {
    return false
  }

  override fun onSwiped(viewHolder: RecyclerView.ViewHolder, direction: Int) {
    adapter.removeRow(viewHolder.adapterPosition)
  }
}
In loadPhotos you will find the following in the onResponse method:
if (recycler_view.adapter == null) {
  val adapter = PhotoAdapter(sortPhotos(body))
  recycler_view.adapter = adapter
Add the following after setting the adapter value:
val touchHandler = ItemTouchHelper(SwipeHandler(adapter, 0, (ItemTouchHelper.LEFT or ItemTouchHelper.RIGHT)))
touchHandler.attachToRecyclerView(recycler_view)
Run the app and try swiping left or right to delete a row.
Awesome! You’re just deleting the row from the display in the RecyclerView. In another app you would likely delete the item from a database and/or make an API call to delete the corresponding item on a server.