Firestore Tutorial for Flutter: Getting Started
In this tutorial, you’ll learn how to use Firebase Firestore databases in Flutter by creating a fun app that will help you take care of your pets. By Yogesh Choudhary.
Creating a DataRepository Class
Next, you’ll create a DataRepository class that retrieves and saves your data. You need to isolate your use of Firebase as much as possible to follow Android best practices.
First, right-click the lib directory and select New ‣ Directory. Then name the directory repository.
Next, right-click the repository folder and choose New ‣ Dart File. Name the file data_repository and add the following:
import 'package:cloud_firestore/cloud_firestore.dart';

import '../models/pets.dart';

class DataRepository {
  // 1
  final CollectionReference collection =
      FirebaseFirestore.instance.collection('pets');
  // 2
  Stream<QuerySnapshot> getStream() {
    return collection.snapshots();
  }
  // 3
  Future<DocumentReference> addPet(Pet pet) {
    return collection.add(pet.toJson());
  }
  // 4
  void updatePet(Pet pet) async {
    await collection.doc(pet.referenceId).update(pet.toJson());
  }
  // 5
  void deletePet(Pet pet) async {
    await collection.doc(pet.referenceId).delete();
  }
}
Here’s what you added:
- Your top-level collection is called pets. You stored a reference to this in
collectionvariable. - Use the snapshots method to get a stream of snapshots. This listens for updates automatically.
- Add a new pet. This returns a future if you want to wait for the result. Note that add will automatically create a new document id for Pet.
- Update your pet class in the database. Similar to adding a new pet, this method uses the collection reference to update an existing pet using its ID.
- Delete your pet class from the database. Same as updating, except the pet is deleted using its ID.
You’ve added classes to hold, retrieve and save your data. Now you need to add a way to update your lists when users add new data.
Adding Pet List to Home Page
You’ll use StreamBuilder to fetch the list of pets on the app screen. Firestore sends streams when there is any update in the database. Here, streams are a sequence of asynchronous data that are sent when ready.
First, open home_list.dart. In _HomeListState look for the // TODO Add Data Repository and replace it with the following:
final DataRepository repository = DataRepository();
This gives access to Firestore throughout this class. Then, in the _buildHome, replace body with:
body: StreamBuilder<QuerySnapshot>(
  stream: repository.getStream(),
  builder: (context, snapshot) {
    if (!snapshot.hasData) return LinearProgressIndicator();

    return _buildList(context, snapshot.data?.docs ?? []);
  }),
The StreamBuilder first checks to see if you have any data. If not, it’ll show a progress indicator. Otherwise, it’ll call _buildList.
At this point, _buildList will throw an error: The method '_buildList' isn't defined for the type '_HomeListState'.. Get rid of this error by replacing // TODO Add _buildList with:
// 1
Widget _buildList(BuildContext context, List<DocumentSnapshot>? snapshot) {
  return ListView(
    padding: const EdgeInsets.only(top: 20.0),
    // 2
    children: snapshot.map((data) => _buildListItem(context, data)).toList(),
  );
}
// 3
Widget _buildListItem(BuildContext context, DocumentSnapshot snapshot) {
  // 4
  final pet = Pet.fromSnapshot(snapshot);

  return PetCard(pet: pet, boldStyle: boldStyle);
}
Here’s what this code does:
- Method to build the list of pets on the app screen.
- Maps the list from data, creates a new list item for each one and turns that into a list that the children parameter needs.
- Method that builds up individual pet cards in the
ListView. It hasDocumentSnapshotas a parameter - Creates a Pet class from the snapshot passed in.
You’ll need to import other files by adding the below code on top of the file:
import 'package:cloud_firestore/cloud_firestore.dart';
import 'package:pet_medical/pet_card.dart';
import 'package:pet_medical/repository/data_repository.dart';
Build and run. Here’s what you’ll see:
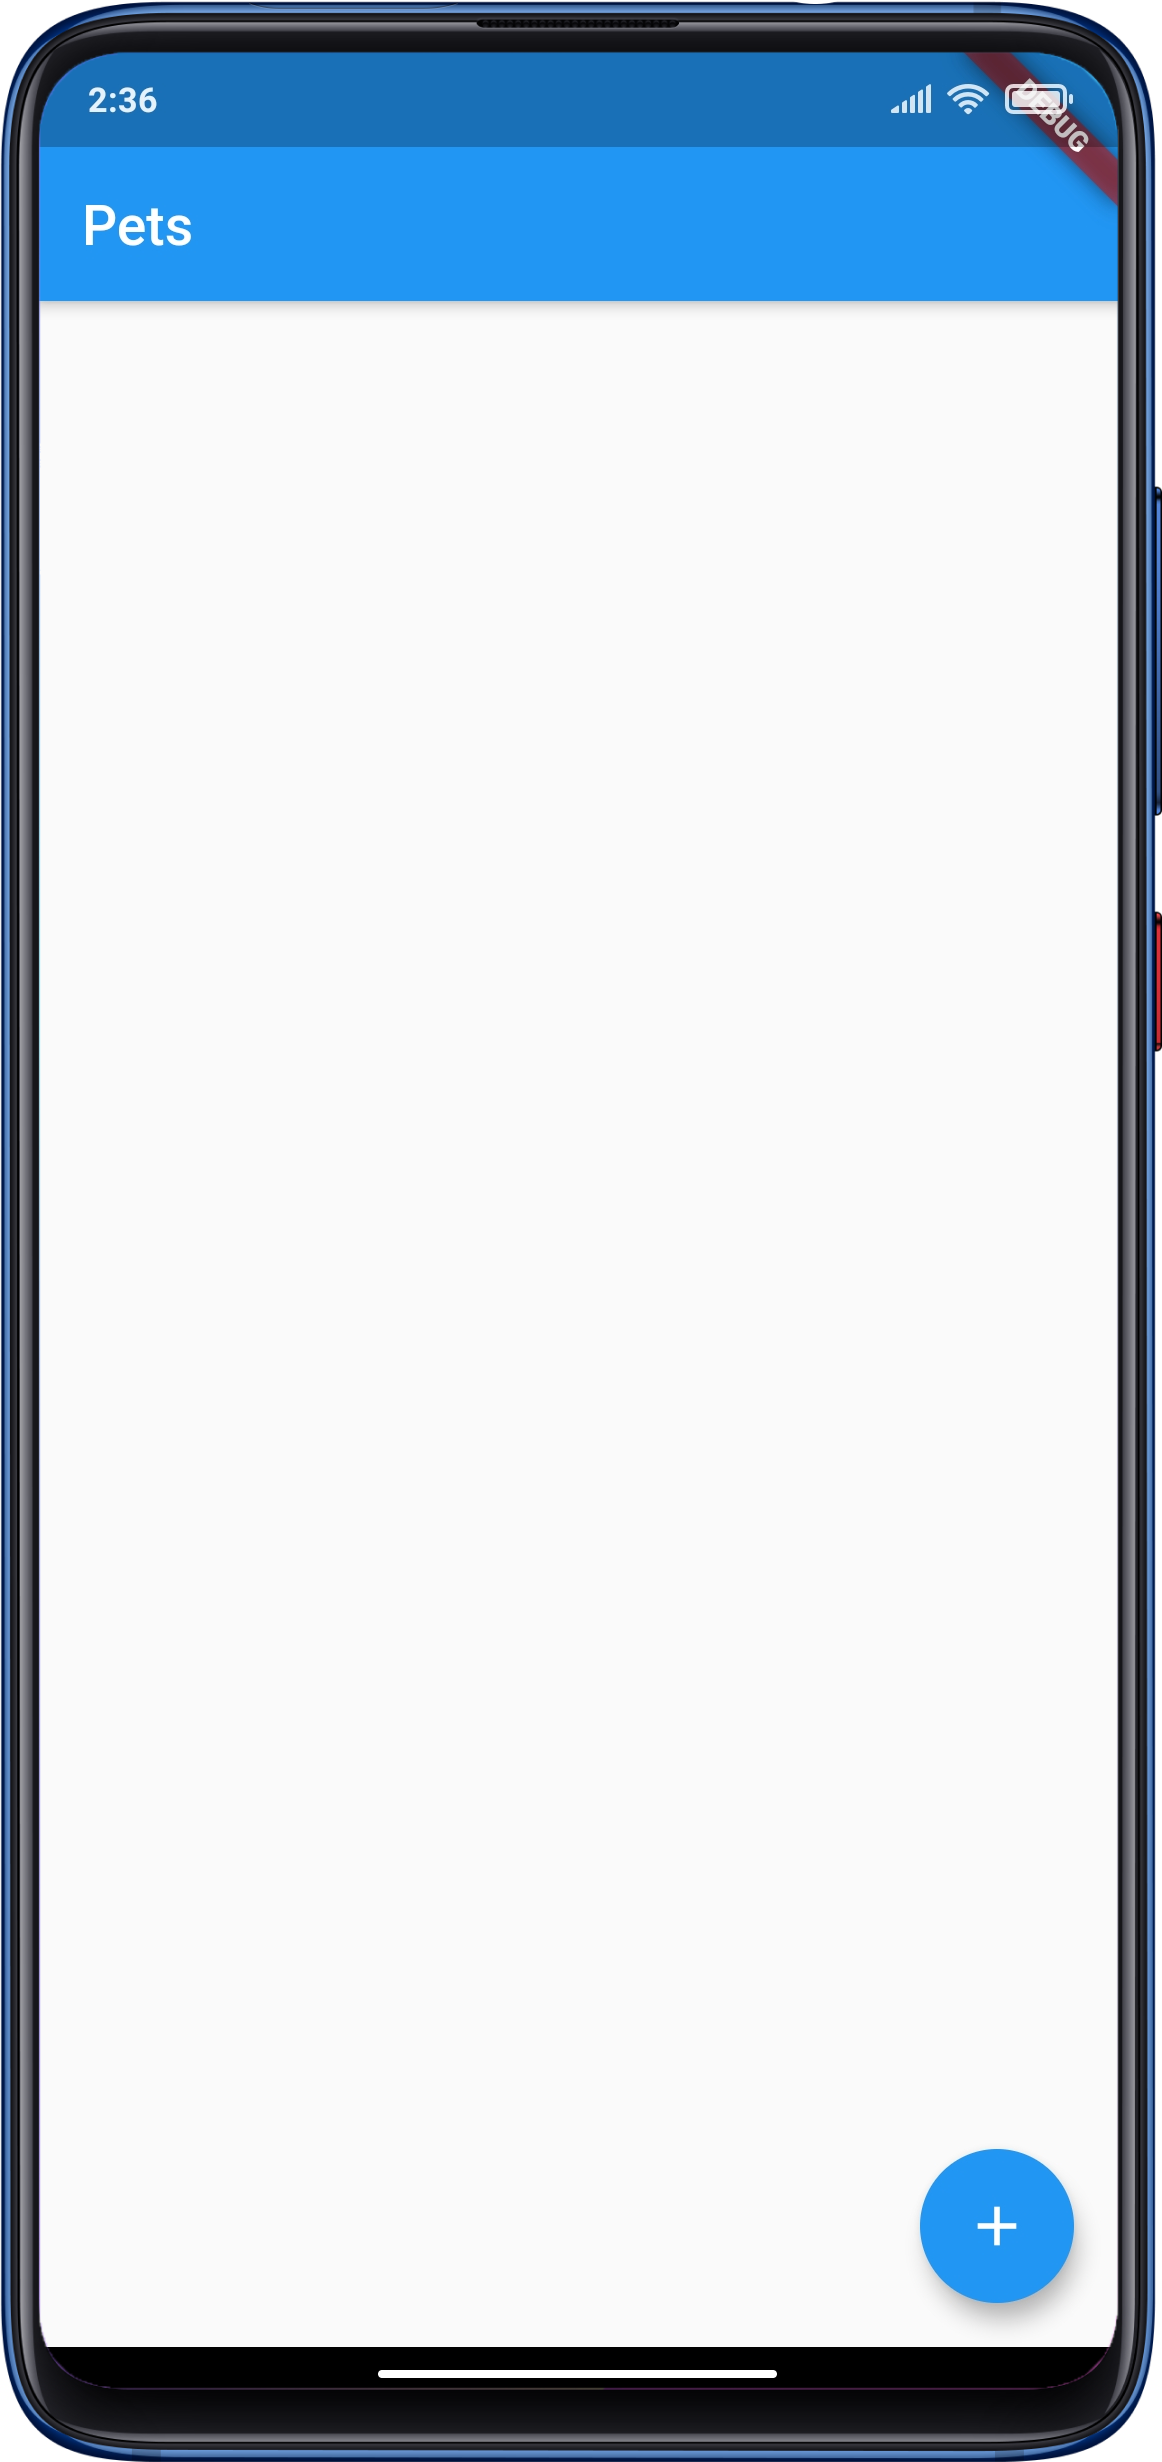
Great! You implemented the code to show the list of pets (when you have it).
Adding a Pet
To add a pet into the app, go to add_pet_dialog.dart and replace // TODO Add Data Repository with:
final DataRepository repository = DataRepository();
Also, replace //TODO Add New Pet to repository with:
if (petName != null && character.isNotEmpty) {
  final newPet =
      Pet(petName!, type: character, vaccinations: []);
  repository.addPet(newPet);
  Navigator.of(context).pop();
}
},
This code creates a new Pet class and uses the repository to add the new pet. At this point, you’ll see errors on first two lines. To get rid of the error in the first line, import Pet:
import 'models/pets.dart';
Resolve the error in the second line by importing DataRepository:
import 'repository/data_repository.dart';
Hot reload the app and try to add a pet by clicking on the floating action button:

Nice job! Now it’s time for the Pet Detail screen.
Building the Pet Room Page
First, open pet_room.dart and replace the PetRoom constructor with:
final Pet pet;
const PetRoom({Key? key, required this.pet}) : super(key: key);
Then, import Pet and change the title to:
title: Text(pet.name),
Next, go to pet_card.dart and look for // TODO Add pet room navigation. Then, replace onTap with:
onTap: () => Navigator.push<Widget>(
        context,
        MaterialPageRoute(
          builder: (context) => PetRoom(pet: pet),
        ),
      ),
This will push the PetRoom screen into the app. Get rid of the import error by importing PetRoom. Build and run. Then, tap the pet card to see the changes:

Now, it’s time to add pet details to the pet room page.
Adding Pet Details to the Pet Room Page
Open page_details.dart and replace // TODO Add data repository with:
final DataRepository repository = DataRepository();
You just created an instance of DataRepositorty in the above code. This will be used shortly for updating and deleting the data in the Firestore database. Get rid of the import error by importing DataRepository.
Next, you’ll work on the logic for updating the pet data. Find and replace // TODO Update data with:
if (_formKey.currentState?.validate() ?? false) {
  Navigator.of(context).pop();
  widget.pet.name = name;
  widget.pet.type = type;
  widget.pet.notes = notes ?? widget.pet.notes;

  repository.updatePet(widget.pet);
}
Now, to implement the delete method for the database. Replace // TODO Delete data with:
Navigator.of(context).pop();
repository.deletePet(widget.pet);
Finally, open pet_room.dart again and replace the body argument just below the // TODO Add pet detail with:
body: PetDetail(pet: pet),
Get rid of the import error by importing PetDetail. Now, build and run on both iOS and Android and make sure everything works.
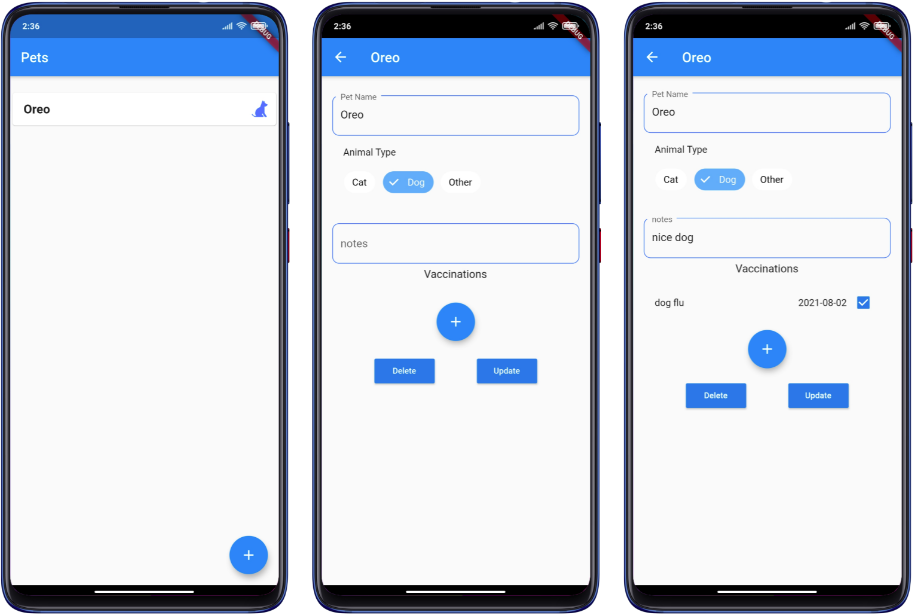
Try adding more pets and vaccination details and check the Firestore console to see what the data looks like. You can also delete the data from Firestore by tapping Delete on the pet detail page:

This is an example of some data in Firestore:

Congratulations! You created both an iOS and an Android app that uses a Firestore database!