Firestore Tutorial for Flutter: Getting Started
In this tutorial, you’ll learn how to use Firebase Firestore databases in Flutter by creating a fun app that will help you take care of your pets. By Yogesh Choudhary.
When writing mobile apps, saving the data users enter is critical. You can save the data locally, but doing so means you can’t save it permanently or share it with others. If you want to share your data, you need to save it in the cloud. One of the easiest solutions is Google’s Cloud Firestore database.
Firestore is a NoSQL-style database. Unlike traditional table-based databases that require a lot of work to insert data, with Firestore you save JSON blobs to collections. This method doesn’t impose a structure for your data and lets you change it at any time.
Of course, the downside is that you have to take that into account when reading the data. So, you need to plan how you want to store your data. Firestore offers fast, responsive data syncing without much code.
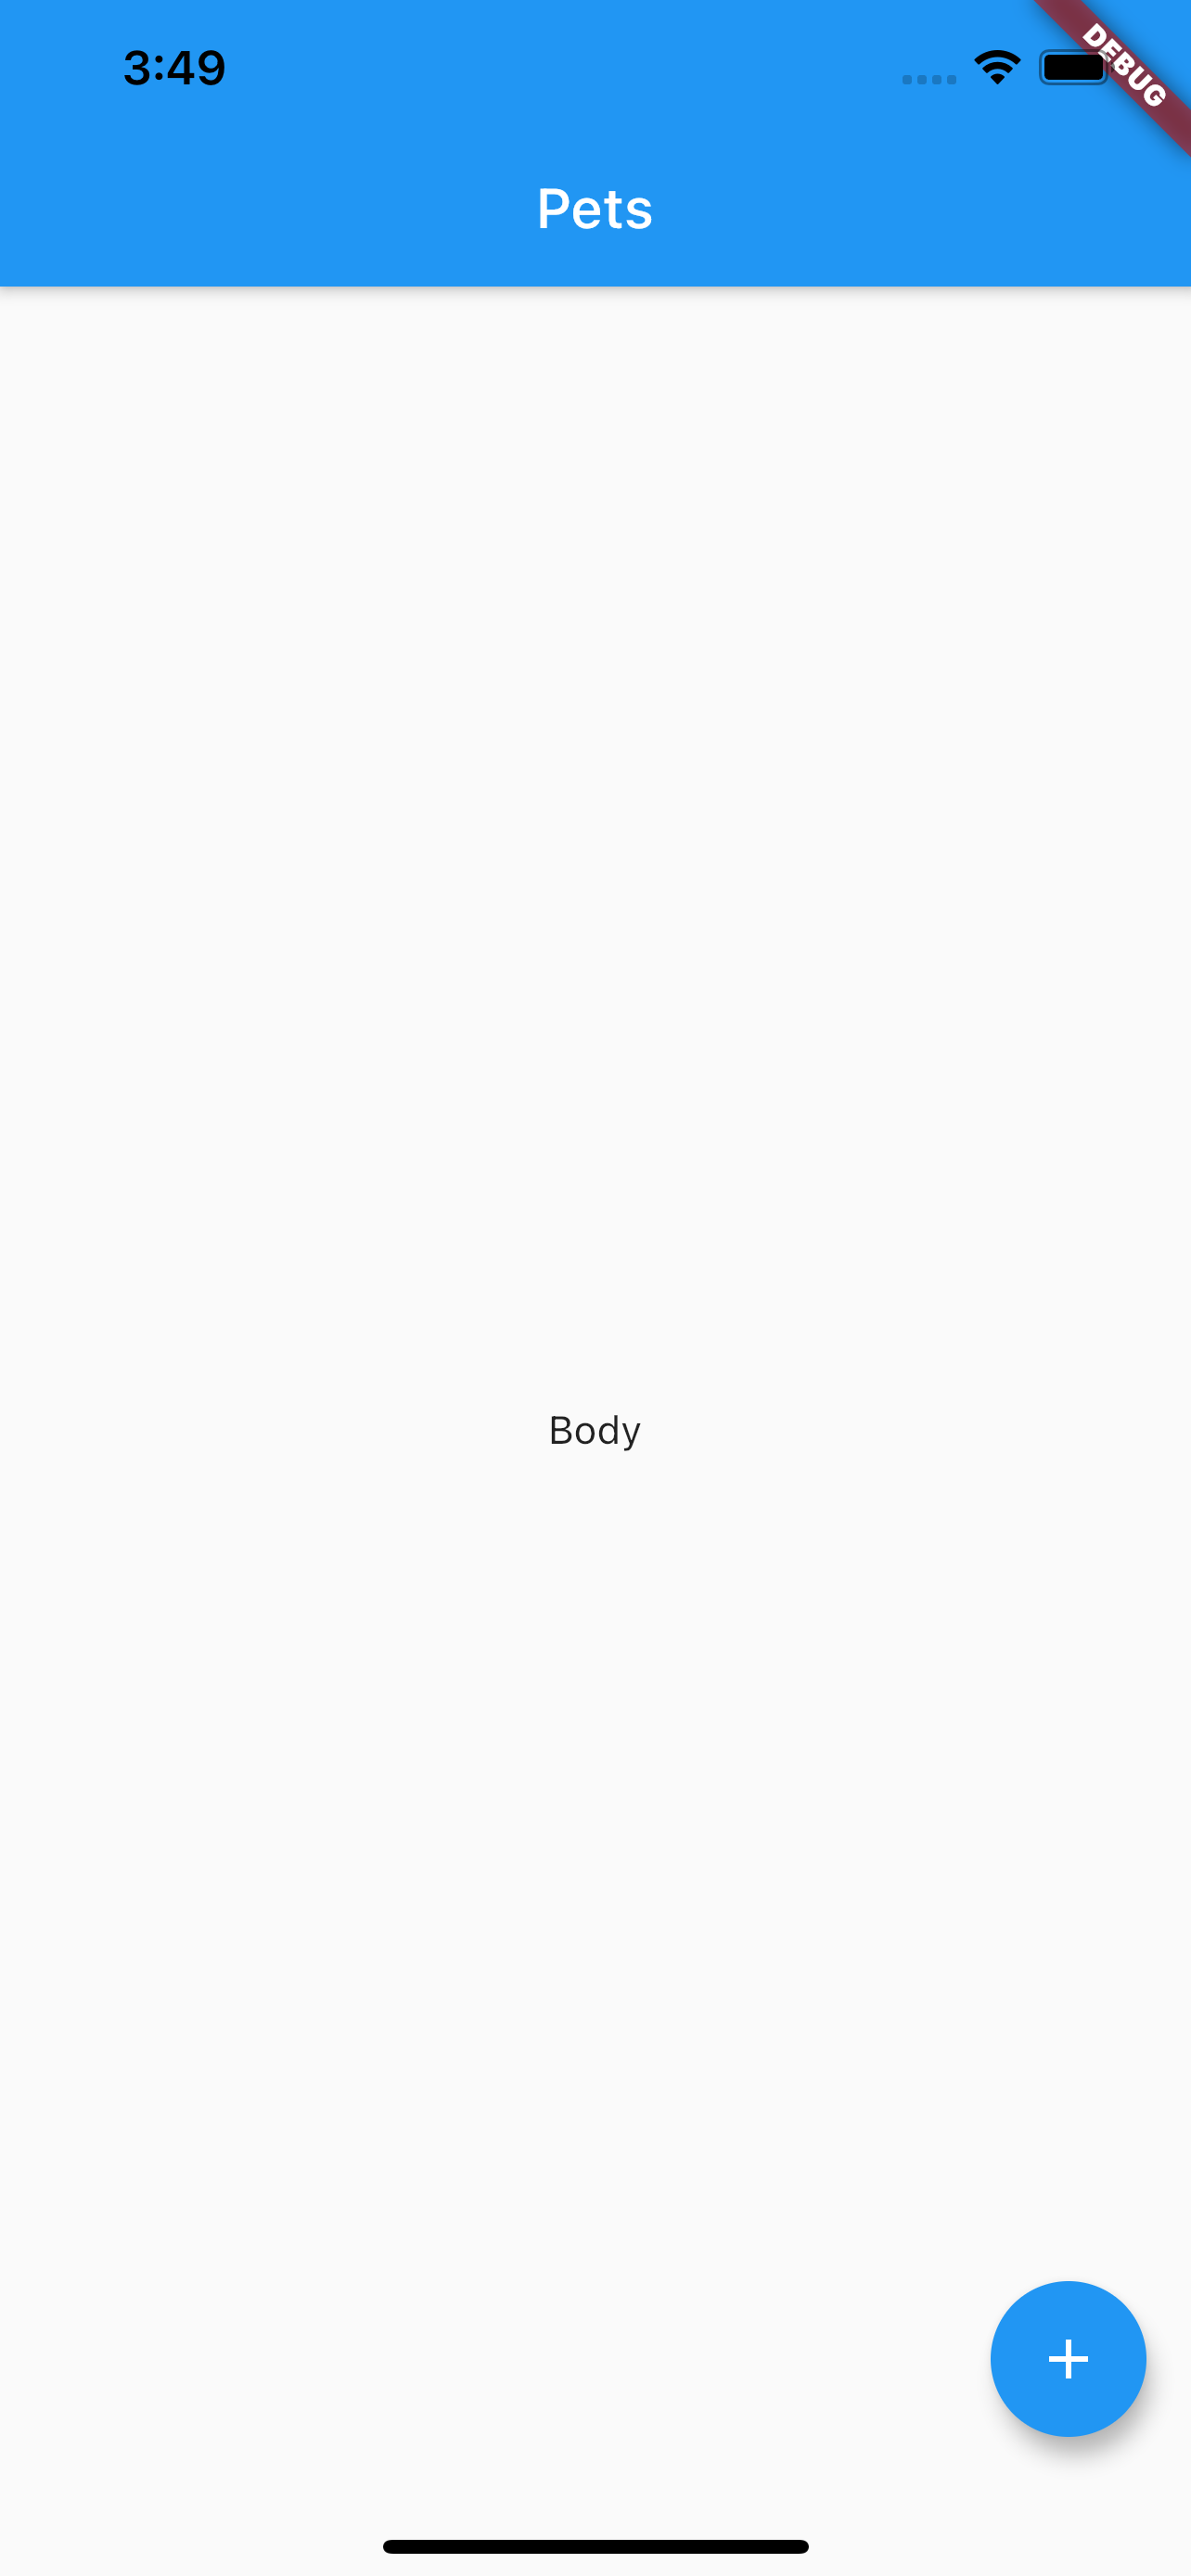
Today, you’ll build PetMedical — an app to store your pet’s medical records. The app includes a simple list of pets on the first screen and a floating action button at the bottom to add a new record.
In this tutorial, you’ll learn how to:
- Create a new Firebase project.
- Configure a Firestore database.
- Use and create collections.
- Add Firebase dependencies to your Flutter project.
- Use streams.
- Create models and repositories.
- And much more!
Getting Started
Download the starter project by using the Download Materials button at the top or bottom of the page.
This tutorial uses the latest stable version of Android Studio and the Flutter plugin. Open pubspec.yaml and click Pub get to download the latest libraries.
Open either an iPhone simulator or an Android emulator and make sure the app runs. The app should look like this:

The UI is in place, but you’ll need to set up Firestore and add the code to add and update records.
Creating a Firebase Account
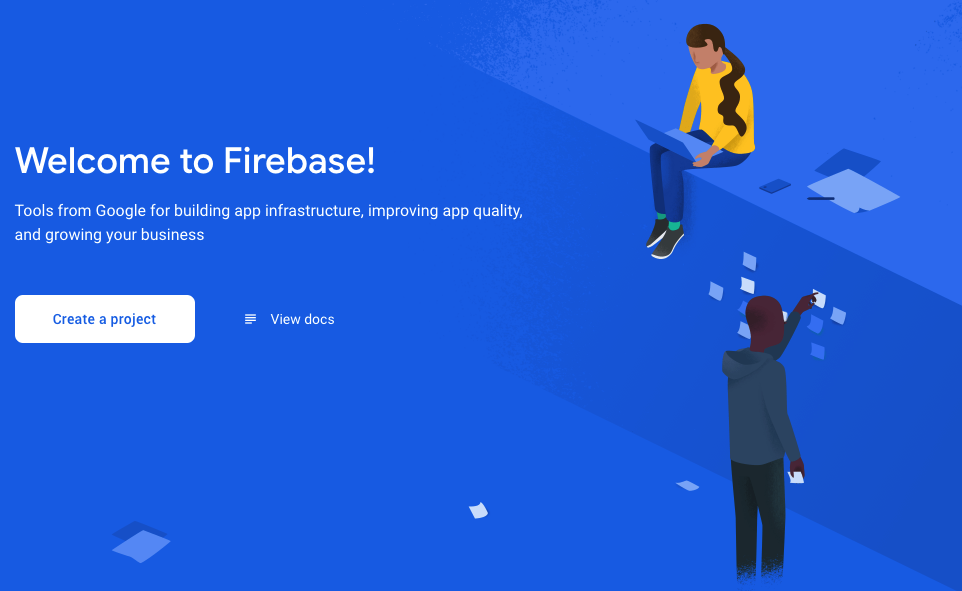
In order to use a Firestore database, you need a Firebase account. Go to https://firebase.google.com/ and sign up for an account.
On the Welcome to Firebase page, click the Create a project button. If Firebase shows a different page, you can click Go to console in the top right corner and then click Add project.
Now, enter the project name: PetMedical and click the Continue button.

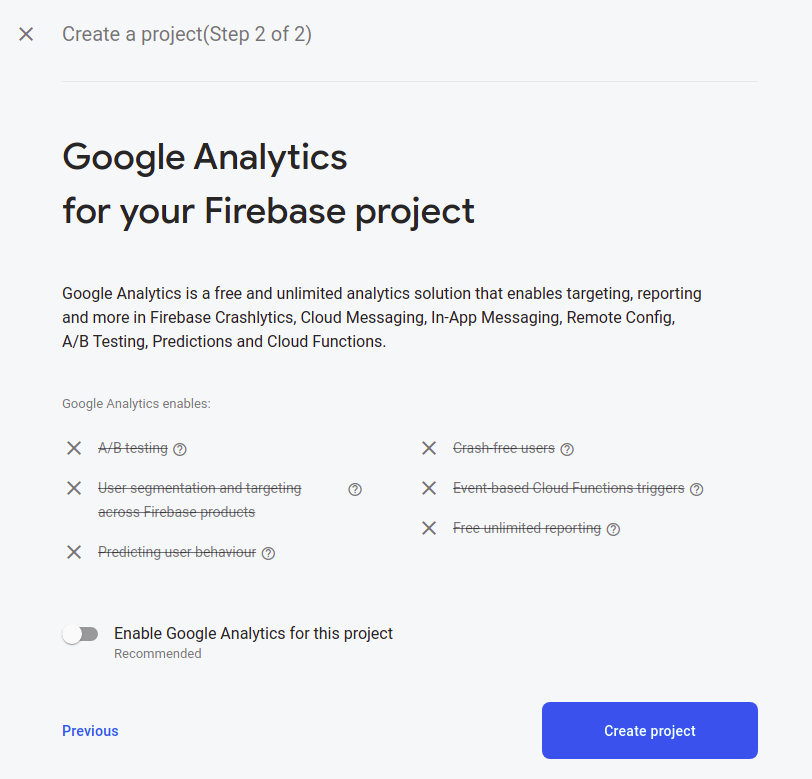
On the next page, toggle the switch for Enable Google Analytics to the off position. You won’t use analytics for this project. Then, click Create project.
You’ll see a few progress dialogs as Firebase allocates resources to your new project:

Once your project is ready, click Continue to move to the page where you’ll add Firebase to both your iOS and Android apps. Start with the iOS app.

Registering an iOS App
To register the iOS app, click the iOS circle:

You’ll see a dialog to register your app. Enter com.raywenderlich.petmedical for the iOS bundle ID and click the Register app button.

Next, click the Download GoogleService-Info.plist button.
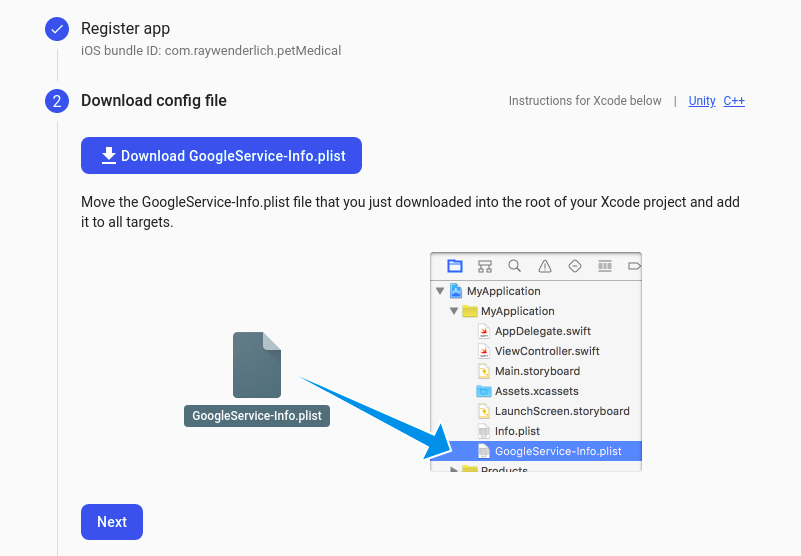
Now, move this file into the iOS ‣ Runner folder. Then, from Android Studio in the Tools ‣ Flutter menu, choose Open iOS module in Xcode. In Xcode, right-click the Runner folder and choose Add files to Runner….
Next, add GoogleService-Info.plist:

Nice job! Now it’s time to register the Android app. :]
Registering an Android App
First, go back to the Firebase page. Click the Android circle to start the process of adding Firebase to Android.

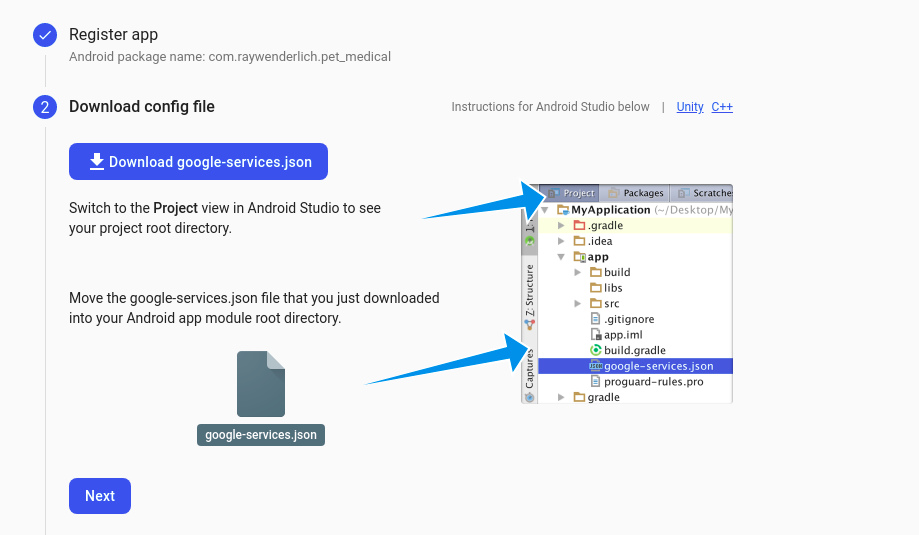
You’ll see a dialog to register your app. Enter com.raywenderlich.pet_medical in the Android package name field. Next, click Register app:

Then, click the Download google-services.json button and move this file into the android ‣ app folder.
Now, in Android Studio, open android/build.gradle. Then, add the following dependency after the last classpath entry:
classpath 'com.google.gms:google-services:4.3.8'

Then, open android/app/build.gradle and add the following plugin after the apply from entry:
apply plugin: 'com.google.gms.google-services'

Not too bad, right? :]
Initializing Firebase App
Before you use Cloud Firestore or other Firebase services, you’ll need to initialize your Firebase App. To do this, you’ll need to add the firebase_core plugin along with cloud_firestore. Open the pubspec.yaml file in your project and add the following dependencies, then click Pub get:
firebase_core: ^1.6.0
cloud_firestore: ^2.5.1
Now, open lib/main.dart and replace // TODO Initialize the Firebase App with the following code:
//1
WidgetsFlutterBinding.ensureInitialized();
//2
await Firebase.initializeApp();
Here’s what the above code does:
-
WidgetsFlutterBindingis used to interact with the Flutter engine, which is used by Flutter plugins through platform channel to interact with the native code. Therefore, you need to callensureInitializedto ensure the binding between widget layer and flutter engine is initialized before calling theinitializeApp()method of Firebase plugin. -
await Firebase.initializeApp()initializes the Firebase app and then rest of the code is executed.
You’ll see an error message: Undefined name ‘Firebase’. Add the code below to the top of the file to import Firebase.
import 'package:firebase_core/firebase_core.dart';
Now you’re ready to create your Firestore database. Build and run. You’ll receive an error:

Oops! Looks like you’re not quite ready! You’ll fix this error in the next section.
Handling Firestore Build Error on iOS Apps
To get rid of this error, open ios/Podfile, look for the line # platform :ios, '9.0', and replace it with:
platform :ios, '10.0'
While you’re at it, you can also optimize the iOS build time by tweaking your Podfile a bit. Without this, your iOS build may take about five minutes — which can be frustrating.
At the time of writing, the Firestore iOS SDK depends on some 500,000 lines of mostly C++ code — which heavily increases the build time. To reduce the build time, you can use a pre-compiled version of the SDK by adding a line inside target 'Runner' do.
pod 'FirebaseFirestore', :git => 'https://github.com/invertase/firestore-ios-sdk-frameworks.git', :tag => '8.6.0'

Now, save the file and rebuild the app. You should see your app screen back without any errors and with an improved build time. :]