Diving Deep into WebViews
Learn how to handle webpages in your Flutter application using WebViews. By Michael Malak.
Loading URLs with WebViewController
Now that you’ve added a WebView to DiscoverPage, you want to load URLs when the user clicks on I’m feeling lucky!. Add WebViewController to _DiscoverPageState by replacing //TODO: add WebViewController here with
final Completer<WebViewController> _controller =
Completer<WebViewController>();
You’ll trigger the controller you added. In the WebView you added earlier, pass complete and completeError as follows:
return WebView(
  ..
  onWebViewCreated: _controller.complete,
  onWebResourceError: _controller.completeError,
);
At last, you want to use the controller to load the URL. Replace //TODO: load url to be displayed on WebView with:
final controller = await _controller.future;
controller.loadUrl(url);
Here, loadUrl triggers the WebView to load the new URL you pass.
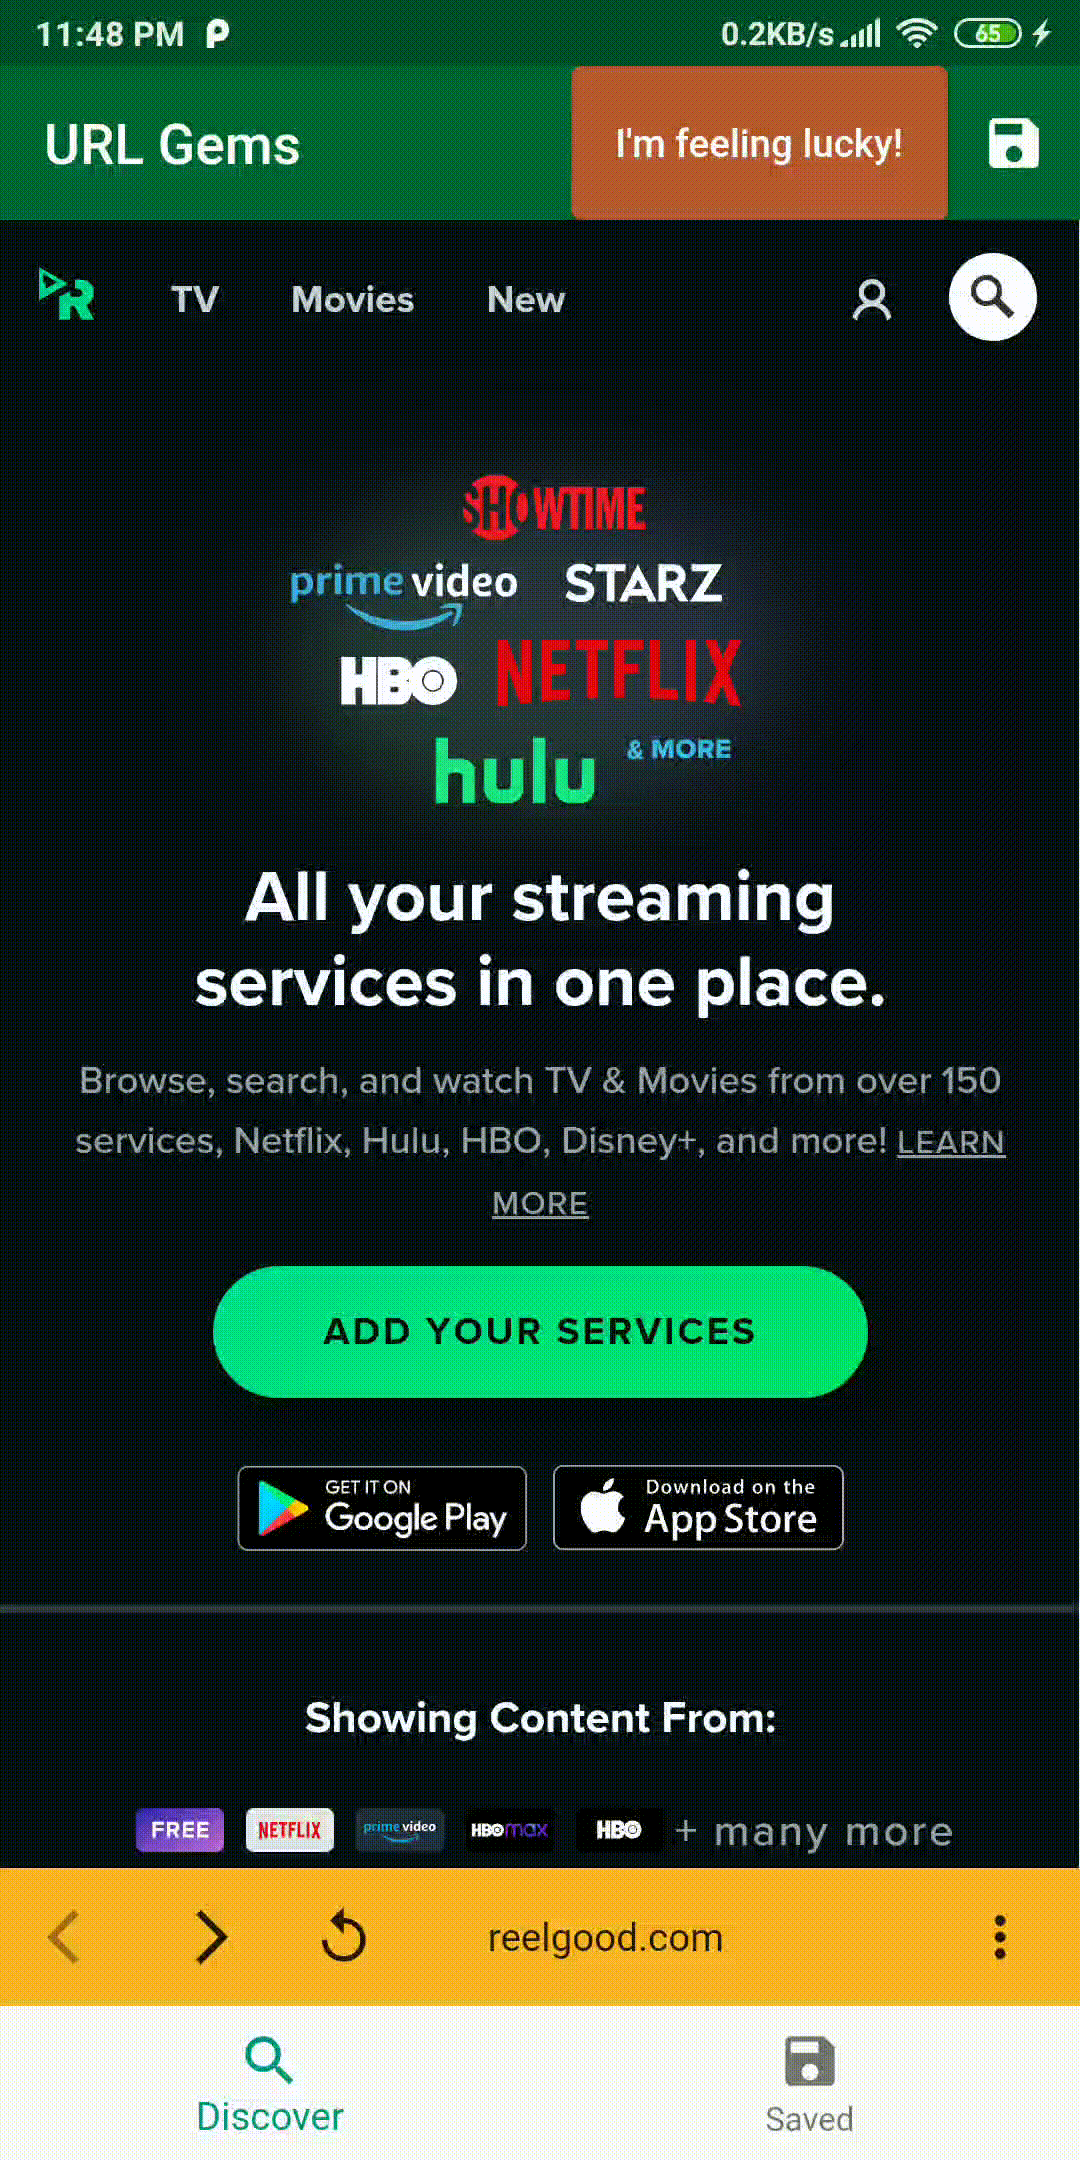
Build and run. You can click I’m feeling lucky!, and the WebView loads the new URL.

Adding Bottom Navigation Controls
Now, you can load URLs using WebViewController. You can use the same controller to navigate forward, backward and reload the webpages.
Add an import to NavigationControls at the top of lib/presentation/discover_page/discover_page.dart:
import 'widgets/navigation_controls_widget.dart';
Replace the Placeholder widget at the FooterWidget as follows:
navigationControls: NavigationControls(
  webViewController: _controller.future,
  isLoading: isLoading,
),
Here, you pass the WebViewController to the NavigationControls. You still want to trigger the respective functions in the controller inside the NavigationControls.
In lib/presentation/discover_page/widgets/navigation_controls_widget.dart, replace the onPressed block where the //TODO: Refresh page using WebViewController text is with the following:
onPressed: !isReady ? null : controller.reload,
controller.reload allows you to reload the page in your WebView.
Similarly, replace //TODO: Route Forward using WebViewController with:
await controller.goForward();
and //TODO: Route Backward using WebViewController with
await controller.goBack();
Now, you can navigate backward and forward using the WebViewController callback functions.
Build and run. When you click backward, forward or reload, they function as you’d expect.

What if you want to prevent navigation to certain domains for your WebView? You’ll handle that next.
Handling Navigation to Certain Domains
You have a WebView that you can control. However, by default, all navigation actions are allowed. If you want to decide which pages to allow or prohibit, you’ll need to make some modifications. Fortunately, WebView provides NavigationDelegate.
Say you want to navigate only to URLs that contain the domain name you opened. Otherwise, you’ll consider the URL as invalid and navigate to the help page.
To implement that behavior, in DiscoverPage, replace ///TODO: Add Navigation Delegate to prevent navigation to certain domains with:
Future<NavigationDecision> getNavigationDelegate(
    NavigationRequest request) async {
  if (request.url.contains(domainName)) {
    // 1
    return NavigationDecision.navigate;
  }

  if (!request.isForMainFrame) {
    // 2
    return NavigationDecision.prevent;
  }

  // 3
  setState(() {
    invalidUrl = request.url;
  });

  // 4
  await routeToHelpPage();

  // 5
  return NavigationDecision.prevent;
}
Here’s what’s happening above:
- In case the URL was valid, you return
NavigationDecision.navigate. You give the green light to theWebViewto proceed with the navigation. - Some pages you view change the URL in order to open modals or ads. When this happens, the
request.isForMainFrameboolean isfalse. To prevent navigation in that case, you returnNavigationDecision.prevent. - You set
invalidUrlwith the URL you get from theNavigationRequest. - Since you detected navigation to an invalid URL, you force navigating to the help page.
- You prevent navigation to the requested invalid URL.
Now that you specified your NavigationDelegate, you can pass it to your WebView.
return WebView(
  ..
  navigationDelegate: getNavigationDelegate,
);
Build and run. You navigate automatically to the help page when you try to navigate outside the domain of the open webpage.

Would it be possible to trigger JavaScript functions from Flutter side? You’ll learn more in the next section.
Sending Data to a Webpage
Sometimes, you’ll want to evaluate JavaScript expressions of a webpage that you’re viewing in a WebView. You can do that using WebViewController by passing data to the page you are viewing.
A user might find it confusing to see the help page while navigating. To avoid this confusion, you can pass the invalid URL to the help page and display it as the reason for why the navigation was interrupted.
In DiscoverPage, replace //TODO: Send data to webpage function with:
void sendUrlToHelpPageJavascriptFunction(
    String invalidUrlToBeDisplayed, String urlToBeDisplayed) async {
  _controller.future.then((controller) {
   // 1
   controller.evaluateJavascript(
      // 2
      '''displayInvalidUrl('$invalidUrlToBeDisplayed', '$urlToBeDisplayed')''',
    ).then((result) {});
  });
}
Here, you:
- Called
evaluateJavascript, which evaluates the passed string as JavaScript inside the HTML page that you load. - Passed a raw string that calls a JavaScript function named displayInvalidUrl. You passed both the invalid URL and the domain name that you should navigate within.
WebView, it’s best practice to wait for the WebView.onPageFinished callback to guarantee that all the JavaScript embedded in the main frame HTML has been loaded. The Future completes with an error if a JavaScript error occurred.You trigger sendUrlToHelpPageJavascriptFunction when the page is loaded with an invalid URL. Replace //TODO: Send url to webpage with:
sendUrlToHelpPageJavascriptFunction(invalidUrl!, url!);
Since you call the JavaScript function, displayInvalidUrl in the help page, you’ll implement this function in JavaScript.
In assets/help_page.html, replace <!--TODO: Display Invalid URL function --> with a little bit of JavaScript:
function displayInvalidUrl(invalidUrl, validUrl) {
    document.getElementById("invalid-url").innerHTML = "It looks like you routed to an invalid url: "
    + invalidUrl + ", while you should keep browsing: " + validUrl;
    document.getElementById("invalid-url").style.visibility = "visible";
}
Here, you display the passed invalid and valid URLs and toggle the visibility of the div.
Hot restart. You can now see the invalid URL when you automatically navigate to the help page.
Next, you’ll learn how to trigger functions from the webpage in your Flutter app.
Listening to Javascript Channel
You can call JavaScript functions from your Flutter app. Guess what? you can do the opposite as well using JavascriptChannel from WebView package. You want the Discover a new website and Check your saved websites buttons in the Help Page to function as you’d expect.
In assets/help_page.html, replace <!--TODO: Trigger reload url Flutter function --> with:
RefreshUrl.postMessage("");
and similarly replace <!--TODO: Trigger route to saved websites Flutter function --> with:
RouteToSavedWebsites.postMessage("");
Here, you trigger two channels, RefreshUrl and RouteToSavedWebsites, in order for the WebView to listen to them. You call postMessage on each of the two objects so it passes a message to the WebView. Since you’re only triggering the channels, you pass empty messages.
In lib/presentation/discover_page/discover_page.dart, replace //TODO: receive RefreshUrl message from webpage with:
  JavascriptChannel refreshUrlJavascriptChannel(BuildContext context) {
    return JavascriptChannel(
        name: 'RefreshUrl',
        onMessageReceived: (_) {
          onImFeelingLuckyPressed();
        });
  }
Here, you specify a JavascriptChannel with name RefreshUrl. When you call postMessage, You pass the message to JavascriptChannel.onMessageReceived and it triggers onImFeelingLuckyPressed();
Similarly, replace //TODO: receive RouteToSavedWebsites message from webpage with:
  JavascriptChannel routeToSavedWebsitesJavascriptChannel(
      BuildContext context) {
    return JavascriptChannel(
        name: 'RouteToSavedWebsites',
        onMessageReceived: (_) {
          widget.routeToSavedUrlsTab();
        });
  }
Now, when postMessage for RouteToSavedWebsites is called, it triggers widget.routeToSavedUrlsTab(); and it routes to the saved URLs tabs.
You have two JavascriptChannels that you’ll pass as a set to the WebView
as follows:
return WebView(
  ...
  javascriptChannels: <JavascriptChannel>{
    refreshUrlJavascriptChannel(context),
    routeToSavedWebsitesJavascriptChannel(context),
  },
);
Build and run. From the help page, you can trigger JavaScript functions to refetch random URLs and route to another tab.