Diving Deep into WebViews
Learn how to handle webpages in your Flutter application using WebViews. By Michael Malak.
Do you have a feature on your website that you don’t want to implement again for your app? Does your app need to view a webpage without having to open a browser? Have you integrated a third-party service that requires you to use their webpages in your app? WebView can accomplish all that for you in your Flutter app!
In this tutorial, you’ll play with WebView as you build a simple app that randomly displays webpages and lets you save the ones you like.
By the end of this tutorial, you’ll know:
- What
WebViewis. - How to send and receive data with a webpage opened in
WebView. - When to use
GestureRecognizer.
Getting Started
Download the starter project by clicking the Download Materials button at the top or bottom of the tutorial.
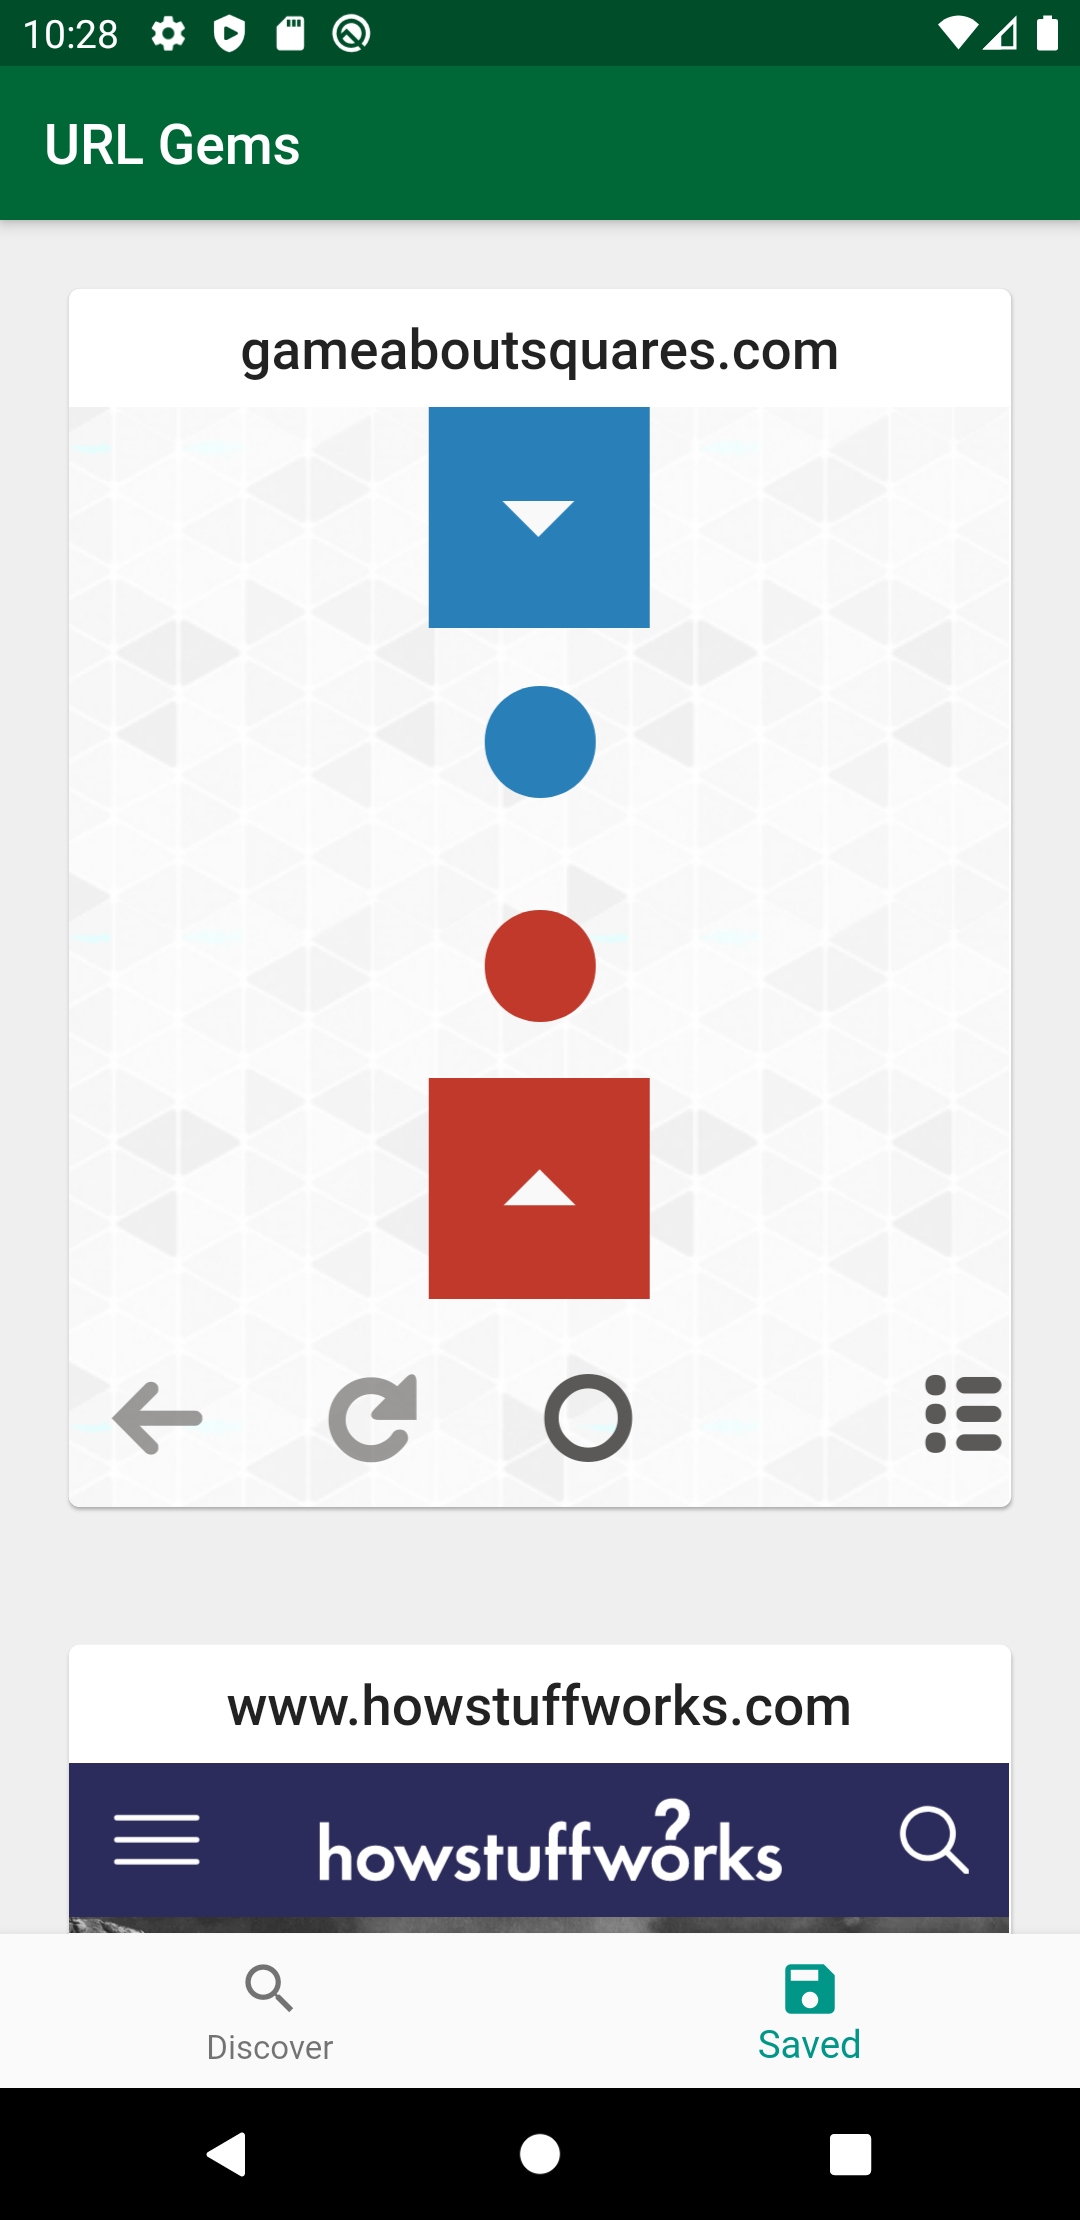
You’ll work on URL Gems App, a single-page app that displays a WebView of a random website in one tab and a list of saved websites in another. Here’s what you’ll be able to do:
-
Discover: Reload the
WebViewwith a random URL, navigate backward and forward, save a webpage, prevent navigation outside the displayed page’s domain, and display and communicate with a help page in HTML format. - Saved: View a vertical list of the saved webpages.
Here’s how the pages will look when you’re done:

Now, it’s time to take a look at the project.
Setting up the Starter Project
The starter project already contains the logic to get random URLs, save the URLs to the cache and read them from the cache.
Open Android Studio and choose Open an Existing Project. Then, choose the starter folder from the downloaded materials.

Before you fetch the dependencies declared in pubspec.yaml, you’ll add the WebView dependency to the file. This is the plugin you’ll use to demonstrate WebView functionalities in this project. Replace # TODO: Add dependency for WebView Plugin with:
webview_flutter: ^2.0.8
Click on Pub get at the top of the pane when you’re in pubspec.yaml to fetch the dependencies declared in the file.

For this tutorial, the most important files in the project are:
- lib/presentation/discover_page/discover_page.dart: The page that displays a single webpage and allows you to save it or reload it.
- lib/presentation/discover_page/widgets/navigation_controls_widget.dart: The widget class that is part of the footer where you can navigate forward and backward and reload.
- assets/help_page.html: An HTML page that loads the instructions for using the app when you route to an invalid URL.
- lib/presentation/saved_urls_page/saved_urls_page.dart: The page where you display a vertical list of saved webpages.
Build and run. The app launches with the Discover tab selected. It shows a placeholder for now.

Now that you know what the starter project contains, you’ll take a deeper look at WebView.
Understanding WebViews
Flutter provides you with a way to view webpages inside your app without having to open a browser. Using WebView, you can simply pass a URL and it loads as a widget inside your app. Flutter WebViews use a technology known as Platform Views. On iOS, the WebView These are special widgets that embed native views into Flutter. Platform Views can be expensive so use them carefully. On iOS, the WebViews uses the native WKWebView and on Android, the standard native Android WebView is used.
WebView plugin doesn’t support Flutter web, since everything is already a web view. For that, you might use HtmlElementView.Viewing the WebView
Start by going to lib/presentation/discover_page/discover_page.dart, and add an import to the WebView package at the top of the file:
import 'package:webview_flutter/webview_flutter.dart';
Now you can replace the body of buildWebView in the same file with:
return WebView(
  // 1
  initialUrl: url,

  // 2
  javascriptMode: JavascriptMode.unrestricted,

  // 3
  onProgress: onProgressWebView,
  onPageFinished: onPageFinishedWebView,

  // 4
  gestureNavigationEnabled: true,
);
Here’s what you did:
- You specified an
initialUrlfor what page to display first. -
javascriptModeallows you to control what kind of JavaScript can run in your web view. By default, JavaScript execution is disabled. You set it toJavascriptMode.unrestrictedto enable it. -
onProgressandonPageFinishedare callback functions that you trigger when the page is loading and finished loading, respectively. You passedonProgressWebViewto set theisLoadingstate, andonPageFinishedWebViewto check if the URL is valid and toggleisLoading. - By setting
gestureNavigationEnabledto true, you can use horizontal swipe gestures to trigger back-forward list navigations on theWebViewfor iOS.
Build and run. You’ll see a webpage displayed inside the Discover tab. You’ve implemented your first WebView!

Now you know how to load webpages with WebView. Next, you’ll look at controlling it.
Controlling the WebView
There’s a lot of different things you can do with a WebView, but before you surf through all of the options you’ll have to learn how to exert a bit more control over WebView.
Understanding Futures and Completers
A Future in Flutter is an object that represents delayed computation — a value that will be available sometime in the future. For example, you can wait for the Future to get a random URL from the cache as follows:
final fetchedUrl = await widget.repository.getRandomUrl(exclude: url);
getRandomUrl returns a Future that you’ll wait for to get your fetchedUrl
A Completer is a way provided by Flutter to produce Futures and to complete them later. It’s mostly used when you want to convert a callback-based API into a Future. To use a Completer, you have to:
- Create a new completer
- Use its
Future - Invoke either
completeorcompleteError
You’ll need to know about Completers to work with WebViewControllers. The WebView package provides you with a WebViewController. However, WebView doesn’t take the controller as an argument. In the next section, you’ll learn how to use WebViewController and how to specify when the WebViewController has completed loading.