Spinner and Progress Bar in Swift: Getting Started
Learn how to implement a spinner indicator and progress bar in both UIKit and SwiftUI. By Adam Rush.
Using UIHostingController to Host SwiftUI ProgressView in UIKit
So far, you’ve built this app using UIKit. To use SwiftUI in your UIKit app, you need to use UIHostingController.
Open ThirdViewController.swift.
Directly below the loadingView IBOutlet, add the following code:
private let progressView = RWProgressView()
This instantiates the SwiftUI view you just created.
Directly below viewDidLoad(), add the following code:
func addSwiftUIView() {
  let childView = UIHostingController(rootView: progressView)
  addChild(childView)
  loadingView.addSubview(childView.view)

  childView.view.translatesAutoresizingMaskIntoConstraints = false

  NSLayoutConstraint.activate([
    childView.view.centerXAnchor.constraint(
      equalTo: loadingView.safeAreaLayoutGuide.centerXAnchor),
    childView.view.centerYAnchor.constraint(
      equalTo: loadingView.safeAreaLayoutGuide.centerYAnchor)
  ])

  childView.didMove(toParent: self)
}
This instantiates a brand new UIHostingController with your progressView as the root view.
You’re adding programmatic constraints here because it’s a SwiftUI view inside a hosting controller. Of course, adding this hosting controller within the storyboard is possible, but adding it here is easier.
Finally, you need to add the SwiftUI view. You’ll do this by calling the new addSwiftUIView().
Add the following code within viewDidLoad(), right after super.viewDidLoad():
addSwiftUIView()
Build and run. Tap the third tab, Pines.
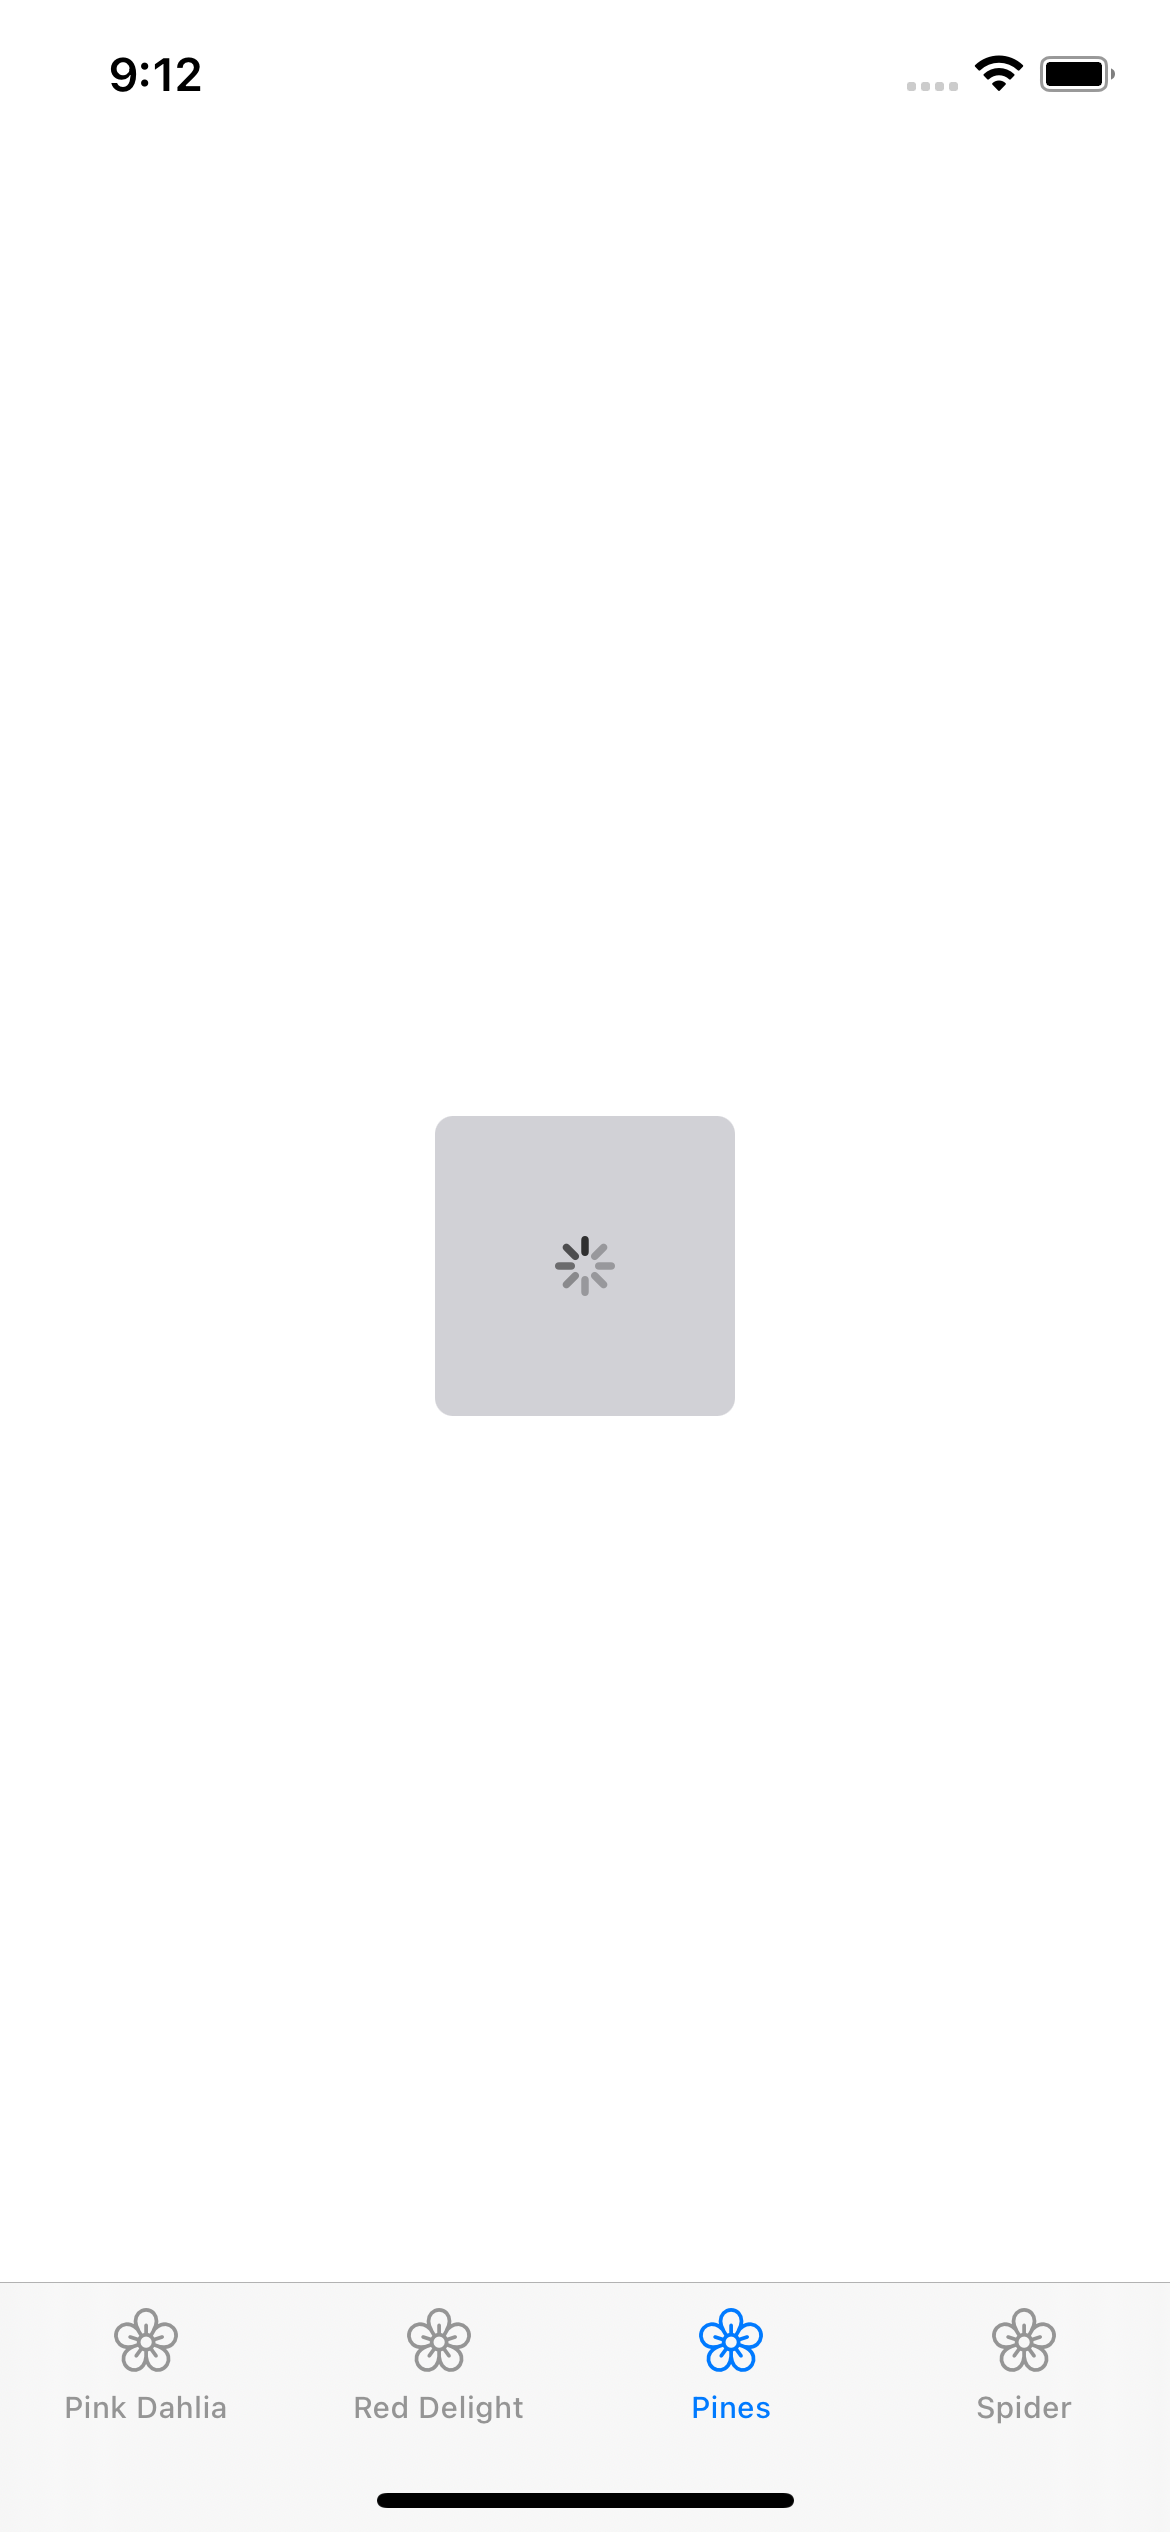
You now see your SwiftUI ProgressView in action.
Dismissing LoadingView Upon Download
Your final goal is to dismiss loadingView once the download finishes. You can make the code more readable by wrapping duplicated code in easy-to-read functions.
Open ThirdViewController.swift. Directly below addSwiftUIView(), add the following code:
private func showSpinner() {
  loadingView.isHidden = false
}

private func hideSpinner() {
  loadingView.isHidden = true
}
In loadImage(with:), add the following code directly below self.imageView.image = UIImage(data: data):
self.hideSpinner()
This will hide the spinner once the image is loaded.
Finally, at the bottom of addSwiftUIView(), add the following code:
showSpinner()
When the view is loaded, you’ll start showing the spinner.
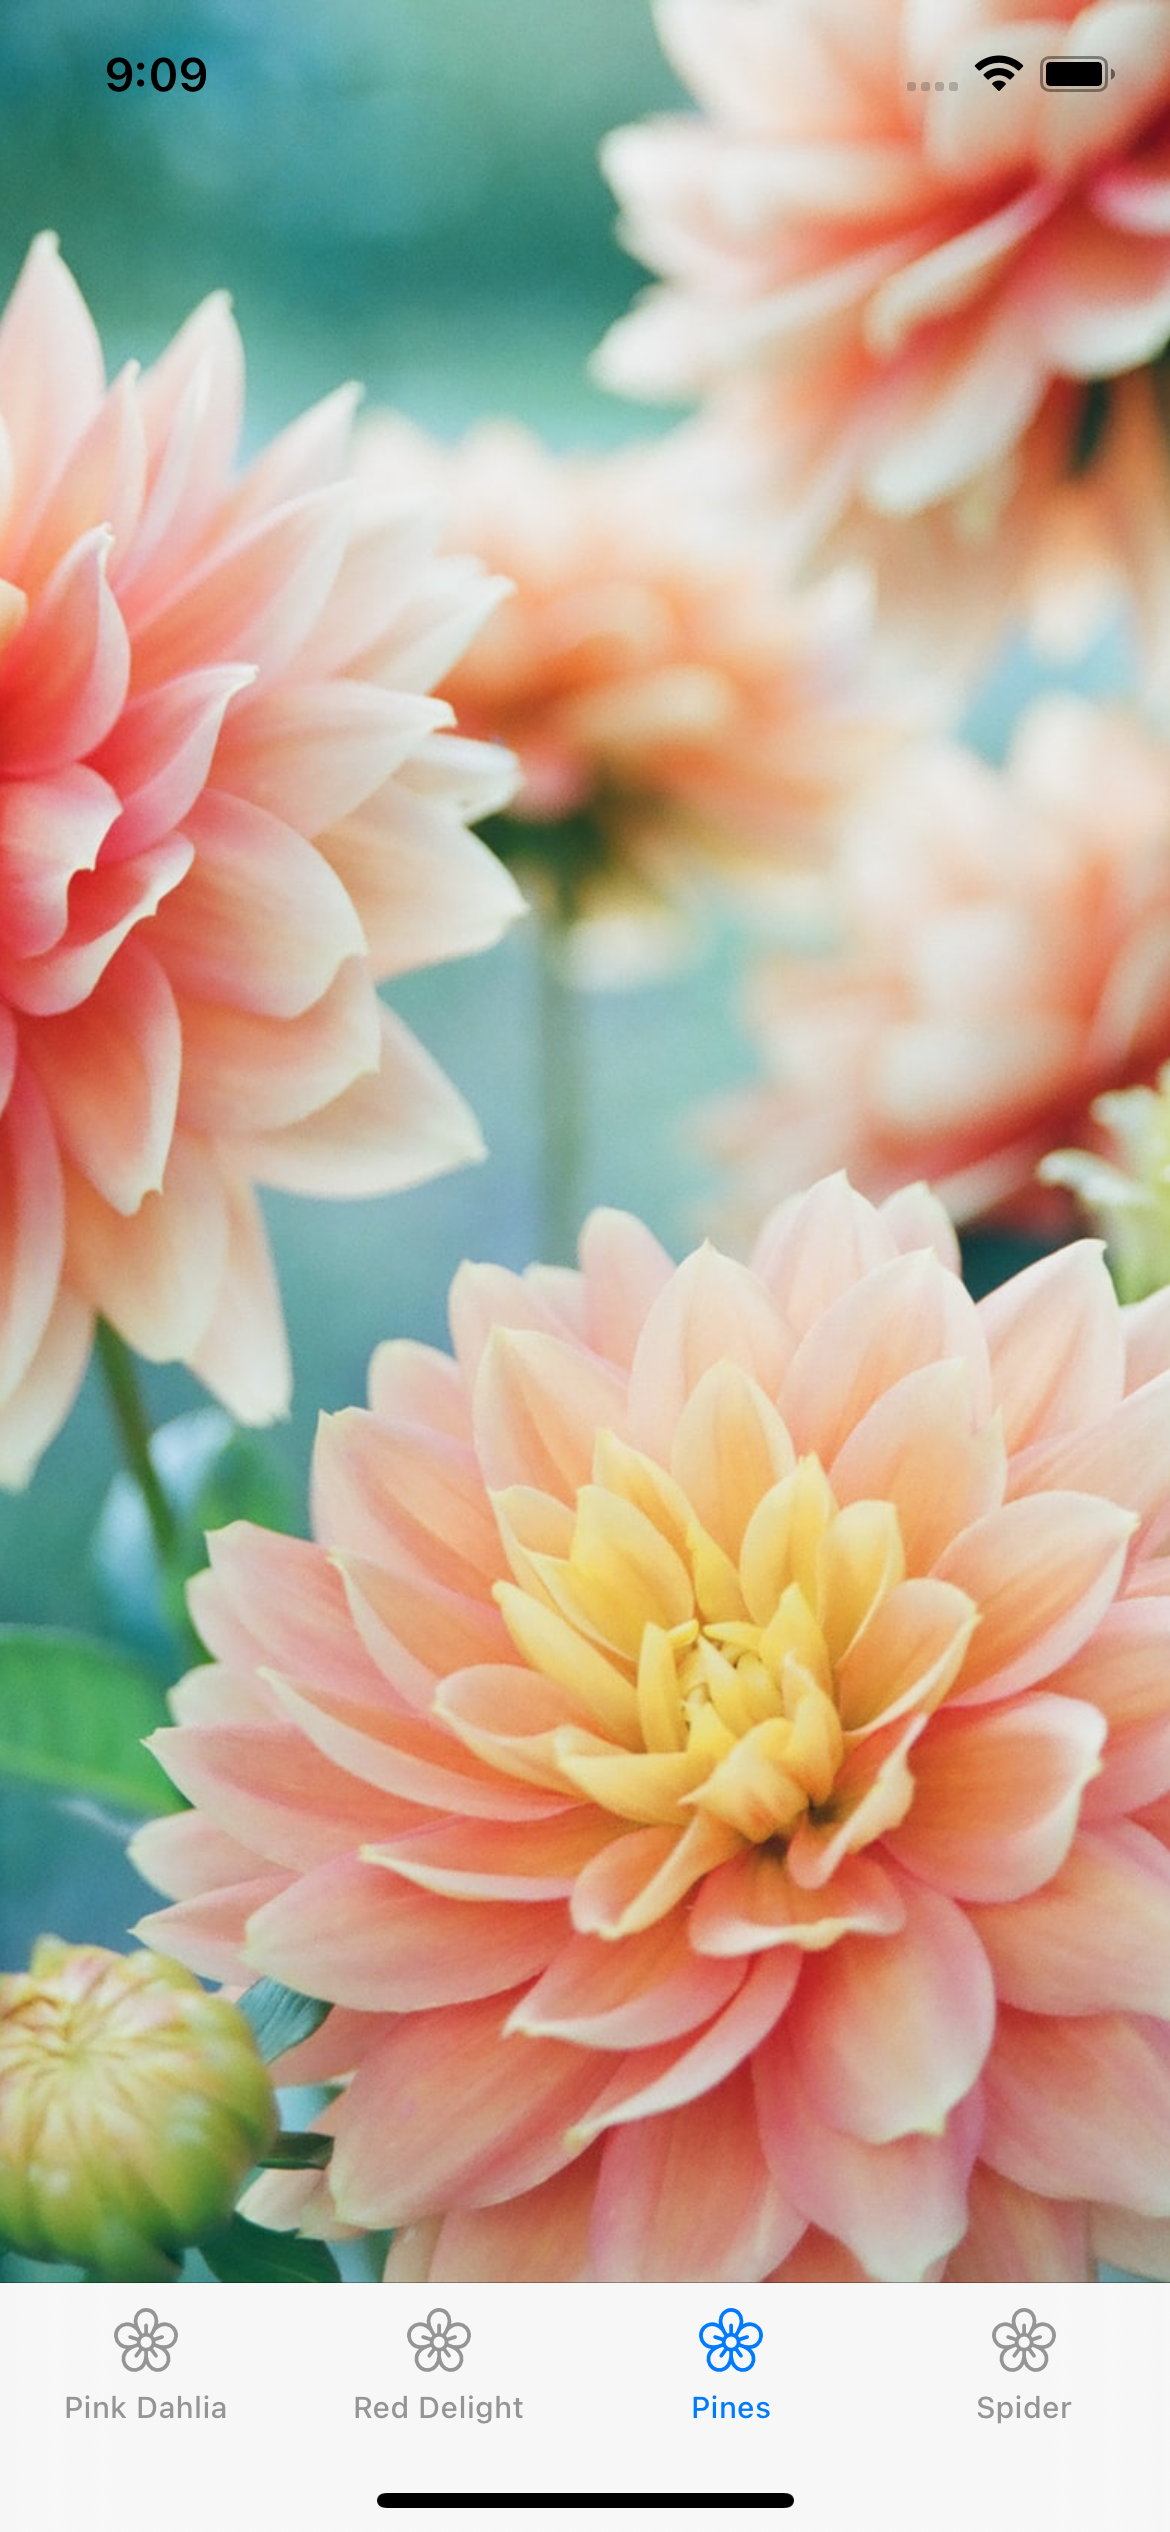
Build and run. Tap the third tab, Pines.
The spinner now displays when your download starts and disappears when it’s done.
Congratulations on making it this far in the tutorial. You now know how to make a spinner in SwiftUI, but you have one thing left to do before you can call yourself a progress indicator pro. That’s creating a progress bar in SwiftUI.
Integrating ProgressView With LinearProgressViewStyle in SwiftUI
In the last part of the tutorial, you’ll build a determinate ProgressView using SwiftUI. It’s more complex than the previous parts of this tutorial, so you’ll only learn the basics.
When you build a SwiftUI view, it’s completely isolated in the UI. This follows the strict Model-View-View Model design pattern, where you isolate the Views from the business logic by containing the logic within view model objects.
You’ll notice that the starter project has a SwiftUI group. Within it, there are two classes: DataModel and Download. Explore these files.
Essentially, they contain objects that you’ll inject into the SwiftUI view. They’ll monitor changes from the download task of the image. This means that you can use the DataModel to track the download progress and update your ProgressView accordingly.
Creating a ProgressView With LinearProgressViewStyle
Now that you’re familiar with the two helper classes included in the starter project, you can start working on a SwiftUI progress bar.
Open Views within the SwiftUI group.
Right-click the group and click New File…. Click SwiftUI View and then Next.

Call this file RWLinearProgressView and click Create.
As before, you’ve created an empty SwiftUI view with a Hello, World! text object.
Directly above body, add the following:
@StateObject var dataModel = DataModel()
This instantiates a data model object, enabling you to monitor changes in the download task.
Next, replace the contents of body with the following code:
ZStack {
  VStack {
    Spacer()
    ProgressView("Downloading...", value: dataModel.progress, total: 1)
      .progressViewStyle(LinearProgressViewStyle(tint: .blue))
      .padding(15)
      .background(Color(UIColor.systemGray4))
      .frame(width: 150)
      .onAppear {
        guard let url = URL(string:
          "https://koenig-media.raywenderlich.com/uploads/2021/06/87039.jpeg")
        else { return }
        dataModel.download(with: url)
      }
    Spacer()
  }
  if let image = dataModel.image {
    Image(uiImage: image)
      .resizable()
      .ignoresSafeArea()
      .scaledToFill()
  }
}
This code creates a brand-new ProgressView. This time, you’re using the LinearProgressViewStyle which will give you a progress view that looks like a bar and not a spinner.
You set the progress bar’s progress from your data model. Because you marked the data model as a StateObject, whenever its progress property changes, your view will update automatically. Amazing!
Finally, onAppear tells the data model to start the image download as soon as the view appears. If there is an image to display, it appears
Hosting SwiftUI ProgressView in UIKit
Now, you need to instantiate your new SwiftUI view in the fourth tab’s view controller.
Open FourthViewController.swift. At the top of the class, add the following code:
private var linearProgressView = RWLinearProgressView()
This code instantiates your new SwiftUI view. It’s time add it to the view.
Directly below viewDidLoad(), add the following code:
private func addSwiftUIView() {
  let childView = UIHostingController(rootView: linearProgressView)
  addChild(childView)
  view.addSubview(childView.view)

  childView.view.translatesAutoresizingMaskIntoConstraints = false

  NSLayoutConstraint.activate([
    childView.view.topAnchor.constraint(
      equalTo: view.safeAreaLayoutGuide.topAnchor),
    childView.view.bottomAnchor.constraint(
      equalTo: view.safeAreaLayoutGuide.bottomAnchor),
    childView.view.leadingAnchor.constraint(
      equalTo: view.safeAreaLayoutGuide.leadingAnchor),
    childView.view.trailingAnchor.constraint(
      equalTo: view.safeAreaLayoutGuide.trailingAnchor)
  ])

  childView.didMove(toParent: self)
}
You’ve created a new UIHostingController with your SwiftUI view as the root view and set the constraints to center the view.
At the bottom of viewDidLoad(), add the following code:
addSwiftUIView()
Here, you call this function on view loading and add the SwiftUI view as a child view.
Build and run. Tap the fourth TabBar item, Spider. You’ll see your determinate SwiftUI ProgressView works just like you’d expect.

Congratulations, you’ve just built your first determinate SwiftUI progress view.
Where to Go From Here?
Download the completed project files by clicking the Download Materials button at the top or bottom of the tutorial.
Now you know how to add a loading indicator to your iOS app! It doesn’t take much effort and it’s fundamental to a good user experience, giving your users insight into what’s happening while using your app.
When you build, consider all the options you have for indicator views. You can use:
You also learned that you can use SwiftUI’s ProgressView in your UIKit app.
If you want to know more about making network requests and dealing with data in your app, check out the iOS Data and Networking learning path.
We hope you enjoyed this tutorial. If you have any questions or comments, please join the forum discussion below.