Internationalizing Your iOS App: Getting Started
In this tutorial, learn how to prepare your app to support multiple languages, including regional numeric formats, rules for plurals, and much more. By Richard Critz.
Creating a great iOS app is no small feat, yet there is much more to it than great code, gorgeous design and intuitive interaction. Climbing the App Store rankings requires well-timed product marketing, the ability to scale up along with the user base, and utilizing tools and techniques to reach as wide an audience as possible.
For many developers, international markets are an afterthought. Thanks to the painless global distribution provided by the App Store, you can release your app in over 150 countries with a single click. Asia and Europe alone represent a continually growing pool of potential customers, many of whom are not native English speakers. In order to capitalize on the global market potential of your app, you’ll need to understand the basics of app internationalization and localization.
This tutorial will guide you through the basic concepts of internationalization by taking a simple app called iLikeIt and adding internationalization support. This simple app has a label and a You Like? button. Whenever the user taps the button, some fictitious sales data and a cheerful image fade in below the button.
Currently, the app is English only; time to fix that!
Internationalization vs Localization
Making your app speak another language requires both internationalization and localization. Aren’t they just two words for the same thing? Not at all! They represent separate and equally important steps in the process of bringing your app into the world of multiple languages.
Internationalization is the process of designing and building your app for international compatibility. This means, for example, building your app to:
- Handle text input and output processing in the user’s native language.
- Handle different date, time and number formats.
- Utilize the appropriate calendar and time zone for processing dates.
Internationalization is an activity that you, the developer, perform by utilizing system-provided APIs and making the necessary modifications to your code to make your app as good in Chinese or Arabic as it is in English. These modifications allow your app to be localized.
Localization is the process of translating an app’s user interface and resources into different languages. Unless you happen to be fluent in the language you’re supporting, this is something you can, and should, entrust to someone else.
Getting Started
Download the starter project here. Build and run; tap You like?. You should see something similar to the following:

As you can see, you will need to localize four items:
- The “Hello” label
- The “You Like?” button
- The “Sales Data” label
- The text in the image
Take a moment to browse the project’s files and folders to familiarize yourself with the project structure. Main.storyboard contains a single screen which is an instance of MainViewController.
Separating Text From Code
Currently, all of the text displayed by the app exists as hard-coded strings within Main.storyboard and MainViewController.swift. In order to localize these strings, you must put them into a separate file. Then, rather than hard-coding them, you will retrieve the appropriate strings from this separate file in your app’s bundle.
iOS uses files with the .strings file extension to store all of the localized strings used within the app, one or more for each supported language. A simple function call will retrieve the requested string based on the current language in use on the device.
Choose File\New\File from the menu. In the resulting dialog, select iOS\Resource\Strings File and click Next.
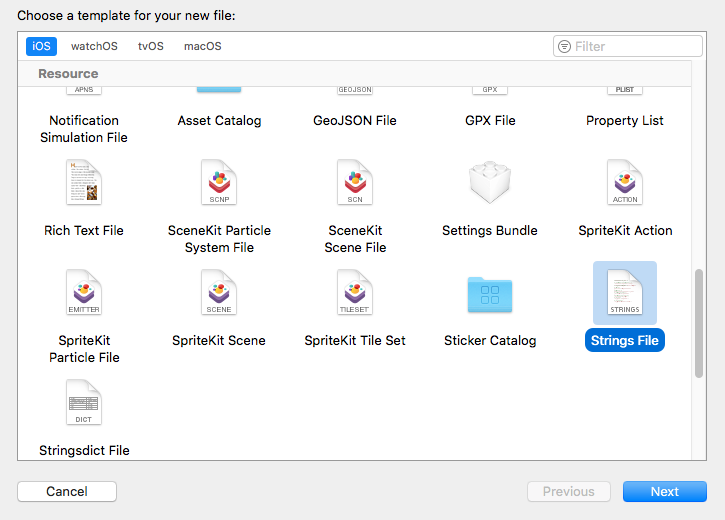
Name the file Localizable and click Create.
A .strings file contains any number of key-value pairs, just like a Dictionary. Conventional practice uses the development, or base, language translation as the key. The file has a specific, but simple, format:
"KEY" = "CONTENT";
Add the following to the end of Localizable.strings:
"You have sold 1000 apps in %d months" = "You have sold 1000 apps in %d months";
"You like?" = "You like?";
As you can see, you may include format specifiers in either the key or the value portion of the string to allow you to insert real data at run time.
NSLocalizedString(_:tableName:bundle:value:comment:) is the primary tool you use in your code to access these localized strings. The tableName, bundle, and value parameters all have default values so you normally specify only the key and the comment. The comment parameter is there for you to provide a hint to translators as to what purpose this string serves in your app’s user experience.
Open MainViewController.swift and add the following function:
override func viewDidLoad() {
  super.viewDidLoad()

  likeButton.setTitle(NSLocalizedString("You like?", comment: "You like the result?"),
                      for: .normal)
}
Here, you update the title on the button using the localized value. Now, in the function likeButtonPressed(), find the following line:
salesCountLabel.text = "You have sold 1000 apps in \(period) months"
Replace that line with:
let formatString = NSLocalizedString("You have sold 1000 apps in %d months",
                                     comment: "Time to sell 1000 apps")
salesCountLabel.text = String.localizedStringWithFormat(formatString, period)
You use the String static function localizedStringWithFormat(_:_:) to substitute the number of months in your sales period into the localized string. As you’ll see later, this way of performing the substitution respects the user’s locale setting.
comment strings in this tutorial have been purposely kept short to make them format nicely on-screen. When writing them in your own code, take the time to make them as descriptive as possible. It will help your translators significantly and result in better translations.Build and run. Your project should appear exactly as it did before.